


Sewing Notions Storage – Moppe Hack

Simple hack with handles
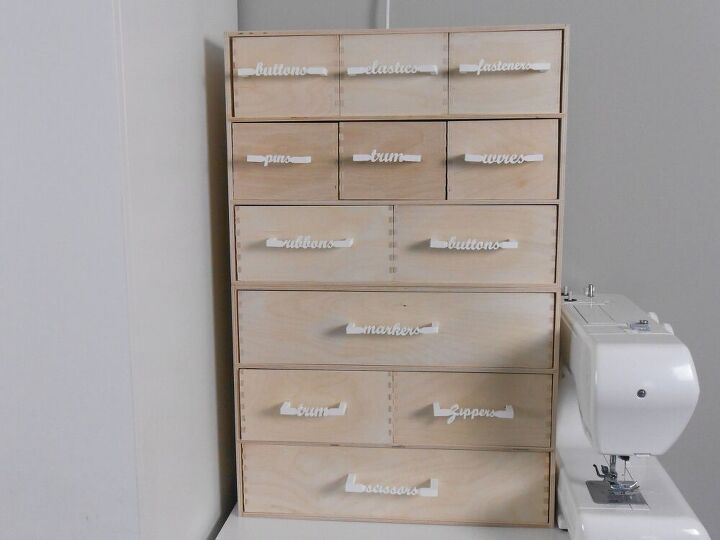
Moppe, Ikea’s mini storage chest, is a good solution for storing most of the tools needed for sewing. Last year, I designed an apothecary-type hutch for my sewing supplies. I learned eventually, that there was no time and cost effective way to get around needing a table saw for making all the parts. After realizing this, I decided to go with getting Moppes. I was able to get them delivered during the pandemic, when I was not able to before. Really, Moppe was a better choice than the Apothecary hutch. There is more space for irregularly shaped items.
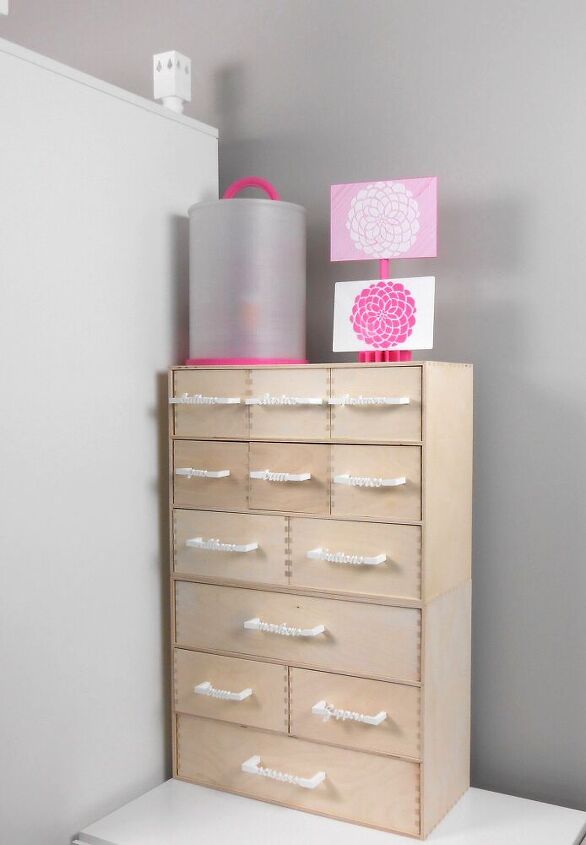
Originally I planned to paint the Moppes white; however, when I put them next to the Ikea Godishus cabinet and Room Essential’s 3 Drawer Chest I have, I liked the look and changed my mind about painting. I thought about varnishing them, but again, I found their untouched state quite pleasing. I received a number of splinters while making this hack, so varnishing has not totally been ruled out for the future.
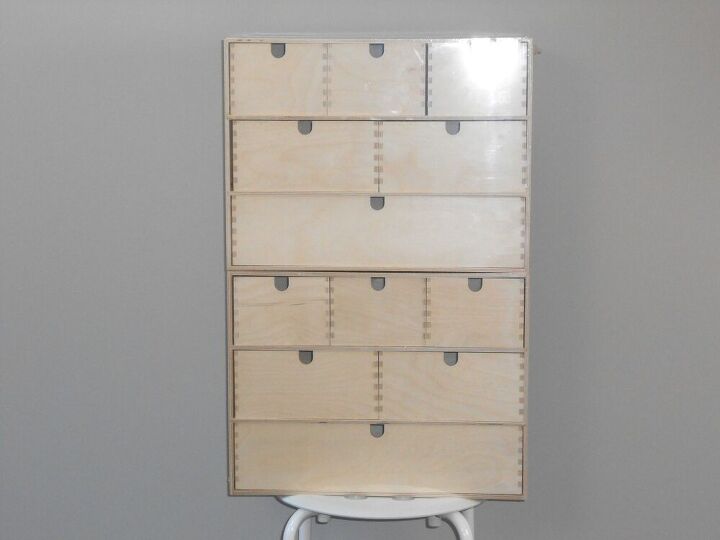
When I stacked the Moppes on top of each other, I could see that there was a gap. The gap remained when the wrapping was removed. I thought of attaching two narrow pieces of wood, vertically to the back to attach the frames, but eventually decided that screwing them together would be best.
Construction
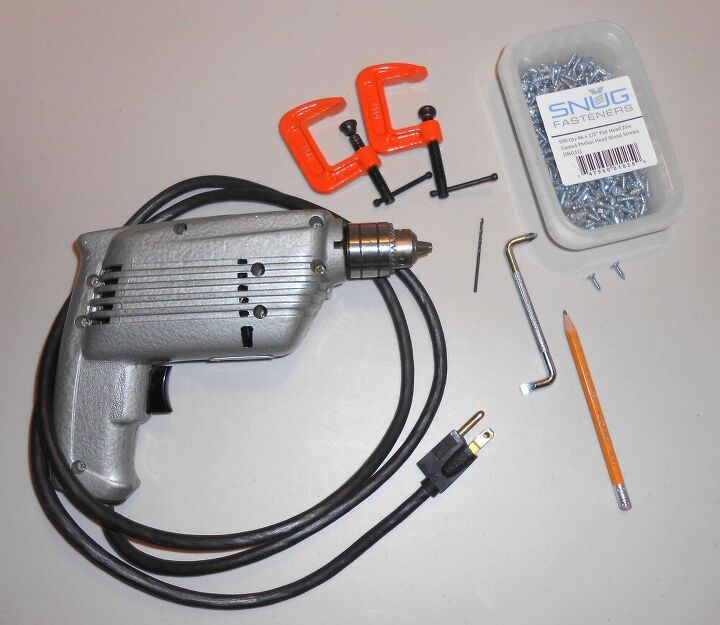
Required Tools
- Pencil
- Phillips screw driver
- M6 1/2 inch wood screws
- Drill with 1/8 inch bit
- Clamps (optional)
(Clamps are not required as the frames can be held in place with your hand while being screwed together)
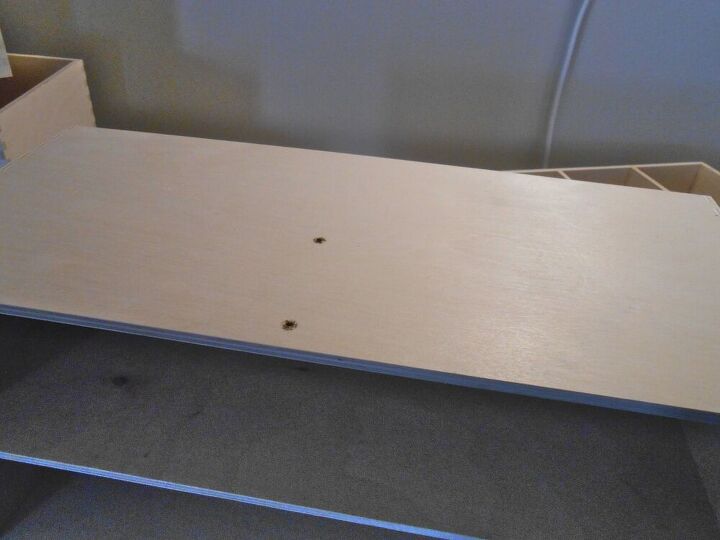
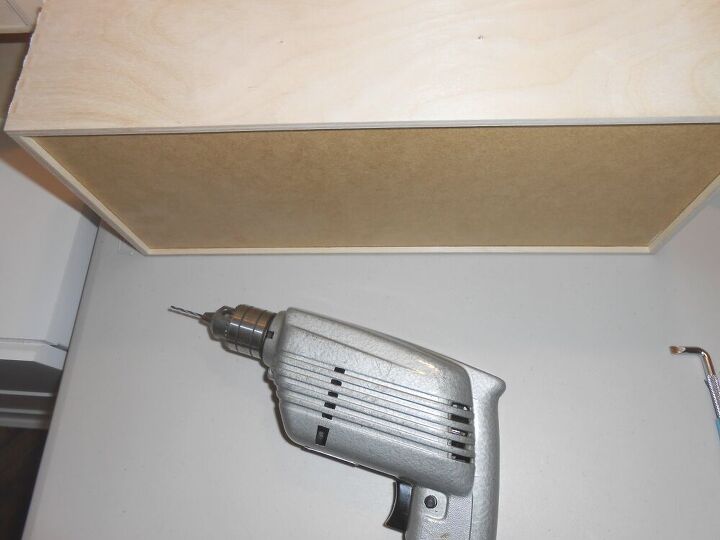
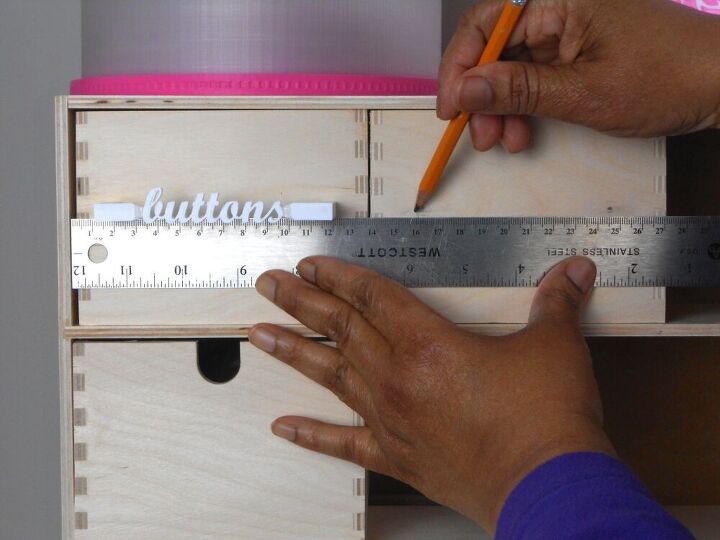
- Make a mark with the pencil approximately 8 1/4 inches from the side edge of one frame only.
- Make a mark 1/2 inch behind the first mark.
- Make another mark 3 inches behind the second mark.
- Drill holes in the second and third marks.
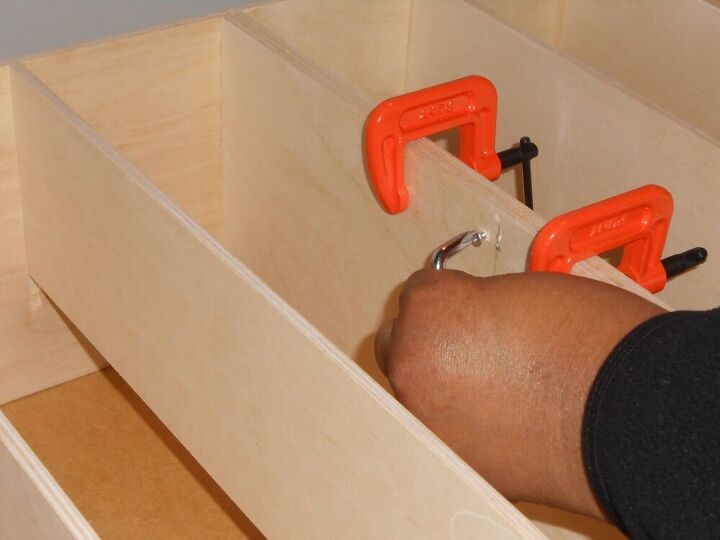
- Lay the frames on their backs.
- Push them together, aligning the sides.
- Screw the frames together using M6 screws and the Philips screw driver.
Note: I started out using the clamps, but quickly found that I preferred holding the two pieces together with my left hand.
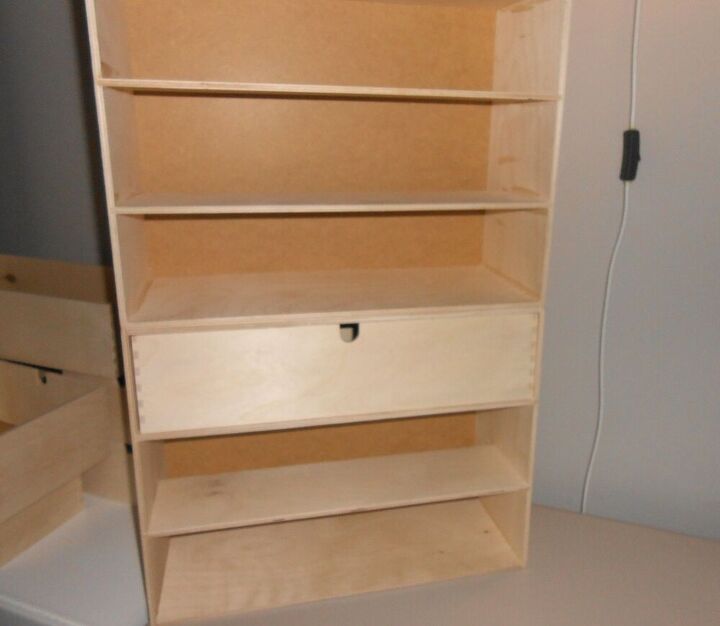
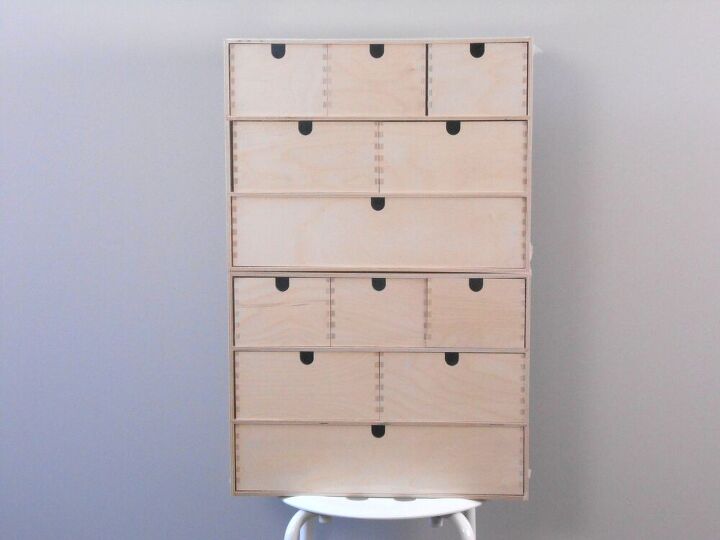
There will be no gap when the screws are completely tightened.
Handles
Turn the drawer to the back.
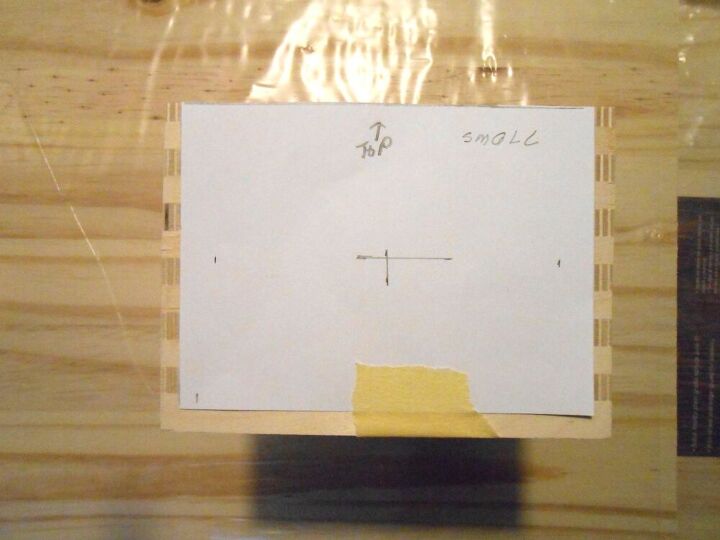
Making a template helps when getting started. Pencil marks on the wood had to be removed by sanding; therefore, I avoided marking the wood when possible.
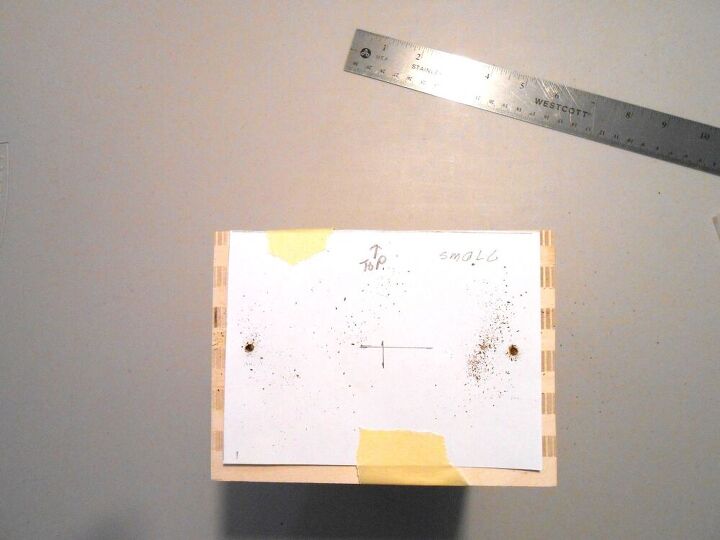
After the placement is determined with the template, drill holes.
Attach handle to drawer using M6 screws and Phillips screwdriver.
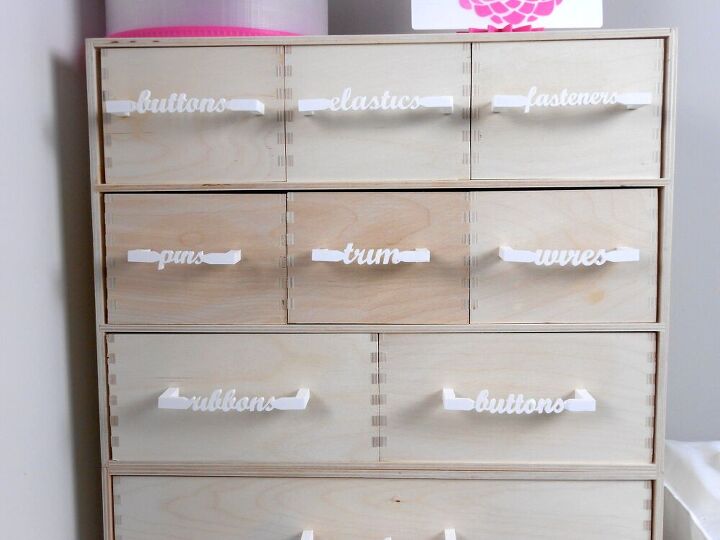
I designed and 3d printed the handles. They are not entirely rigid. The letters flex when pulled.
Spacing between holes for many of the handles differed. In order to align subsequent handles with the first handle, I marked the top and bottom above and below the center marks made for the handle holes.
Comments
Join the conversation
-
I too love those handles!! Such a great idea!! I really like this look!!
-
Thank you! I've felt so organized since I started using it.


Frequently asked questions
Have a question about this project?