


Thread or Craft Paint Organizer
Well, I posted my "how to" a few weeks ago on my 8$ wall storage system, so I thought that I would now show everyone how I made the thread/paint organizer that hangs on the wall. I know that some of you have already visited my site and read through these instructions. (Big Thanks!)
For those of you that did not read the article on the "Wall Storage System," all of these items that are hanging on the slats can be moved around any time that I feel like it. Just like an expensive slat wall!
This article appears in its entirety at http://www.queenbeeofhoneydos.com/sewing-thread-organizer/ (or see below for a quick link)
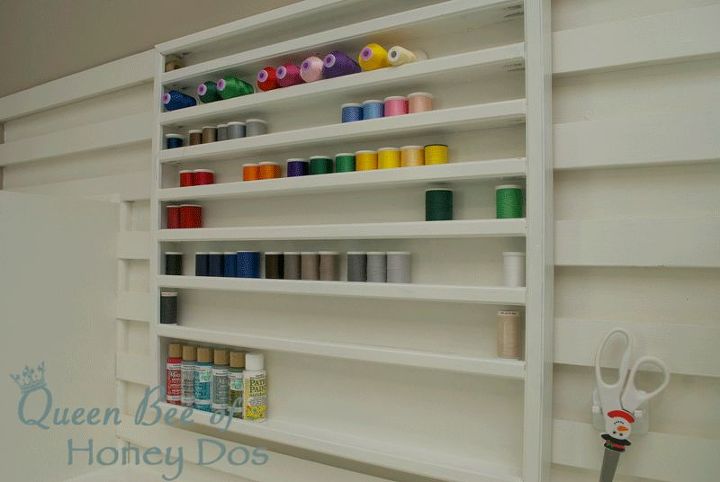
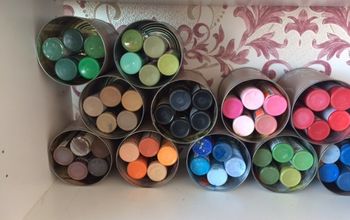
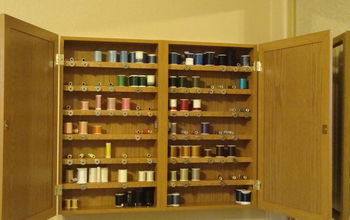
This is the after (actually it is before I have all of my thread and paints unboxed and stored here, but you get the point). :-)
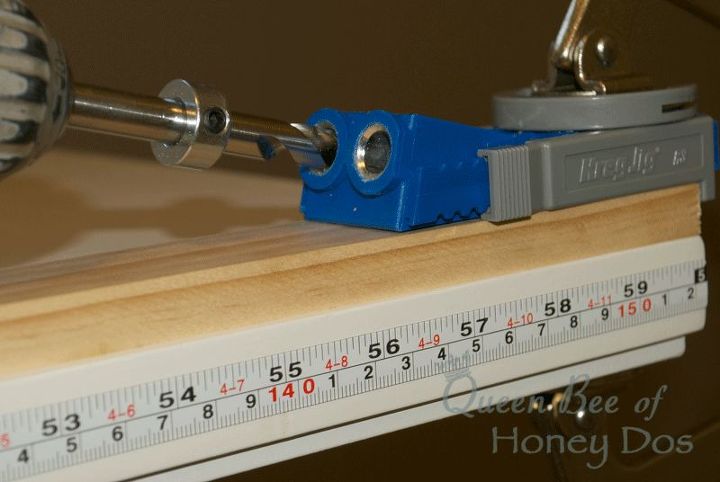
I use my Kreg pocket hole jig to make pocket holes at the end of each horizontal (shelf) board. (FYI: on my site I must disclose that I have an affiliate link to Amazon for this article. And just to make sure that I am completely open and honest, I will tell you that here as well). Although I made all of this before I had the affiliation, but whatever! I have always used the Kreg pocket hole jig and would do so even if I wasn't affiliated. :-)
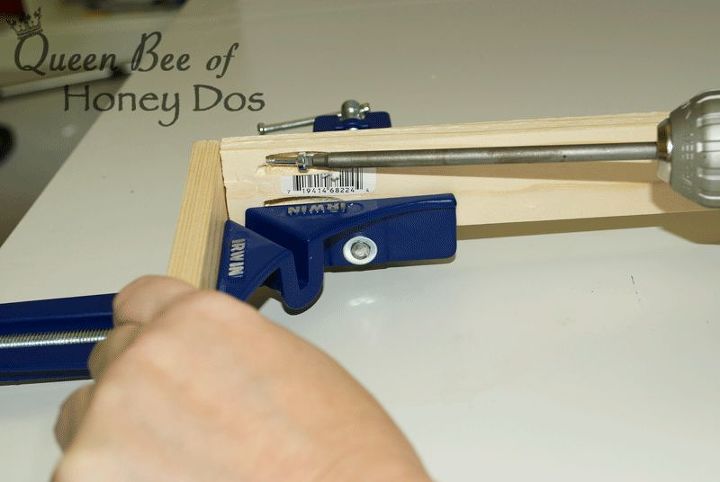
Here I am just demonstrating how to use a corner clamp to attach the boards.
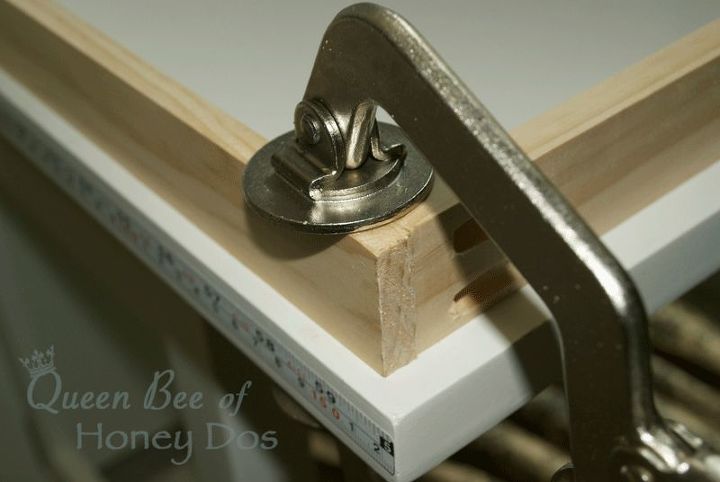
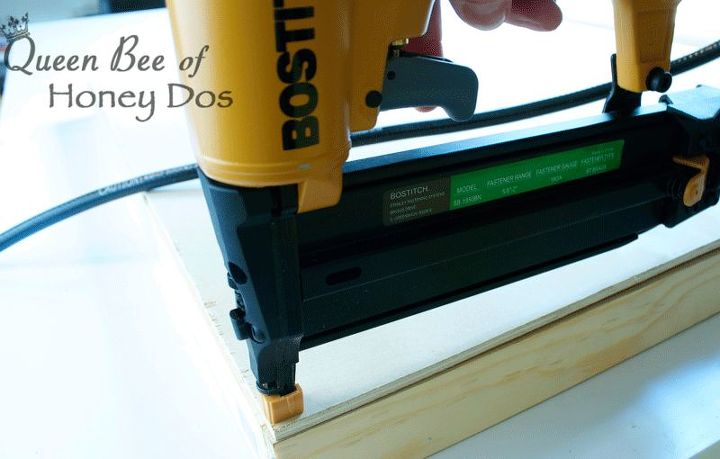
But I prefer this method. Just clamp the joined ends down to the work table and screw in the pocket screws (or finishing nails)
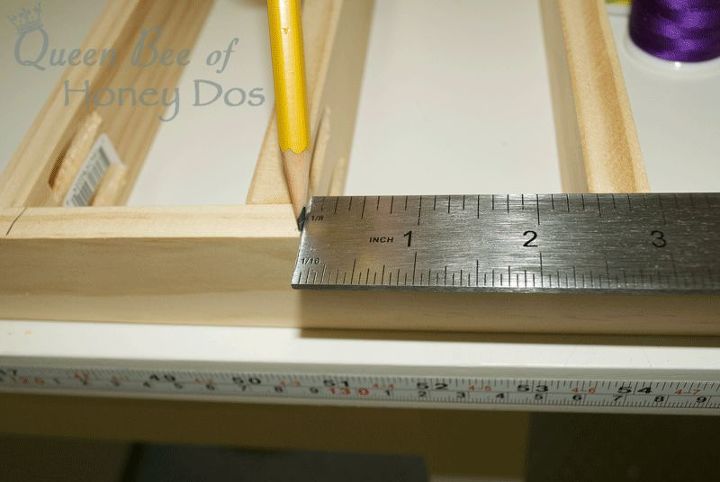
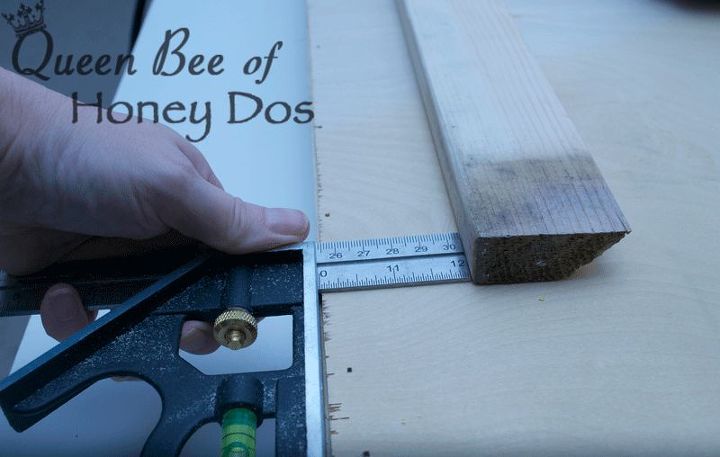
Measure and mark the location of each shelf based on your particular needs. (This is all explained in greater detail on my blog)
Attach the back.
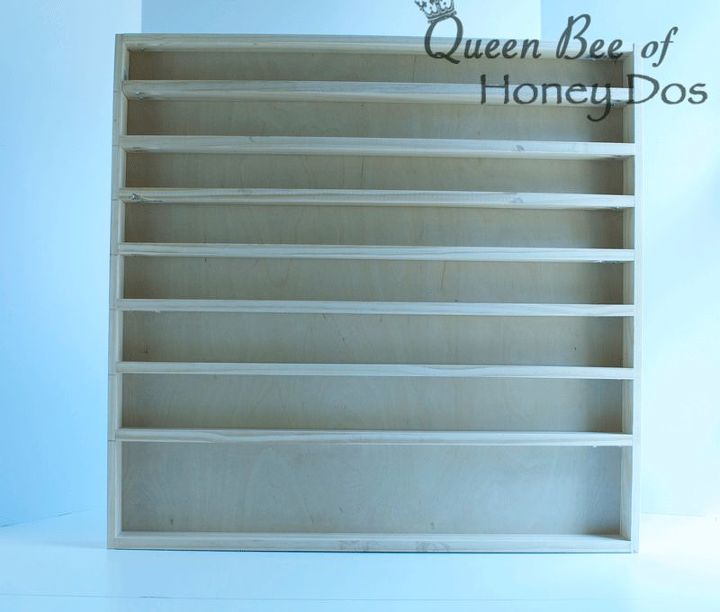
This is how it looked before I added trim and paint. You can stop here if you like, or continue on with the rest of the steps - depending on how much detail you want.
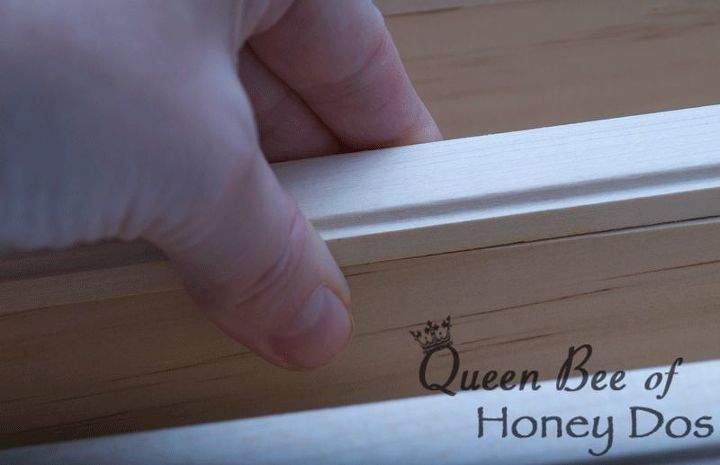
I line the bottom edge of the trim to the bottom of each shelf to give a lip to keep the thread from being bumped off the shelves.
Remember how I told you to keep all of those left over angled pieces from the previous project? Well, here is why. Add a piece of cleat to the back.

Want more details about this and other DIY projects? Check out my blog post!
Comments
Join the conversation
3 of 5 comments
-
Looks amazing! You did a great job!
-
there! A project I have everything for! I have several oil boxes full of spray paint, 1x3 sitting around doing nothing because the project I was going to use them for didn't happen, and ... other necessary stuff. Now to see if I can get the energy to make the shelf, because I surely do need it.


Frequently asked questions
Have a question about this project?