


Tin Can Makeover

5 Materials
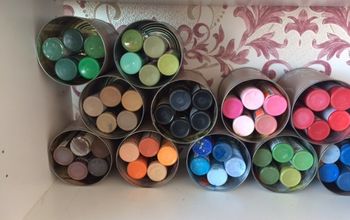
Remember making these as pencil holders in Elementary School? Here is what I did with mine! As you can see I have bunch of felt tipped pens as well as a variety of colored pencils. I love to color and do it at night in bed when I can't sleep or on a rainy or windy day when I can't be outside in the yard digging in the dirt, fussing with plants and playing with the pets.
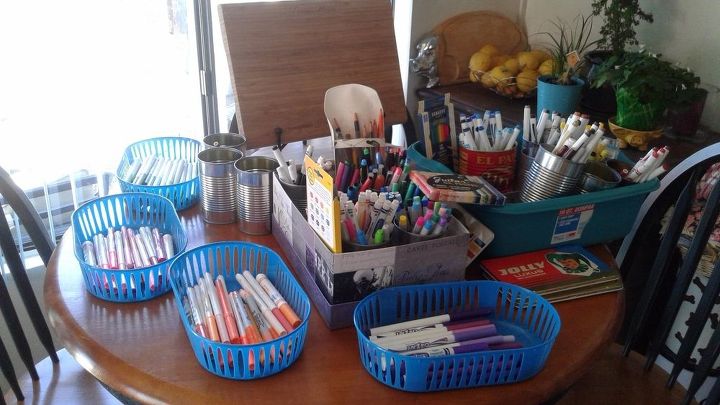
Here are the various pens and pencils.
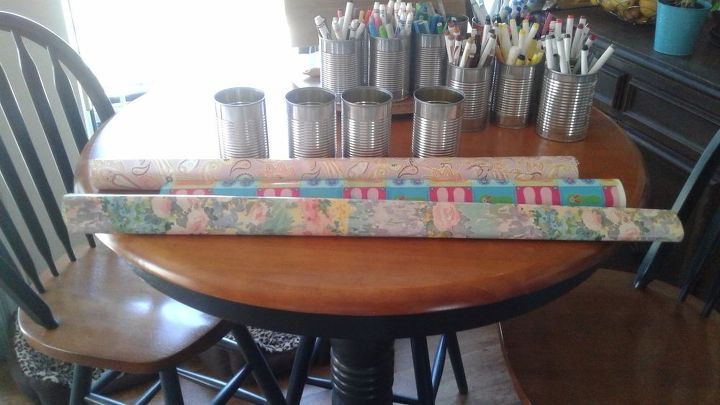
And now the naked tin cans and leftover scraps of wrapping paper. I did think about spray painting them, and I am out of spray paint and was too darn lazy to get dressed and head out and most likely end up purchasing every variety and color spray paint known to man! 😆 Hence the wrapping paper - no getting dressed into something decent, my raggedy craft frock was good enough. The pets didn't care either. I get "the look" from them when I go out, I couldn't face it today . . . Their tiny little faces - so sweet!
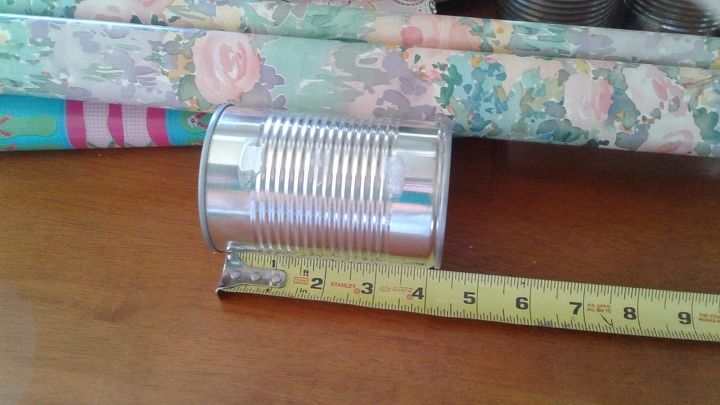
Taking measurements. This particular can was 4.5 inches in height and with overlap, 9.5 inches. I cut one out, made adjustments, then used that as my template for the rest.
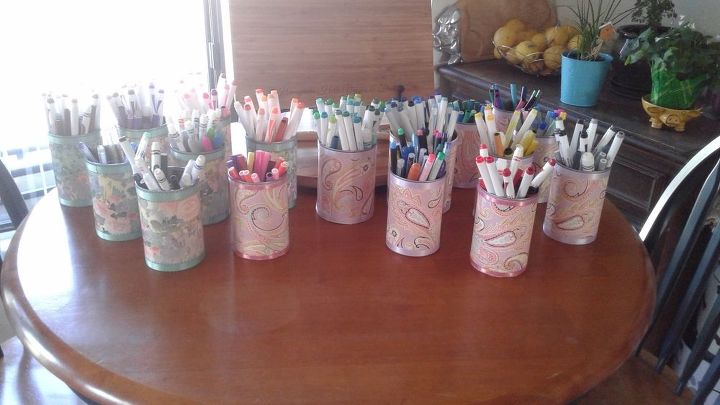
Then I used hot glue to affix the paper to the tin can. Then I took satin ribbon and glued at the top and bottom. All from my stash, left over from other projects.
This would be a great project for kids, and to use up any bits of fabric, wrapping paper, scrapbook paper and any ribbons, bows or embellishments you may have in your craft stash or sewing basket. Here I kept it simple as it is just for me and looks better than a bunch of random tin cans.
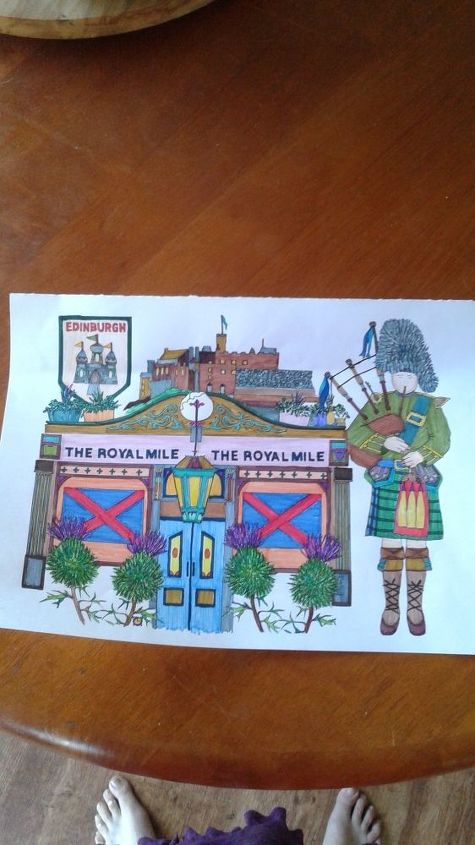
One of the many pages I have colored . . .

Another . . .
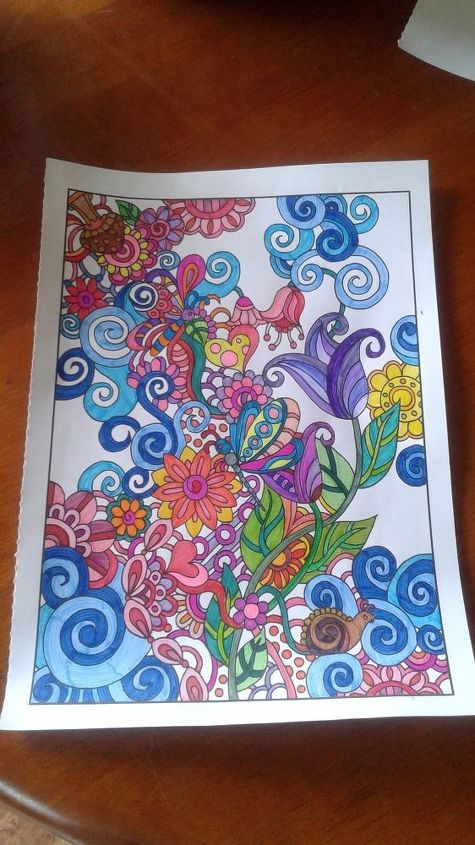
You get the idea . . .
Now enjoy making your pen and pencil holders! Thanks for reading!
Comments
Join the conversation
2 of 16 comments
-
Great idea! So pretty 😊💕
-
Looks so great. Paisley is one of my all time favorite patterns. Love it.


Frequently asked questions
Have a question about this project?