


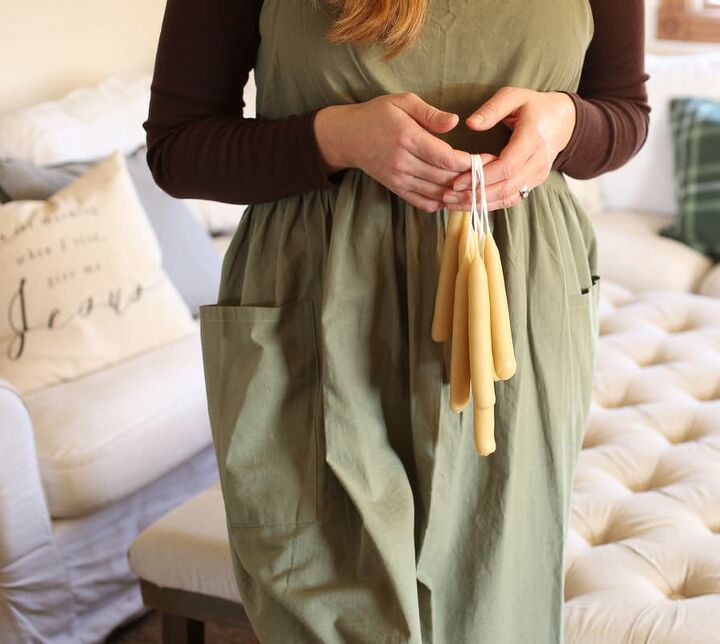
Candle Dipping | Hand-Dipped Beeswax Taper Candles
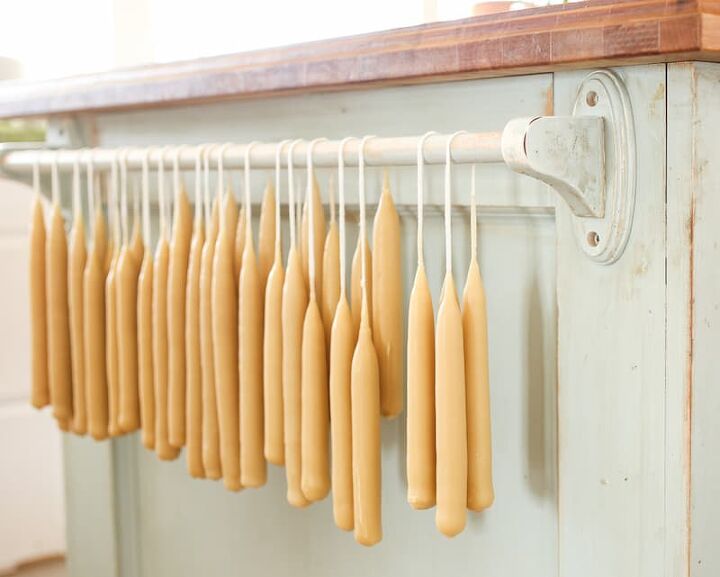
Candle dipping is a fun old-fashioned skill that you can learn in an afternoon. Make hand-dipped beeswax taper candles with your kids or grandkids. Handmade beeswax candles make lovely gifts as well!
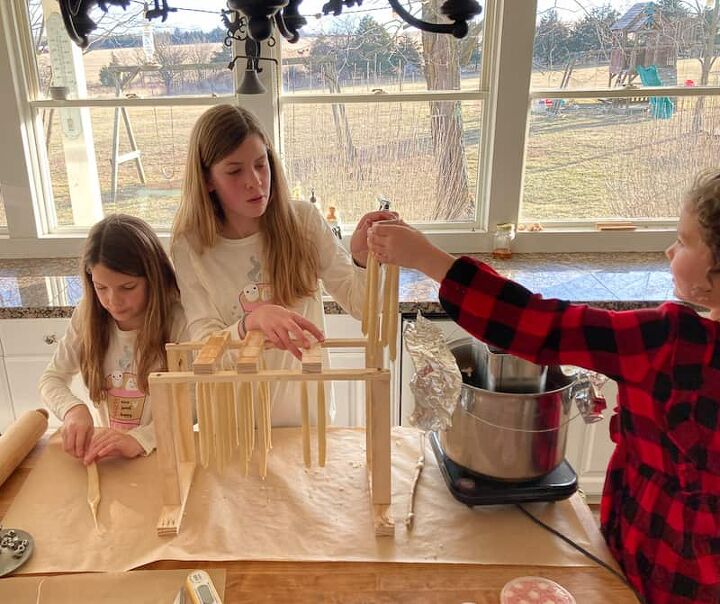
I have been wanting to make hand-dipped candles for probably fifteen years. However, there always seemed to be something more important to do. Admittedly I am at a different season in life, yes I still have a toddler, however, I also have very capable older children. Now seemed like the perfect time to give this a try. I am so glad I did! Candle dipping is so rewarding and so much fun!
This post has a video to go with it! Watch my daughters and me make hand-dipped beeswax candles!
Candle Dipping Equipment
- 5 lbs of Beeswax I used this one and this one. Both were on sale when I bought them. Local is really best, one of these was from China…I didn’t realize that when I purchased it. I probably would have chosen a different brand, although the price was amazing. Also, my intention was to do one batch of yellow and one batch of white. However, I only had three pounds of yellow and to fill the container I really needed 5 pounds. So, our candles ended up being a mix of yellow and white wax. The color is very nice. There is a light honey fragrance.
- A Double Boiler Setup- An old olive oil can or something like that is perfect. I didn’t have one, and I didn’t want to spend a bunch of time searching, so I just bought this can and my husband cut the top off. Look at Thrift stores for big pots for cheap.
- 24 Ply Wicking
- Craft Paper to protect your counters
- 1/4″ steel nuts to tie on the ends of the wicking
- A place to hang the candles to dry (Details of our simple setup below)
A Candle Dipping DIY Setup
My husband built a handy little setup for us. He made this from scrap 1x ‘s that we had in the garage. We tried two different methods. The one that worked best was to cut the strips of 1x’s 6″ long so that they can fit down inside the can, that way as the wax gets lower, you can dip down in the can farther. He just kind of slapped the cooling rack together. Here are the cuts if you want to recreate this setup.
- 6-1″x6″ strips of wood. ( four of those are for the dipping boards)
- 4- 1″x10″ strips of wood
- 2- 1/2″ x 17″ strips of wood
He just screwed and brad nailed the boards together to make a stand. Originally we made everything bigger, then ended up making it all smaller.
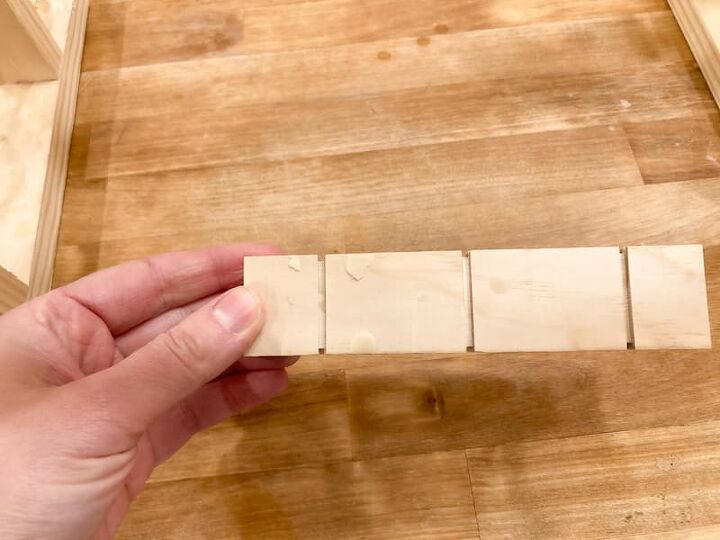
For the dipping boards, he used the table saw to make grooves on three sides of the boards. There are four grooves, the two outside ones are 1″ from the edge and then the two inside grooves are 2″ apart.
How to Make Dipped Candles
Below I will walk you through the step-by-step process of candle dipping.
Step 1 Melt the Wax for Candle Dipping
This may take some time depending on how hot your stove gets. I tried melting the wax on a little electric burner the first time and it took hours! Once I moved it to the gas stove, it melted much faster. You should still allow for about an hour for the wax to melt. It should be around 155 degrees, any colder than that and your candles will be lumpy.
Nestle the can or whatever you are using to melt the wax inside a larger pot and boil the water. Make sure the wax vessel sits up higher than the water level so the water doesn’t splash inside the wax. We had to use some wire to hold the can down in the water at first. When the wax was cold the can wanted to float in the water. We just used some wire to hold it down until the wax had melted.
For a 7″ taper, you will want your wax level to be at about 9″. This will take about 5 lbs of wax to fill the can high enough.
It would be a good idea to keep a smaller can of wax melted to fill the large can as the level gets lower. Otherwise, the tops of your candles may become too skinny as you dip.
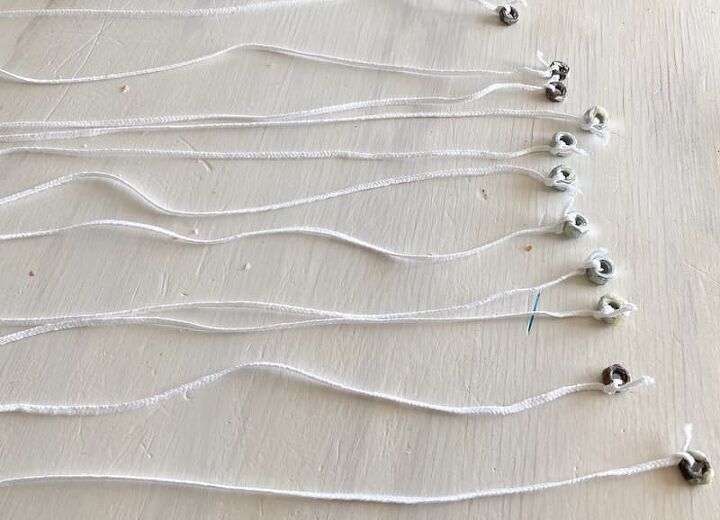
Step 2 Prepare the Wicking
For 7″ taper candles, you will want your lengths of wicking to be about 21″ long. Cut the wicking and then tie 1/4″ nuts on each end. This adds weight and will ensure the candles go down into the wax and it holds the wick straight.
It is handy to have a piece of wood or cardboard to hold the candle wick as you dip. This keeps them separated and prevents them from sticking together. It should be about 2″ wide or two-finger widths wide.
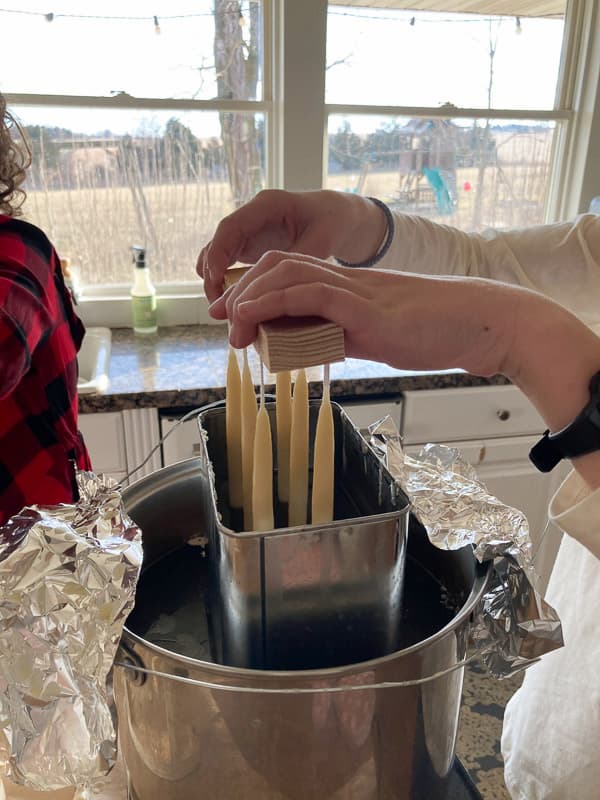
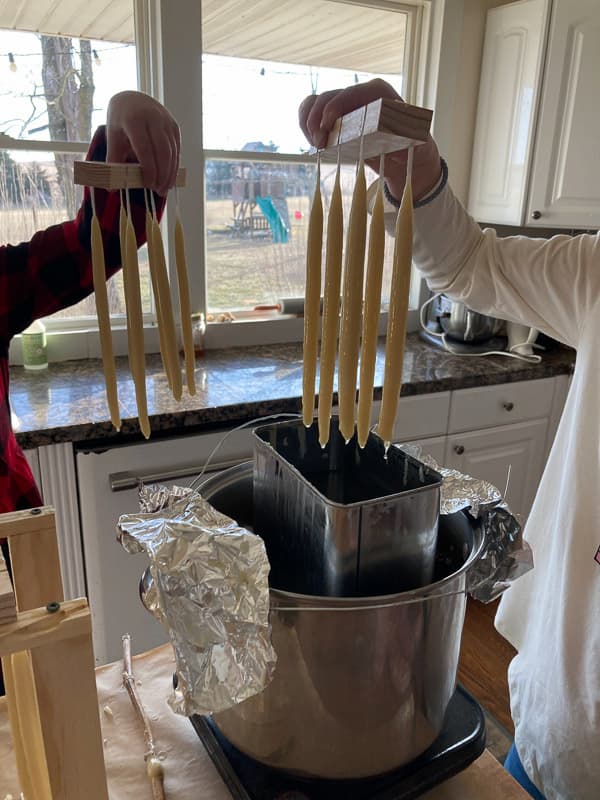
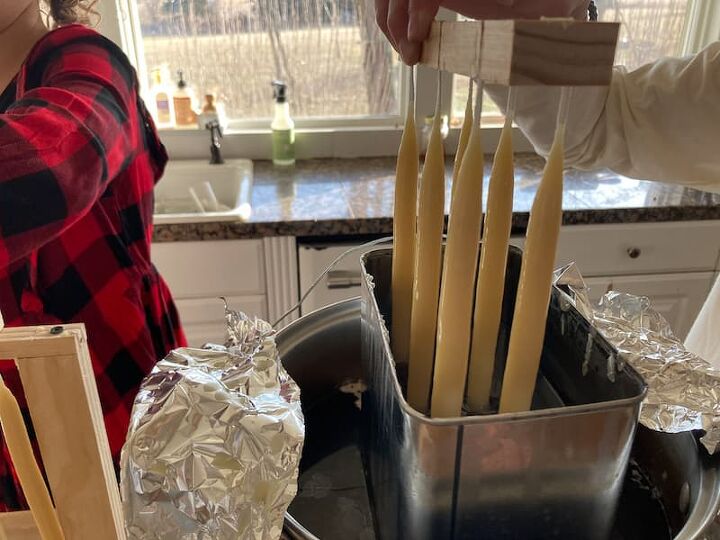
Step 3- Dip Dip Away!
Now you can begin dipping the candles. Go slowly and allow the wax to dry between dunks. If you want to speed up the process, you can dip them in cold water after dunking them in the wax. We were doing so many that we didn’t find that necessary.
Keep a candle holder on hand to measure the circumference of the candle. Ours took about 30 dips to get to the size we wanted. It took close to two hours to make 24 candles.
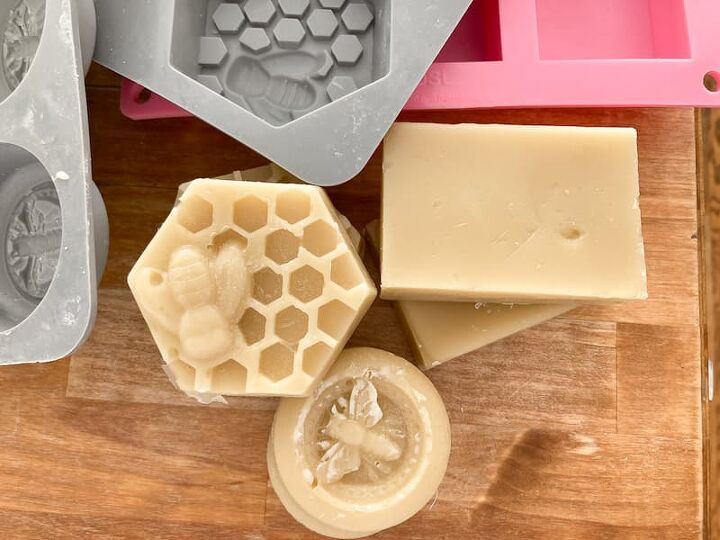
Tips for Dealing with the Leftover Beeswax
When you are done, you will have about half a can of beeswax left. If you plan to make more candles in the near future, you could just leave the wax in the can.
If you want to keep the beeswax and use it for other things, you can pour it into silicone molds, let it cool and then pop the wax out and store it for another project.
Check out my blog for more handmade projects using beeswax!


Frequently asked questions
Have a question about this project?