


Pour Your Own Candle in Vintage Containers

I have something fun for you today that literally takes minutes to create!
The first time I saw this idea, I knew I had to try it! You can literally make your own candle by using your very own container of your choice. Of course I chose to use vintage containers, because that's what i enjoy looking at! As the website says, "If it holds water, it holds a candle"!
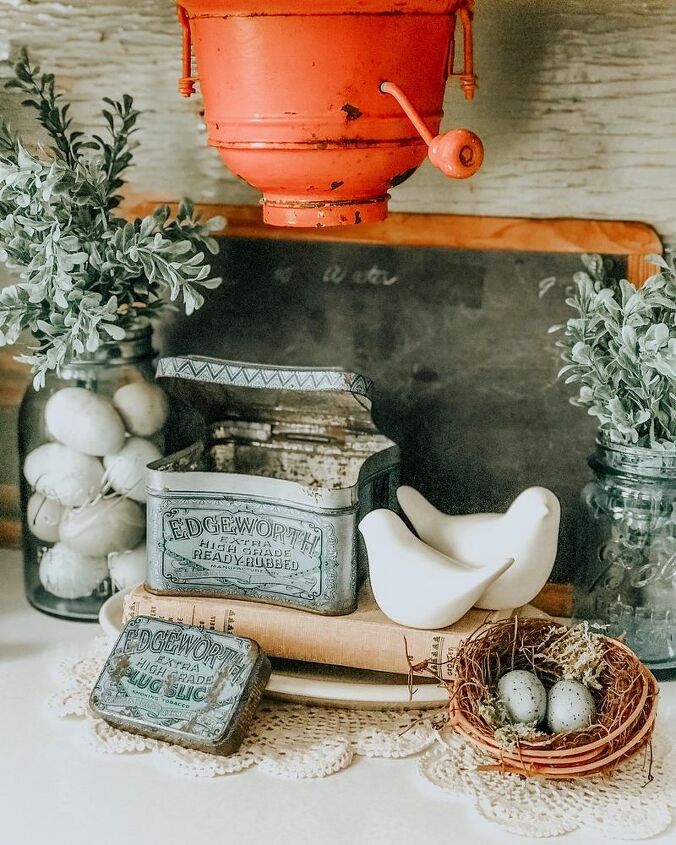
The large Edgeworth tin above was instantly turned into a candle in a matter of minutes! I keep saying that, but it is really fast! I always thought candle making had to take hours and hours, but NOPE!
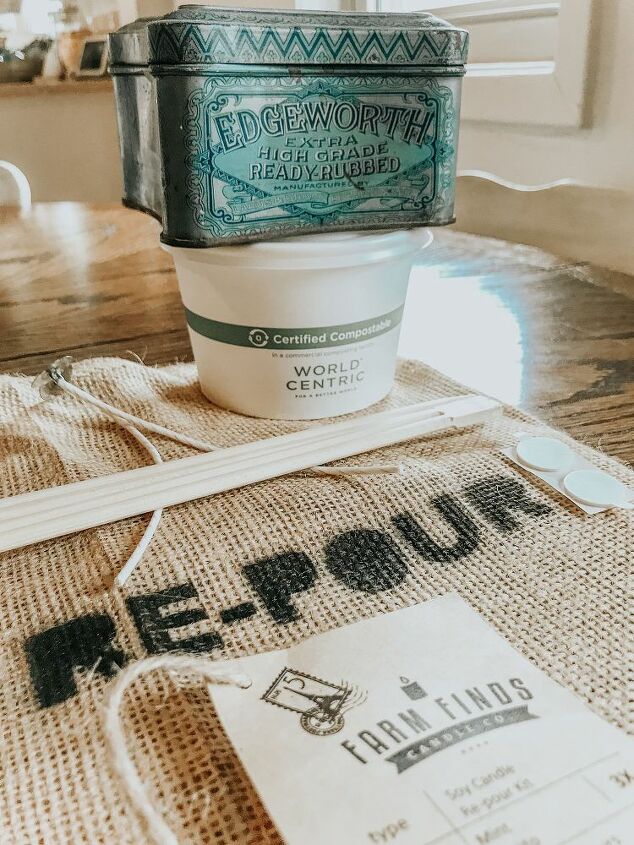
To make two separate candles, I ordered a 24 oz. re-pour kit from Farm Finds Candle Co. Go to our blog here to get the direct links, more photos and a discount code.
The hardest part about this entire process, was trying to decide what container I wanted my candles to be poured into!
If you decide to use a vintage container, you will want to follow these steps:
STEP 1. Clean it thoroughly and make sure it will hold your wax.
STEP 2. Measure your container to see how many wicks you need to use.
STEP 3. Adhere the wicks to your container.
STEP 4. Stabilize the wicks with the chop sticks provided in your kit.
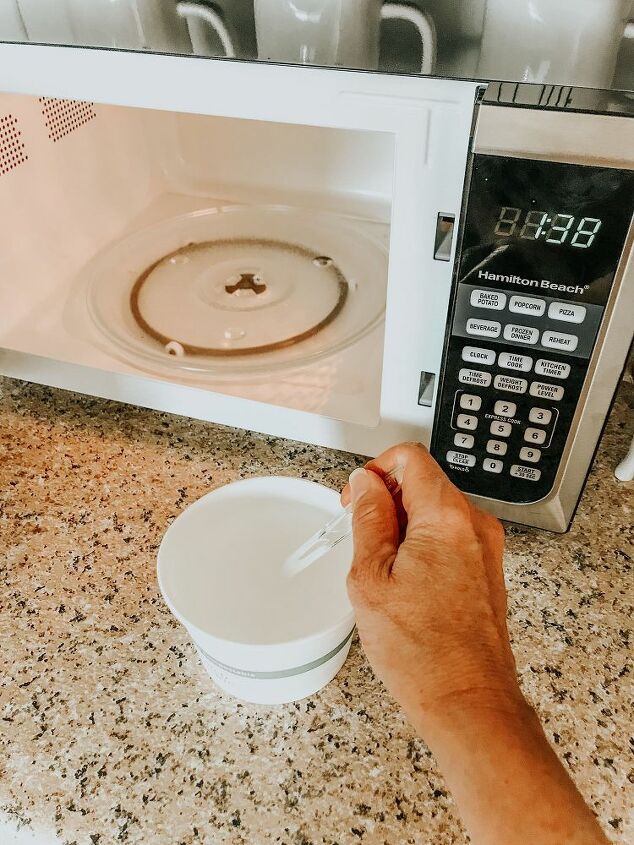
STEP 5. Warm your wax S L O W L Y! Don't rush it! Go slow with 30 seconds at a time. In my microwave, it took less than a minute to warm the wax. DO NOT over heat your wax, you will ruin it!
STEP 6. Stir your warmed wax thoroughly for at least 1 minute or more until it is completely smooth.
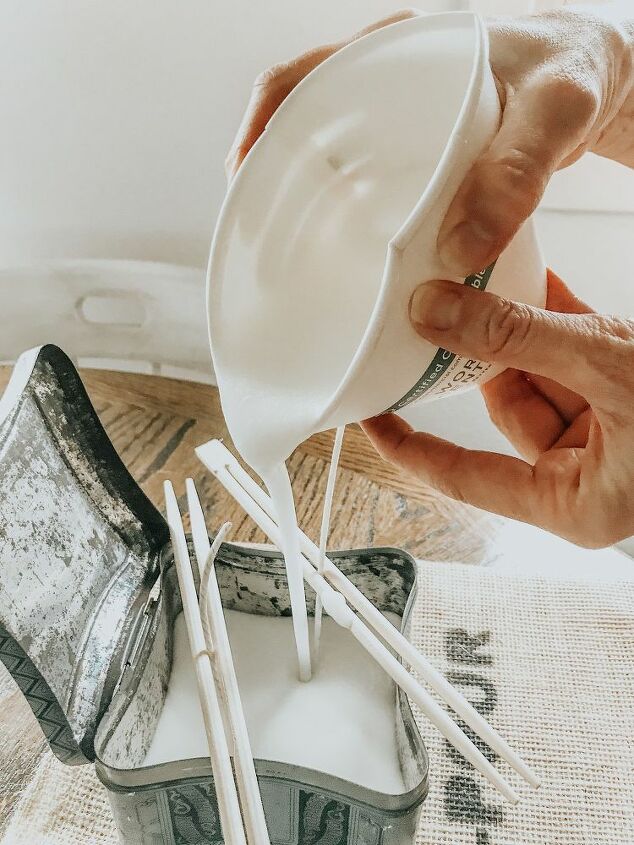
STEP 7. Pour the warmed wax into your container of choice. Be careful to navigate around your chop stick stabilizers.
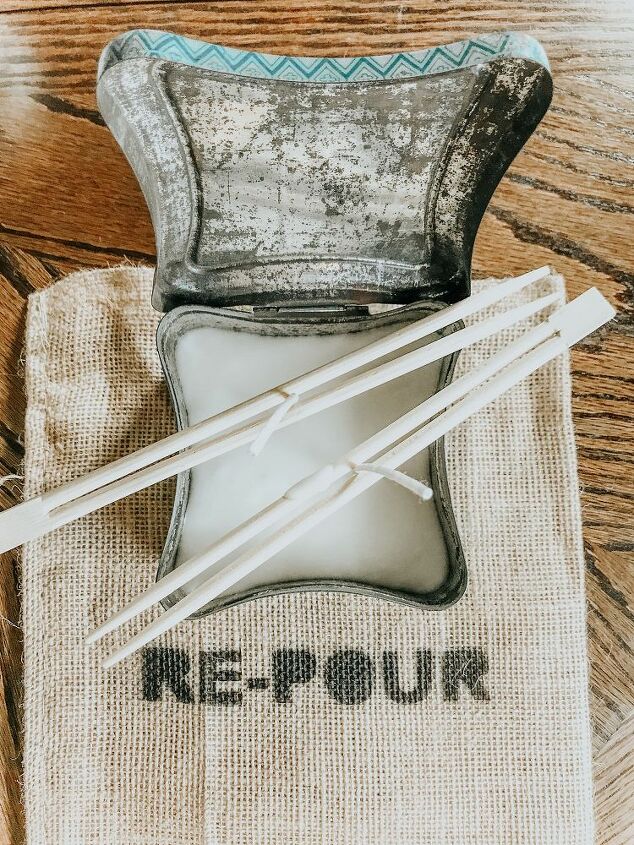
STEP 8. Make sure your wicks are standing straight up. GENTLY pull straight and taut and hold in place with your chop sticks.
STEP 9. Smooth out the top of your candle. While the wax is still warm, gently tap your container on a table top until smooth.
STEP 10. Trim wicks. I waited about 4 hours to make sure the wax was firm and then I trimmed my wicks to about 1/4" above the wax. This helps create a cleaner burn. You will want to keep your wicks trimmed to 1/4" every single time you burn your candle.
STEP 11. WAIT - It takes 7 days for your candle to completely cure. This will ensure your wonderful fragrance is one with the wax. Don't rush it, please wait the 7 days, its so worth it!
STEP 12. After the 7 days is up, light your candle and allow it to burn for at least 4 hours or longer. This will help prevent a deep well in your candle and allow it to burn down evenly.
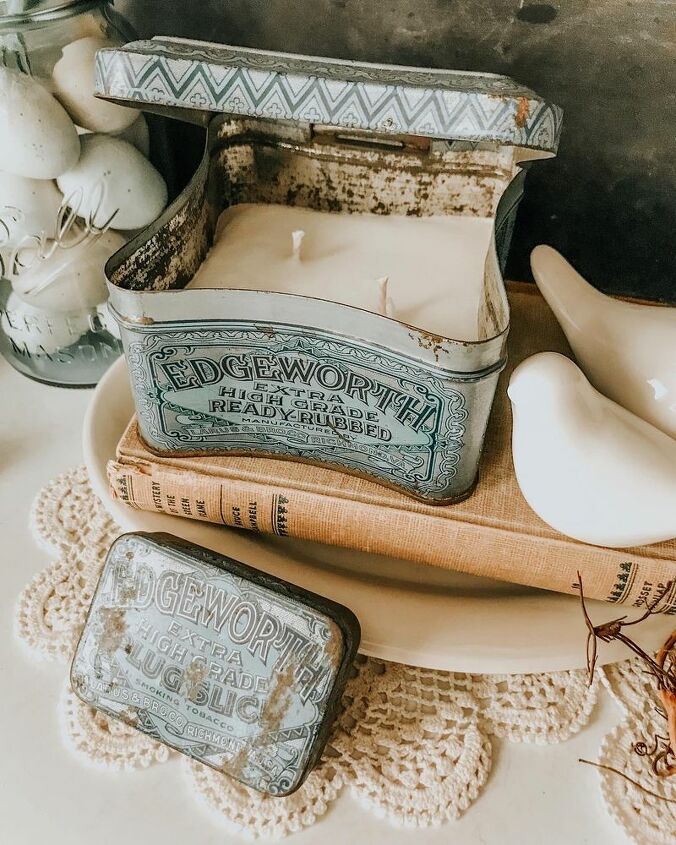
While I waited my 7 days to burn, I left the lid propped open and it smelled divine! Oh, I forgot to tell you that I chose the Mint Mojito scent for my re-pour kit. It smells so fresh and clean. They also sent me a sample of Morning Coffee and Country Rain. I used them in my Scentsy warmer and they smell wonderful too! I'm sure all the scents smell amazing!
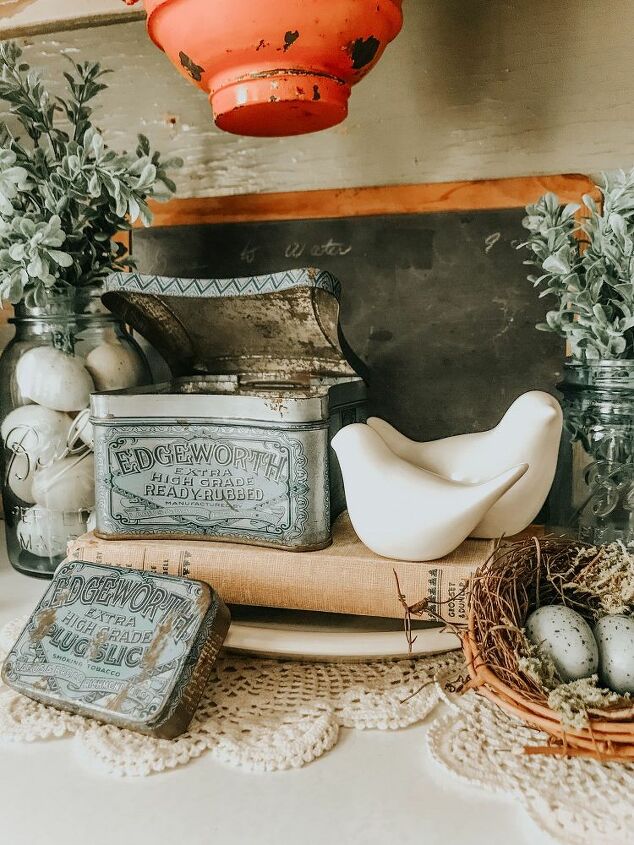
Your vintage container can still be used in your decor and when the candle runs out, you just pour another one! Love!
When all "The Rona" stuff goes away, I will be back out in the vintage shops searching for more containers to pour my own candles into, that's for sure!
Visit our blog right here for a very informative video and a DISCOUNT CODE for you! Also see what else I turned into a candle!
Thanks for looking! :)
Resources for this project:


Frequently asked questions
Have a question about this project?