


Bleached Pinecones Napkin Rings and More
4 Materials
$7
24 Hours
Easy
Celebrate the beauty and colors of the season by bringing nature indoors with pinecones and combining them with your favorite holiday hues.
I first bleached pinecones on a whelm back in 2013. Pinecones have always been popular in crafts and bleaching them has proven well liked to use in projects. You can read about my original process here on Hometalk: https://www.hometalk.com/diy/craft/seasonal-decor/how-to-bleach-your-pinecones-for-an-unusual-beautiful-effect-2388678 Four years later I'm back at it again making simple pinecone napkin rings this time.
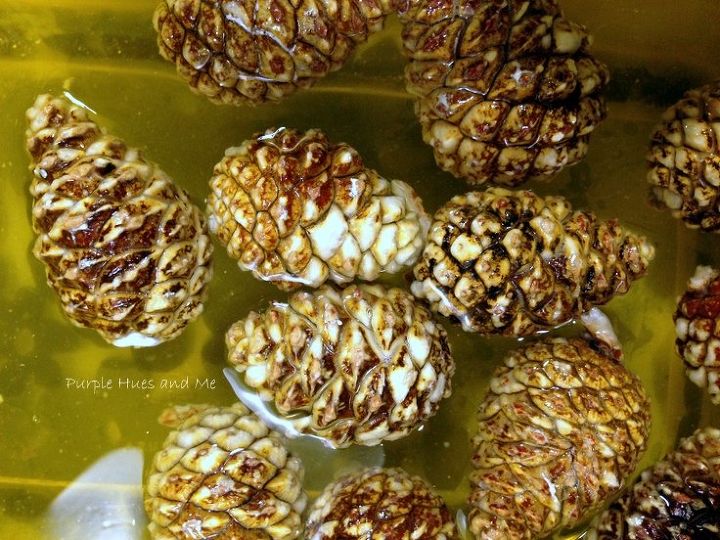
Of course, I started with using full strength bleach once again. In the picture you can see areas of the cones lightening already! And, believe it or not, there's no bleach smell once the cones dry out completely!
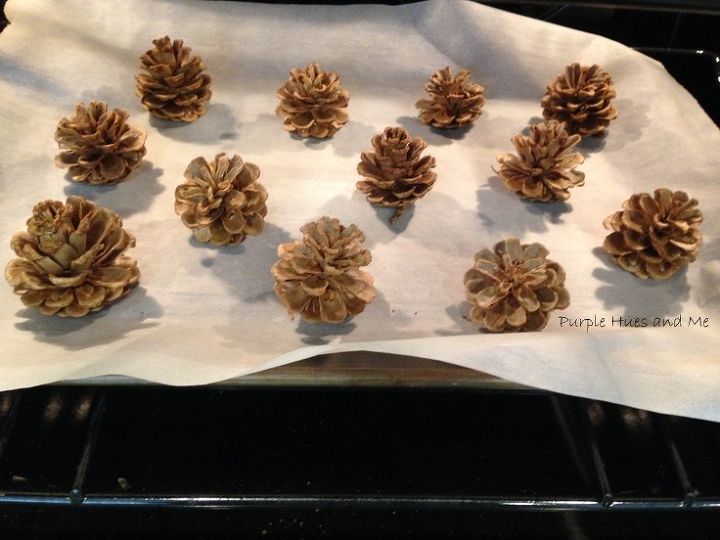
After leaving the pinecones in bleach 24 hours, let them dry off on paper towels first and then place them on parchment paper and into a 250 degree oven until they open again. That took about a couple of hours. If you want them to dry naturally it might take several days or even a week or more.
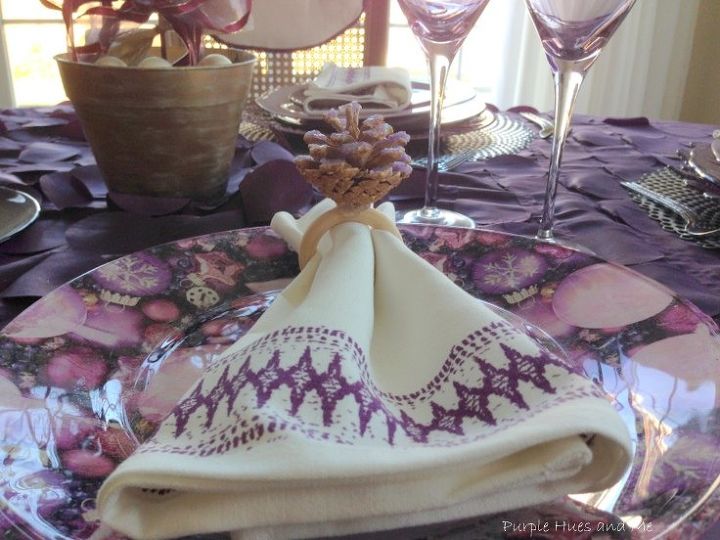
Isn't the coloring gorgeous!
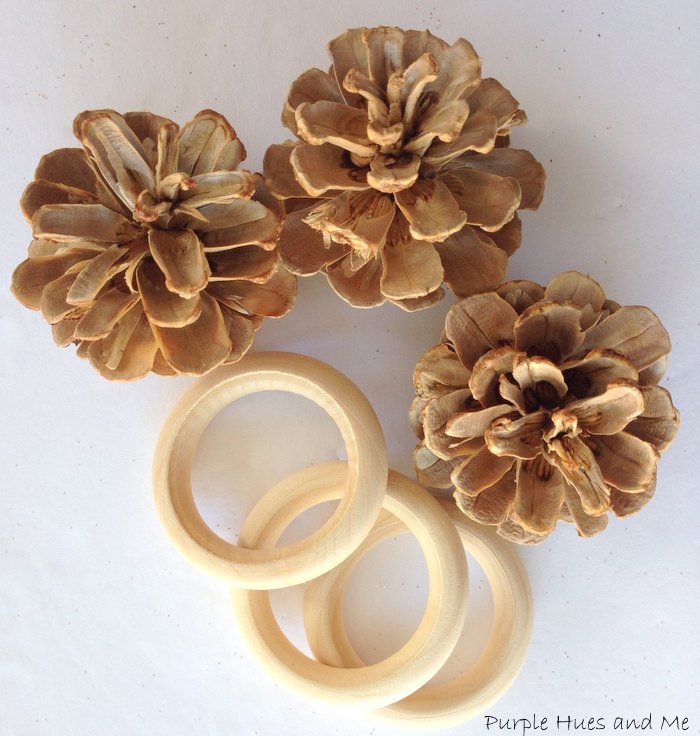
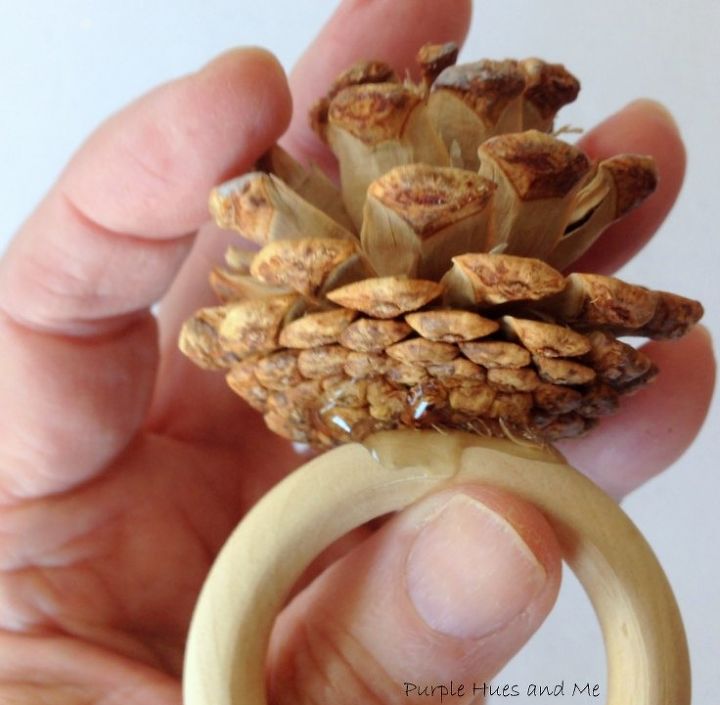
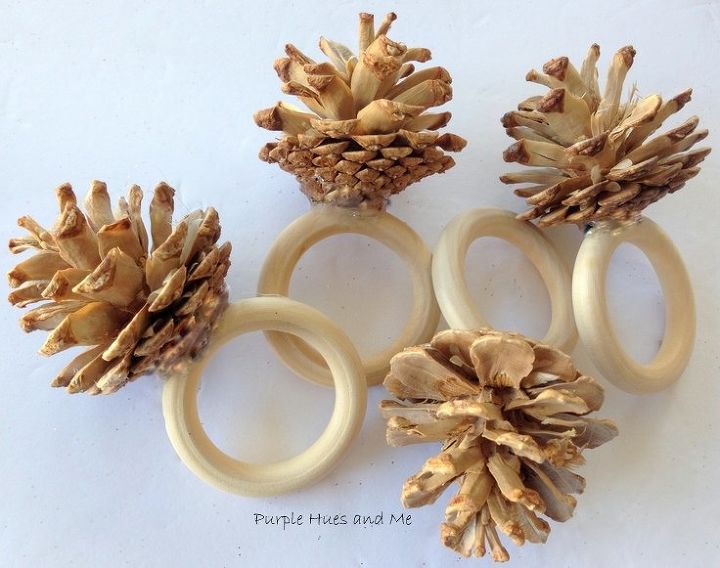
Next, hot glue the pinecones onto 2 inch cabone rings for a quick grab set, but once the hot glue dries, add E6000 glue for a more permanent hold.
The color of the cabone rings match the undertones of the pinecones perfectly.
Then, to decorate, mix glitter and mod podge onto a thick paste and apply the mixture onto the edges of the pinecone scales.
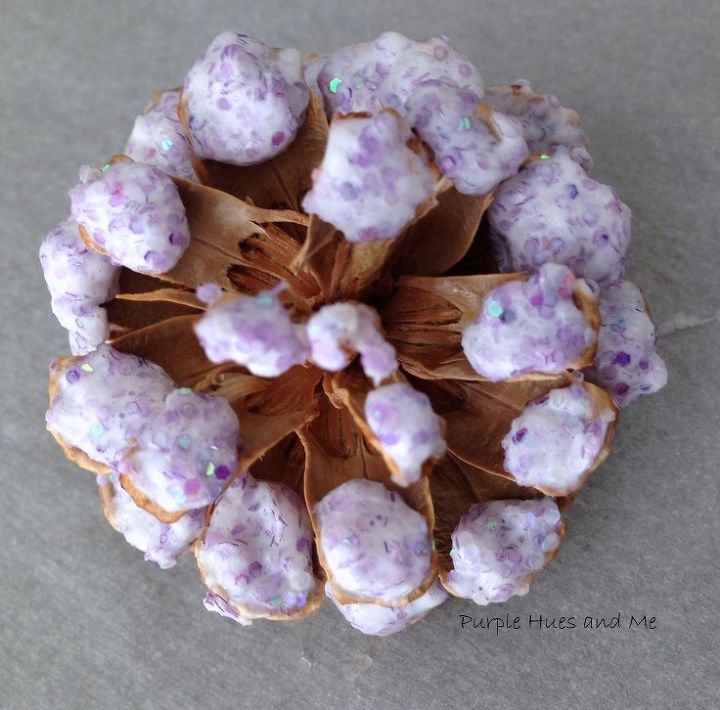
And let dry. So pretty!

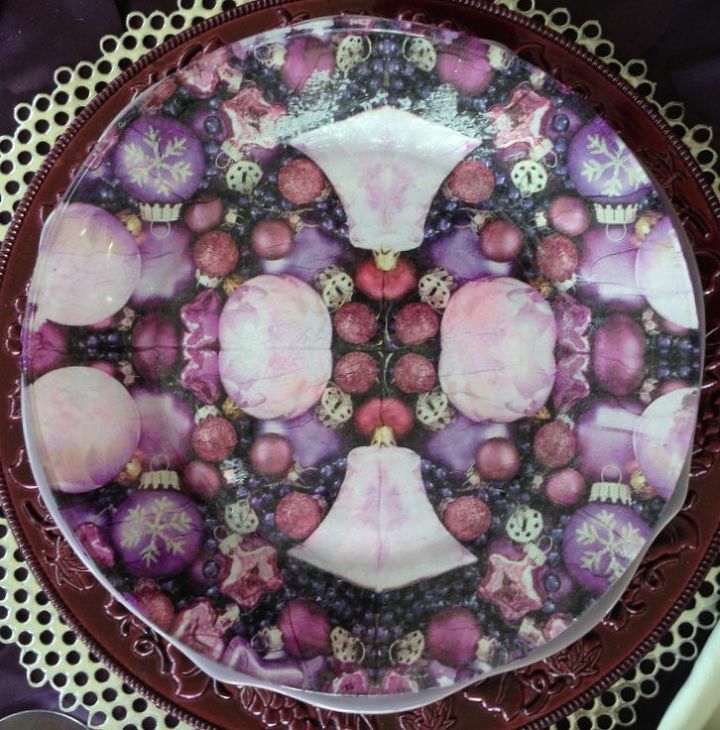
Next, I separated the layers of a holiday decorative napkin and . . .

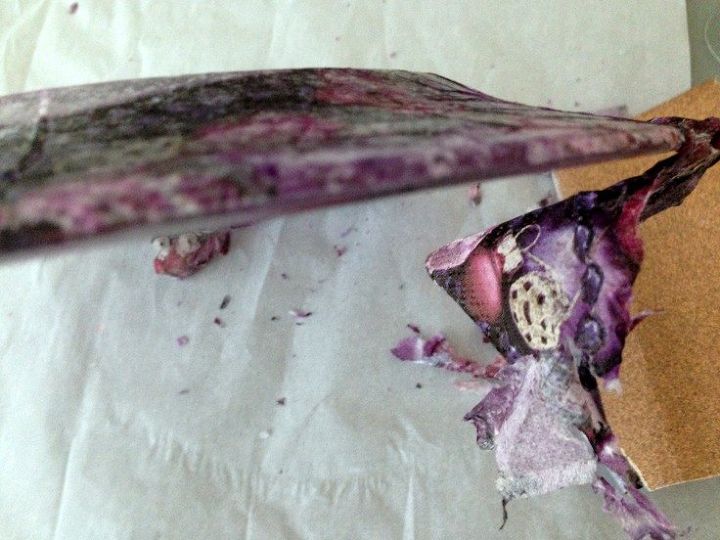
mod podge the printed side onto the back of a plain glass plate. Once dry, used sandpaper to remove the napkin edges from the glass,
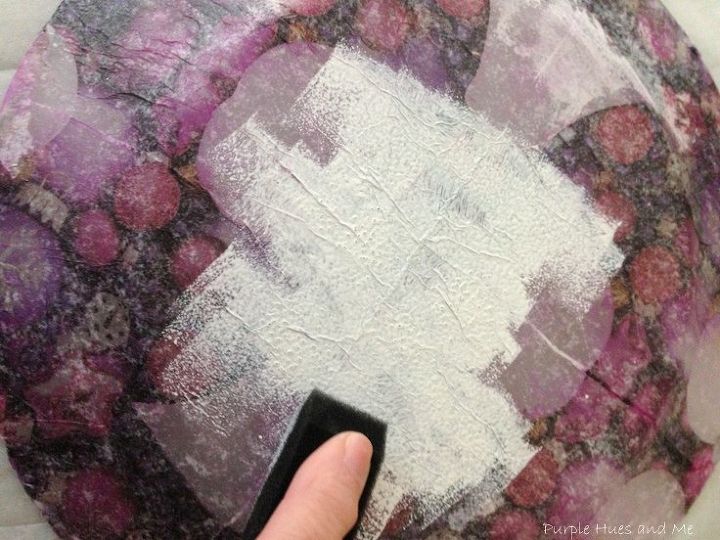
and sealed the back with more mod podge for a wonderful effect!
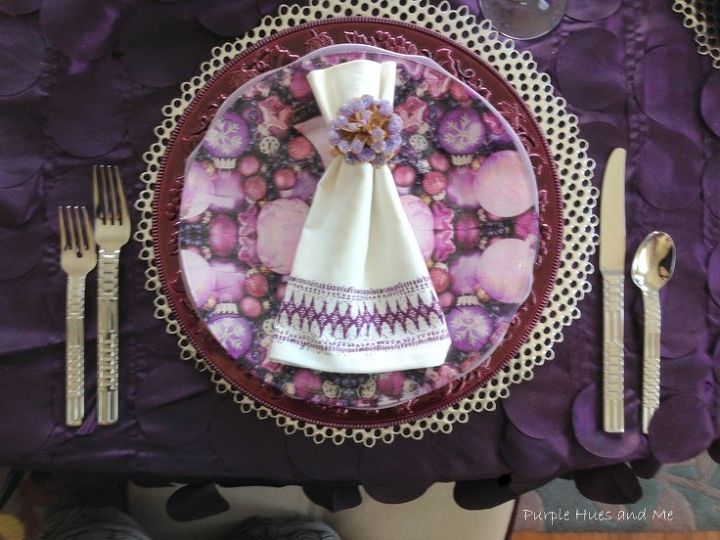
Makes for a lovely place setting!

What an easy way to make adorable pinecone napkin rings!

Resources for this project:
See all materials


Any price and availability information displayed on [relevant Amazon Site(s), as applicable] at the time of purchase will apply to the purchase of this product.
Hometalk may collect a small share of sales from the links on this page.More info

Want more details about this and other DIY projects? Check out my blog post!


Frequently asked questions
Have a question about this project?