


DIY Centerpiece With Greenery And Pinecones
Add some simple and affordable winter decor to your home with your own DIY centerpiece made with greenery and pinecones.

*This post contains affiliate links. When you make a purchase using these links, I earn a small commission (at no extra cost to you!) To learn more, you may read my Disclosure Policy. Thank you for supporting my blog!
Welcome Winter Blog Hop
Today, I’m thrilled to be participating in the Welcome Winter Blog Hop hosted by Cecilia at My Thrift Store Addiction. If you are visiting directly from Cecilia’s blog, welcome, and thank you for joining me here. Didn’t you just love her gorgeous tablescape?
If you are new to MWLS, here is a little bit more about me. I’m Jen. A born and raised Nebraska gal living the good life with my husband and two daughters in the middle of the heartland. At Midwest Life and Style, you’ll find a little bit of everything, including, affordable home decor, made from scratch recipes, and inspiration for everyday living.
DIY Centerpiece With Greenery and Pinecones
Recently, I shared a few tips for how to style your home for winter. Like how to use simple things such as greenery and pinecones in your decor to make any space feel cozy. If there is one thing this past year has taught me, it is just how important it is to have a comfy, cozy, and calming place to call home.
When it comes to winter decor, greenery and pinecones are some of my top go-to’s and the inspiration for today’s post. A DIY centerpiece! Except for the fresh pine branches, I created this centerpiece with things I already had on hand. It was an easy way to add a little touch of winter to our home. Keep reading to get my tutorial and learn how to make your own DIY centerpiece with greenery and pinecones.

Supplies
- A basket or tray
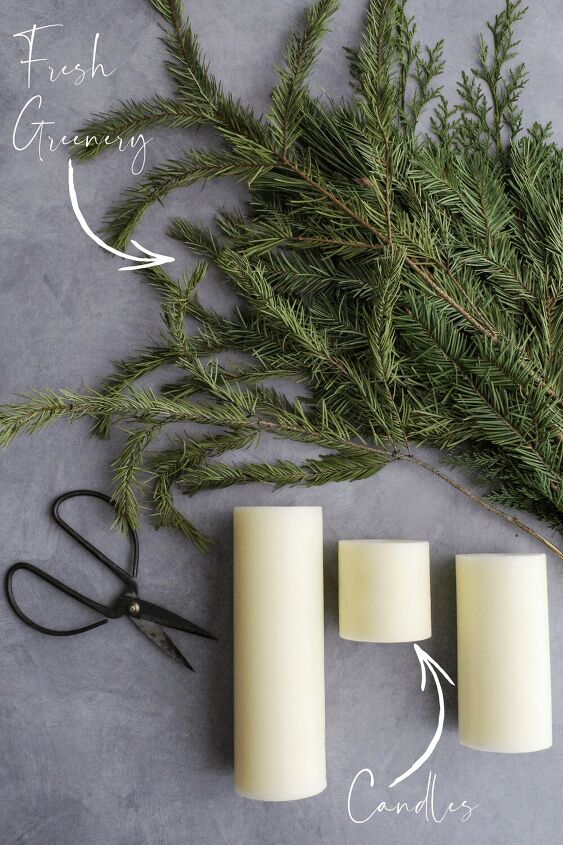
- Candles. I just shopped my home to find a few that weren’t being used, but I also love these LED ones. They even come with a remote!
- Fresh greens. I purchased two bundles from Trader Joe’s for $10. If you are lucky enough to have some pine trees nearby, you can just snip a few branches and get your greenery for free.
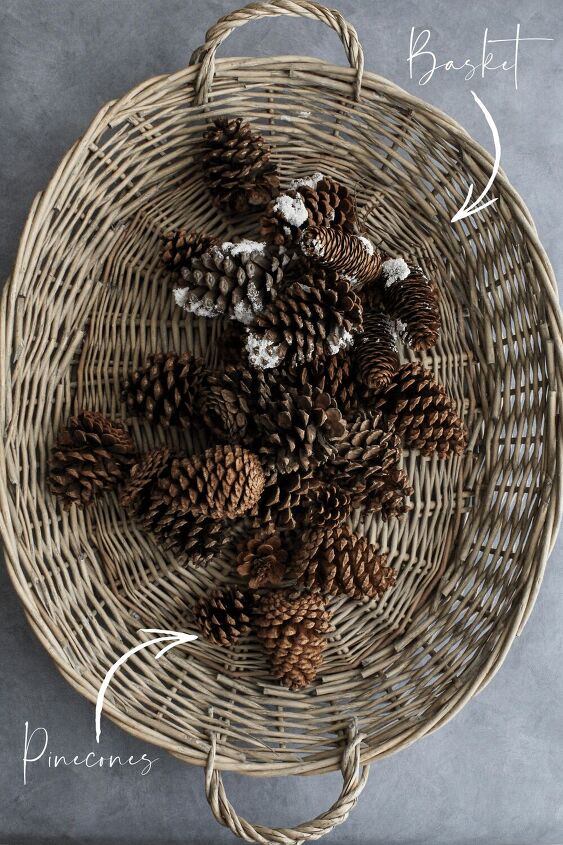
- Pinecones. Collect them from your yard, or purchase some from a craft store.
Directions
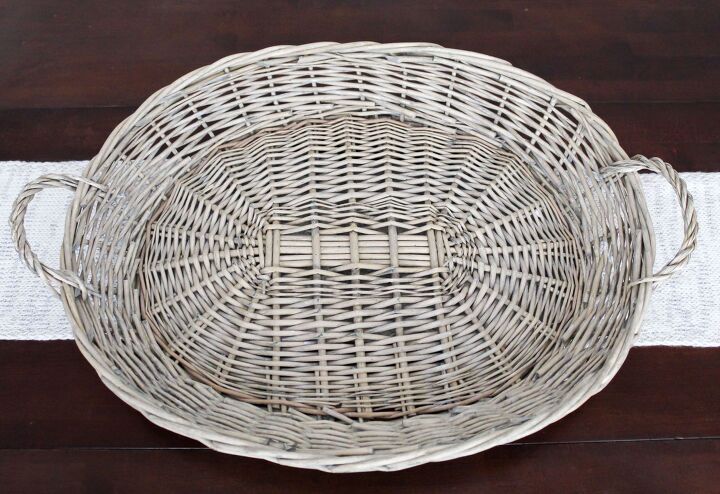
1. Select Your Base
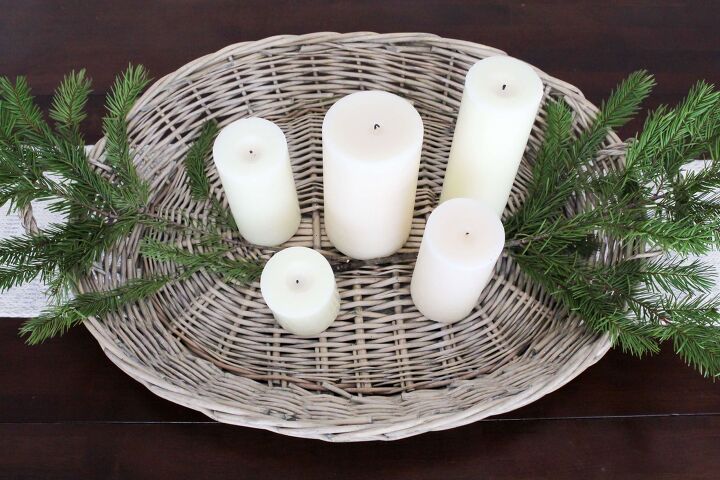
Choose an object to make the base of your centerpiece. Just about anything will work. A tray, a dough bowl, an old vintage platter, or a basket like this one.
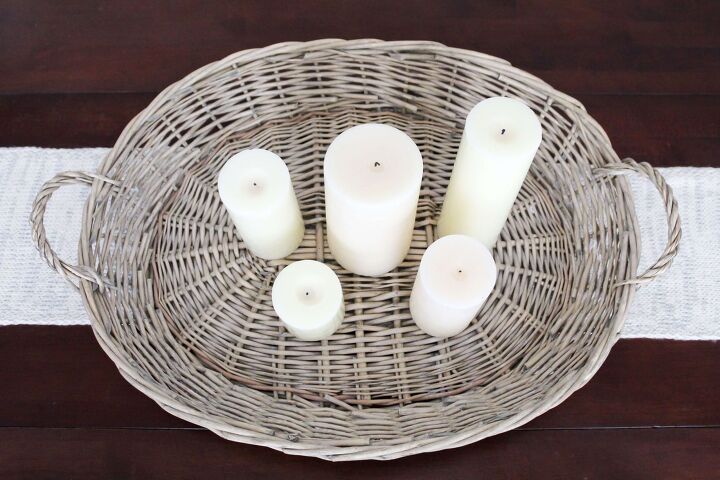
2. Add Candles
Place a few candles in the middle of the centerpiece. You can find inexpensive pillar candles at the dollar store, or LED candles are a great option too.
3. Add Some Greenery
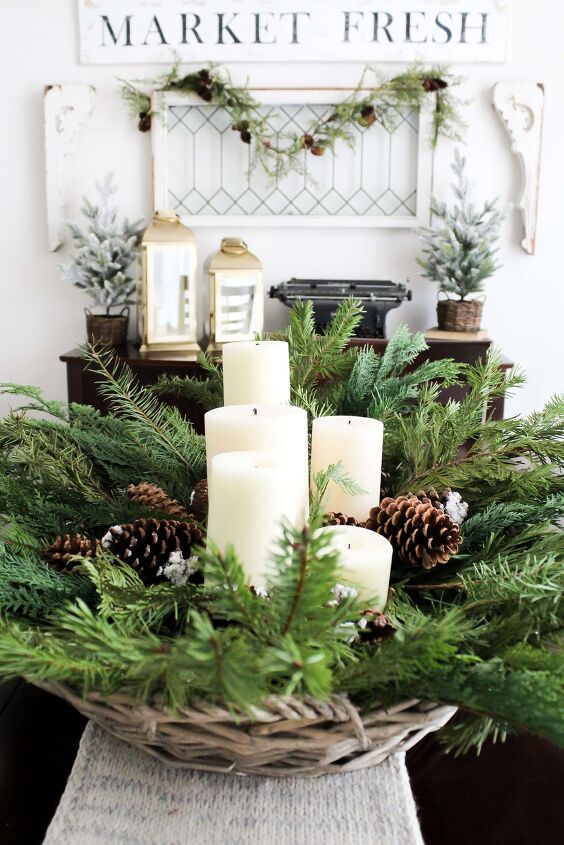
Starting at the ends of your base, add a few snips of greenery. Then, continue to add more greens as you work your way around the centerpiece. Be sure to tuck pieces of greenery in between the candles too, to help add height and extra fullness.

4. Layer In Pinecones
Next, begin to layer in a few pinecones. I used some old cinnamon-scented ones that I found stashed away in a tote of Christmas decor. I also mixed in a few snow-covered pinecones that I repurposed from the pots that were on my Christmas porch.

5. Add More Greenery
Continue to add snips of greenery to fluff and fill in any holes until it is done.

That’s it! A simple and beautiful DIY centerpiece with greenery and pinecones in less than 10 minutes.
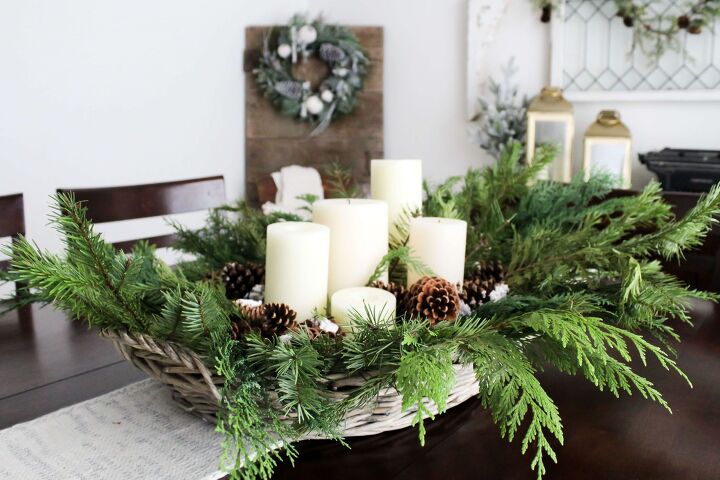
I love the natural look, and the snowy pinecones add that little extra wintry touch.

Get More Winter Inspiration
Thanks so much for stopping by the blog today! As always, if you make your own DIY centerpiece, I’d love to see it. Just tag me on Instagram, or leave a comment and tell me all about it. If you enjoyed this post, you can subscribe and join me to stay up to date on all of the latest decor, recipes, and DIYs. You can also find me on Facebook, and Pinterest. There you’ll see more of our home and a little glimpse into what life is like here in the Midwest.
Next, be sure to go visit Rita at Panoply to see how she styled her home for winter. And don’t forget to check out the posts from all of the bloggers on the Welcome Winter Blog Hop linked below.

Other Bloggers Sharing Today:
My Thrift Store Addiction
Panoply
The Crowned Goat
Calypso In The Country
The Tattered Pew
Shiplap And Shells
Lora B. Create & Ponder
Follow The Yellow Brick Home
Open Doors Open Hearts
Bricks ‘n Blooms
Did you enjoy this post? PIN it for later!

You may also like: Festive New Year's Eve Grazing TableSix Of The Most Elegant Table Settings To Inspire You This ChristmasSimple Blue And Green Christmas Tablescape With Tartan Plaid


Comments
Join the conversation
-
I love this, nothing prettier to me that nature and I love pinecones.
-
Funny it’s the simple things that make the statement. Years ago I stumbled upon HUGE pinecones (8” long 3” around, open). Picked them up and took home with no idea. Found old basket in basement and spray painted gold (all I had in hand). Found some old wire edged 3” ribbon in gold tones jacquard print. Placed in basket, layed simple bow on top. Done. Sat on dinning table for couple of years in winter. Nice transition after Christmas. Neighbors couldn’t get enough of enjoying. Cleared out and sold in garage sale. Easiest $25 I ever made. Keep looking at nature enjoy nature and make nice lunch money for you and friend!


Frequently asked questions
Have a question about this project?
Sometimes all I need is to see something simple and beautiful (and not a 10-step exercise) to give me inspiration. Great job for this level 1 crafter. Thank you.