


DIY Christmas Centerpiece

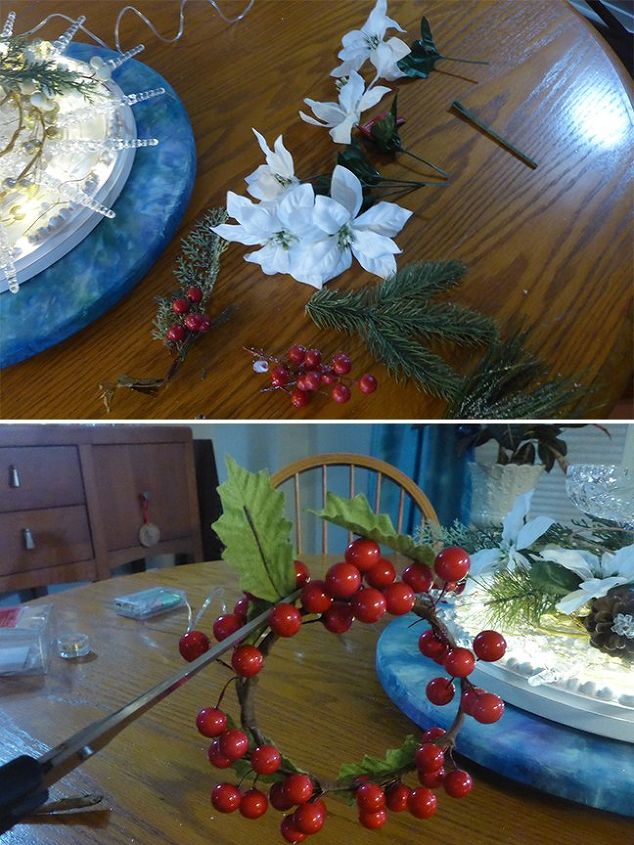
I decided to try and make a Christmas centerpiece using items I had around the house. First thing I needed was something to use as my base. After shopping around my garage I found a ceiling light medallion the previous owners had left behind. Perfect!
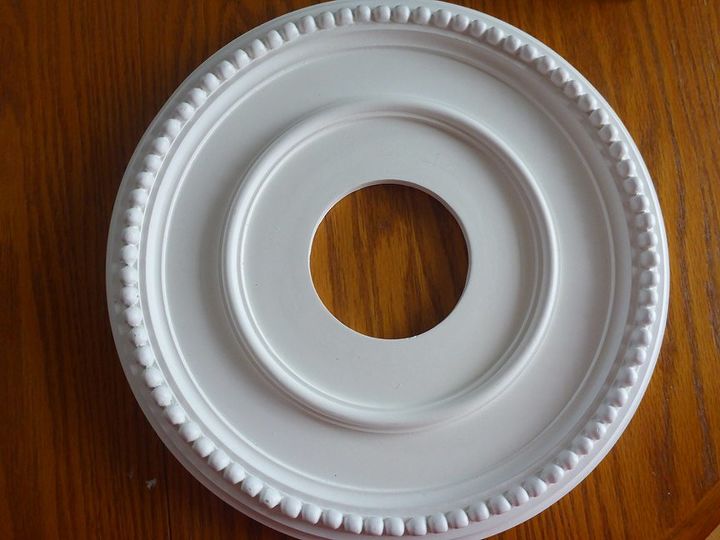
Step 1:
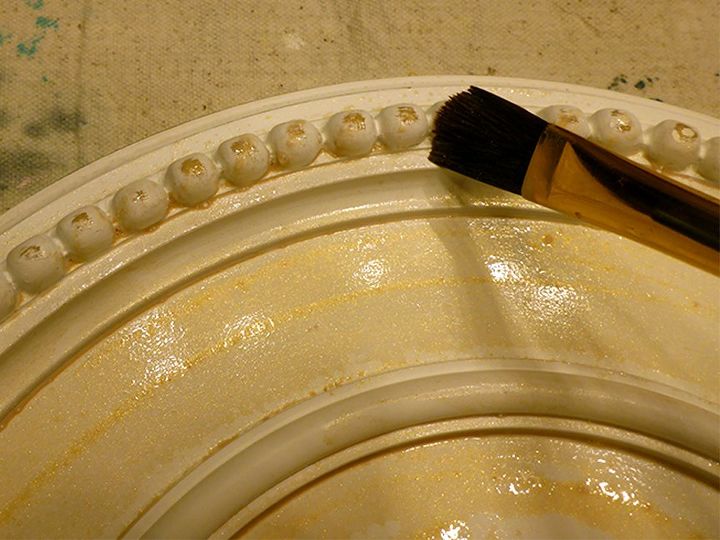
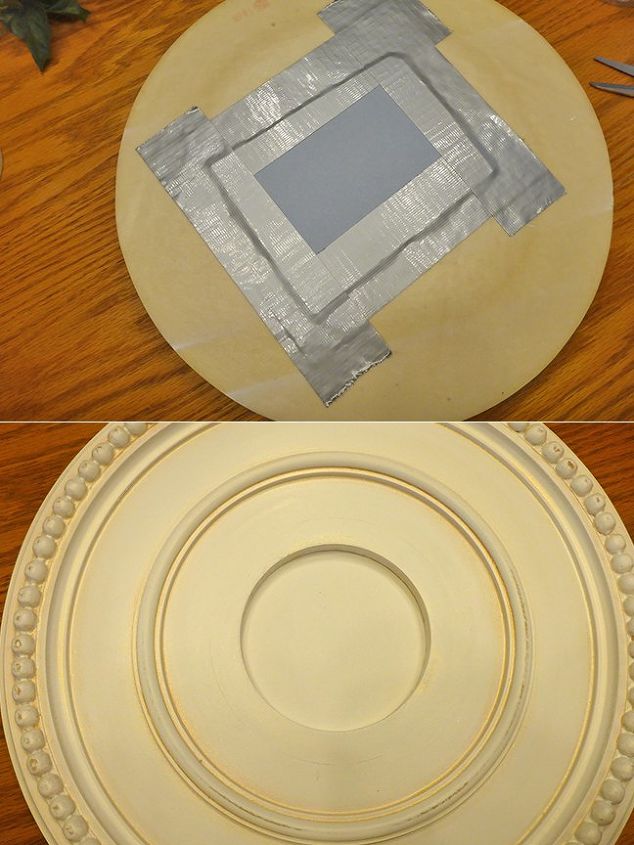
The medallion was bright white! And while I am a fan of white, I wanted something a little toned down for this project. So I used a sanding block and lightly scuffed up the edges and accents. Then I did a gold wash. I mixed Fusion Mineral paint metallic pale gold with water and brushed it over the medallion. Then I used a wet rag to immediately wipe off any excess so it was just a faint darkness in the edges and around the embellishments.
Then I cut out a piece of cardboard and duck taped it to the back to close up the hole.
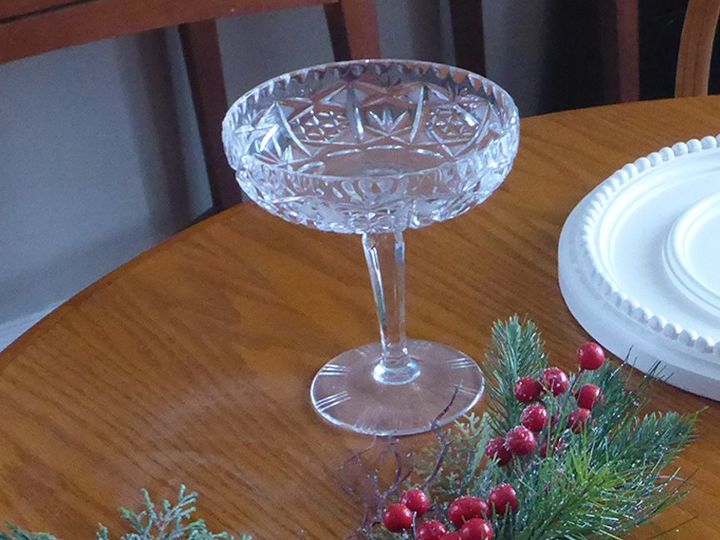
Step 2:
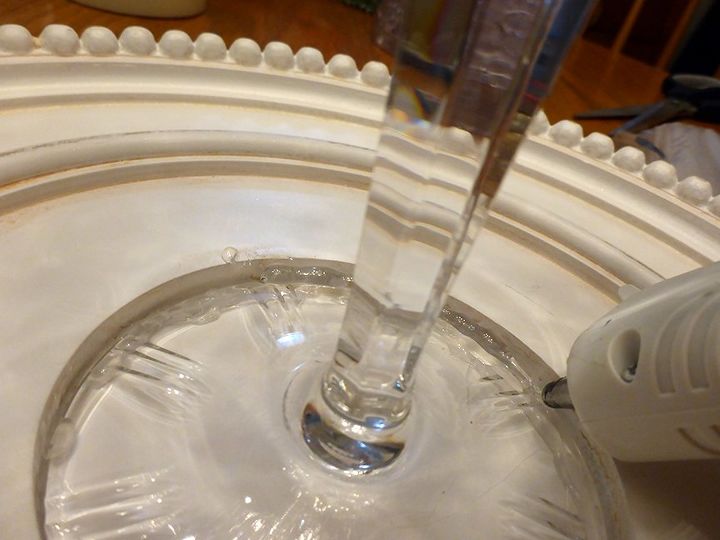
I wanted my centerpiece to have a candle in it, so I needed to find something to use as the holder. This time I shopped in my kitchen. I found a gorgeous crystal candy dish in the back of a cupboard. I didn’t even know I had this dish! Most likely a thrift store find I bought somewhere along the way. Conveniently the base of the dish was the exact size as the hole in the medallion! Meant to be!!
So I ran hot glue around the inner edges of the medallion hole and set the dish in it. Then I ran more hot glue around the top edges of the base.
Step 3:
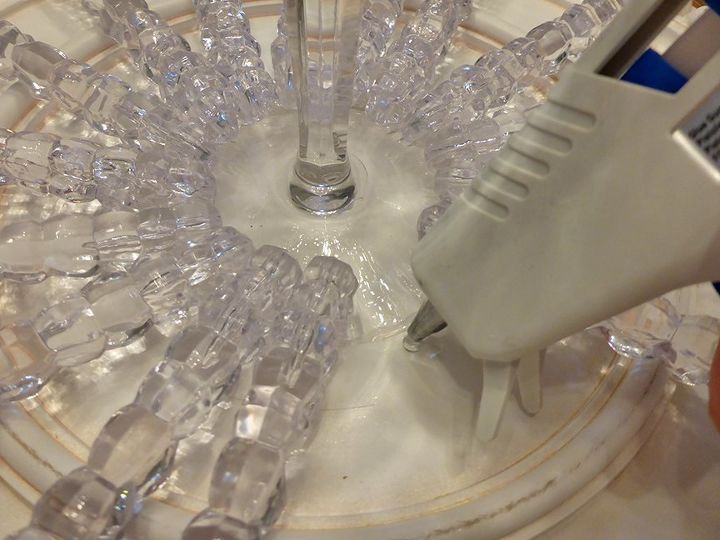
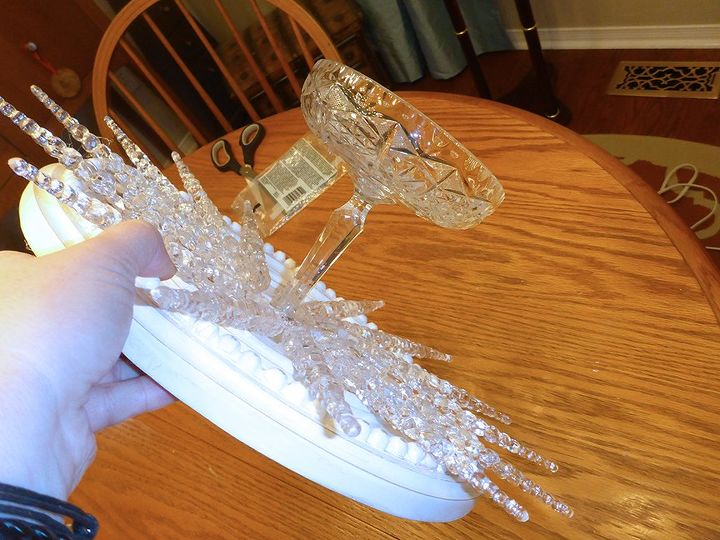
I had a couple strings of icicle lights that I never cared for as lights, however I did like the sparkly icicles, so I hot glued them to the medallion, forming a snowflake pattern.
Step 4:
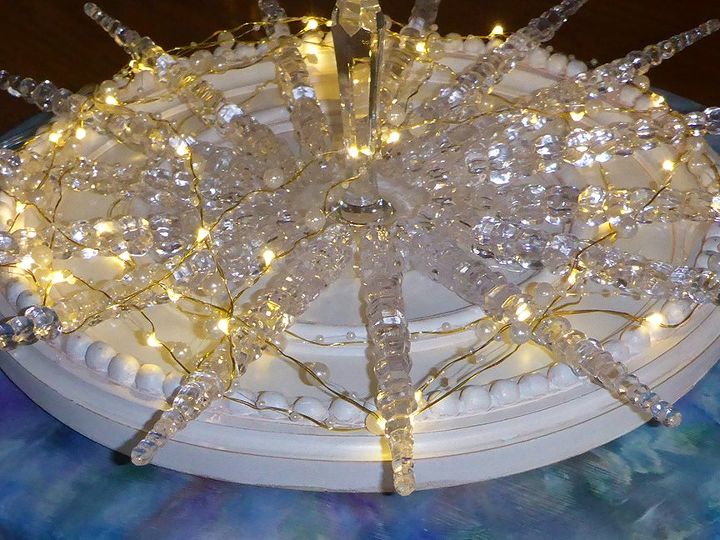
Lights: I had originally planned to use the lights from the icicle set, but the battery pack was huge! Two D batteries?! So I headed out to the local hardware store and found a beautiful set of starry lights on a thin gold string with little pearls and a much smaller battery pack – on clearance for $6. Yes please!! I also hit the Dollar Store and picked up a few Christmas’y items.
Step 5:
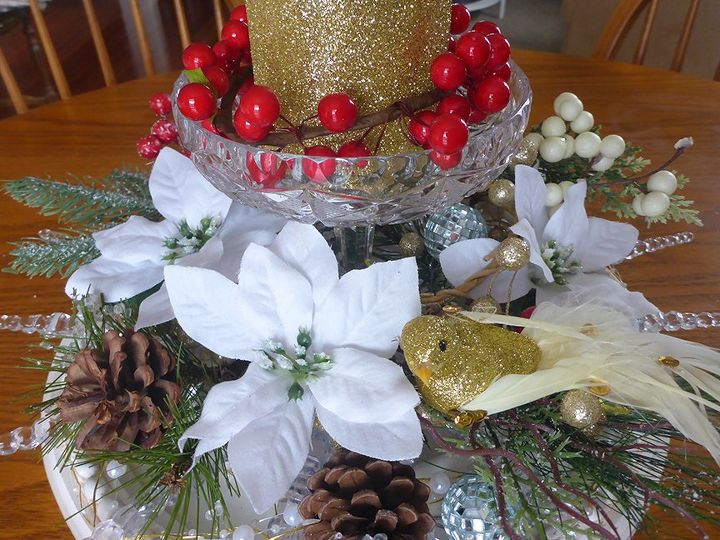
I cut apart all the dollar store items so I could spread them out. I didn’t want to go overboard on decoration because I really wanted the lights to bounce off the crystal dish and the icicles. I also added a few tiny disco ball decorations I swiped off our over-loaded Christmas tree to help with the light reflections. I also removed the leaves from the holly berry candle base as they looked ridiculously fake.
Step 6:
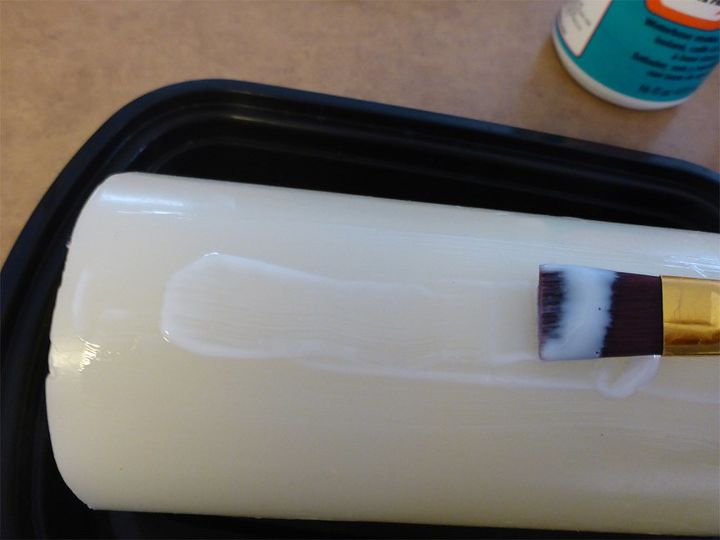
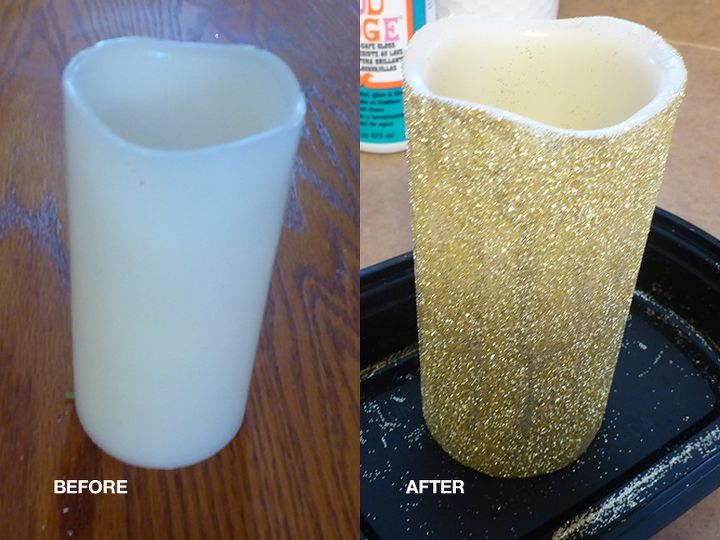
The last step was to jazz up the boring flameless candle I planned to use. I simply brushed mod podge over the candle and covered it with dollar store glitter. It turned out even better than I expected! And another bonus of the lights and candle is they both have a built in timer!
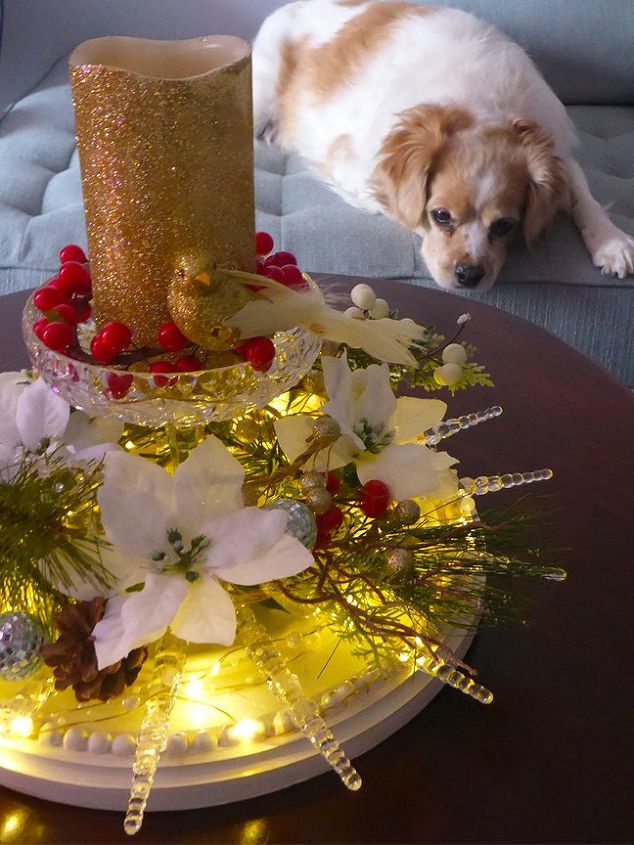
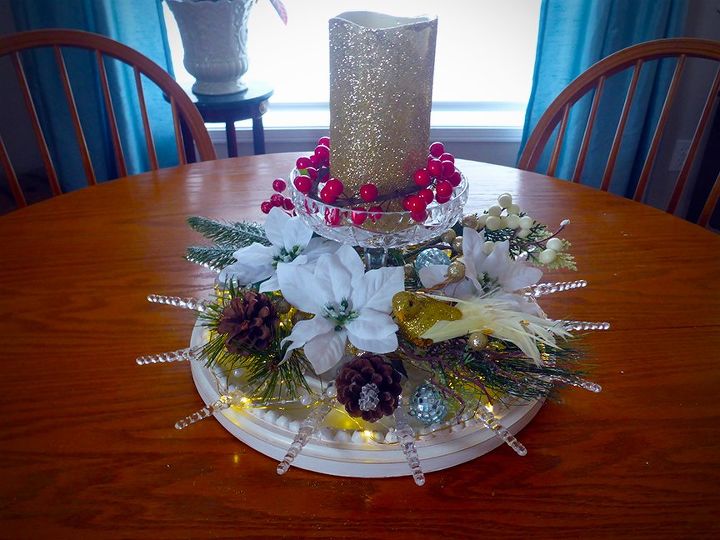
I felt like it was still missing something, so I went back to our tree and found an adorable gold bird decoration, the same gold as the candle! Originally I placed it beside the candle. But after I viewed the photos it was obvious there wasn’t enough contrast, so I moved the bird down to the base.
And there it is, my new centerpiece for the holidays. I’ve never been the crafty type – but I think my fellow hometalkers may be starting to rub off on me! LOL
Happy holidays everyone.


Comments
Join the conversation
-
One of the few Christmas decorations I’ve really liked. Thank you for posting your idea. I’ll be collecting what I need for next Christmas.
-
Cute idea!!


Frequently asked questions
Have a question about this project?
Where did you hide the battery pack? By the way I think you’re center piece is beautiful.