


DIY Placemats From Shopping Bags
4 Materials
$10.00
45 Minutes
Easy
I have been wanting to try my hand at DIY placemats from those Home Goods/Marshall’s/TJMaxx shopping bags for some time now and finally spotted a couple of bags I knew I would use! Full disclosure here, I tried a few different methods and managed to melt one bag and waste some seam binding when my final result turned out to be much quicker and easier!
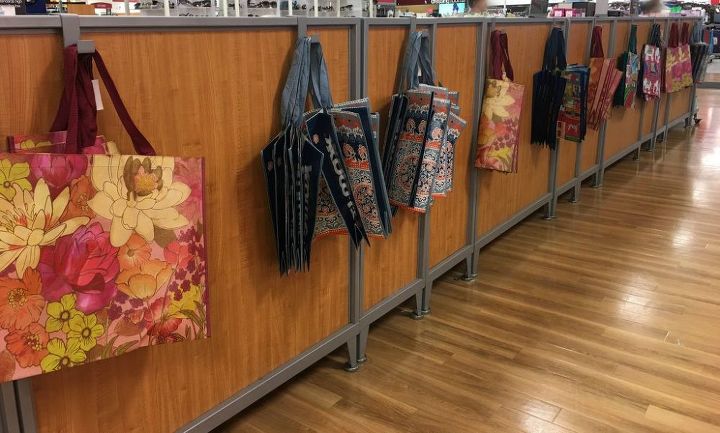
Head out to your local store that sells these shopping bags made from recycled plastic bottles and pick up those you want to use for your placemats. The variety changes all of the time and they have seasonal patterns, too!
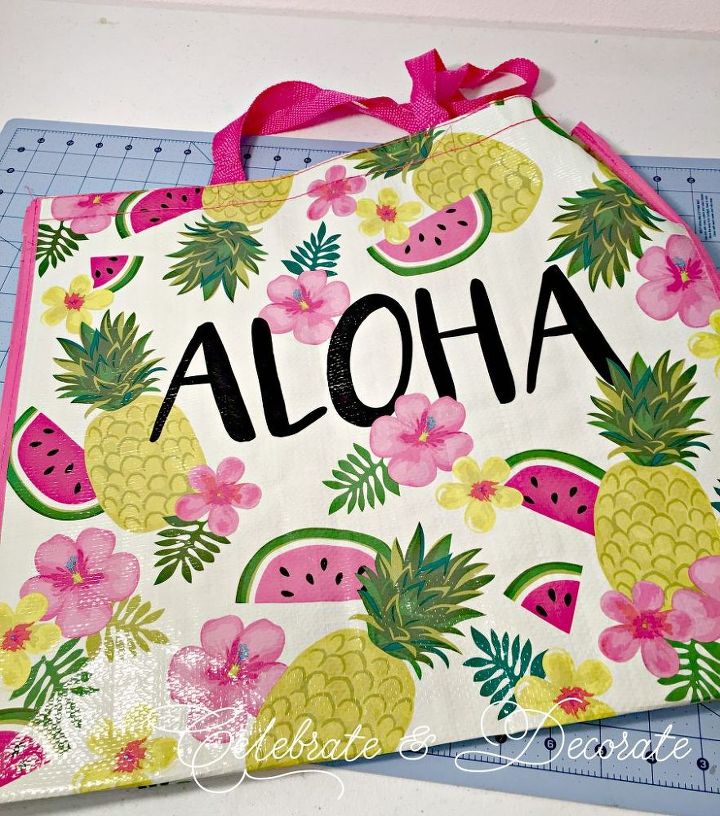
I chose these fun ALOHA bags to set a fun luau-themed table for some summertime fun. I purchased two bags for .99 each which will make four placemats.
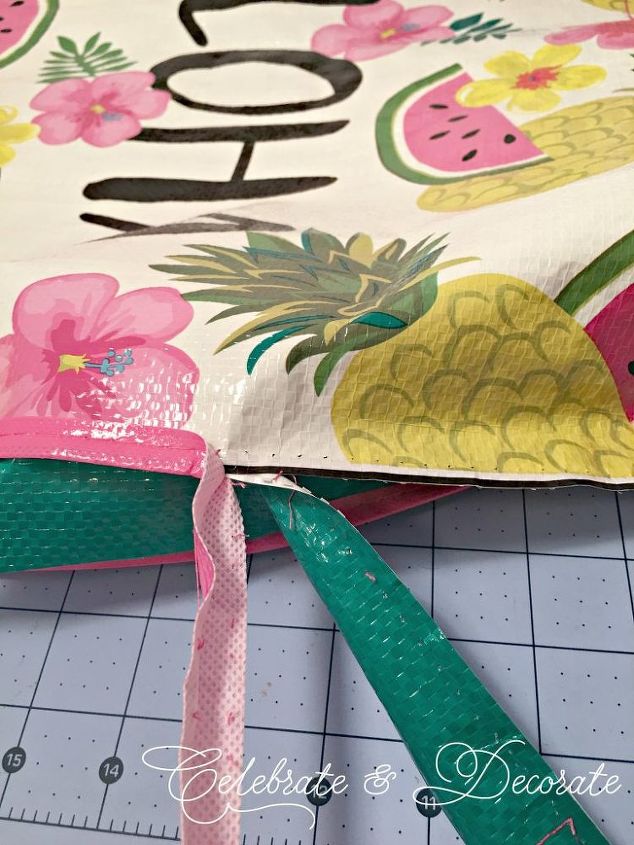
Open up your bag and go to work with a seam ripper or a pair of scissors and remove all of the seams along the sides of your bag.
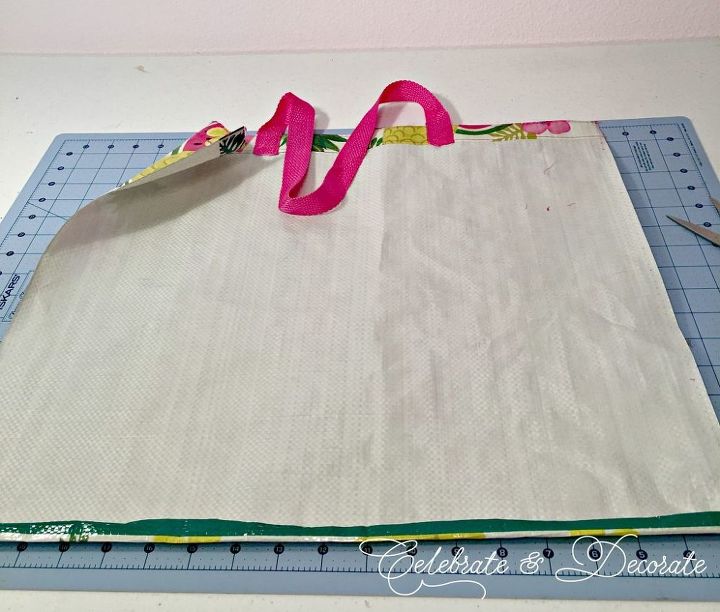
I learned that many of the bags are made differently, but for this one, I needed to cut the bottom off. Trim it as shown and you will be left with this. You will then want to cut the top edge with the handle off of the bag. I like to use a rotary cutter for this project, it flies through the bags.
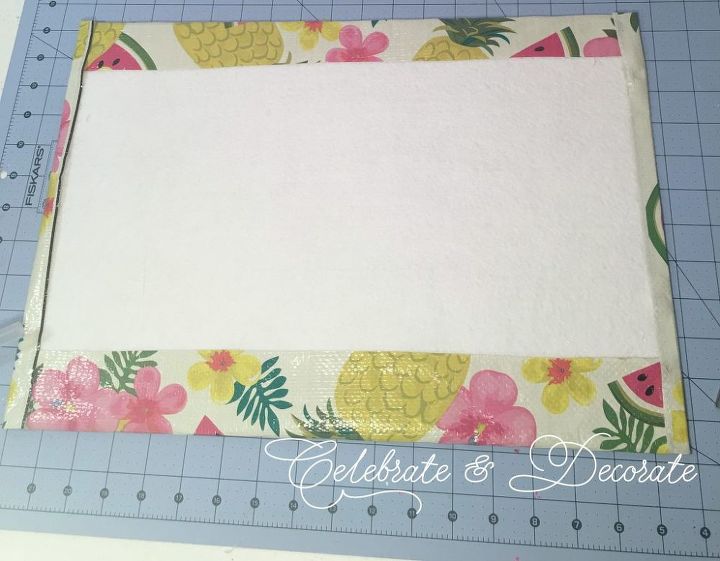
Take a piece of 12″ x 18″ stiff felt, (I bought mine at Joann's and used a 50% off coupon) spray it with a spray adhesive and lay it on the back side of your bag and begin to press firmly. You will then want to fold the edges of the bag over the edges of the felt. I used a very little bit of hot glue to seal down my edges. If you are patient, you can also use craft glue, just put something heavy on your edges and wait for it to dry completely.
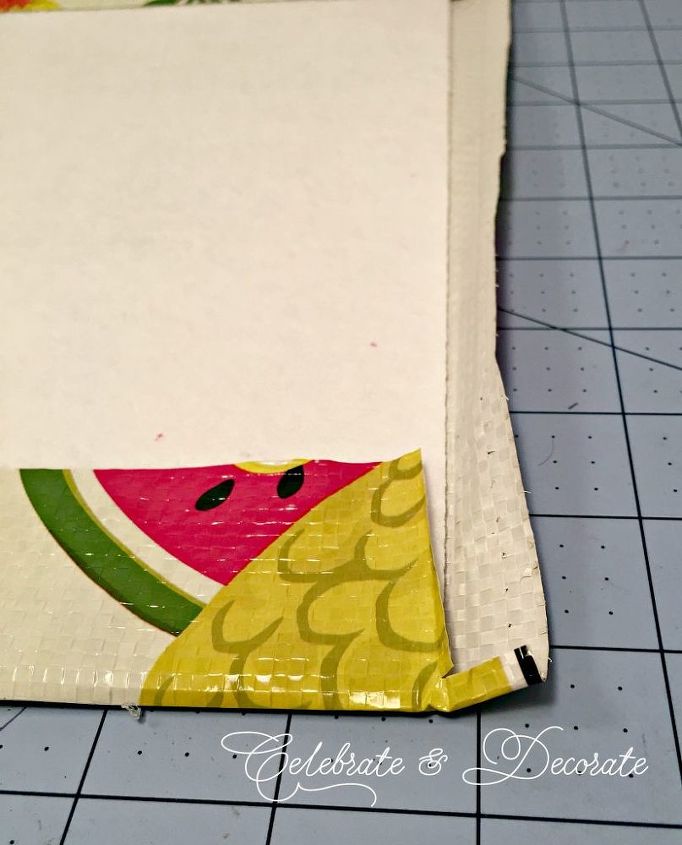

You will want to be very exact with your corners. I find it it best to trim a bit of the excess bag before folding the corner. I secured the corner and the edges with a very little bit of hot glue. Make sure your hot glue is not too hot or you will melt your bag. (Guess why I know this!!!)

Use a second sheet of the stiff felt, spray it with the adhesive and stick it firmly to the back of your placemat and you will be finished! I found some brands of adhesive needed a little bit of help, and added a little bit of hot glue to secure the back to my placemats.
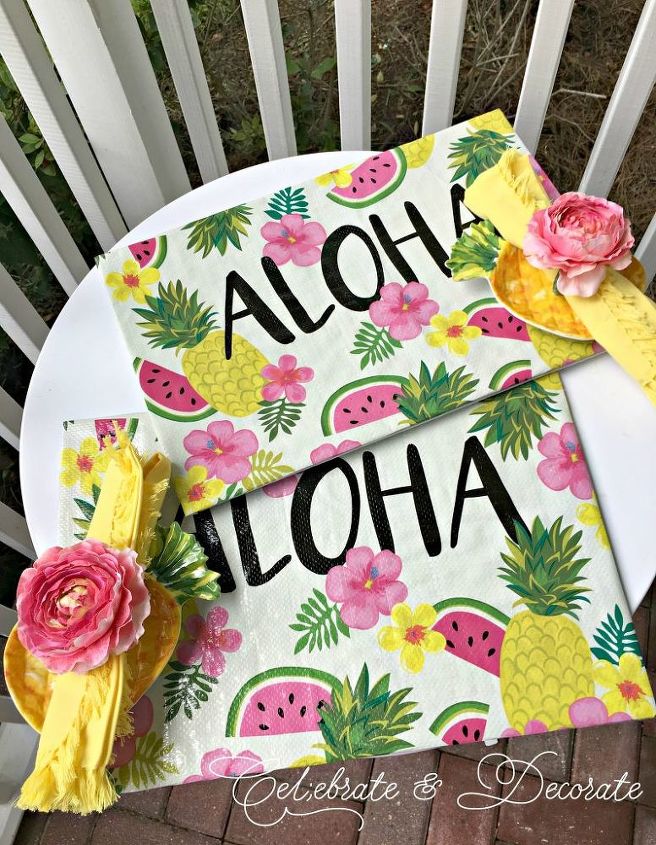
Your placemats will be complete, like mine! You can easily wipe these off with a damp cloth and use them again and again! Make a set for the holidays or for everyday to match your kitchen decor!

Want more details about this and other DIY projects? Check out my blog post!
Comments
Join the conversation
3 of 37 comments
-
great idea. I hoard all my bags it will be hard for me to cut up my bags.
-
i have tons of flannel back table cloths. i will use your idea for sure.


Frequently asked questions
Have a question about this project?
Do you have a template for placemats on a round table? Rectangular ones do not work.
I have never seen you before. i love that you are showing exactly how these things are made. I love DIY but I always need some directio.
Love this! I recently got a new table and don't like my old placemats on it... I'm gonna go hunting now! Thanks so much! 😄