DIY Ticking Fabric Napkin With Cutlery Pocket

So here is a quick and easy DIY Ticking Fabric Napkin with Cutlery Pocket tutorial. These are perfect for the Christmas Holiday Season, but can be easily adapted for any season.
I made a patriotic version of these napkins in July. I loved them so much, I knew I had to do something similar for Christmas. Click here to see the patriotic version.
If you don't sew, no worries because I've included a no sew tutorial as well.
First, I use ticking fabric for the napkin itself because the stripe is woven into the fabric, not printed. These are 100% cotton and are easy to care for. So begin by cutting your napkins from the ticking fabric measuring 18 x 18 inches.
Note: These will shrink after washing. If you prefer a larger napkin, please take that into account.
You will also want to cut your trim pieces for the pockets with the stripe running horizontal at 5 inches by 2 inches vertical.
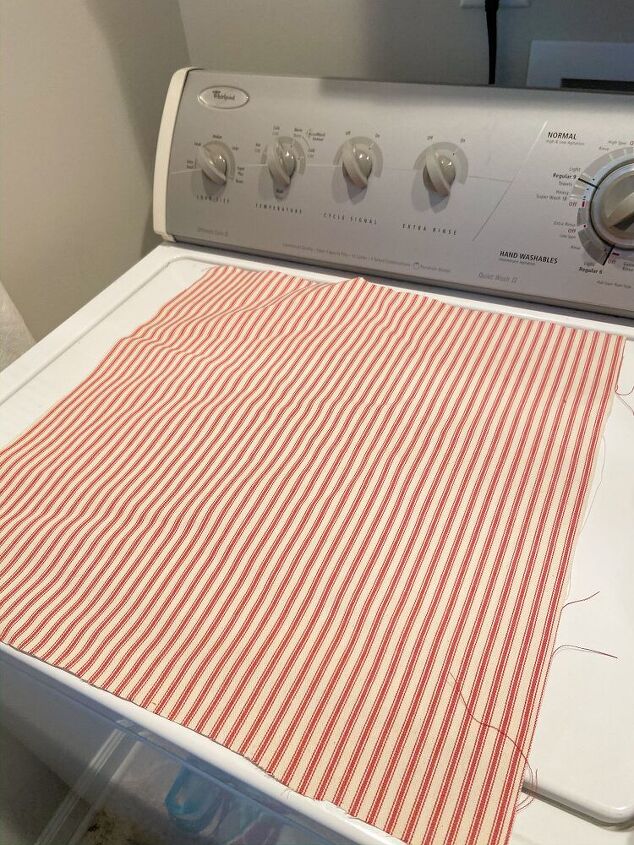
Wash and dry all the ticking fabrics. This is what they will look like when removed. Lol
Pull or cut all the excess strings from the fabric and you will be left with frayed edges.
Because the fabric will now be rolling around the edges and be very wrinkled , it is necessary to press the ticking fabric until everything is flat and smooth.
For this step, I choose a red and white buffalo print fabric for the cutlery pocket. Begin by cutting the contrasting fabric 7 x 5 inches. Then using a straight pin begin to make a fringe around the edges by pulling the strings. Once you finish, your pocket should be approx. 6 x 4 inches not including the fringe.
- You will want to attach the trim piece to the contrasting fabric pocket before you attach the pocket to the napkin. Using your sewing machine set on a close stitch zig zag and attach the trim piece to the pocket approx. 1/2 inch from the pocket top. Stitch around the entire edge of the trim piece inside of the frayed edges.
Then stitch the pocket to the lower right hand corner of the napkin, leaving the top open to allow for the cutlery. Be sure that the stripes on the napkin are vertical and the stripe on the trim piece is horizontal.
If you don't have a sewing machine or prefer a no sew method, using fabric glue will work great on this project.
Begin by attaching the trim piece to the pocket by applying a light bead of fabric glue along the back side of the fabric just inside the edge of the fringe.
Once the trim is attached approx. 1/2 inch from the top of the pocket, you can turn over the pocket and apply another bead of glue to all edges except for the top edge.
Attach pocket to the lower right hand corner of the napkin with the opening at the top. Follow instructions on the fabric glue for drying time. Once it is dry, you have you DIY Ticking Napkin with Cutlery Pocket finished.
As you can see, there is very little difference in the appearance of the two methods. Both should be very durable. However, with continued washing, the napkin and the pocket edge may fray more. I prefer a rustic worn look and if there are more strings that need to be removed, I just give the napkin another hair cut.
These are going to be perfect and so cute on the table for Christmas!
If you like ticking fabric, you might enjoy seeing this project.
Enjoyed the project?
Resources for this project:

Comments
Join the conversation
-
-
-
-
 Rachel The Ponds Farmhouse
on Nov 07, 2022
Oh that’s great. Thanks so much
-
-








Frequently asked questions
Have a question about this project?