


Honey Jar Decor Piece!
I have recently become very intrigued with colorful hot glue and while doing a little research into it, I started seeing some "honey" crafts popping up! It is pretty adorable what you can make with a little amber/yellow hot glue and a honey dipper. Here is my take!

Here is what I used to create this project:
- Glass jar (this one is from Michaels and has a hinged lid)
- Amber hot glue sticks
- Honey dipper
- Greenery
- Munchkin wood flowers from Oh You're Lovely
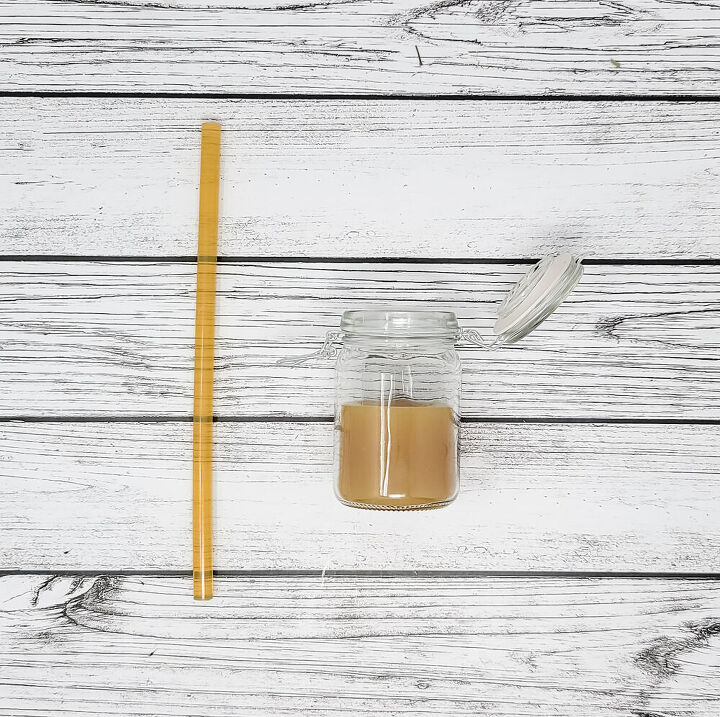
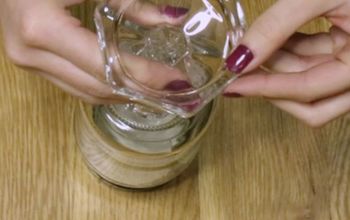
Pop an amber hot glue stick in your glue gun and start filling up your jar! I went to about the half way mark to start because there will be more glue added once the honey dipper is attached.
Some things to note about this particular glue I used:
- If you have a regular hot glue gun (not a mini), you will want to order the XS size hot glue sticks.
- This glue is primarily used to pull out dents in cars and it does smell different than regular hot glue (of which, I've never really noticed any smell).
- The glass jar will get very hot while you are filling it with glue! Be sure to set it in a spot where it can sit, untouched until the glue dries/cools.
- This small 3" tall jar took 4 full glue sticks to fill half way.
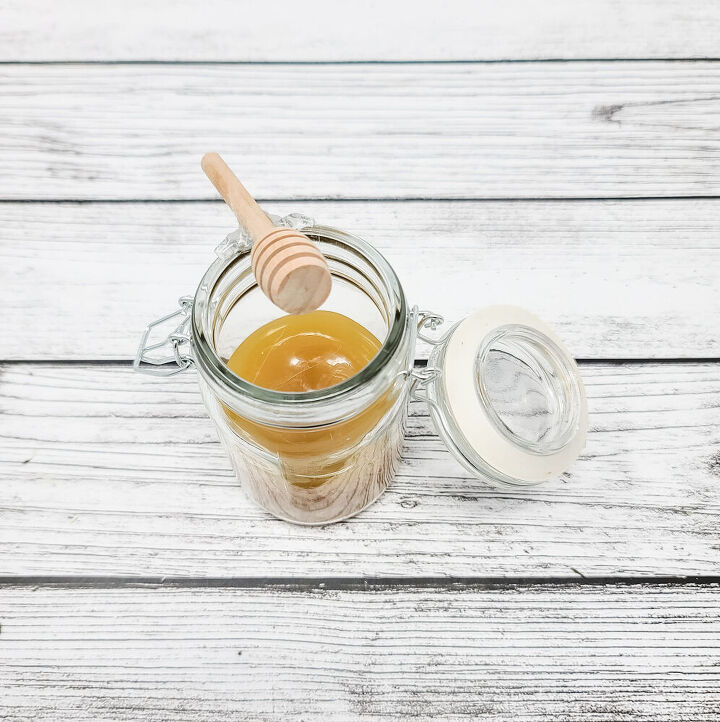
This part is tricky! I wanted my honey dipper to be angled up (you'll see why in the next few steps) and my initial attempts with E6000 were not successful. Mainly because I didn't have an hour+ to sit there and hold it in place! Instead, I used hot glue to hold it to the edge. It did peel up when I gave it a slight tug (needed to make sure it was stable for the next step) so I used a little bit of E6000 to reattach the hot glue to the jar.
All in all, it was a pretty convoluted process so my suggestion would be to use a bit of crazy glue to hold it in place!

This part was a dice roll because I wasn't exactly sure it would work (theme of this tutorial thus far!) but!! I used one more amber hot glue stick and simply glued along the edge of honey dipper. The glue fell perfectly into place! I ended up using the entire hot glue stick and the extra glue that had dripped into the jar spread to the inside edges pretty evenly.
How cute is this already?!
While the little honey jar is adorable, I wanted to give it a little extra flair so it looked like an actual decor piece!
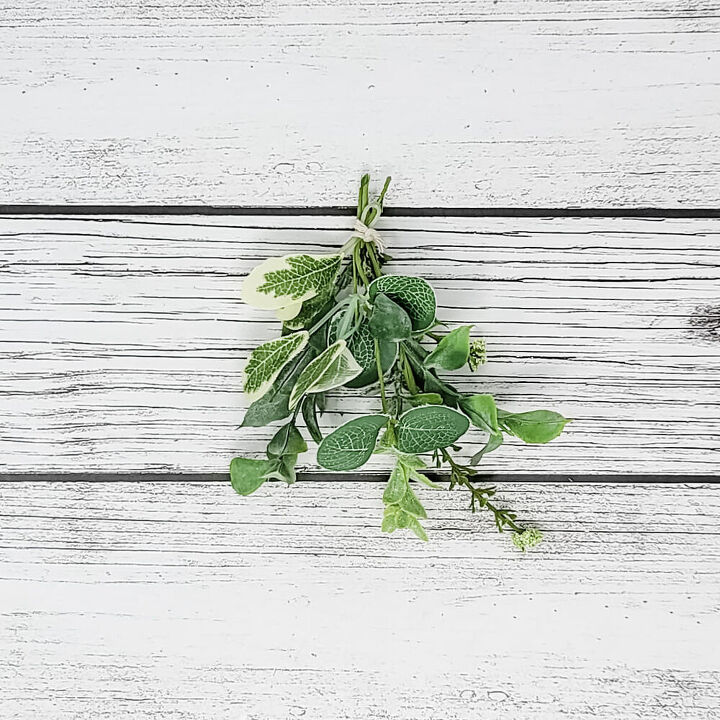
I have buckets of greenery and filler bits and bobs from previous projects so I grabbed a few that I thought worked well with the honey jar and tied them together with a string.
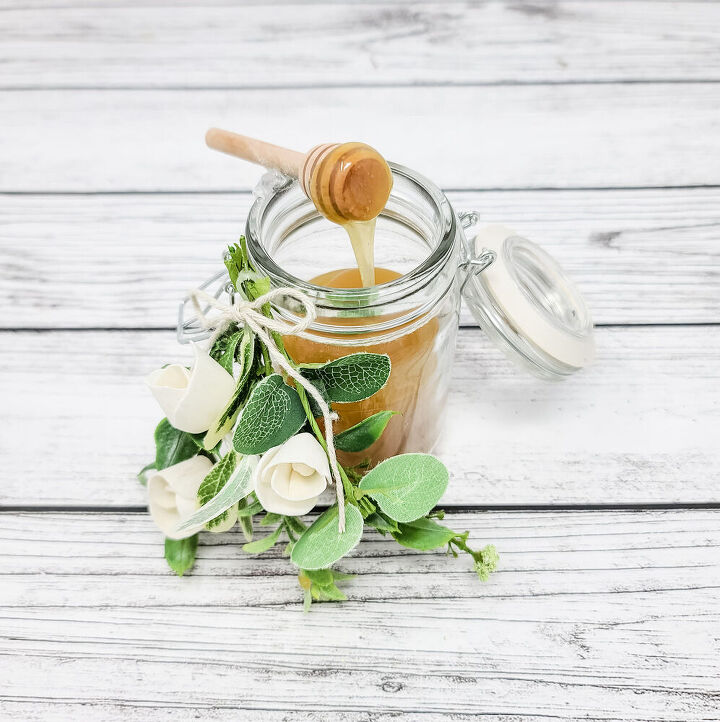
I wanted to add in a few wood flowers so I grabbed 3 of our munchkins and glued them directly into our mini greenery swag. Once the glue was dry, I attached the swag to the jar with some string and tied a little bow to finish this piece off.
I love the way this turned out and am pretty sure all of my glass containers know they might be next. Happy crafting!
Resources for this project:
See all materials


Comments
Join the conversation
-
So cute, I love it!
-
I love it!!


Frequently asked questions
Have a question about this project?
LOVE IT! I wonder if you could just use an amber candle, and just a few glue sticks to drip the "honey" from the dripper?