


How to Create a Vintage Floral Centerpiece
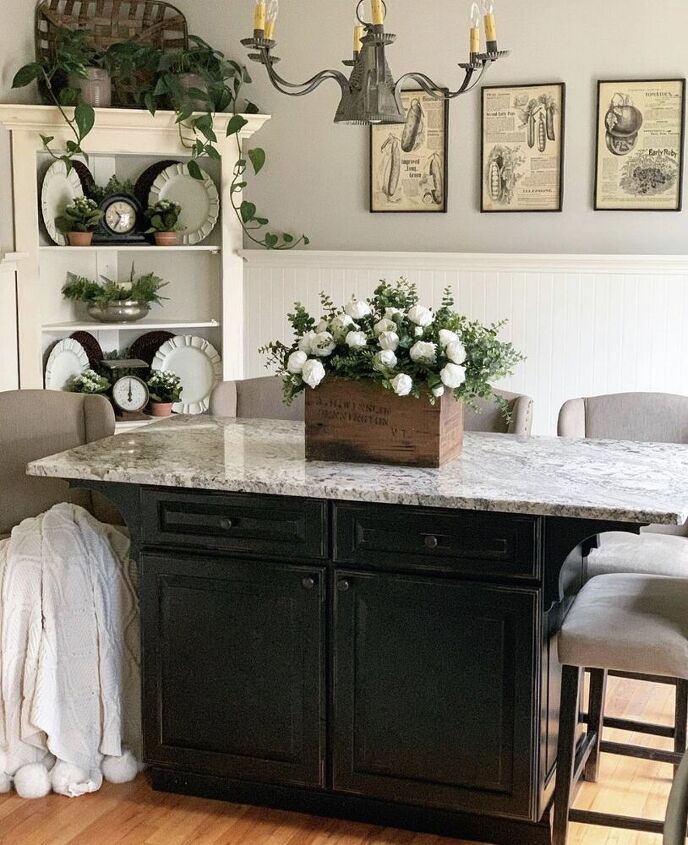
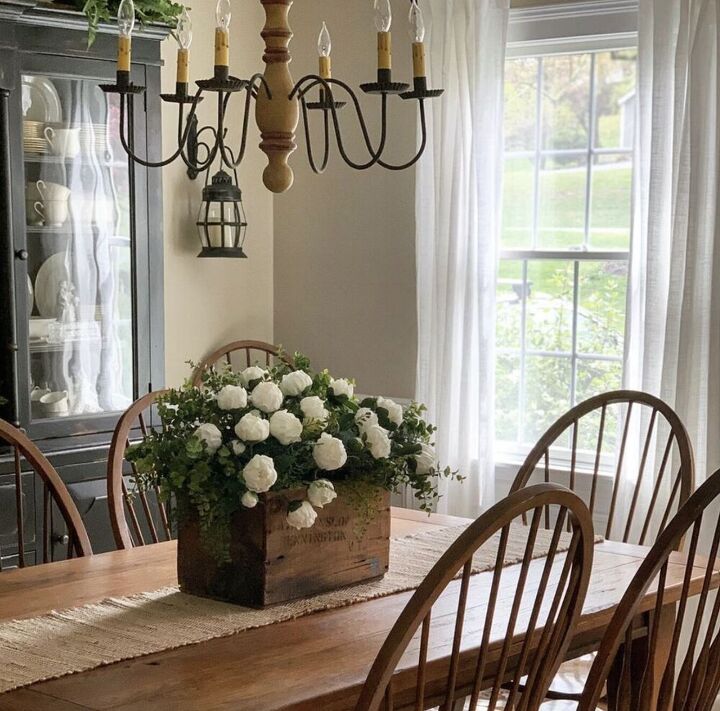
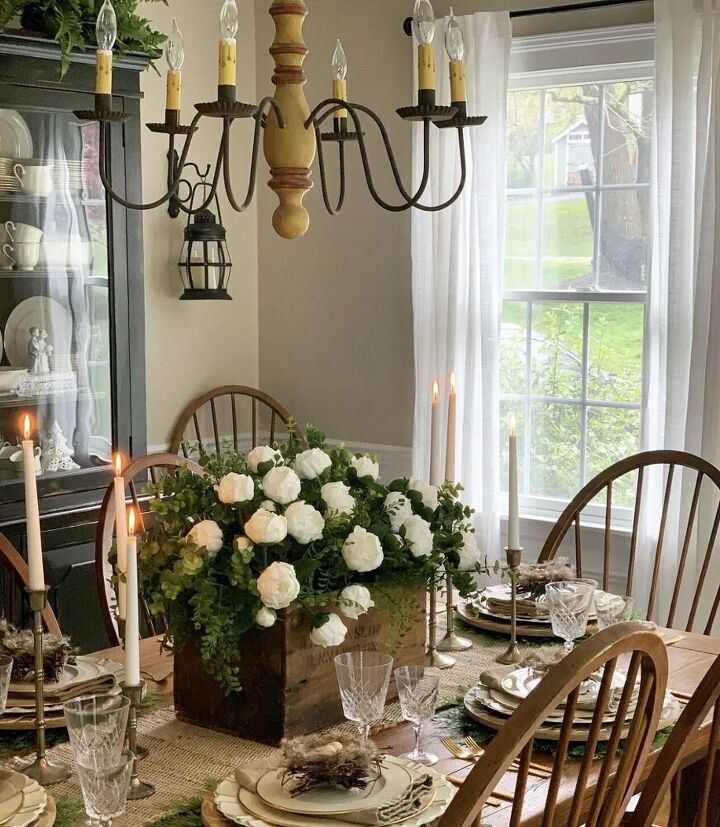
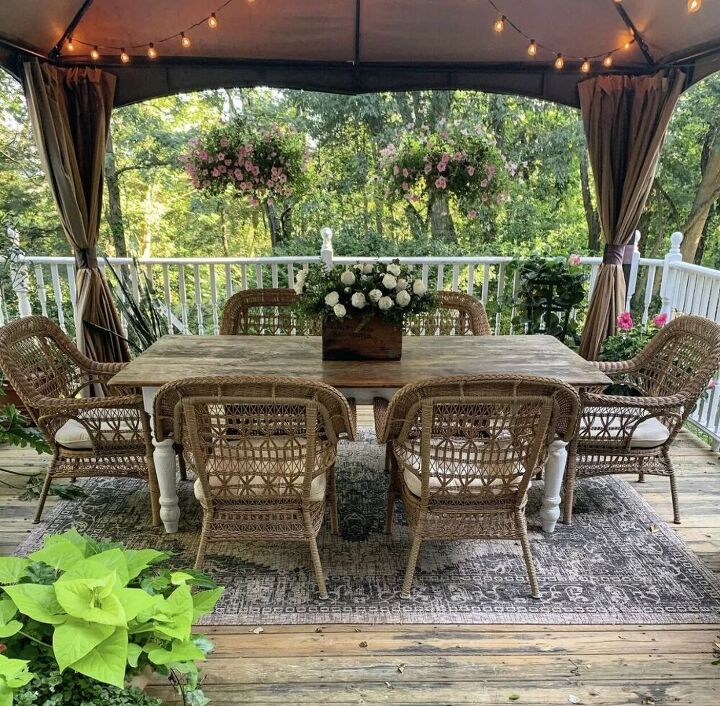
I am in love with this vintage floral centerpiece and use it everywhere! It's been in my kitchen, my dining room, and my deck to name a few. I've been asked about it a lot recently and want to share how to make one just like it.
I love designing centerpieces with both real, faux or a mix of both depending on my mood and what I have on hand. Since I wanted to use this vintage crate for a centerpiece, I made one for spring that has taken my decor well into summer.
Because I love to decorate with florals, I purchase a few every season to add to my collection. While I love to cut garden flowers or pick up real blooms from the market, they require care, don’t last long and can get costly. Sometimes I prefer the “set and forget” approach to home decor and look for authentic looking faux florals to match the season.
This year, I’m really into decorating with neutrals. I bought some white real touch florals online and LOVE them! I normally don’t like to purchase faux florals without seeing them first, but the real touch series looks very authentic! So I highly recommend them.
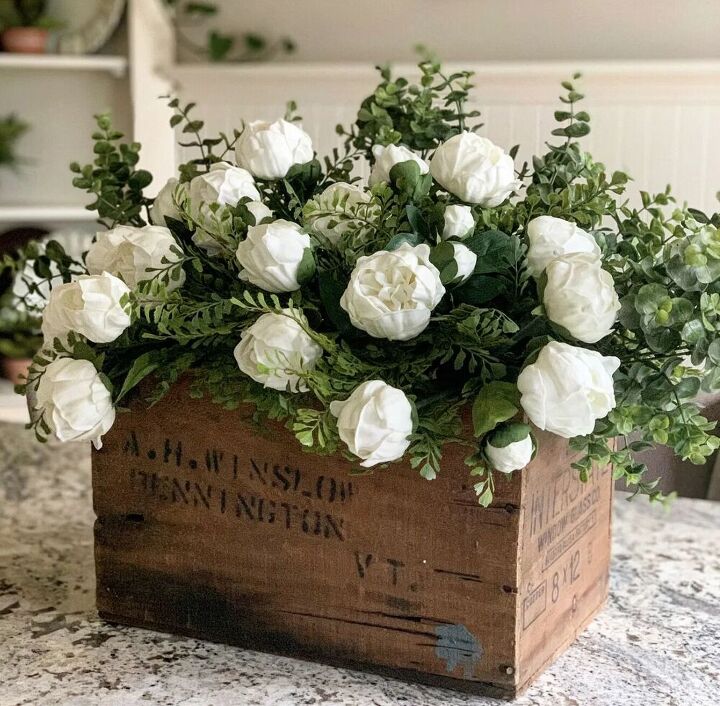
These gorgeous white peonies are perfect for both my spring and summer decor. Budge Friendly Tip: Choose faux florals and greens that can carry you through multiple seasons.
How to Create This Vintage Centerpiece
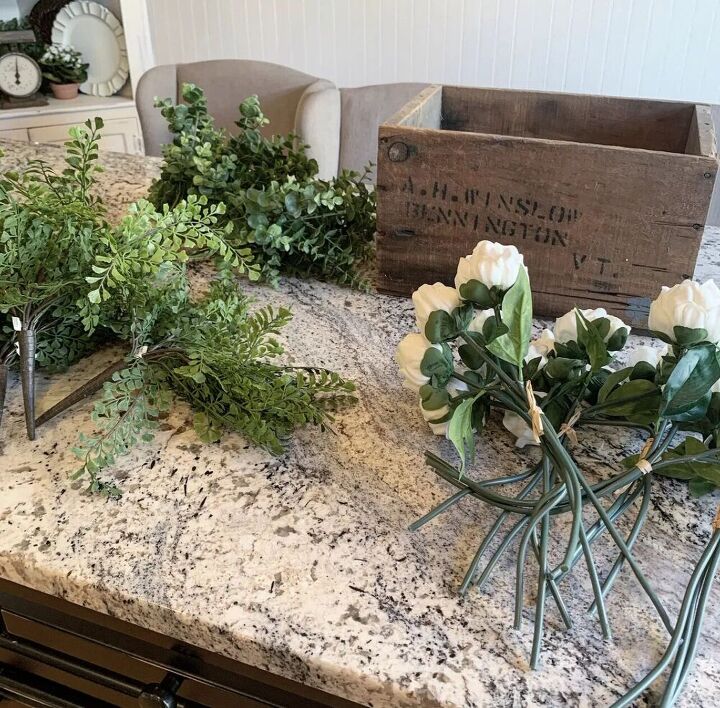
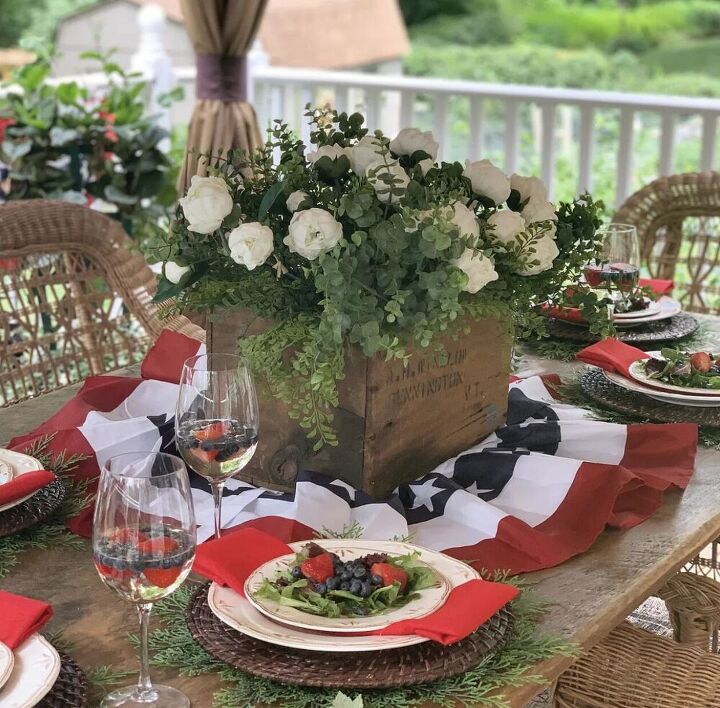
When the peonies arrived, I wasn’t sure where to put them or how to style them. I looked around my house for something to use as a container and found this beautiful vintage crate just sitting there totally unused.
- Vintage crate or other vessel
- Floral Foam
- Faux Greens
- Faux Florals
Looking at the size of the crate, I gathered supplies to create the arrangement. Because I wanted the peonies to be the focal point, I grabbed some faux ferns and eucalyptus bunches to use as filler.
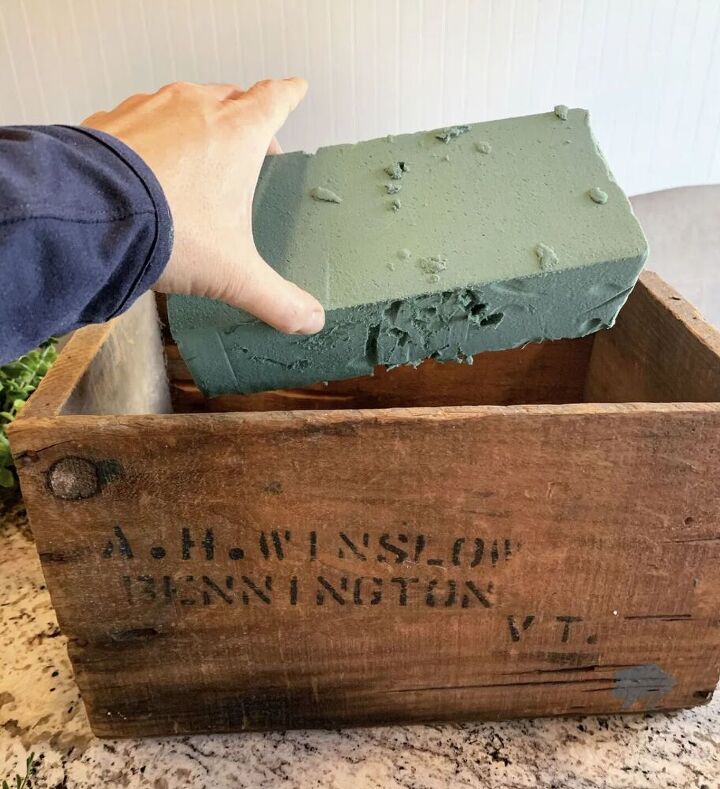
Since the crate is rather large, I placed a box and set a piece of floral foam on top so I could anchor the plants inside.
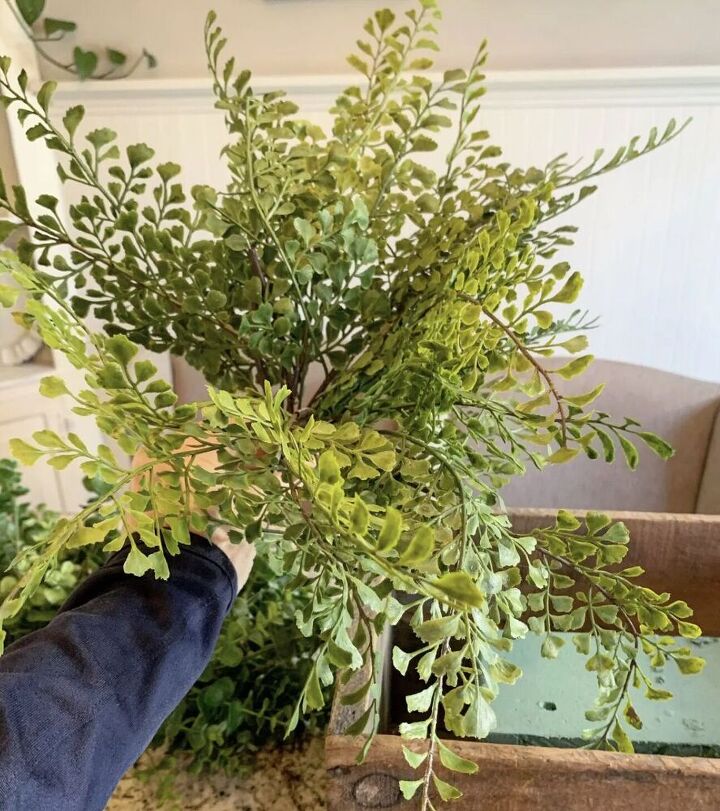
I started with three bunches of faux ferns as the base. Using bunches instead of stems makes it easier to add flowers, anchor and arrange them in the vessel.
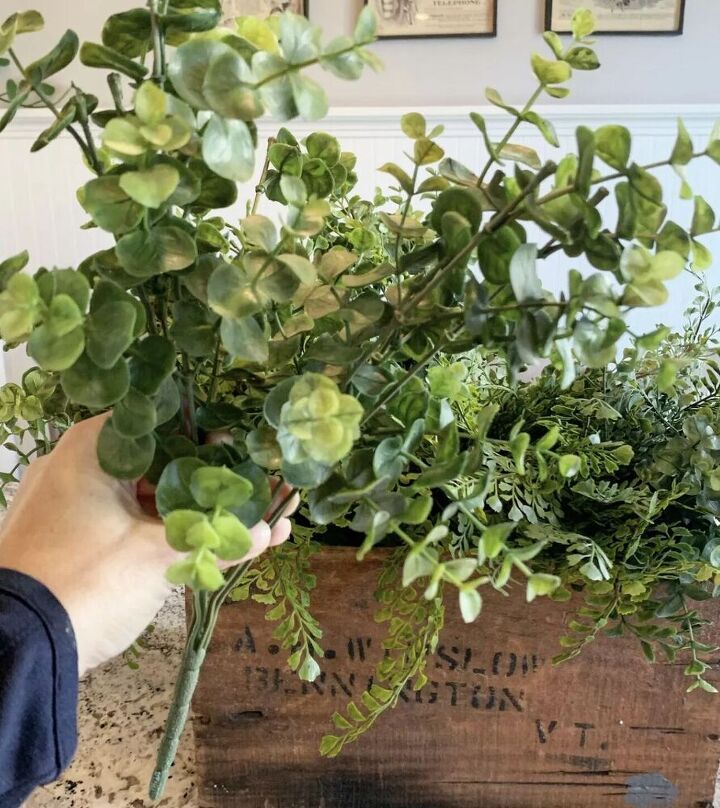
To add some height and filler, I tucked in a few eucalyptus bunches. I love how the foliage on the eucalyptus and ferns add different texture to the arrangement.
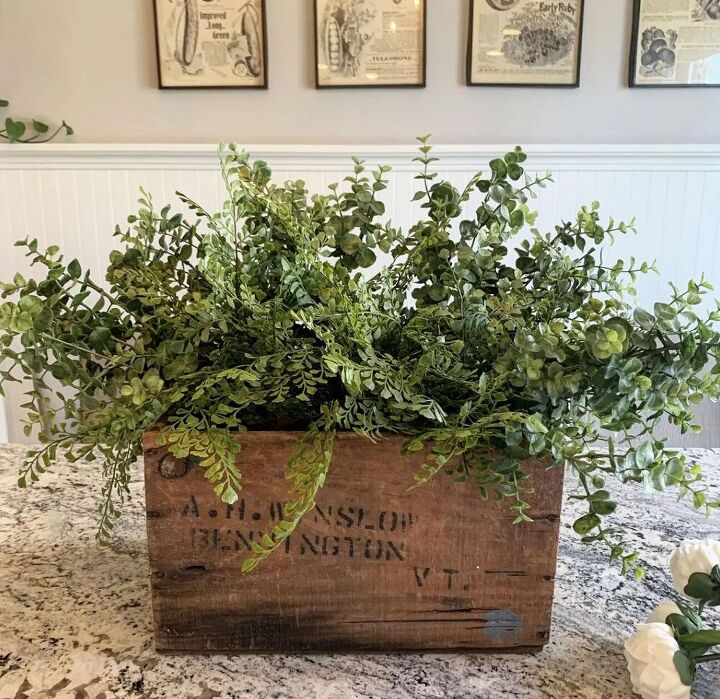
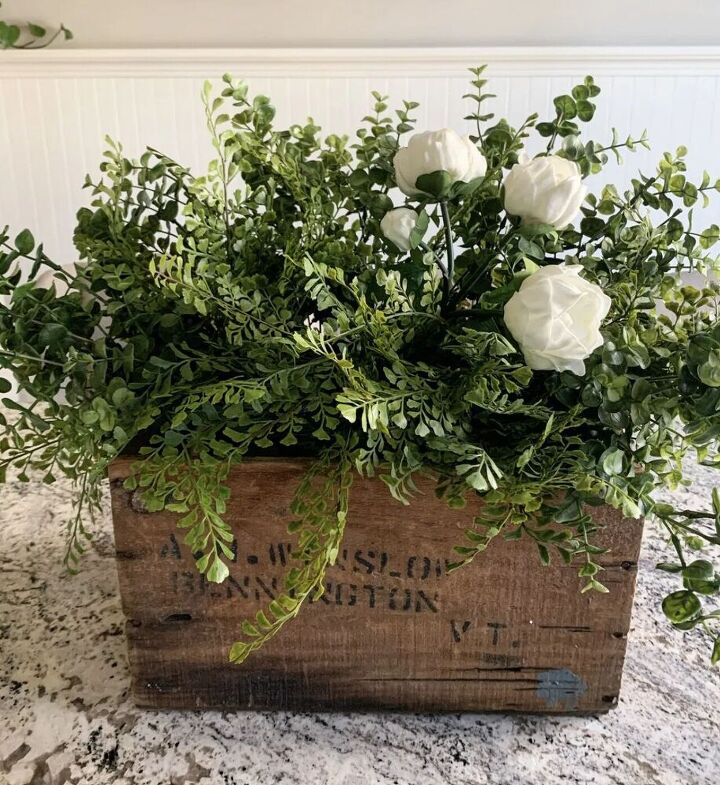
After setting both greens into the floral foam, I tucked in six peony bunches. There are a few blossoms per bunch and they are easy to position. I randomly inserted the bunches into the floral foam, then fanned them out. I draped a few over the edge so it would look like they were naturally spilling out.
And that’s it! Super easy right?
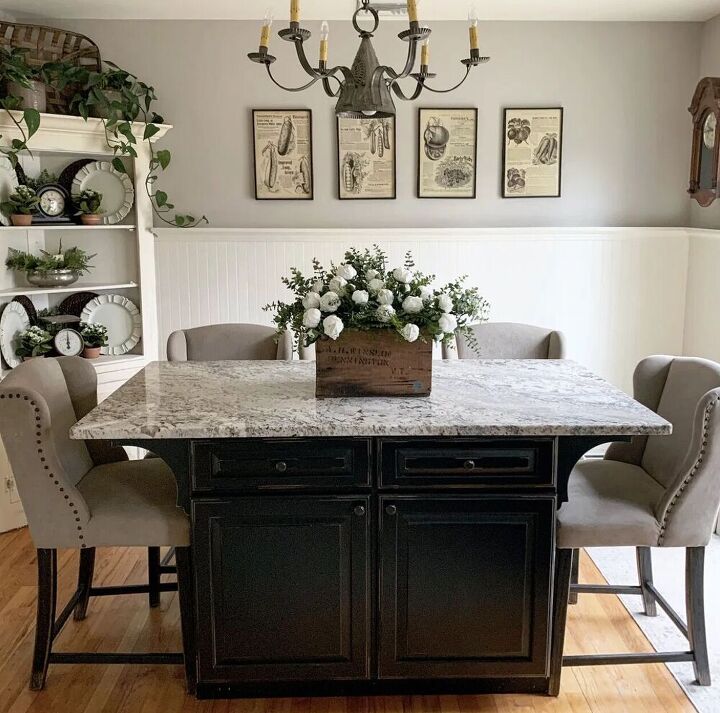

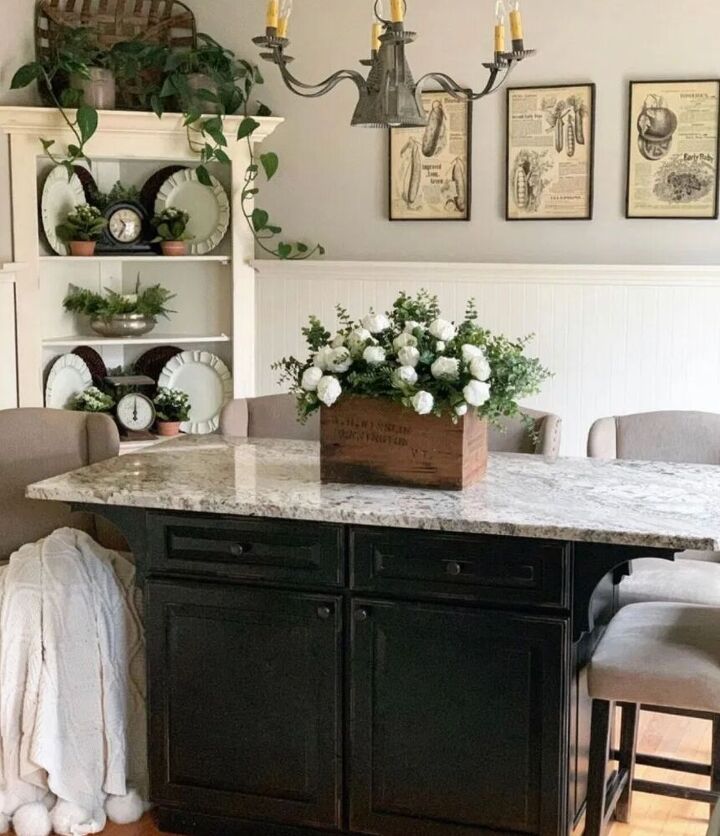
Since the arrangement is neutral, I’m able to move it around and use it anywhere in my home. I love how versatile it is.
For more easy DIY centerpiece ideas, click here.
Resources for this project:
See all materials


Frequently asked questions
Have a question about this project?