


How To Create An Elegant Centerpiece
For the centerpieces, I made sure to use materials that can be used again. One of the problems for DIY wedding centerpieces is that there isn’t a way to reuse the materials again after the wedding.
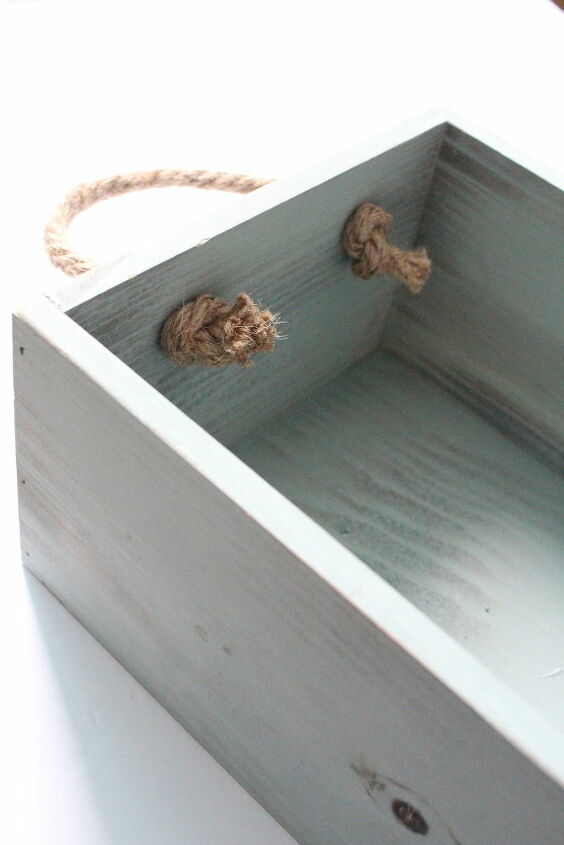
The boxes I bought at a craft store were on sale for BOGO (Buy One Get One Free). These are everyday wood boxes you can use for storage and organizing all throughout your home. However, for right now, I have decided that I am going to use it for my centerpieces.
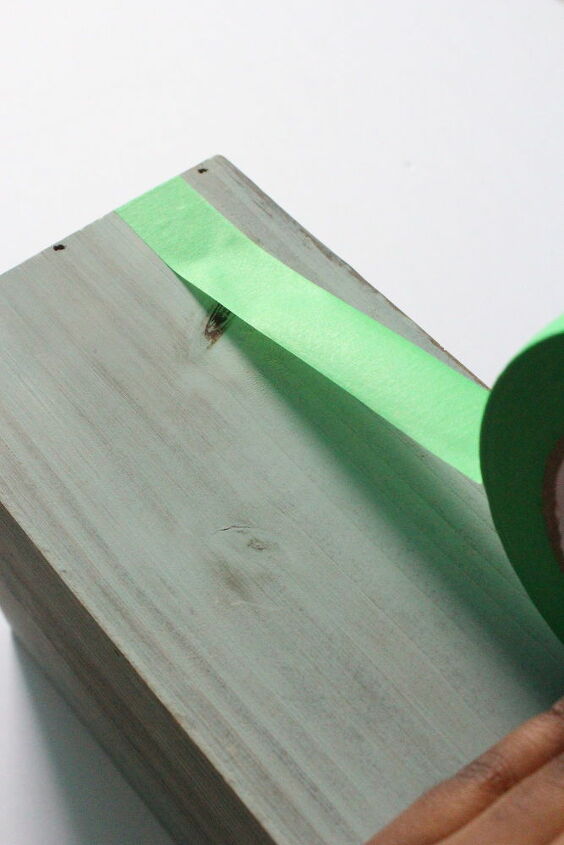
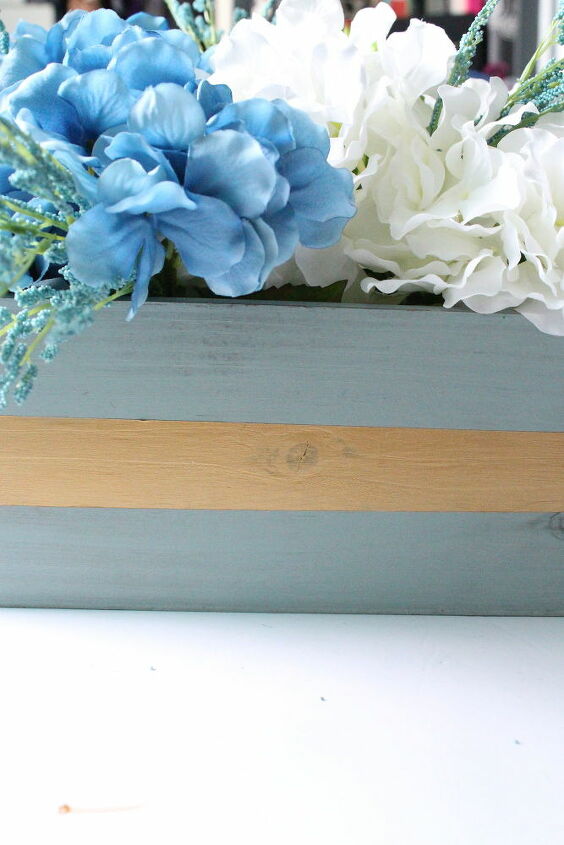
First, use the painter’s tape to create your line.
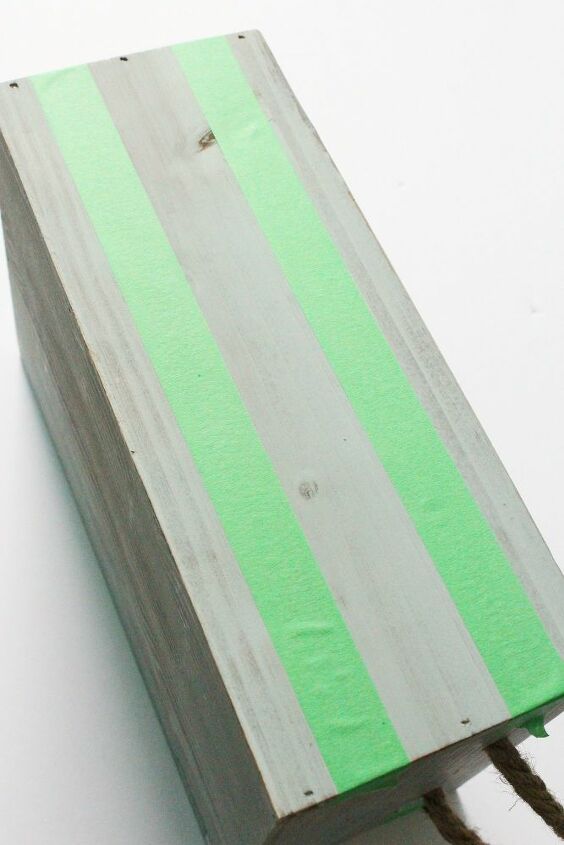
I placed my tape two centimeters away from the top and bottom of the box.
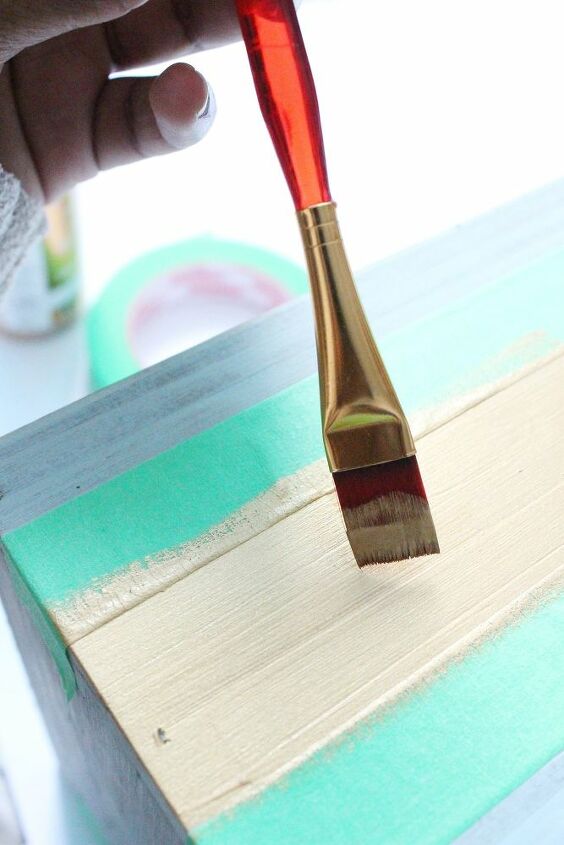
Next, I painted the space between the tape with gold paint. This paint cost around $6.00-7.00 for an 8 oz bottle. You can find gold paint at a craft store.

Let the box dry for about an hour before peeling the painters tape off.
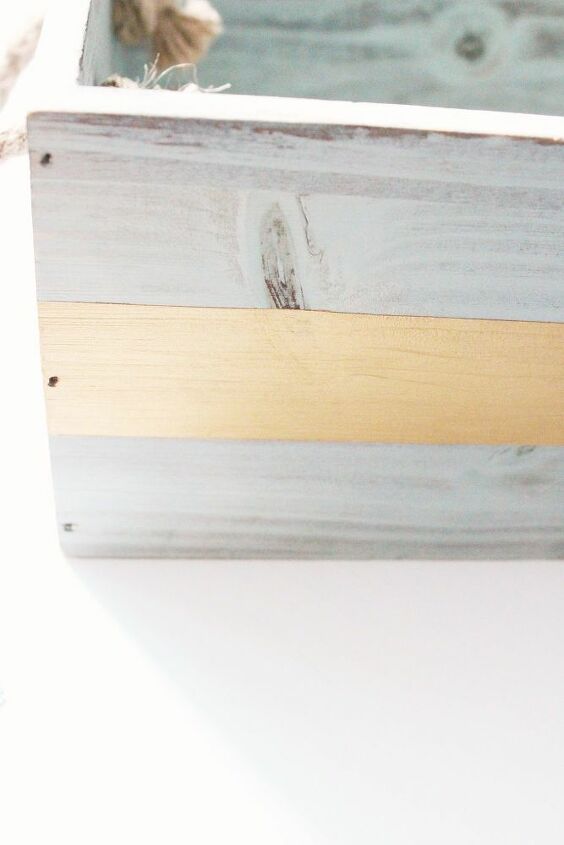
Once dry, slowly peel the tape off so that you do not damage the line you created.
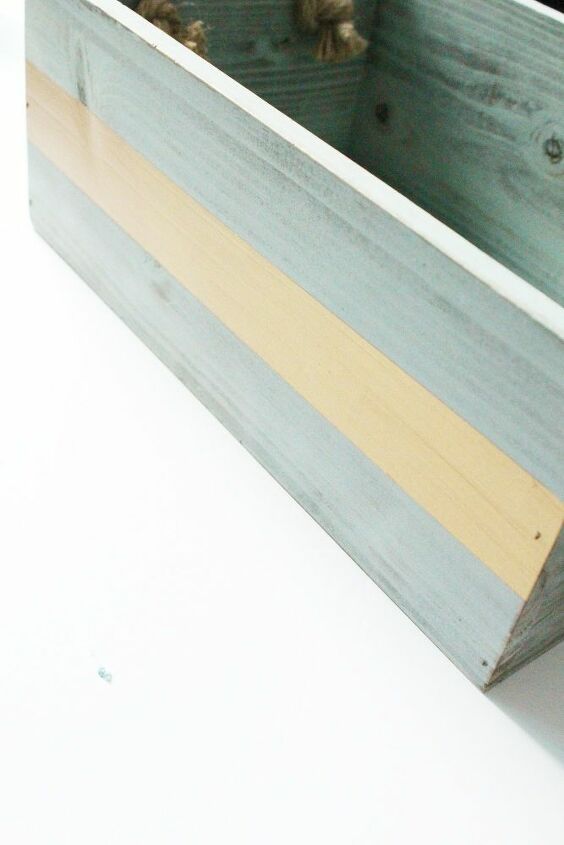
Here is one what it looks like all together.
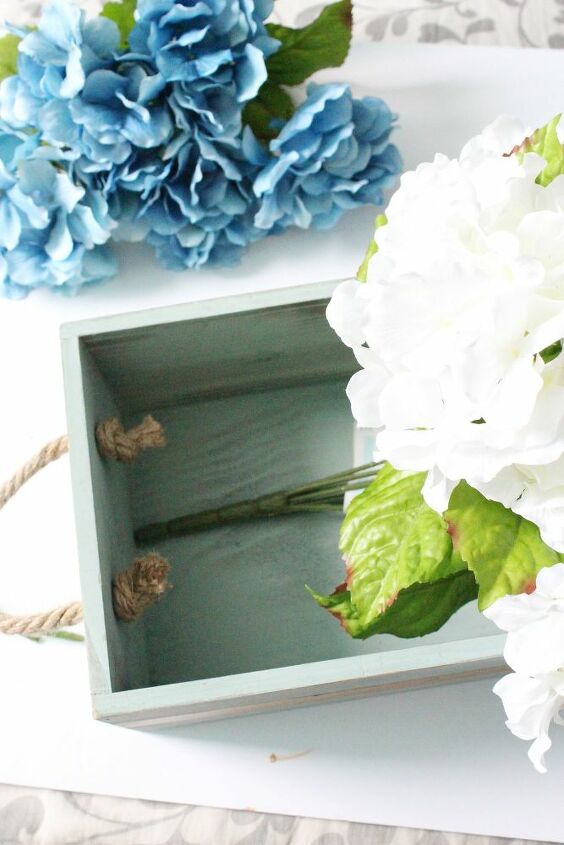
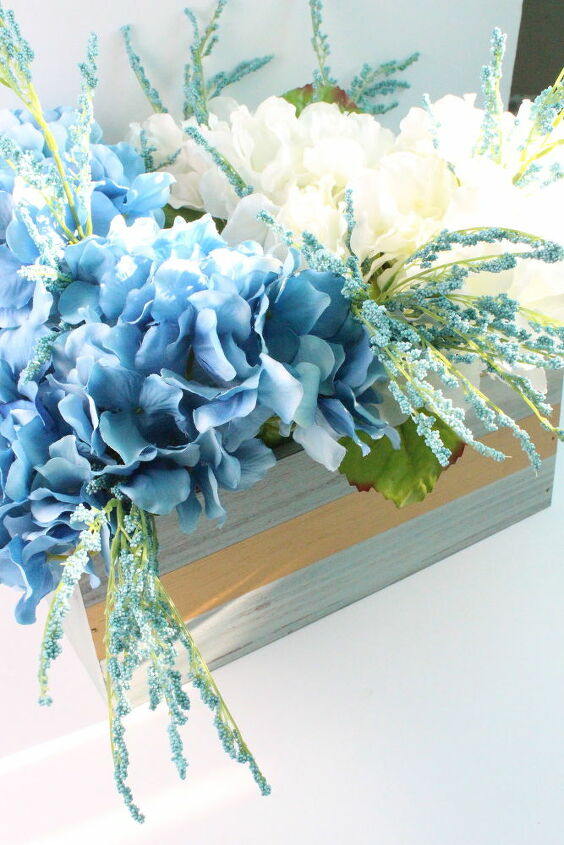
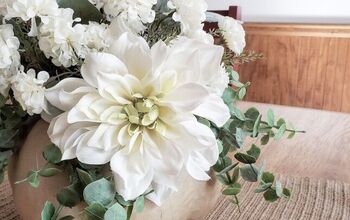
For my flowers, I chose hydrangeas in both white and blue because they are gorgeous and more of a fuller flower which means you will need fewer flowers to fill the box. It only cost $9.50 with the buy one get one deal instead of $14.00.

I was able to bend the stems to make the flowers different heights in the container. I repeated the process until the wooden box became full.
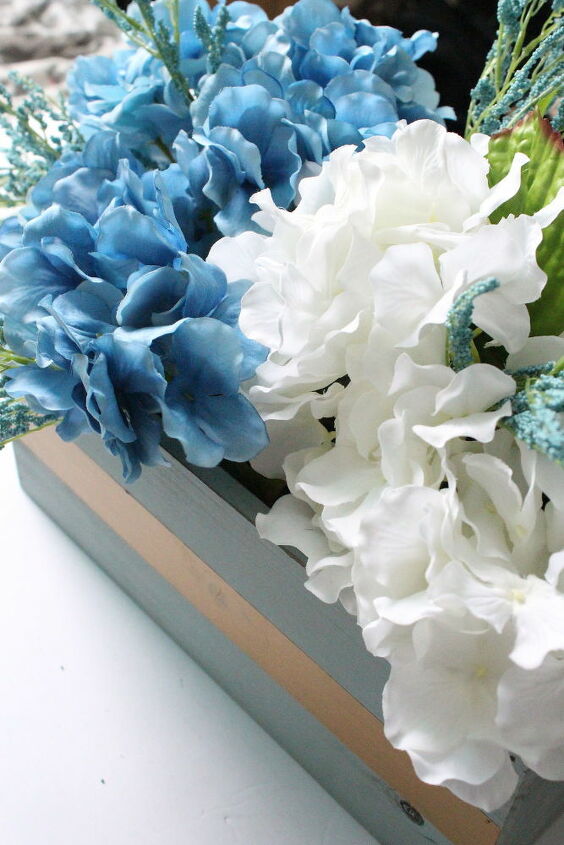
When all is done, it looks like this.
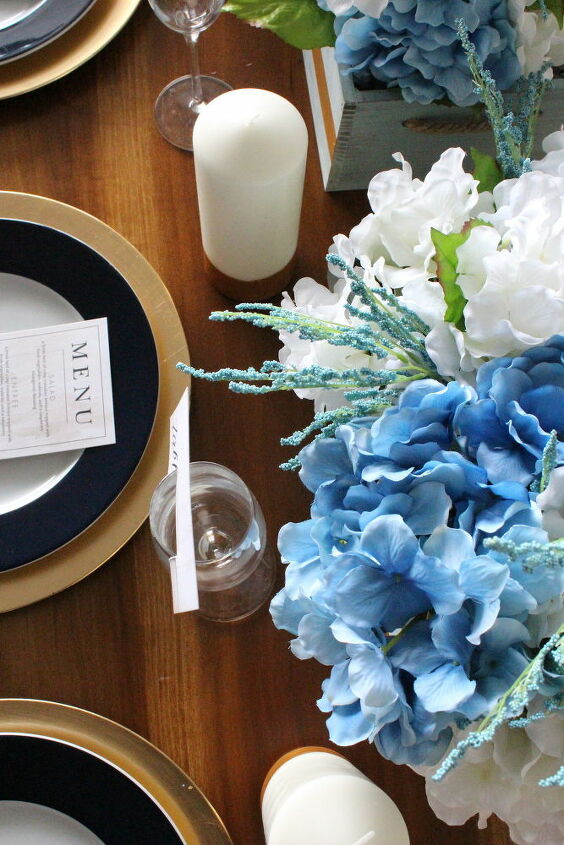
With table decor for home or wedding here is what it can look like.
Resources for this project:
See all materials


Frequently asked questions
Have a question about this project?