


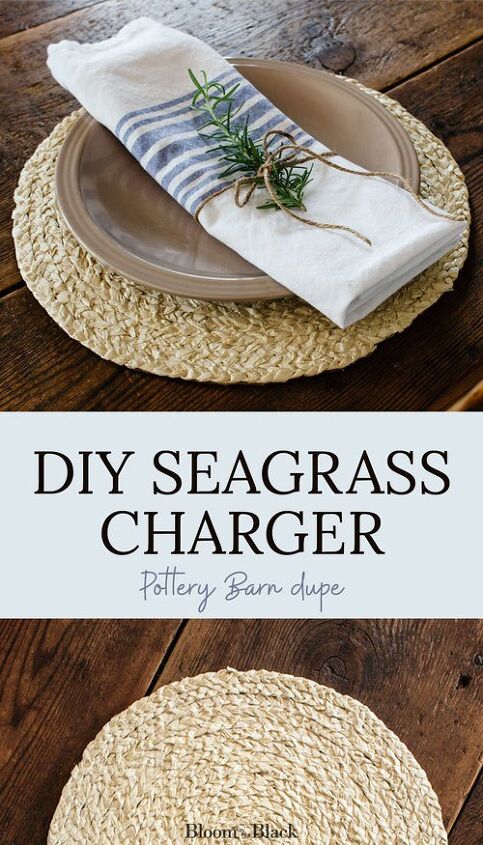
How to Make a Seagrass Charger for Under $1: Pottery Barn Dupe
Coastal decor isn’t usually my thing. But in the summer? I can get get into it!
But since it’s not something I’d use year-round, I can’t justify making an investment in these pieces. When I think about hosting a summer party (I just decorated my kitchen for summer), I always imagine gorgeous tablescapes using braided grass plate chargers from Pottery Barn.
And at $12 a piece they’re not terribly pricey…
Until you realize that you need about 12 of them for a proper set. So… $144 for glorified placemats? Ouch.
I refused to let my dream die though, so I came up with an amazing dupe that is silly affordable.
In this post, I’m going to show you how to make a braided seagrass plate charger (that looks exactly like the Pottery Barn version) for under $1 per placement.
Materials and Tools
- Raffia ribbon
- Cardboard (I used an old Amazon box)
- Glue gun ( this is my favorite budget model)
Step 1: Braid your raffia
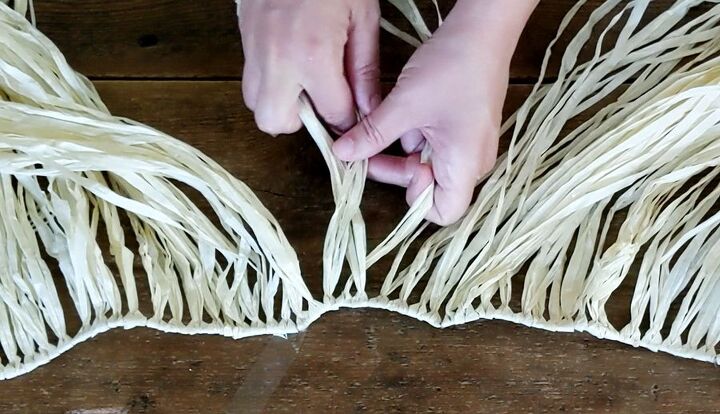
Separate your raffia into bundles of 3 strands each, cut to about 30″ long. Tie or tape off the top end of a set of 3 bundles, then braid each set using a standard braiding action (right side over center, left side over center, repeat) until you reach the end. Tie or tape off the tail end.
Repeat this process until you have 20 braided grass ropes. You can always make more if needed, but this is a good start.
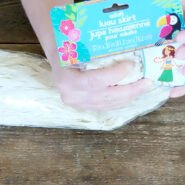
Secret Source for Cheap Raffia
If you use a lot of raffia for crafting, I have the best tip! In the summer, stock up on raffia luau skirts from the Dollar Tree. You get a TON of tangle-free natural raffia grass for only $1!
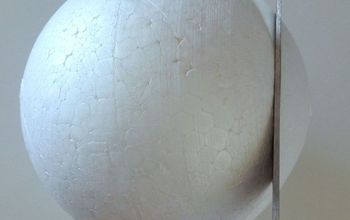
Step 2: Cut a circle from a piece of cardboard
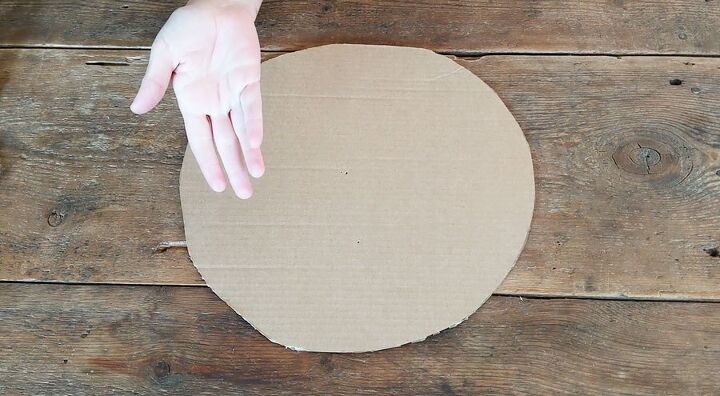
Grab a cardboard box and cut out a 12″ – 14″ circle. As you can see from this photo, it doesn’t have to be perfect! Determine the size you want based on the plates you’ll use them with by adding 3″ – 4″ inches to the plate’s diameter.
If you want a sturdier seagrass charger, use a $1 pizza pan for the base! This is a great option for an outdoor party where people might be carrying their food around as they mingle.
Step 3: Glue braided raffia to cardboard base
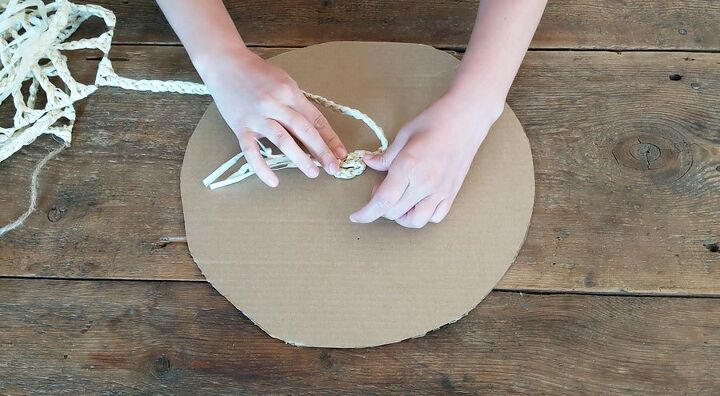
Starting in the center of your cardboard circle, hot glue the end of your first grass braid. Continuing gluing the braid in a tight spiral, taking care to keep the braids right next to each other so none of the cardboard backing show through.
When you reach the end of a braid, simply cut the end right before the tape (or knot if you tied it), making sure you have a straight edge. Then, cut the end of your next braid and glue the beginning of this braid directly up against the end of the previous braid.
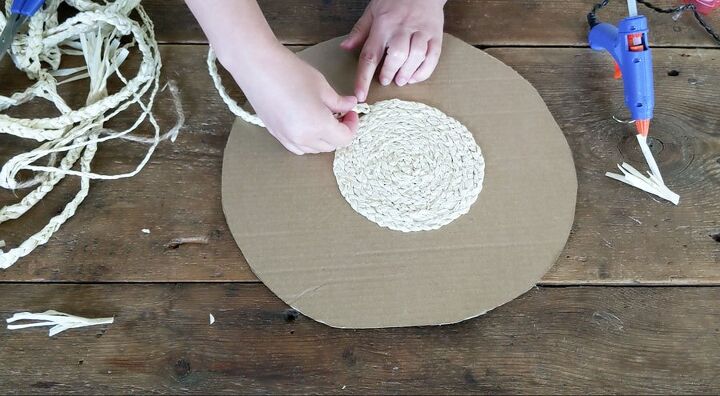
Since this is a lovely organic texture, the transition will blend right into your placemat.
Step 4: Cut off the excess cardboard
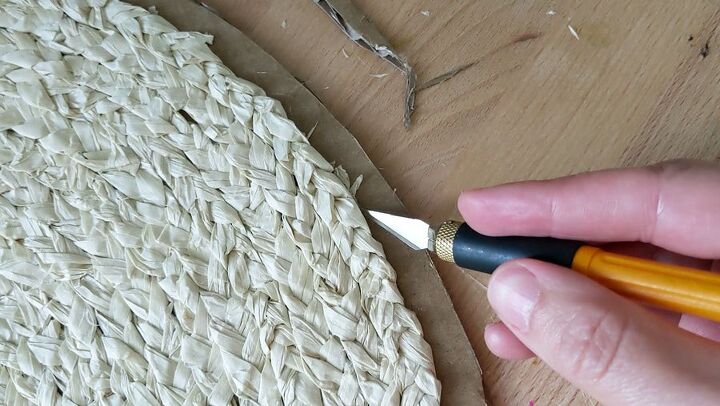
Once your seagrass braid spiral reaches the edge of your charger base, glue the end of the final braid very securely. Then using a craft knife or a pair of scissors, trim the excess cardboard off your placemat.
Be sure to trim the edge slightly underneath the outer seagrass braid to avoid seeing the raw cardboard.
How did we do?
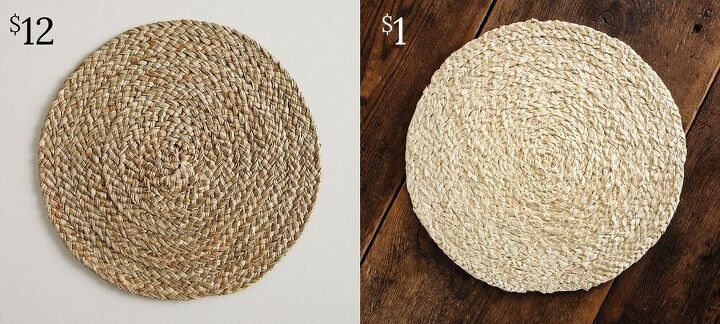
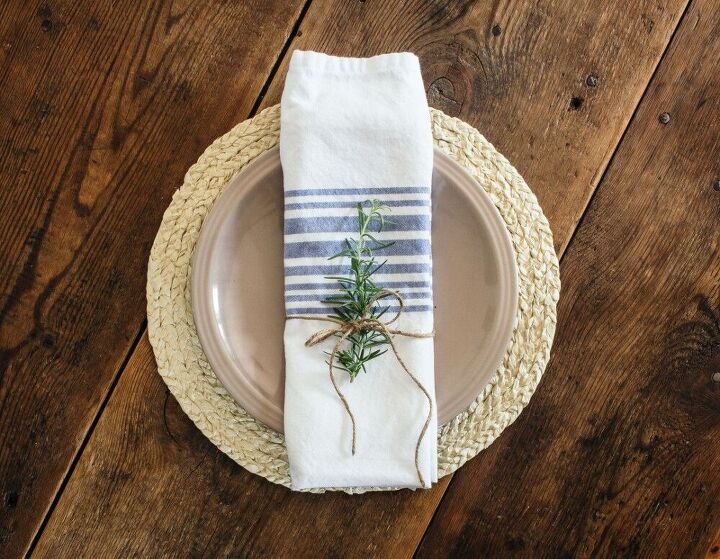
I don’t know about you, but I’m just as happy with our DIY seagrass charger as I am with the Pottery Barn version and it was 1/12 the cost!
Maybe we should spend the extra on some really pretty coastal dishware? 🙂
Want more? Here’s the full collection of Bloom in the Black DIYs. If you’re interested in seeing a future project, shoot me an email and I’ll add it to the list!


Comments
Join the conversation
-
I actually like the $Tree version better than Pottery Barn’s! Great job!
-
You can also do this with rope purchased at the dollar tree, I takes about 3 so at $1.25 still under $5! But I also added tassels and beads which adds to more $$ and time.


Frequently asked questions
Have a question about this project?
How many grass skirts did it take to make twelve chargers? Thanks! Cindy 👩🏻🌾
I was going to ask what is a charger cuz I have heard of them on other projects, but I now think it is a placemat? I am very new to DIY and crafting, and have asked others to be a bit specific in different items cuz not everyone knows about different paint, adhesive, etc. Y'all are pros, and I often don't understand what y'all are talking about. Thank you for sharing! So cute! ✌️🕊️🌈😊💕🌻