


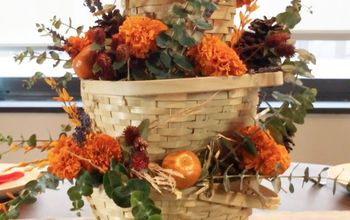
How To Make A Vintage Tiered Basket Centerpiece -
Who wants to learn how to make a vintage tiered basket centerpiece?
This was such a fun, quick, and easy DIY.
You do’t have to break the bank to add new beautiful decor to your home each season. Check out our site for more fun DIY's.

Large floral arrangements like this can be super expensive, to purchase.
Do not be intimidated by its size, this can be an impressive focal point, and such a fun DIY project.
Supplies
You will need:
- 2-3 basket graduating in size
- Floral foam for each tier
- Variety of Flowers 2-4 colors/types
- Variety of fall leaves
- Pumpkin, apple, or pear picks
- Wire cutters
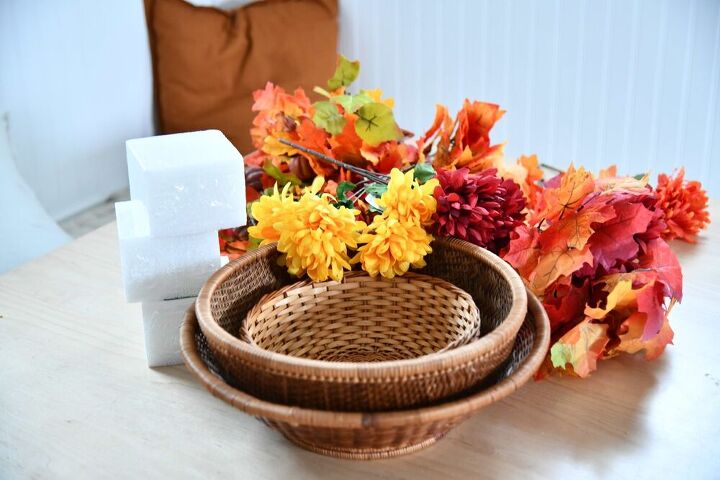
This is everything you will need to make this amazing fall centerpiece.
I found everything at the Dollar store which made this a very inexpensive DIY.
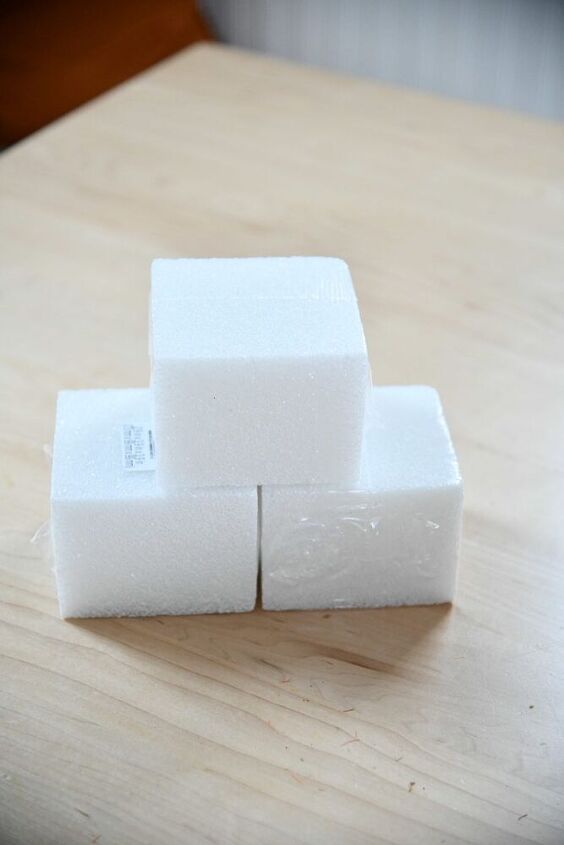
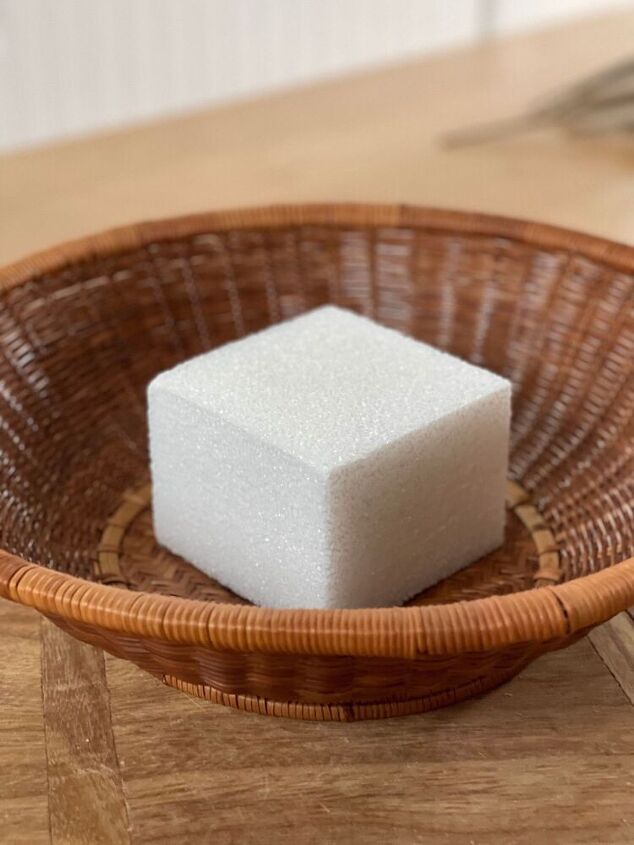
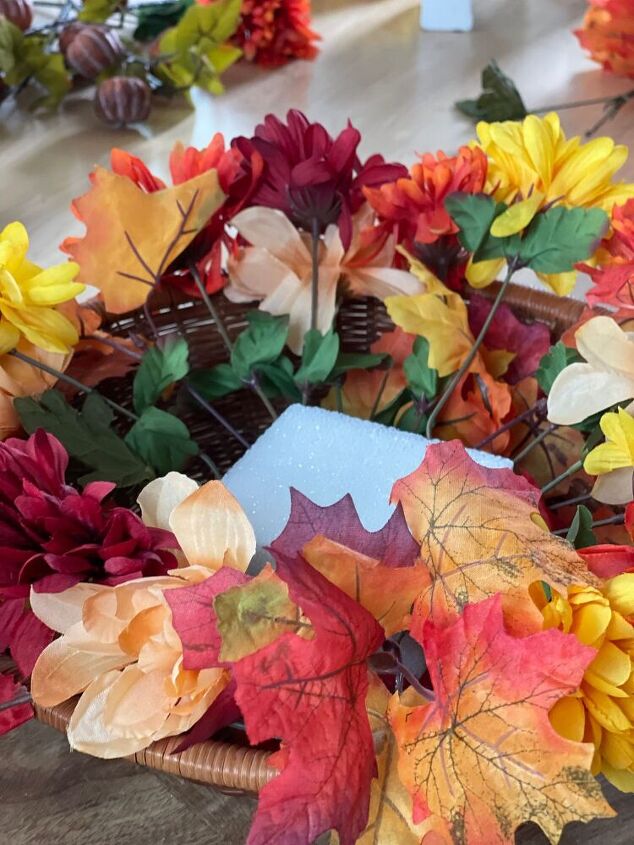
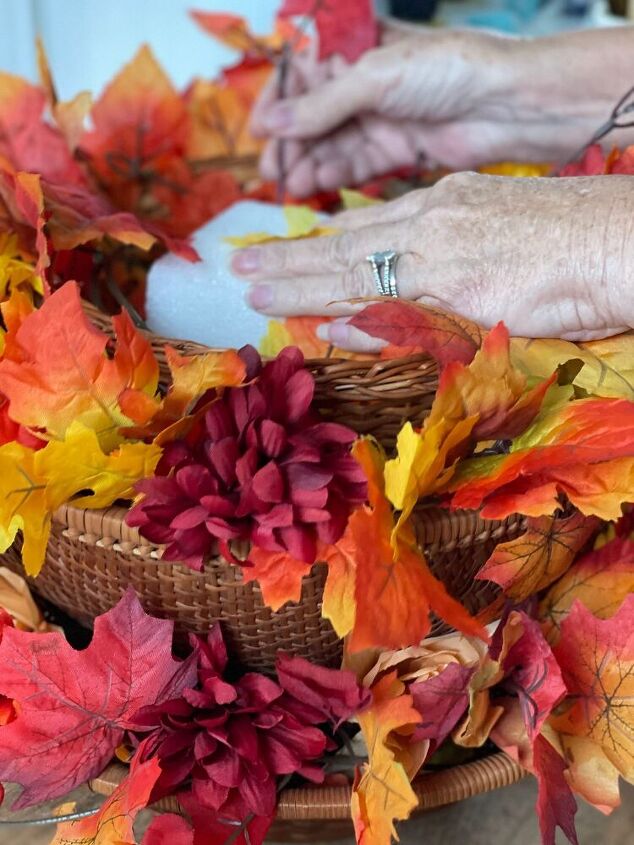
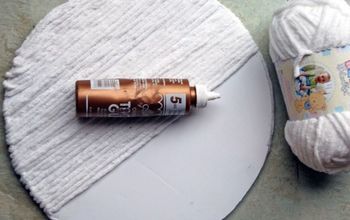
Using floral foams are the perfect way to add height in between each basket tier.
You can use round or square, you are just looking for something to push the flowers into.
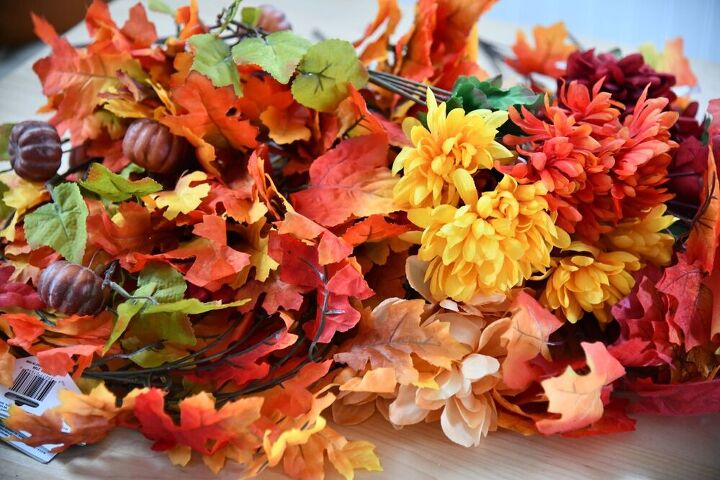
Every one of these items was from the Dollar Tree.
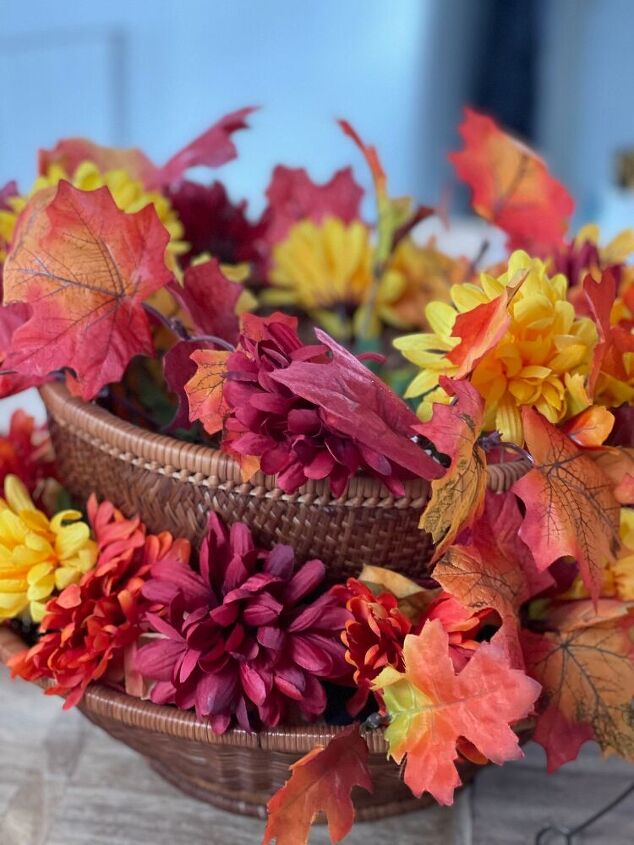
I found multiple colors of mums, maple leaves, and even a maple garland.
These cute pumpkin sprays were perfect to top of the basket centerpiece.
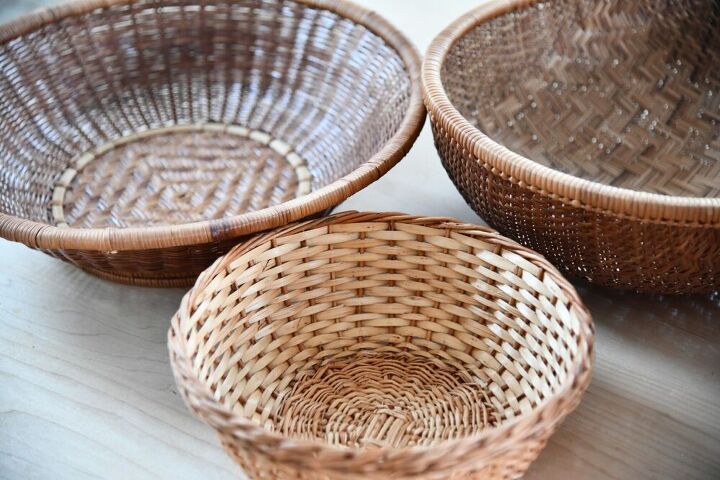
I found these 3 vintage baskets at a local antique shop.
I liked the variety of sizes, and the color was very similar.
Let’s Get Started
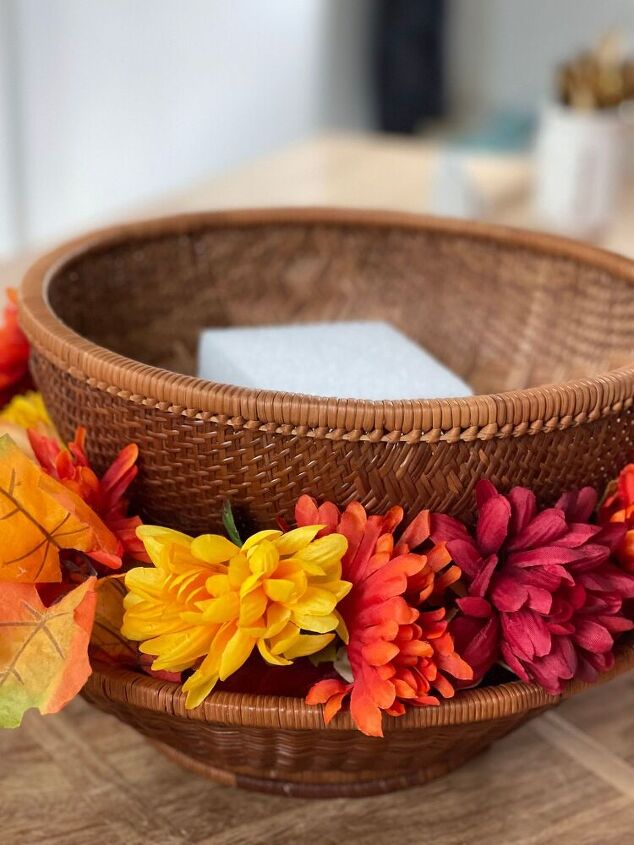
The first think you want to do is place the floral round in the bottom (larger) basket.
You can glue these in place if you like, since I have to store them (and want to break them down) I decided to skip this step.
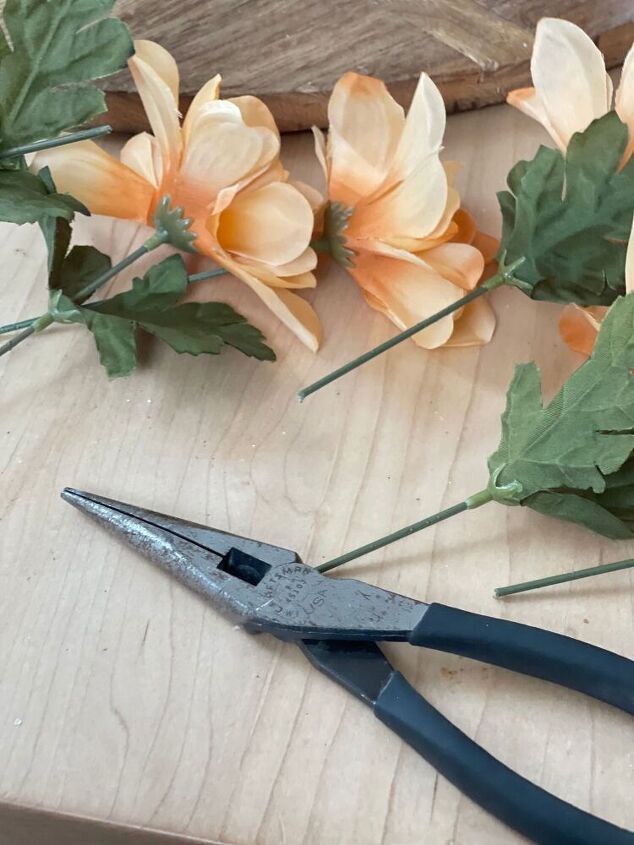
Next I cut all the flowers and leaves stems down.
This makes it easier for you to add them into each tier.
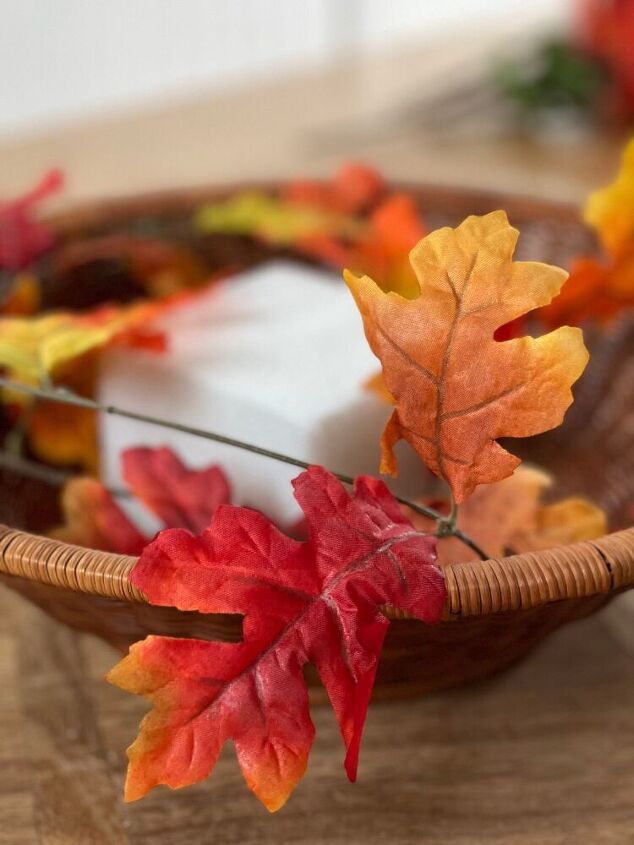
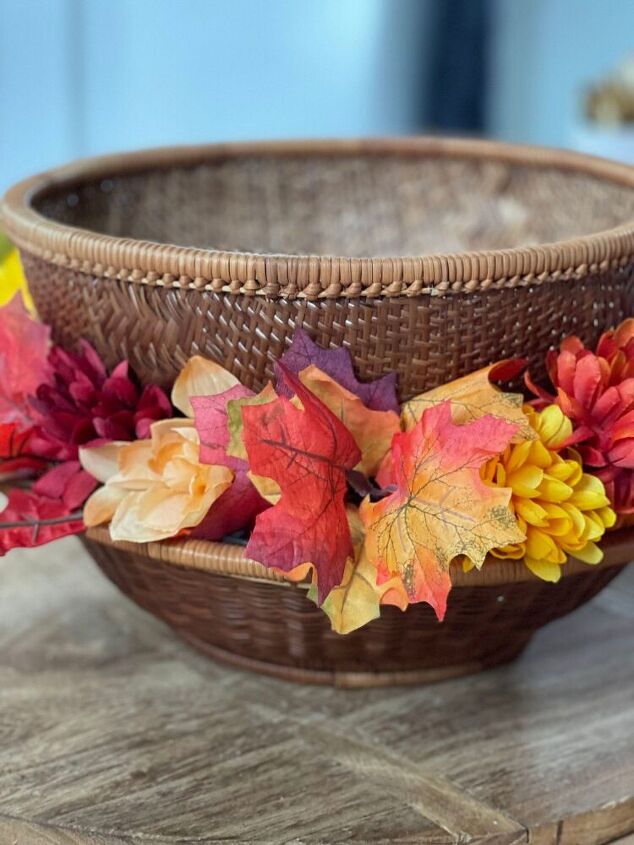
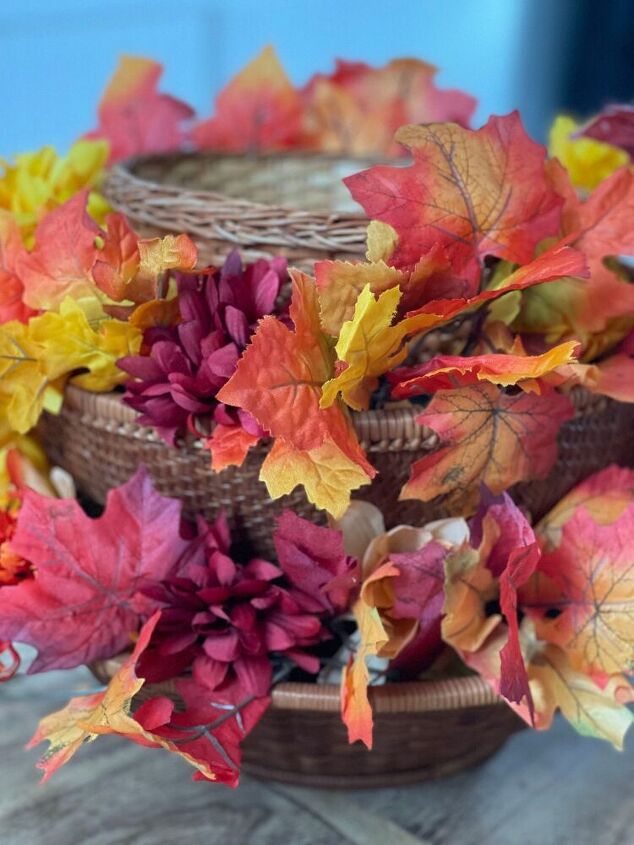
This adorable maple leaf garland was the perfect base layer to lay down and add a consistent look around the basket.
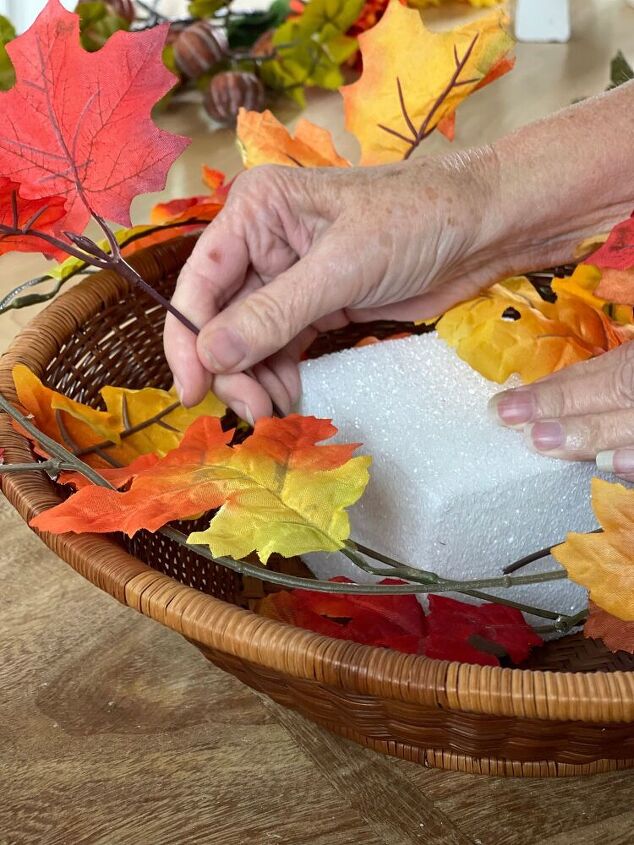
I started to take the maple leaf stems and place them into the foam round, in a circular pattern.
The I started rotating the different colored mum stems throughout the first tier.
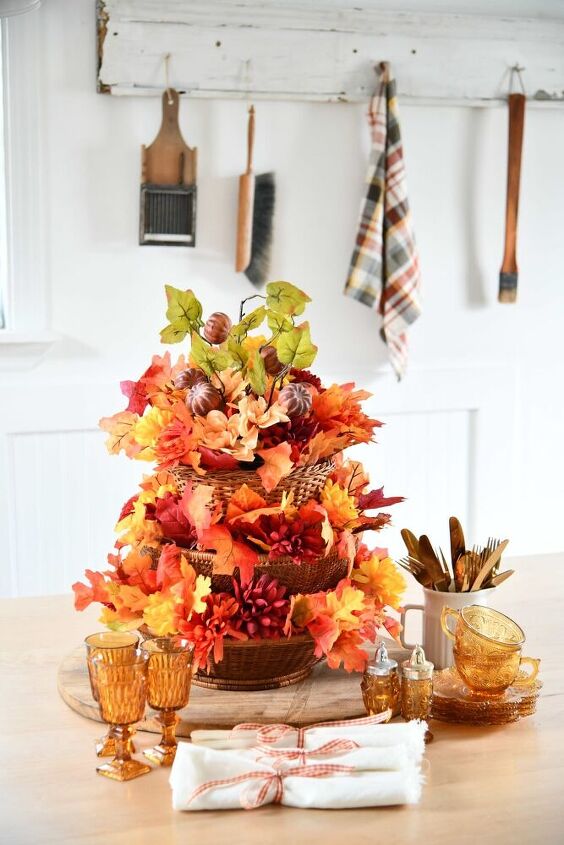
Just retreat these steps until you reach the top tier.
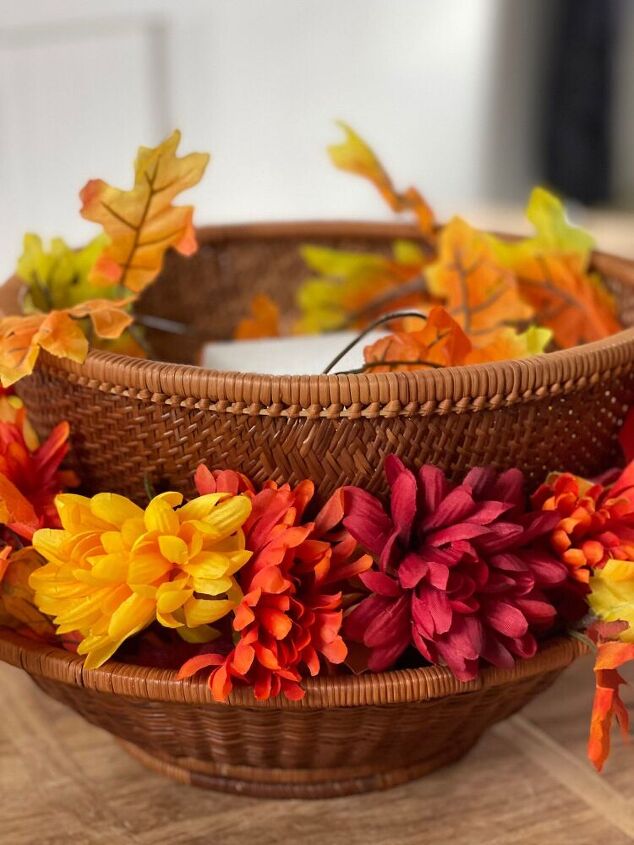

I saved the pumpkin stems until the top tier, I wanted a wow factor to top this centerpiece off.
Did you enjoy this tutorial on how to make a vintage tiered basket centerpiece?
Be sure to check out another fun fall DIY on how to make a simple fall grapevine wreath!
Resources for this project:
See all materials


Comments
Join the conversation
-
Super cute and easy. Thank you.
-
How can I make a three-tiered basket fruit bowl without floral cubes?


Frequently asked questions
Have a question about this project?