


How to Make Twisted Paper Flower Napkin Rings
Sometimes I find a product that interests me, but I have no idea what to do with it, so I need to figure out how to use it. That’s what happened with my twisted paper flower napkin rings.
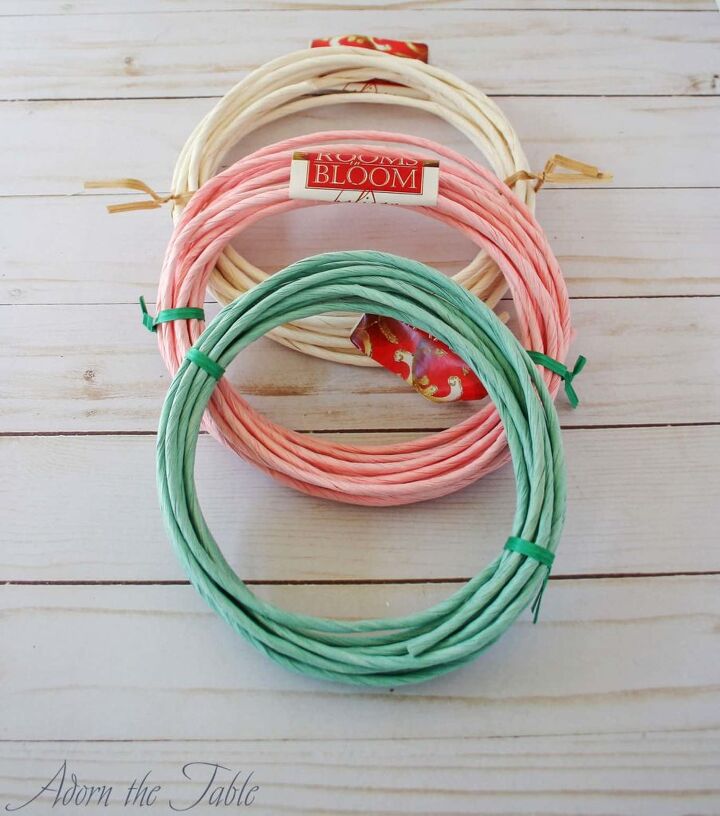
I found this twisted paper cord in colors I loved at Dollar Tree. So I bought it.
But I had NO idea what to do with it, or how to use it.
It was the colors I loved, I just had no idea what to do with twisted paper cord.
So I untwisted some of it and then did some research.
I came up with making these SUPER CUTE twisted paper flower napkin rings.
I absolutely love how they turned out!
And they are really simple to make (after you get the hang of how to start the flower – that’s the toughest part).
Plus, think how cheap they are – just $1 for one bundle of twisted paper cord. One bundle can easily make 8 napkin rings.
Yes-siree!
Supplies for DIY Twisted Paper Flower Napkin Rings
- Twisted paper cord (from Dollar Tree)
- Hot glue gun
- Twist ties
- Dome or pearl buttons
How to Make Your Flower Napkin Rings from Twisted Paper Cord
Step 1: Prepping the Twisted Paper Cord
Cut 3 feet of twisted paper cord for every two napkin rings you want to make. Then cut 7 inches of cord for how many napkins rings you want.
The three feet section will be used to make the flower and the 7-inch section will be used for the rings.
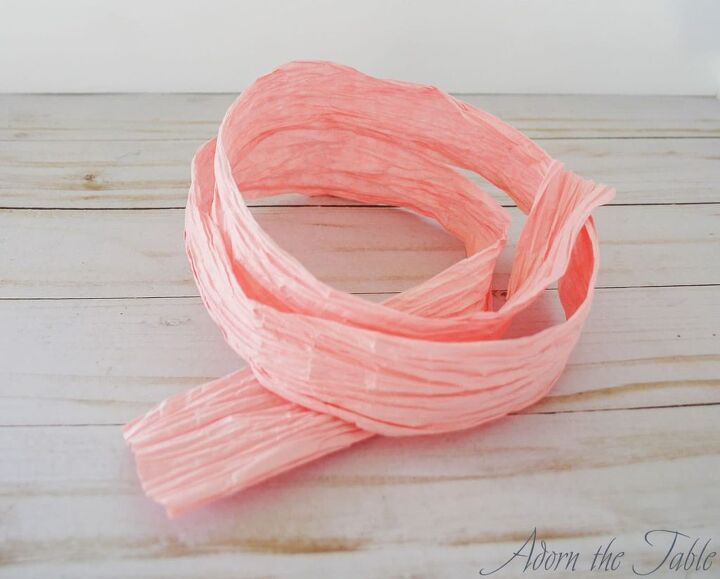
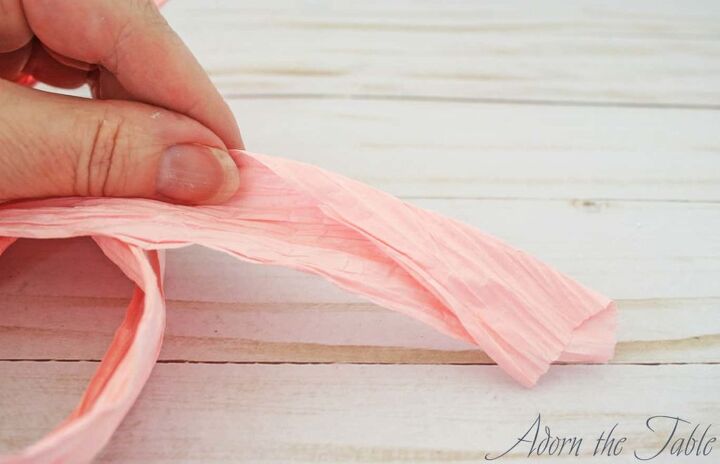
Take a 3-foot piece and carefully unroll it. You don’t want to accidentally rip the paper.
After the paper is unrolled, cut it in half, lengthwise, down the middle, so you have 2 three-foot pieces.
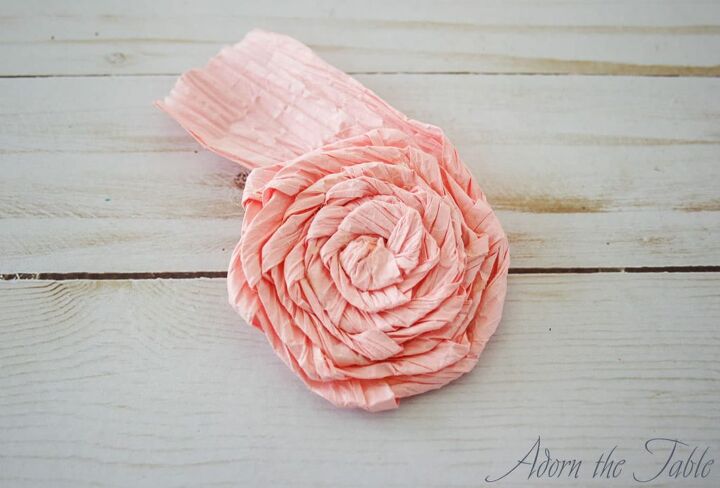
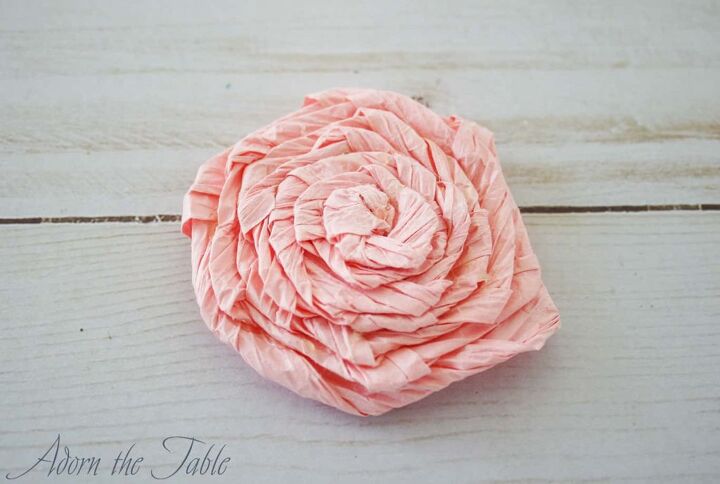
Step 2: Making the Twisted Paper Flower for Your DIY Napkin Ring
*Tip: Starting the flower can be a little confusing, so try it a few times, before you start gluing – trust me, lol.
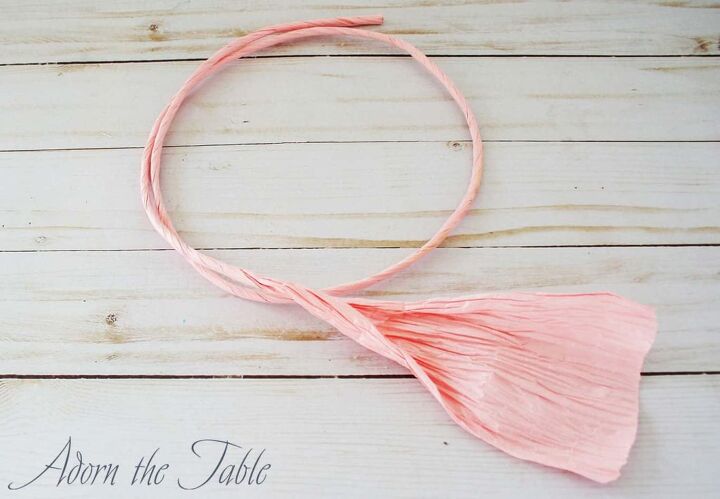
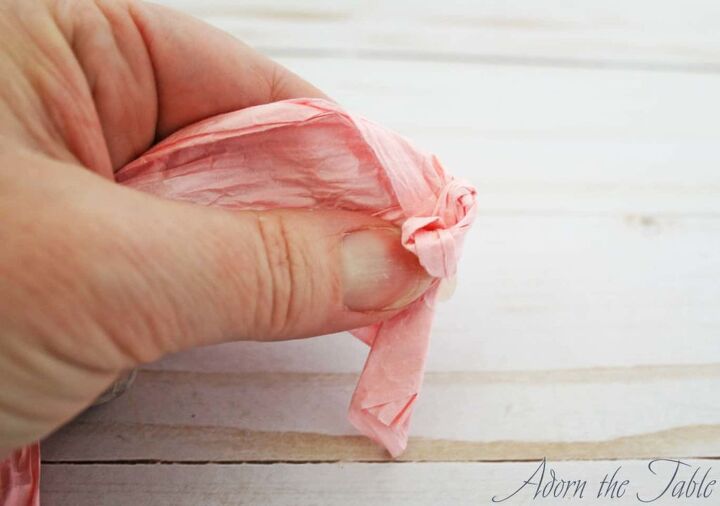
Take one end of the 3 foot twisted paper cord and fold it on the diagonal.
Then, about a third of the way up the diagonal, fold the right side down, so it forms a triangle.
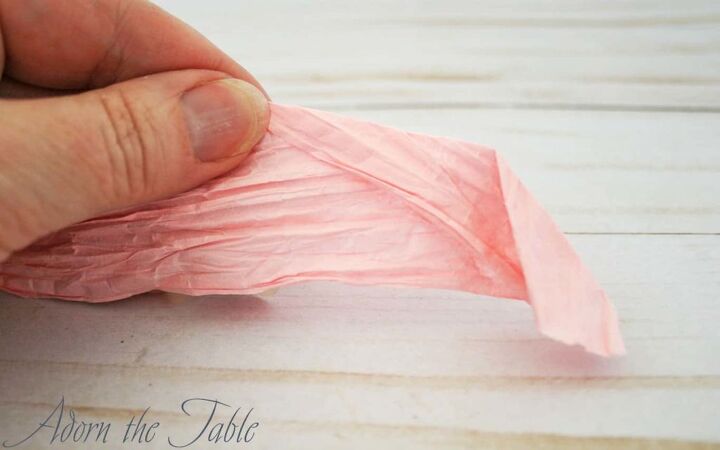
Holding the bottom of the triangle, twist to the left. And press down with your fingers.
(Here is where it gets a little confusing because you feel you need to stand on your head as you do it ~ haha.)
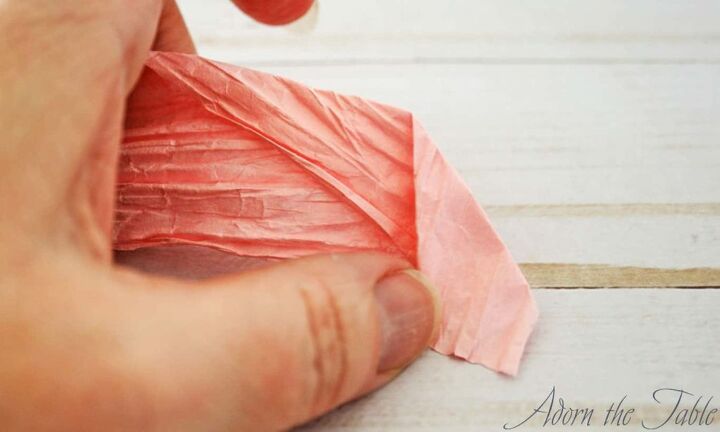
Hold the triangle with your right thumb and index finger, then with your left hand, twist the paper backward 180 degrees (so the side that was facing you, is now facing away from you.
Continue holding the triangle section (which will turn into the middle of the flower), twist the paper with your left hand, and turn the flower ¼ turn.
So you are twisting and turning… twist and turn, twist and turn.
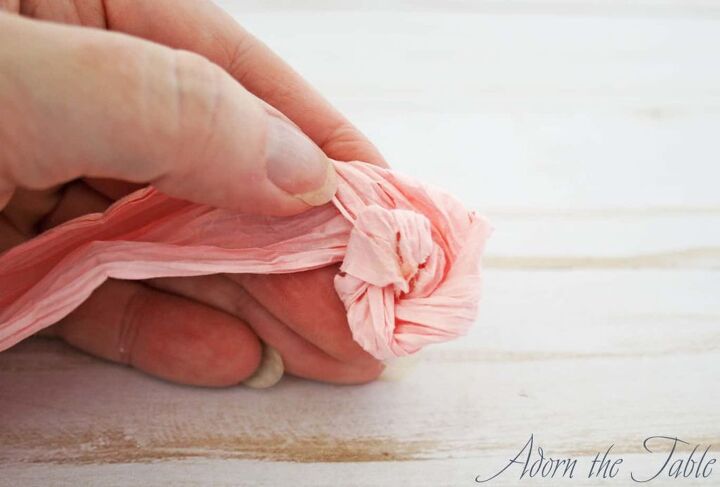
The trick is that when you twist, you don’t bunch up the paper. The bottom of the paper is flat, so that it creates a sort-of backing for the flower, as you go. And it tucks under the flower section you already created.
This will also provide a surface to apply the hot glue between the layers.
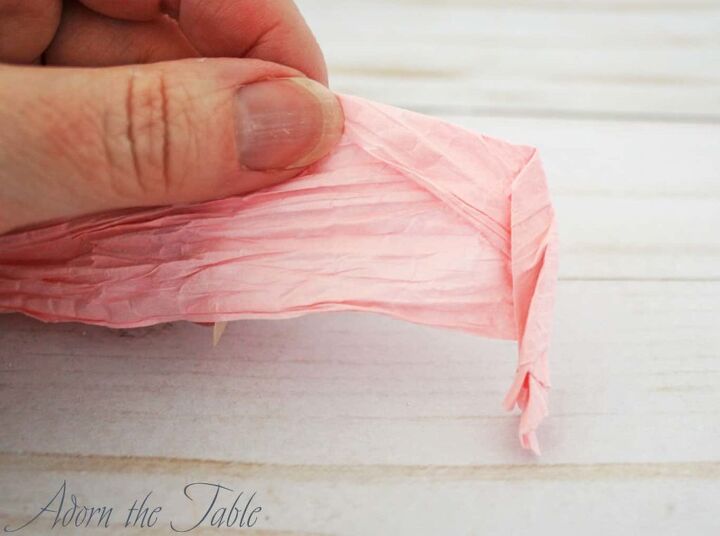
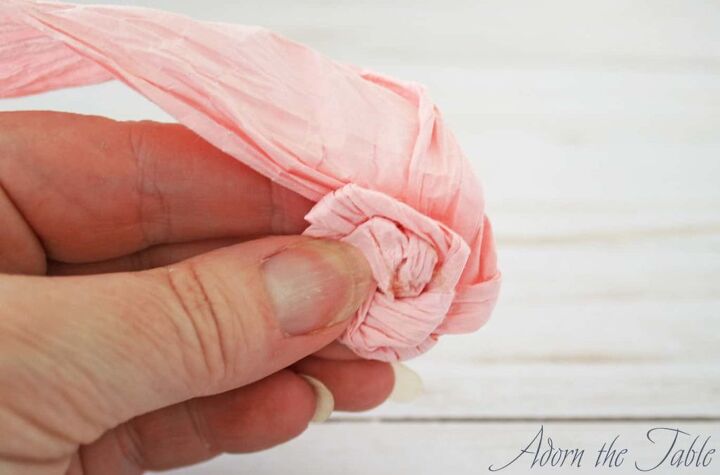
Once you get the hang of it, apply hot glue as you are twisting and turning the paper.
Be careful to not burn yourself! The paper is thin.
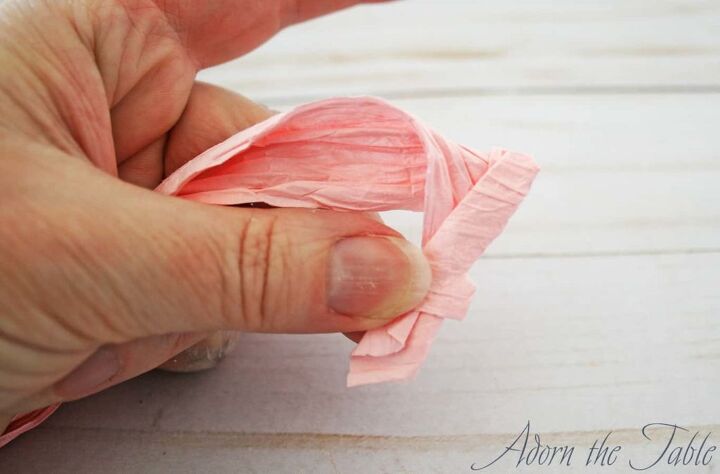
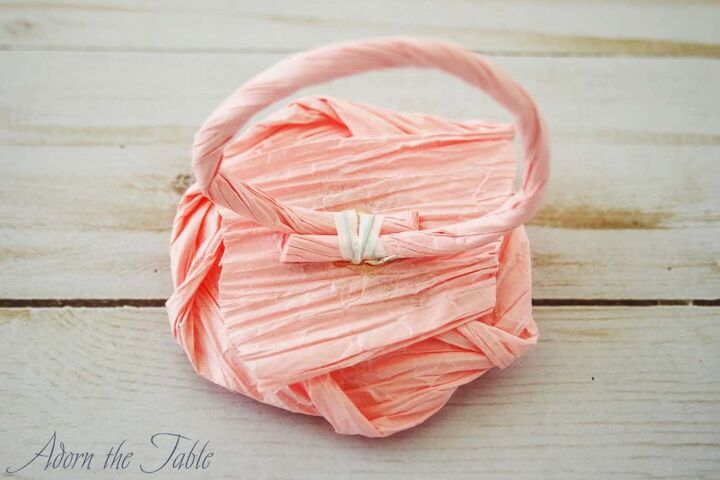
After you have twisted and turned the paper to create the flower shape, leave about 2 inches untwisted.
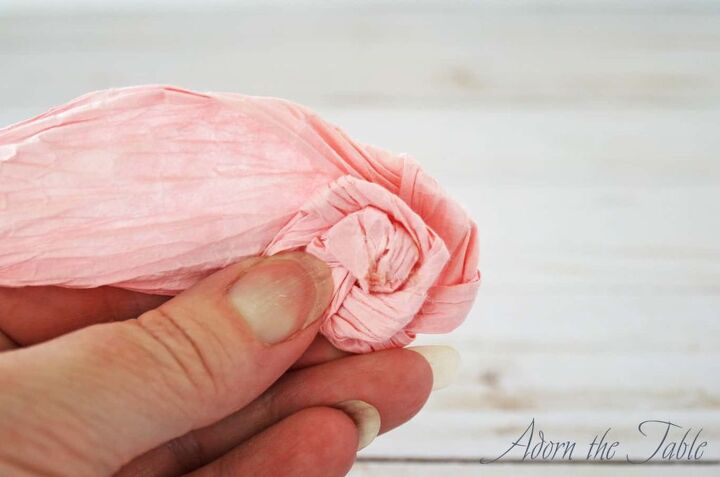
Apply hot glue to the back of the flower and fold the untwisted piece backward, covering the back of the diy twisted paper flower.
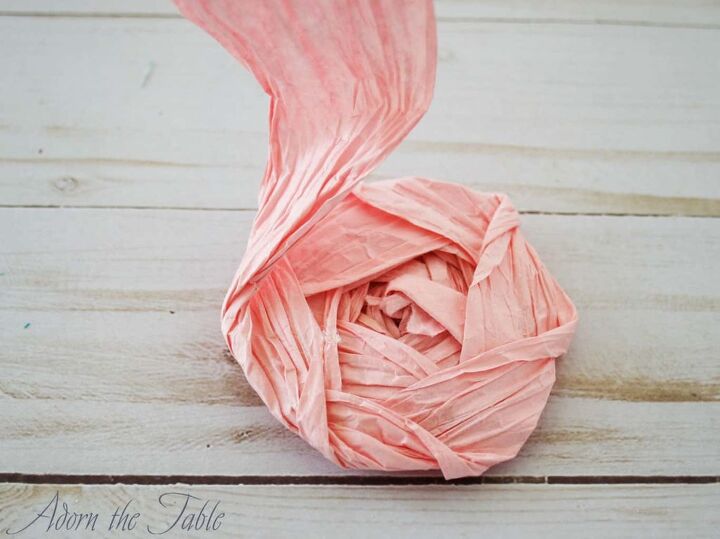
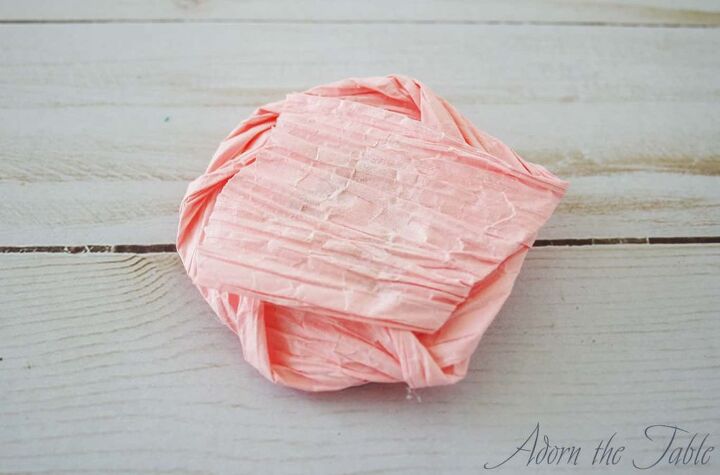
This will hold the flower together.
*If you wish, cut a circle from matching cardstock paper and glue it to the back of the flower.
Step 3: Adding the Twisted Paper Ring to Hold a Napkin
To create the napkin ring, itself, create a circle with the 7-inch piece of twisted paper cord.
Don’t unwrap it.
Overlap the ends 1 inch.
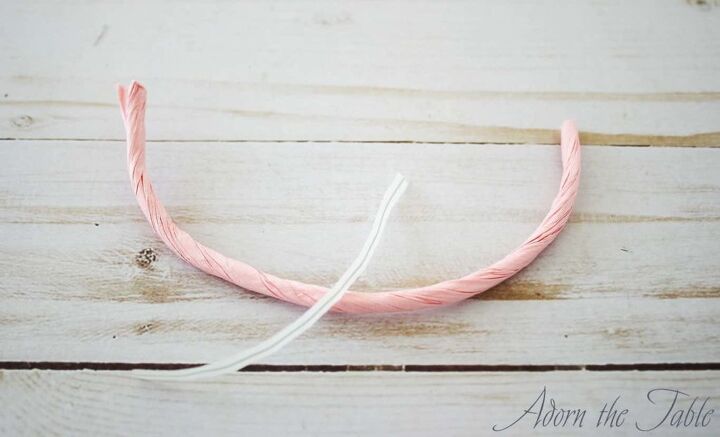
Take a twist tie and very tightly wrap it around both ends, securing them together.
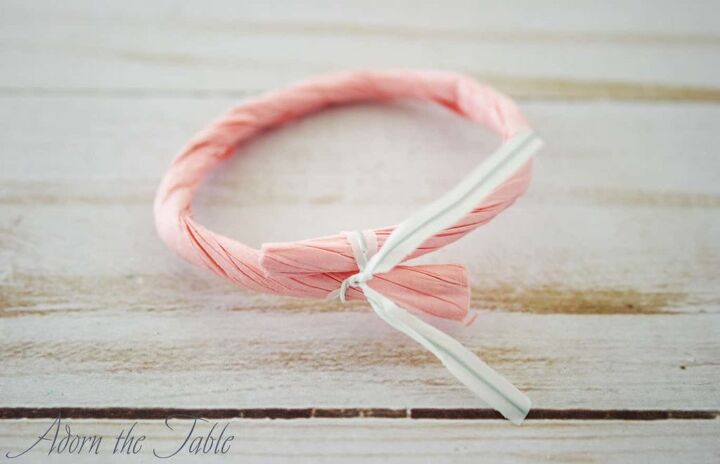
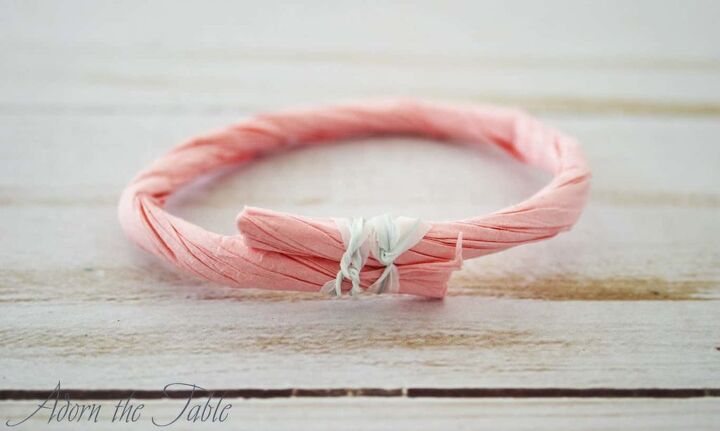
Then take the twist tie base and hot glue it to the diy twisted paper flower.
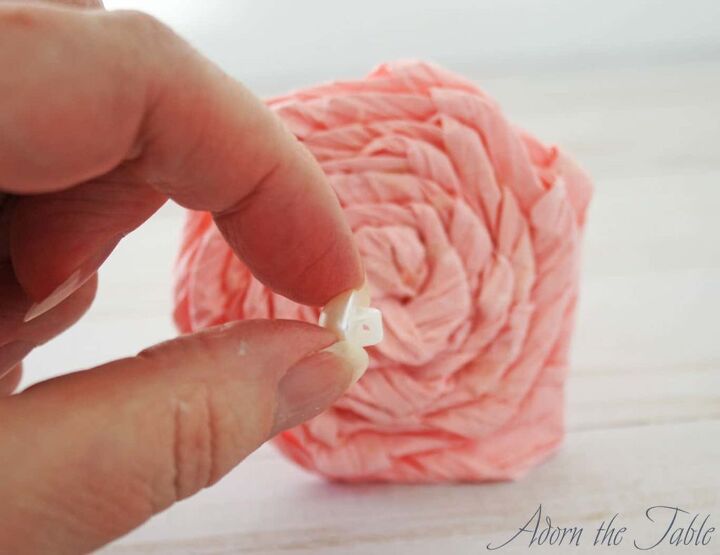
Step 4: Embellishing Your DIY Twisted Paper Flower Napkin Ring
To add a little “bling” to your twisted paper cord flower napkin ring, take a cute dome or pearl button and glue it in the center of your flower.
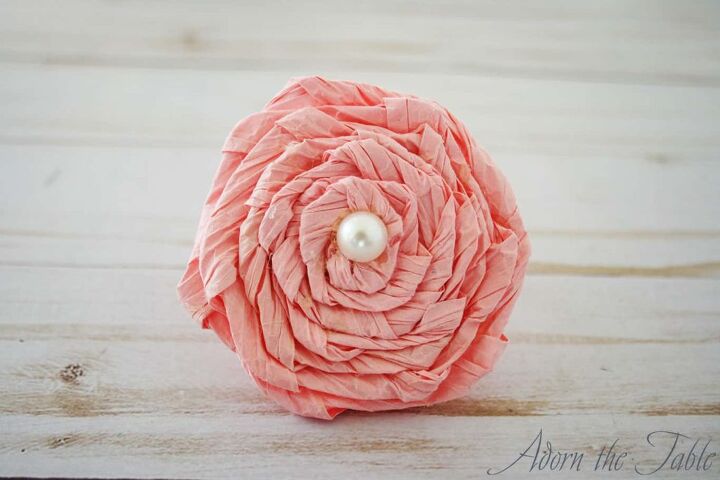
OMG! TOO CUTE!!!
In all seriousness – I was SO proud of how dang cute these diy paper flower napkin rings turned out.

When I started creating them, I wasn’t sure if I was going to like them, or be happy with the result.
BUT…I gotta tell you ….. I LOV’EM!!!
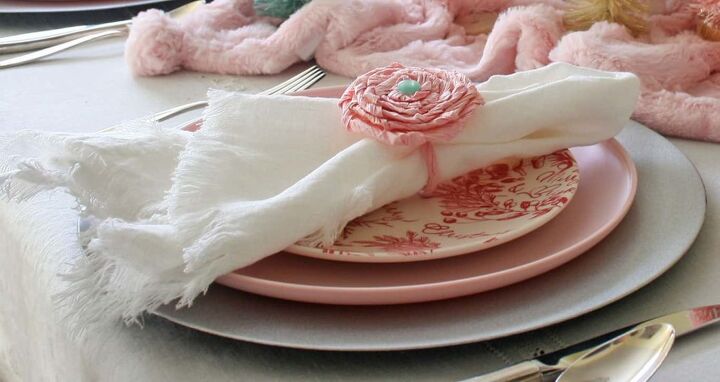
Check how amazing they look on my retro Christmas table setting.
Check out other easy diy projects
- Colored Mercury Glass Candle Holder
- Holiday Snow Globe
- Color Bottle Brush Trees
- Faux Leather Napkin Rings

Comments
Join the conversation
-
These would be pretty at a bridal shower, anniversary luncheon, or similar event. Guests could take theirs home at the end of celebration as a souvenir of the occasion.
-
It look so pretty


Frequently asked questions
Have a question about this project?