


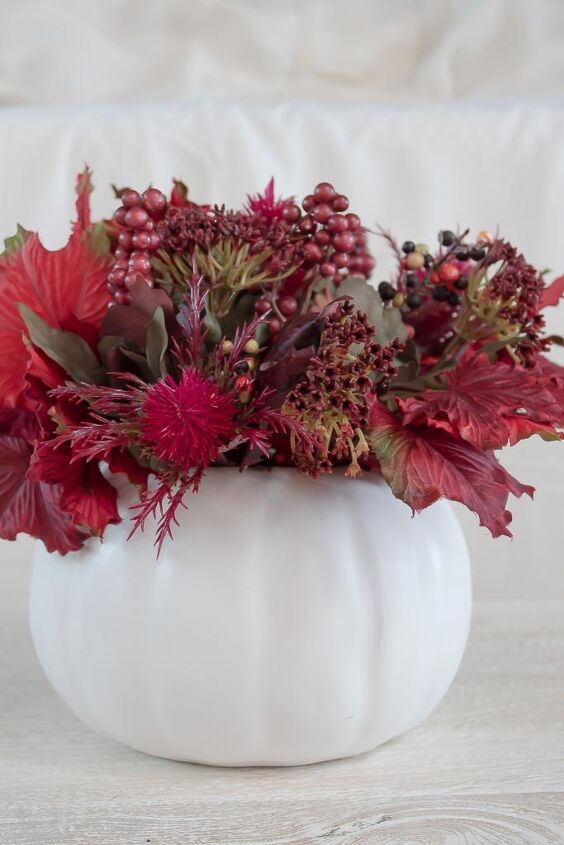
Simple Fall Centerpiece for Your Dining Table
I love a good craft project, especially when it comes to seasonal decorating. Caring for 3 kiddos doesn’t exactly give me a boatload of spare time to enjoy one of my favorite hobbies though, so I try to get creative with quick and easy projects to add a seasonal touch whenever I can. This simple fall pumpkin centerpiece will look anything but simple on your dining table though.
This post contains affiliate links. Please see my full disclosure policy for more details.
This project was so ridiculously easy that aside from shopping for materials at the local craft store, it only took me about 5 minutes to actually put it together. In fact, I probably spent more time photographing the steps than actually creating it. So if you think you’re not the crafty type, it’s ok, I’ve got you. This one’s fool proof.
So let’s see how to create this quick and easy fall centerpiece.
This centerpiece only requires a few basic materials to create something truly stunning.
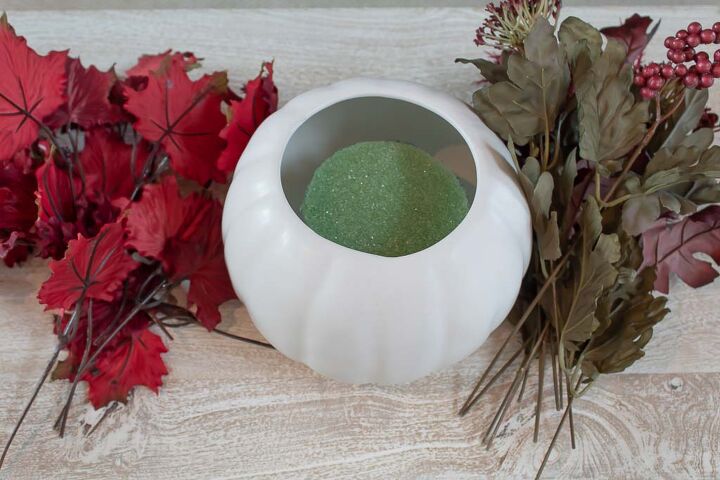
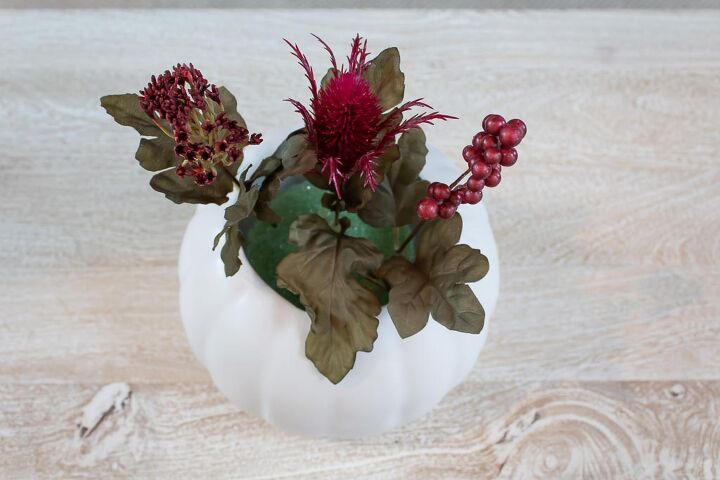
I knew I wanted to create a floral centerpiece for our fall dining room and incorporate a pumpkin as the vase. I’ve seen a lot of tutorials on turning basic craft pumpkins into vases and I almost went that route until I stumbled on these simple white ceramic pumpkins.
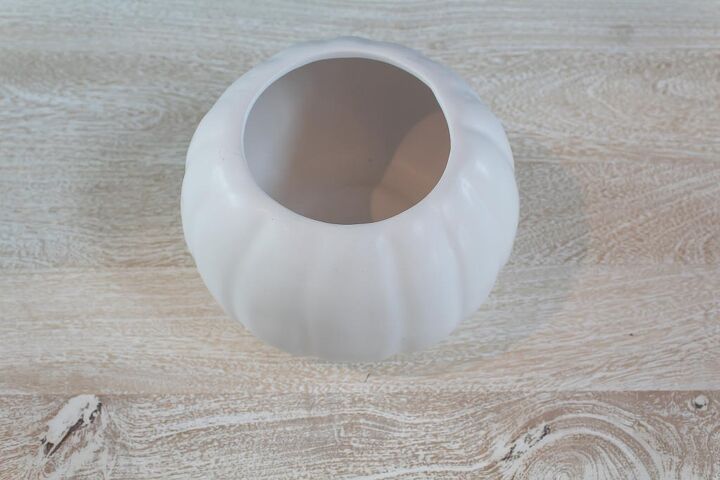
They were the perfect size and will hold up much better to
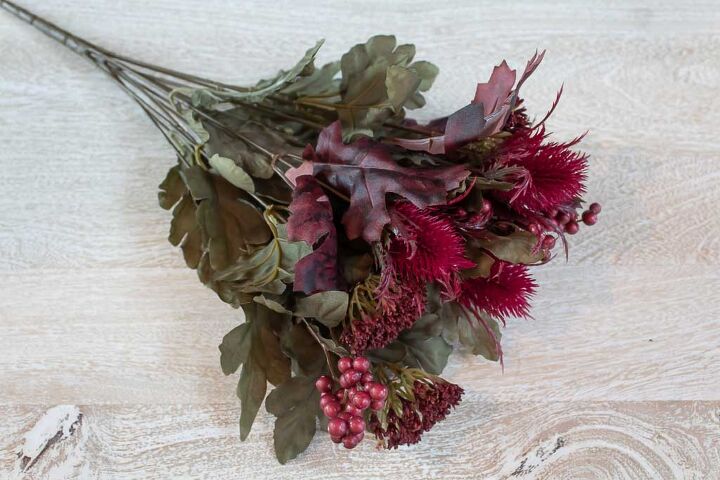
Faux florals are a great way to add a subtle seasonal touch
As soon as I saw the beautiful dark jewel tones in the
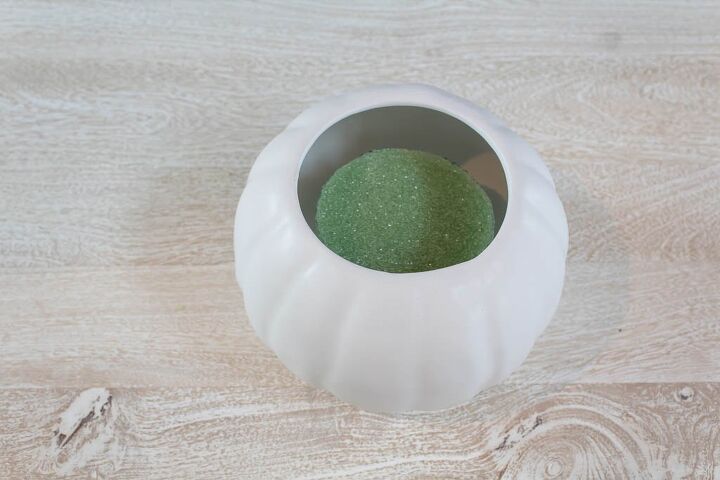
Lastly I picked up a craft foam block to place inside my
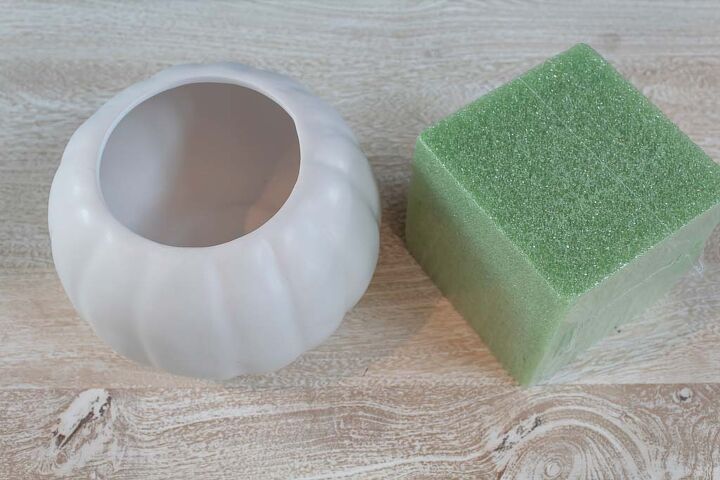
- Pumpkin vase – I looked high and low and the one I purchased is only available in stores at JoAnn Fabrics for around $10, but you can purchase a simple craft pumpkin and cut out the top.
- Fall Faux Florals
- Floral Foam
- Wire cutters
- Utility knife
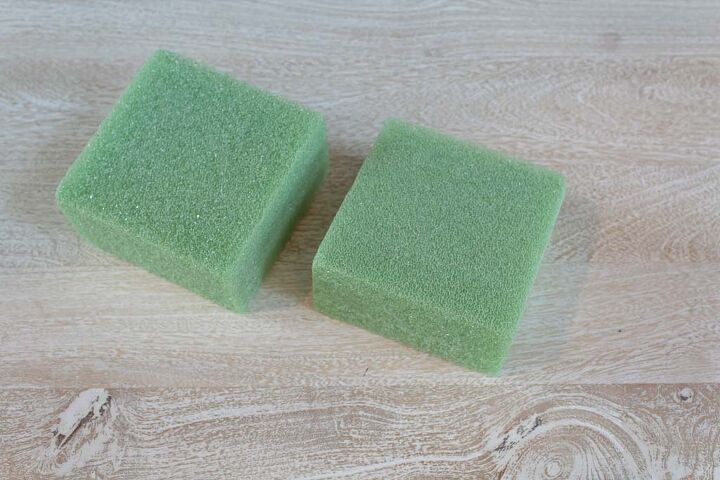
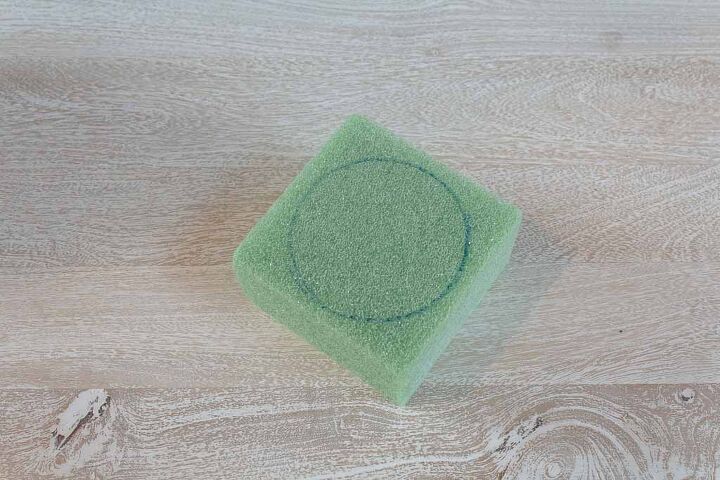
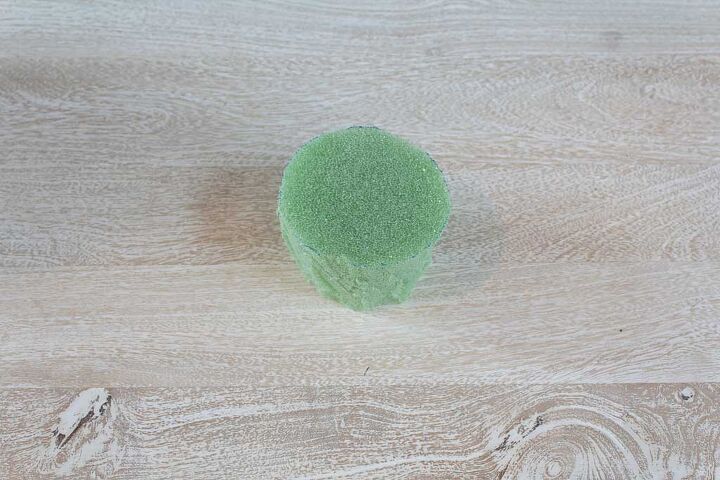
The foam block I purchased was thicker then I needed so I decided to cut it in half. This worked out perfect since I was making 2 identical centerpieces.
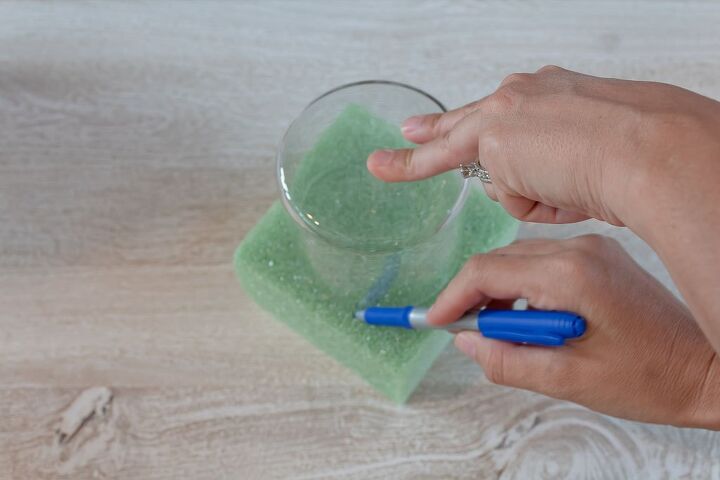
My pumpkin vase had a round opening so I grabbed the largest glass I could find in my kitchen cabinet to trace around so that my foam piece would fit perfectly inside. I used a utility knife to score the outside edge of the circle, but foam can be difficult to cut, so it took me a few passes.
Since the foam block takes up a good amount of space inside
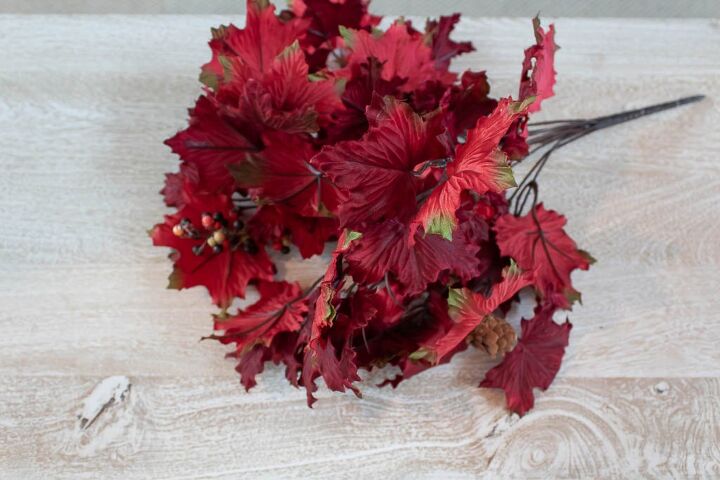
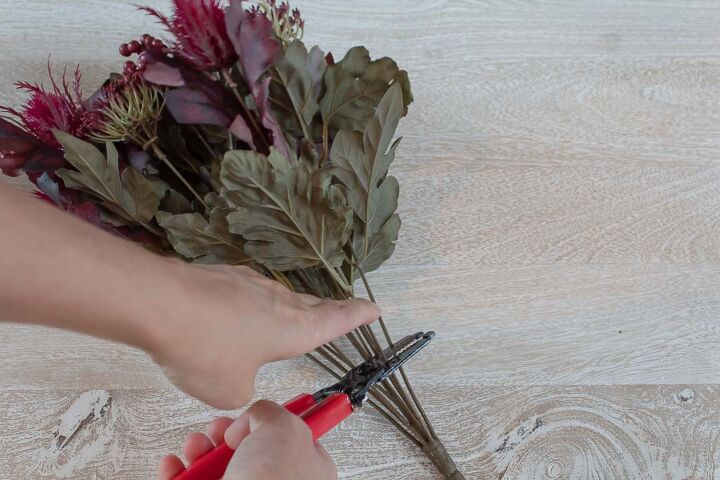
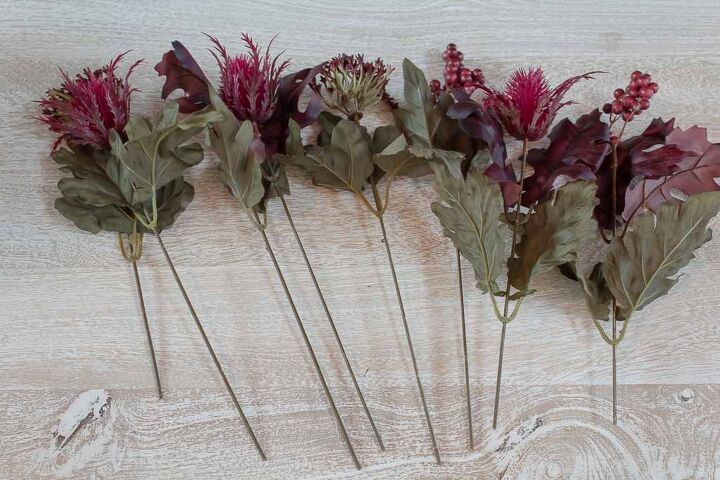
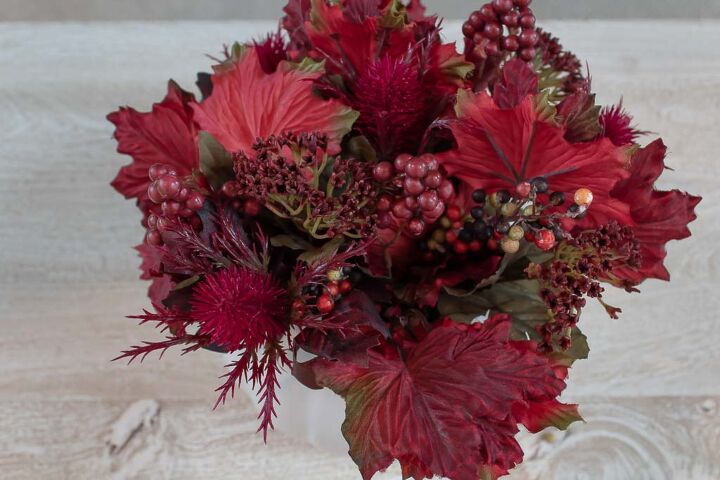
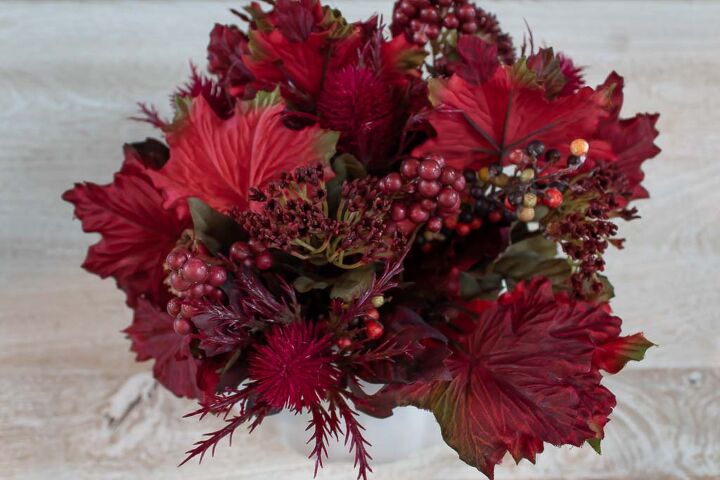
Lastly, you’ll want to separate and cut your floral bushes into individual stems.
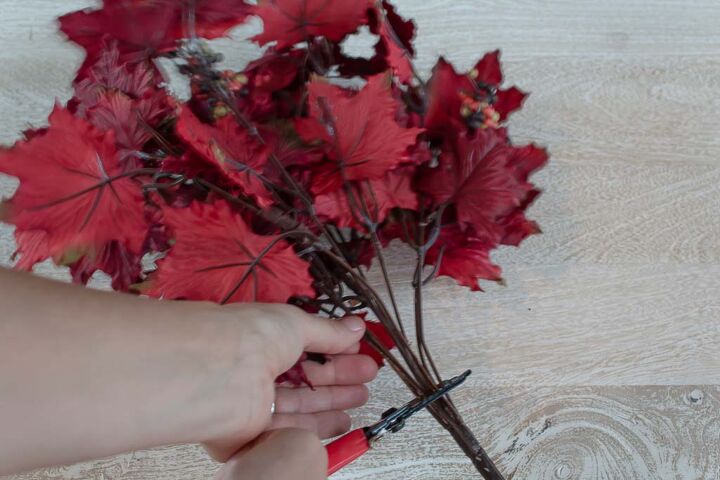
I said this project was easy, but with one caveat, you’ll need to get yourself some wire cutters. Trying to cut fuax florals with a regular pairs of scissors is near impossible due to the metal wiring they’re created with.
Once I had my two floral bushes cut up I randomly mixed together all of the stems and began placing them into the craft foam.
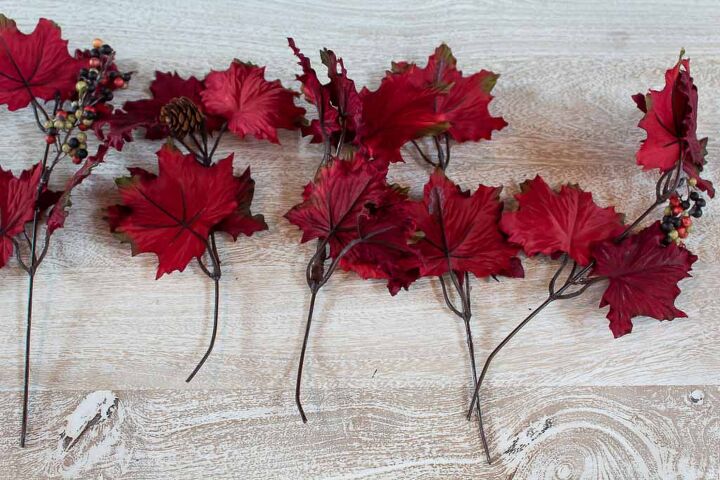
The key to assembling a faux floral centerpiece is to mix in a variety of textures or colors. Since I opted for a monochromatic look with all burgundy florals, I made sure to include a variety of stems like burgundy leaves, thistles, berries and other flowers.
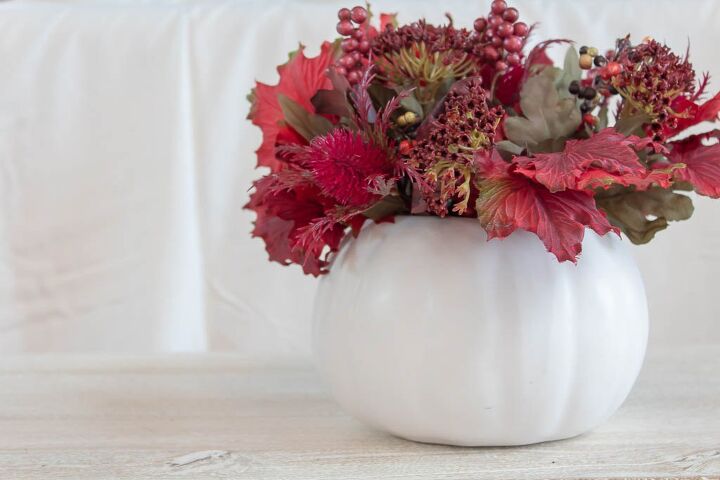
Continue inserting floral stems until your vase has a nice
That’s it! I told you this was an easy project! The great thing about this centerpiece is that I can easily switch out the florals to another color palette next fall. And I’ve already got some great ideas.
I can’t wait to share some more fall decorating ideas with you, so don’t forget to sign up for my newsletter below to be notified of upcoming posts and grab your free Love Your Home guide!

Grab your FREE PDF guide now!
And learn 3 QUICK things you can do NOW to change how you look at your home

Thanks so much for taking the time to drop by and spend some time with me. I hope this post and site help you to create something beautiful and inspired so that you can love the home you have.
P.S. If you enjoyed this, then you’ll love my other fall DIY decor below!
- simple and inexpensive fall place setting ideas
- DIY faux apple centerpiece for Thanksgiving


Comments
Join the conversation
-
The colors are so rich, beautiful!
-
I'm going to my daughter's home for Thanksgiving. I think I'll surprise her with a new table centerpiece just like this one. It is beautiful!!!


Frequently asked questions
Have a question about this project?