


Simple Stemless Wine Glass Centerpieces for Tables
Looking for quick, easy, and budget-friendly ideas to use as centerpieces for tables? Wait until you see how stemless wine glasses make the cutest centerpieces for parties.
This fresh flower centerpiece DIY can be used for any bridal shower, baby shower, quinceanera, graduation party, birthday, anniversary party, etc. They are super simple to make and easy on the wallet.
I made this centerpiece idea using stemless wine glasses as the vase for a bridal shower.
Have you used stemless wine glasses as a vessel for bouquets before?
They are very easy to find, inexpensive, and do double duty, as well…wine glasses!
And the best part about these centerpieces is you can use any kind of flowers you want in them!
If you are not married to a particular color scheme or flower, I pick up bouquets from the local markets because they usually run anywhere from $6.99 to $19.99 per bouquet.
And if I need to work with a particular color and do not want to risk it, I’ll connect with a local florist or flower farmer. Bouquets from a florist will cost a little more, but they are usually larger in size and much better quality.
I have made various centerpieces for tables using different suppliers, including my own cut flower garden.
For me, where I get supplies from depends on what I am making them for and the look I am trying to achieve.
Wait until you see how easy these stemless wine glass centerpieces are to make!
Choosing Centerpieces for Tables Color Scheme and Flowers
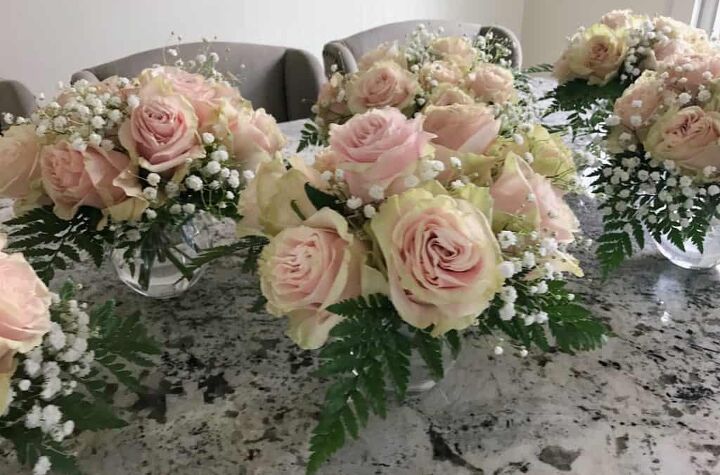
After discussing options with my friend, we decided to go with simple rose centerpieces.
Since she needed centerpieces for eight 60″ tables and the color scheme for her bridal shower was teal tablecloths with a champagne-colored overlay, I purchased flowers from the local florist.
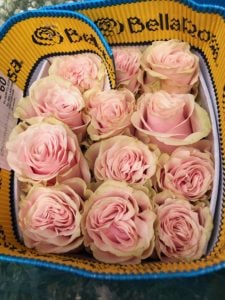
When I called the florist, I requested 8 dozen light pink roses as well as baby’s breath and ferns. The florist scored a $200 cost for my order.
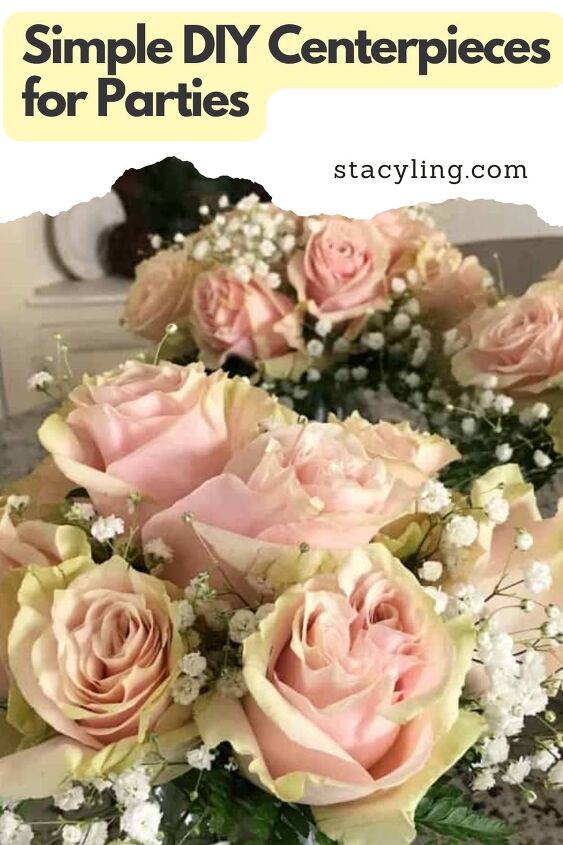
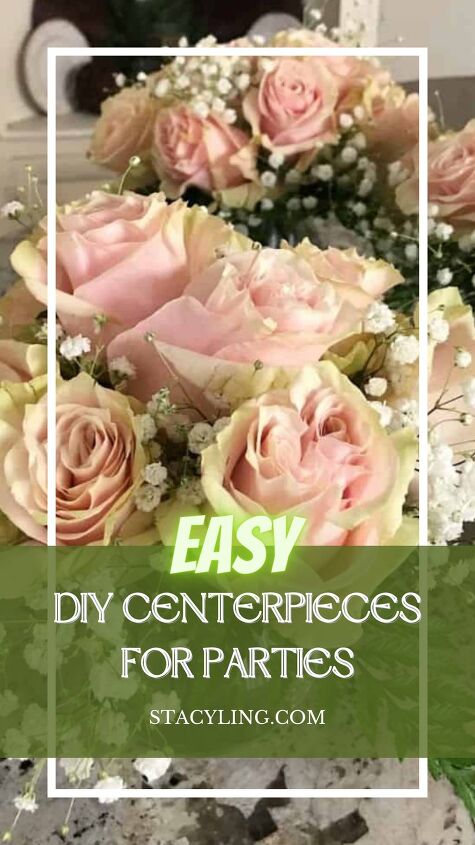
When I picked them up a few days later, I was not expecting these beautiful vintage-looking roses. They were absolutely stunning. I love the vintage edges of the flowers.
They almost looked almost like aged paper, don’t they?
How to Make Stemless Wine Glass Centerpieces for Tables
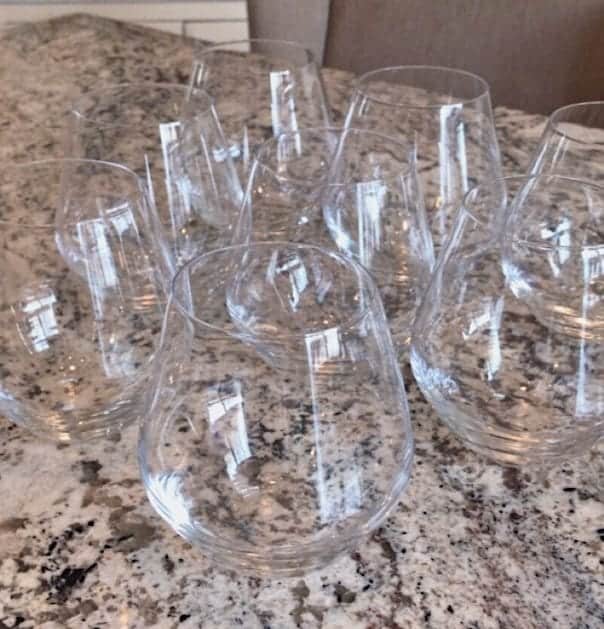
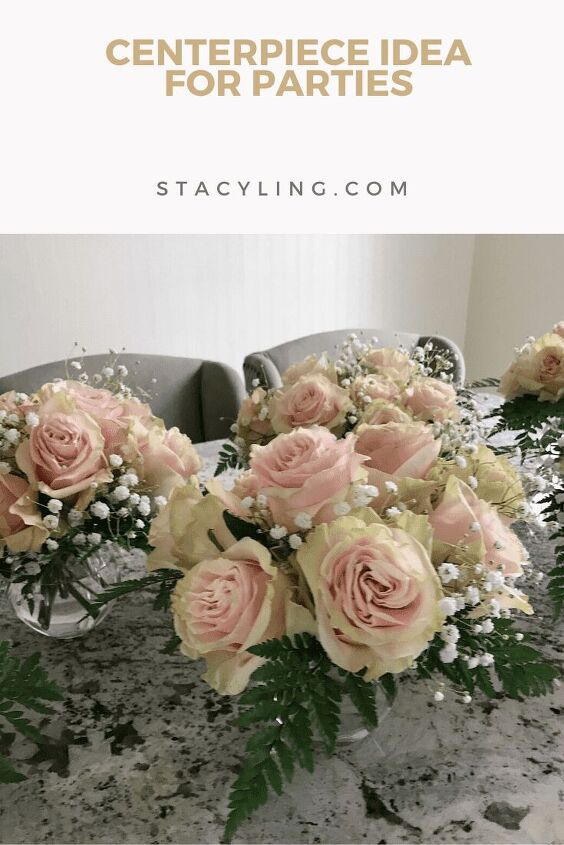
When searching for stemless wine glasses, I prefer a wider bottom and a more narrow mouth. Flowers sit and arrange nicely in this shape glass.
I purchased these stemless wine glasses from Homegoods. They were $9.99 for a 6-pack so I purchased two packages.
Supplies Needed to Make the Centerpieces for Tables
- Clean Scissors (wipe them down with a bleach solution or Clorox wipe, wash, rinse and dry well before using)
- Stemless Wine Glasses
- Flowers
- Water
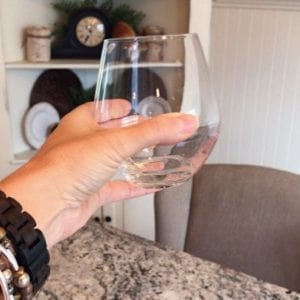
Step 1 – Fill Each Stemless Wine Glass with Water
Fill each glass about 2/3 of the way with fresh water so the fresh-cut stems go right back into the water.
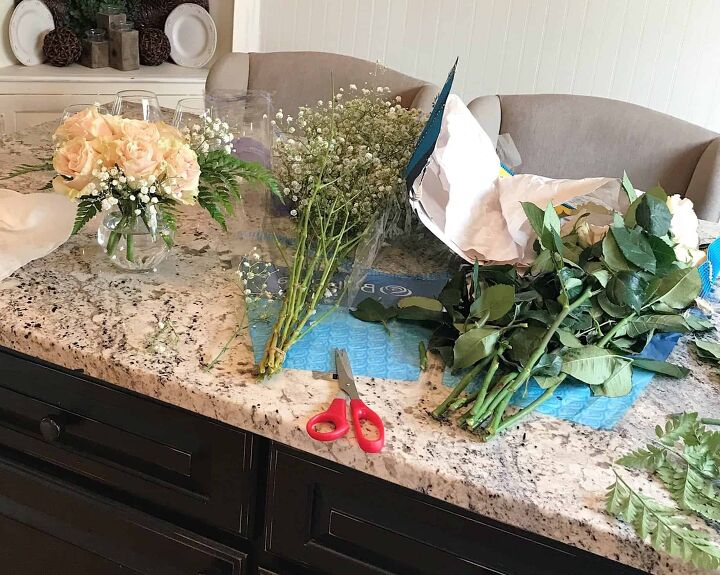
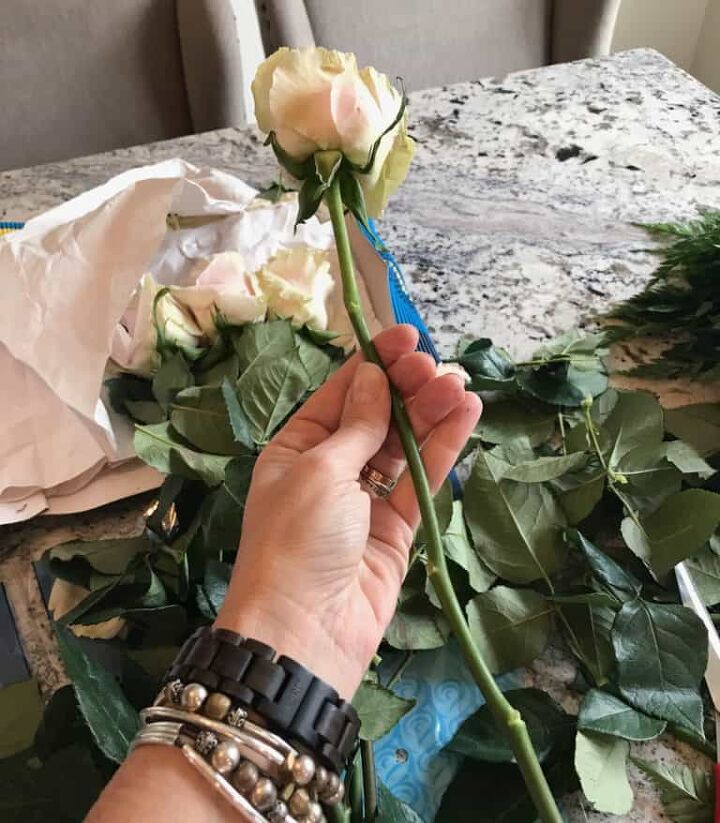
Step 2 – How to Prepare and Make Cuts on Fresh Flowers
It’s important to consider how far back you will be cutting each stem to fit the glass. I like to cut mine a little longer than I think I will need because it is much easier to cut more off than to add length back.
Hold one stem up to the glass, you want at least a few inches more than the head would be popping out of the top of the glass (again, you will cut a little more off later to cut it down to the right size).
When making cuts to fresh stems, always cut on an angle. This is the best way for the stem to take up water.
Make the first cut then pop into the glass. How much longer should you cut it back so the head sticks out about an inch or inch and a half from the glass mouth.
When you have the desired stem length, strip the green leaves off the stem then make the final cut to fit the glass.
It is important to cut the leaves off so they do not sit and rot in the water. Cut flowers will not last as long if leaves are rotting in the water.
Step 3 – How to Arrange Flowers in Stemless Wine Glasses
Once you know the desired length of flowers, I cut three and then dropped them in the glass.
I then cut three ferns back to about the same length as the flowers, stripped off any greens that would touch the water, and dropped them in around and under the three roses.
Once I had the base layout with three ferns and three roses, I cut three baby’s breaths and dropped them in as filler.
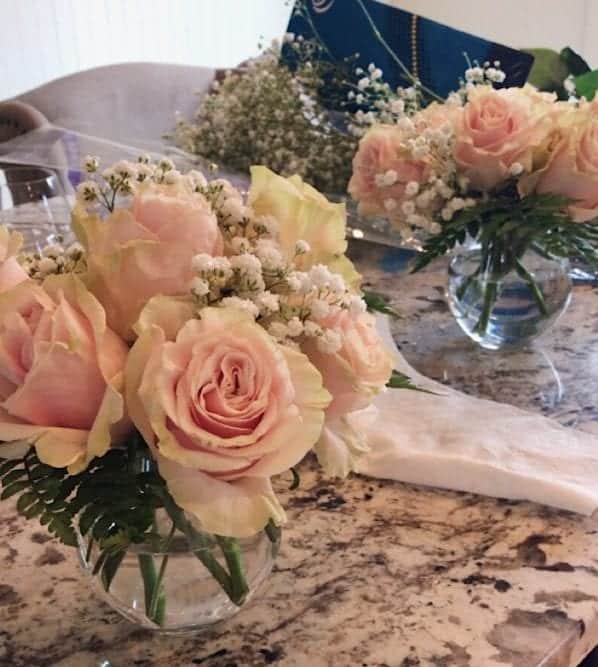
When I had three of each in one glass, I cut additional roses in the same manner as the first few, then stuffed them into the vases.
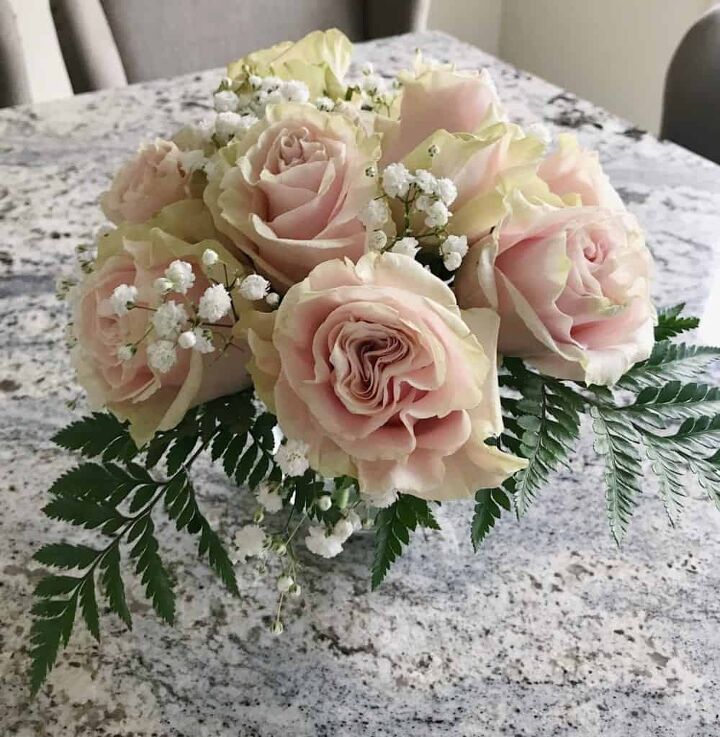
Since it best to work with odd numbers, I wound up with a total of nine roses in each vase.
I originally thought I could fit twelve based on the size of roses from the local markets, but the florist’s roses were much larger so I had to fit less.
Once I stuffed about nine in the glass, I added a few more baby’s breaths to fill it, adding more texture and dimension.
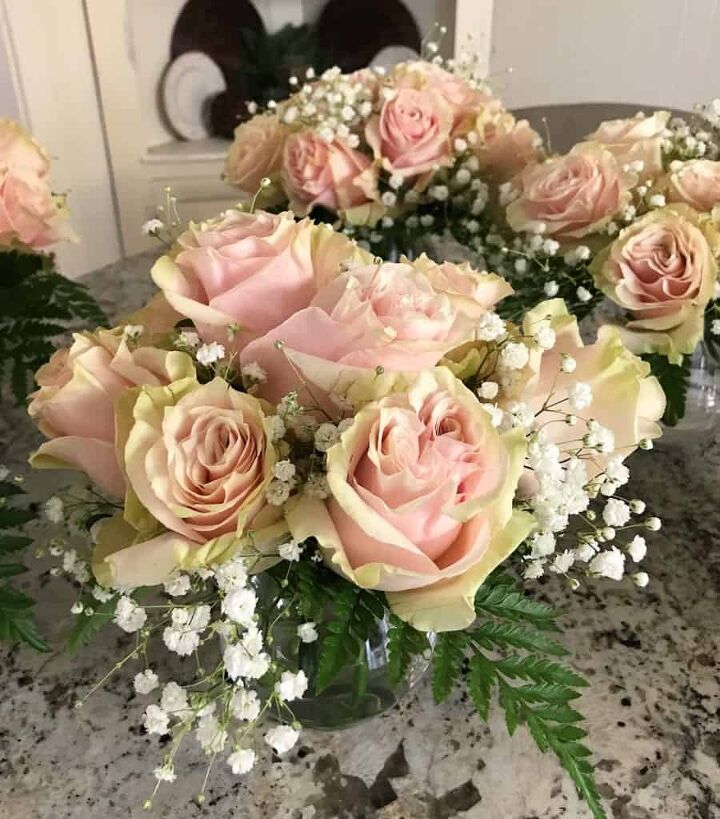
Since I originally estimated a dozen roses per glass based on the size of the flowers I purchase at the local markets, I would up with leftover floral supplies.
Although I was only making eight centerpieces, I had four leftover wine glasses, so I made the client additional centerpieces and used up all of the supplies.
The bride decided to use the extras as part of the decor at the gift and buffet tables.
For more quick, easy, and beautiful DIY ideas, CLICK HERE.
What Do You Think?
I hope this post inspires you to make your own floral centerpieces! They are very fun to make and last about a week.
Please Save and Share This Post!
If you like this post, please share and pin it on Pinterest. (If you hover over the image, the Pinterest button will be in the upper left corner.) I’ve created the below-custom pins for this post.
Subscribe to the blog and gain access not readily available to the public.
Thank you so much for following along.
Enjoy a beautiful day! xo
Let’s Connect!
If you like this post, please follow me @bricksnblooms on Pinterest, Facebook, Instagram, and Tik Tok. Subscribe to my YouTube Channel. Or join my Facebook Group.


Frequently asked questions
Have a question about this project?