


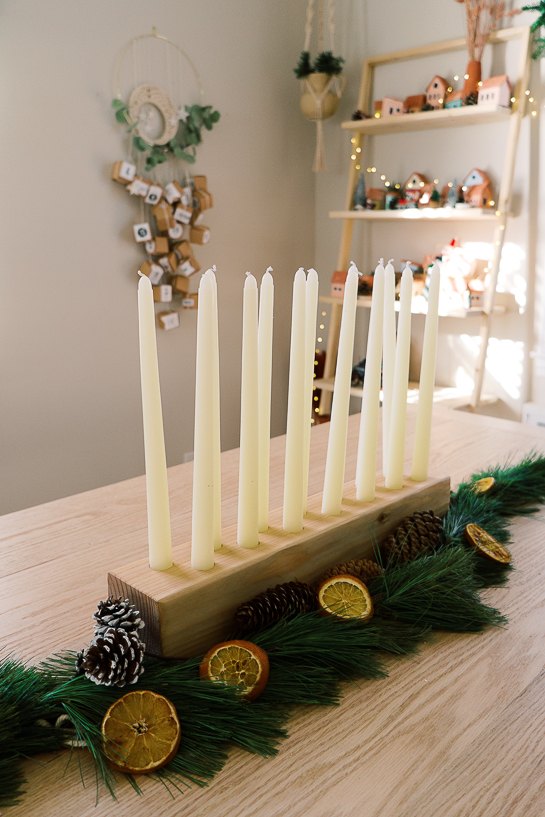
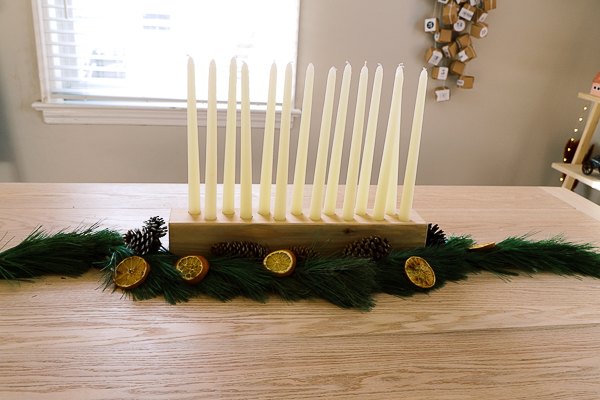
Taper Candles Centerpiece With DIY Natural Evergreen Garland

I’ve seen these around, but as usual, couldn’t justify the price. So I went ahead and made my own and I absolutely love it! The only thing I would’ve changed is to make it a bit longer. But oh well, it’s such an easy project, I’ll probably make another one when I get my drill press. A drill press would make the job waaay easier and more precise. But I still love the way it turned out! Find full tutorial on my blog or watch it on YouTube along other fun DIY Scandinavian-inspired Christmas decorations.
Cut 4×4 to length. I measured how many candles I have (14) and where I’d like to place them.
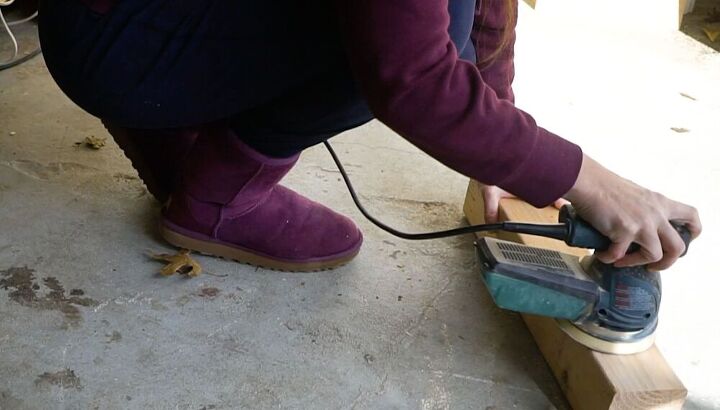
Sand it smoothly.
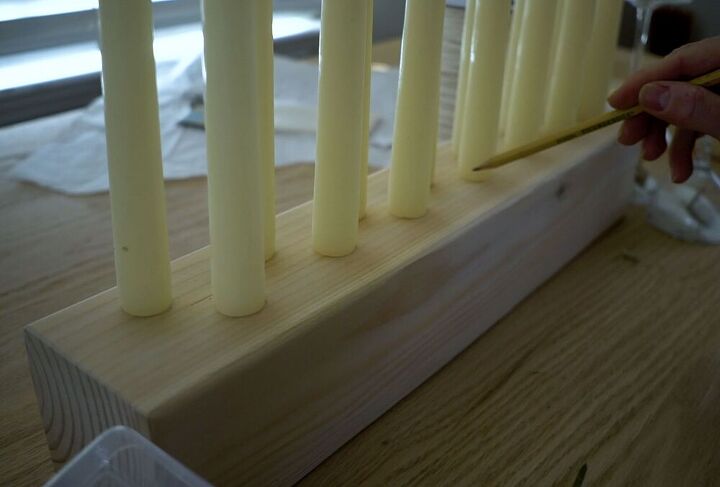
Measure the diameter of taper candles on the bottom. Mine was 7/8″. Place taper candles once again and see what is the perfect place for each. Mark their location.
Take the drill bit and put a tape on it to stop at the depth you’d want to go.
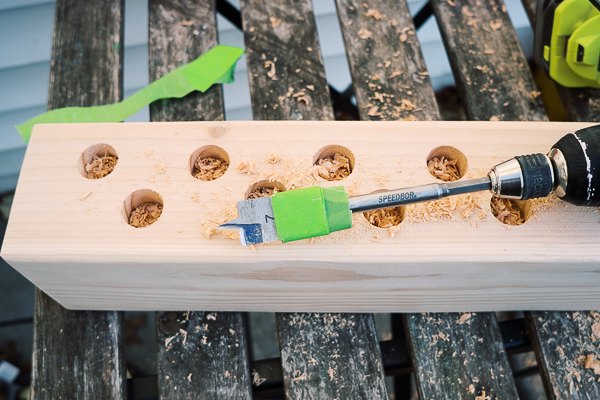
Carefully, start drilling at a perfect 90-degree angle, make sure that the bit doesn’t wander off the course.
When the holes are ready, sand them down. I used Dremel lite to smooth the holes inside.
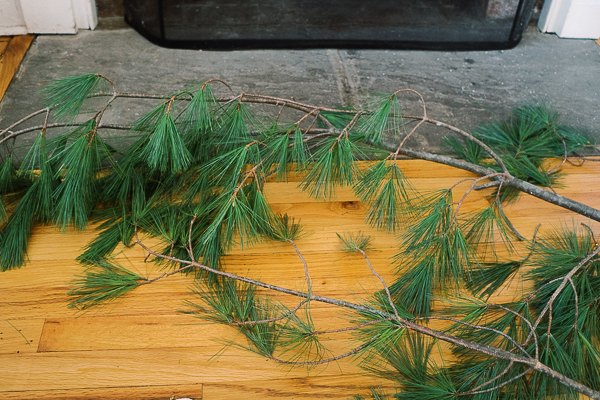
Find an evergreen branch
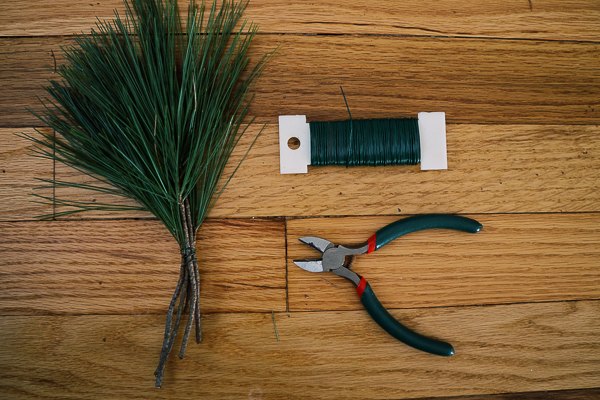
Cut small branches and put them together in a “bouquet”. Tightly wrap it with floral wire.
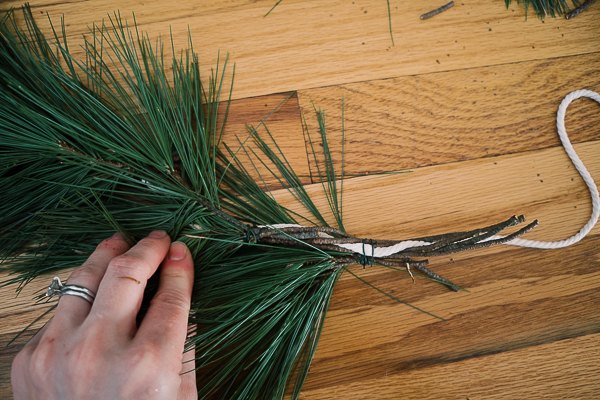
When you have a bunch of them, take a piece of rope (the length of how long you want your garland to be). Using floral wire, start attaching “bouquets” to the rope. Flip the rope after every “bouquet” so it’s even from both sides.
Resources for this project:
See all materials


Comments
Join the conversation
-
Beautiful I can picture it all lit up on Christmas 🎄 Eve !


Frequently asked questions
Have a question about this project?