


Weathered Wood Planter Box / Centerpiece

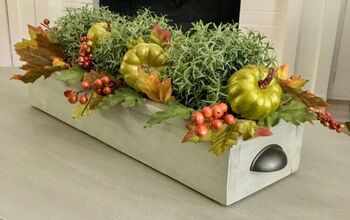
How cute is this planter box? This was so easy to make using scrap pieces of wood that I had around the house. Adding a light white wash to the box gave this piece a beautiful weathered look that is subtle but still charming. The decorations inside can easily be changed for a more seasonal look.
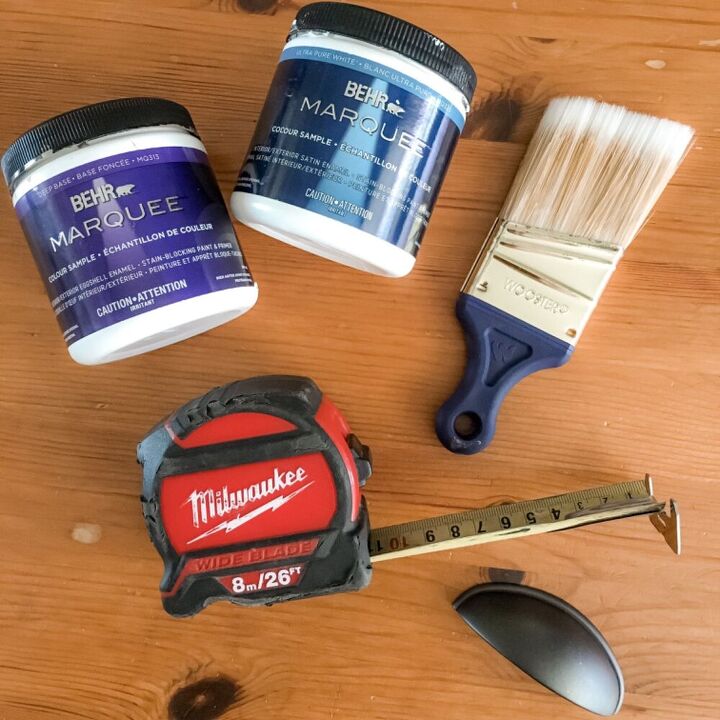
- Measuring Tape
- Paint Brush
- Cup Pulls
- Paint (one dark color and one white)
- scrap wood
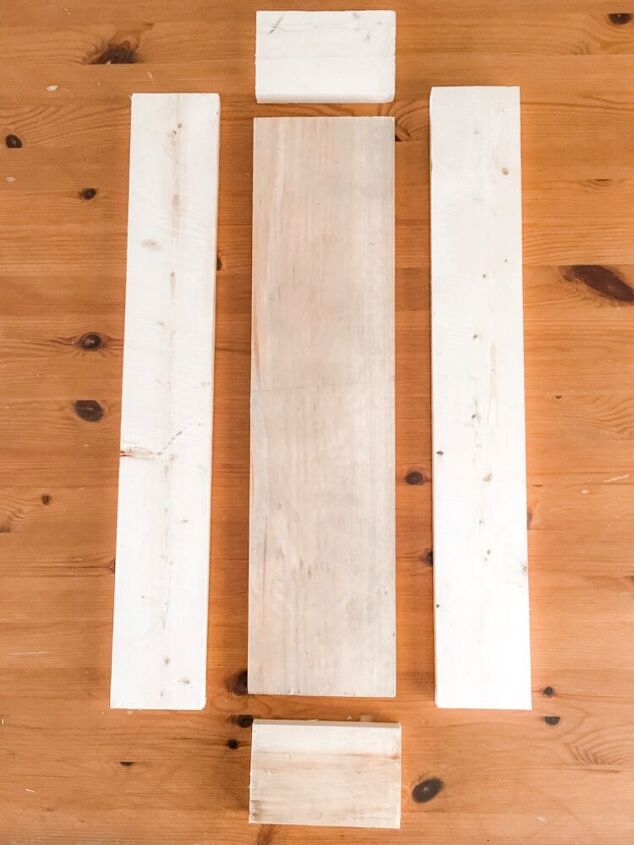
This planter box can be made to any size you like. It’s great because you can really get a custom look for any area of your home. For reference I Have provided the measurements I used below:
- 1 piece 5 1/2” x 22 1/2”
- 2 pieces 5 1/2” x 3 1/2”
- 2 pieces 24” x 3 1/2”
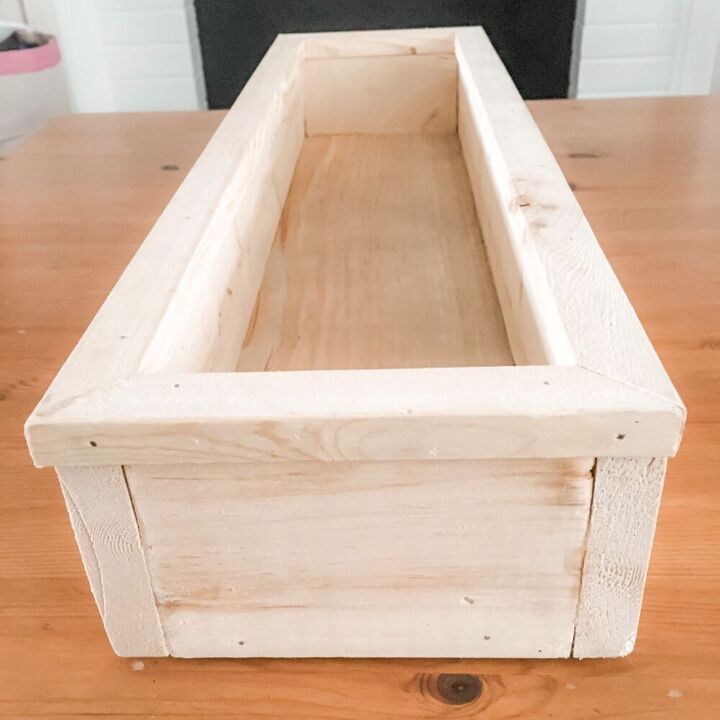
You can now assemble your box by simply nailing the boards together. If you wish you can also add a bead of wood glue to the boards prior to nailing. Once I had the box built I felt like it needed something else so I framed out the top with some wood pieces cut at a 45 angle. This is not necessary and you can leave the box as is and move on to the next step 😊
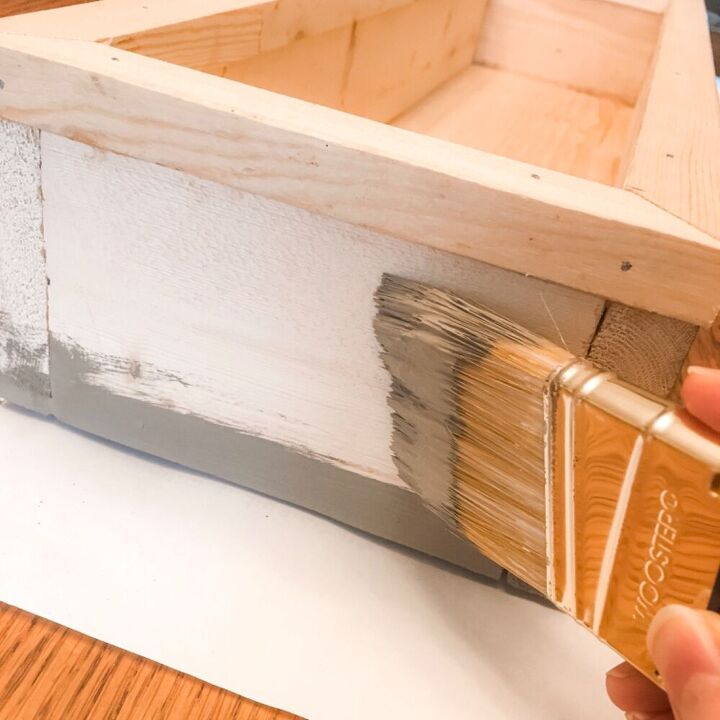
Now it’s time to get painting (or staining) ! I did not sand my piece at all before painting as I wanted it to have a more rustic look. If you wish to give your box a weathered wood look I recommend choosing a dark gray/brown tone paint.
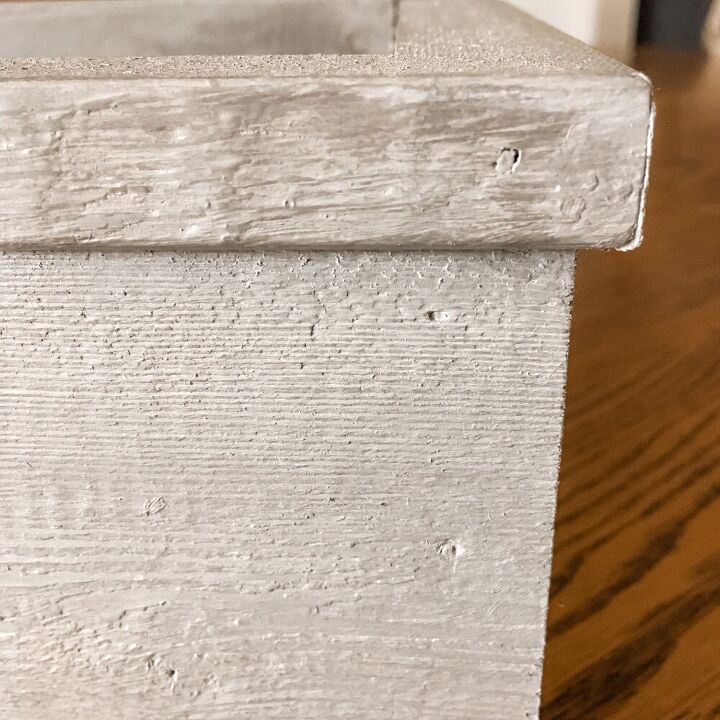
To achieve this weathered wood look, all I did was water down some white paint, paint it on and then wipe off any excess. You can do this step several times until you are happy with the results.
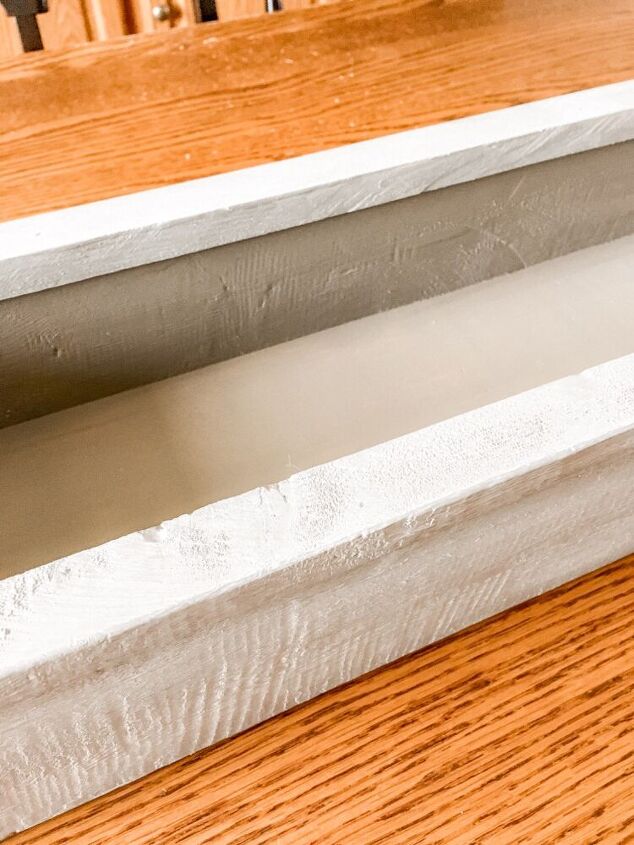
In this photo you can see the difference between the plain painted wood and the white wash effect. I left the inside of my box plain as I liked the two tone look.
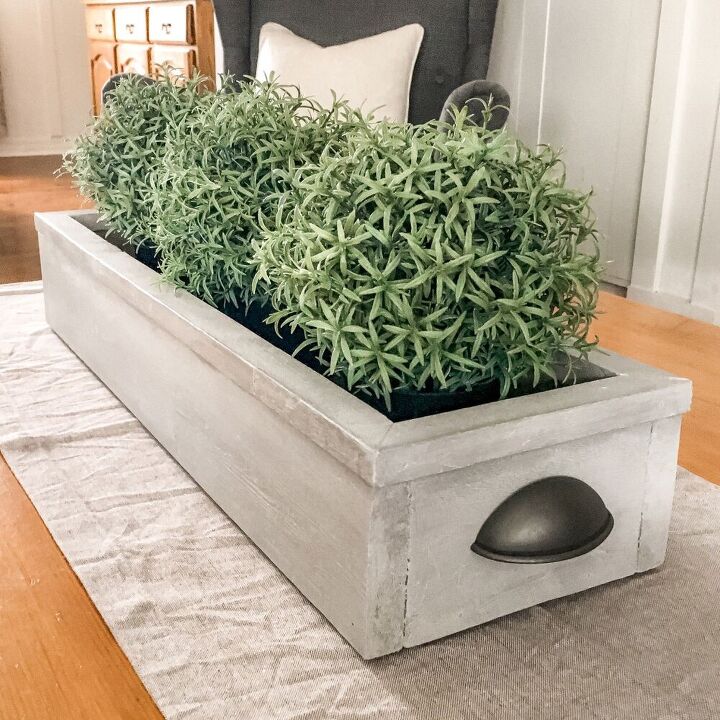
To complete this project I added two cup pulls to each end of the box. Not only do they look cute, but are also very functional when I need to move the planter box around. I kept the decor in here simple for now, but I feel like this will be a fun piece to style for each season.
Resources for this project:
See all materials


Comments
Join the conversation
-
This is gorgeous! Love how creative you can get with it.
-
Stunning idea and may I ask where you purchased the those greenery balls
because I only see the boxwood and what’s the name of those. I love it💡🌟👊🏼👏🏼💪


Frequently asked questions
Have a question about this project?