


How to Make Your Own Paper Napkin Design to Decoupage
7 Materials
$10
1 Week
Medium
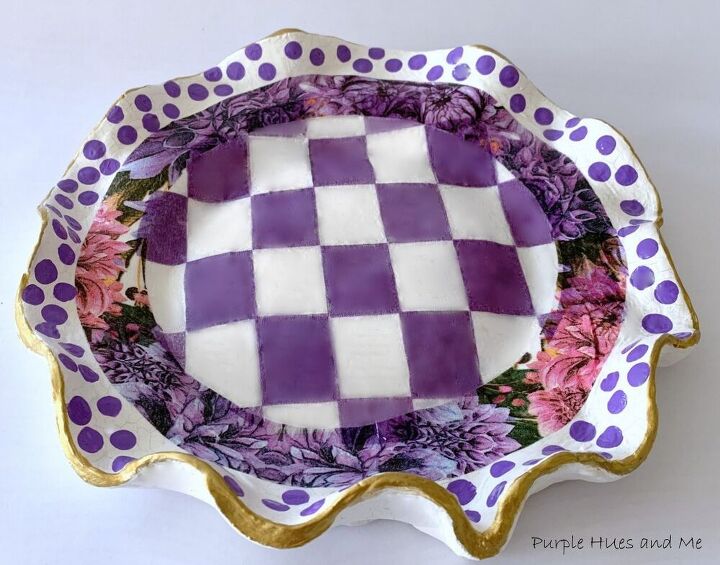
I wanted to make a large air dry clay dish that I could paint and decoupage inspired by an item I saw on Mackenzie-Childs' retail site. The problem was I couldn't find paper napkins in a purple checkered pattern to use for the project. So the next best thing to do was to make my own paper napkin design! But first, I needed to make the air dry clay dish.
How to Make an Air Dry Clay Scallop Dish
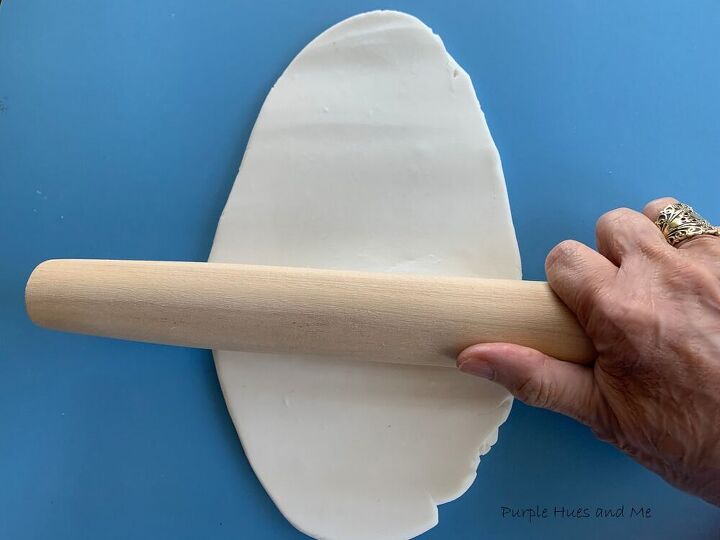
So I started again, this time using a silicone baking mat and adding a little bit of cornstarch to the surface. The clay barely fit on the baking mat, but worked none the less. Then I tried sizing a scallop dish that I would use to mimic the scallop edges I needed in the clay dish. I had to go from using an almost 12 inch dish to a smaller one that was 8 1/2" wide instead because I couldn't roll the clay out any larger without adding more clay - which I didn't have.
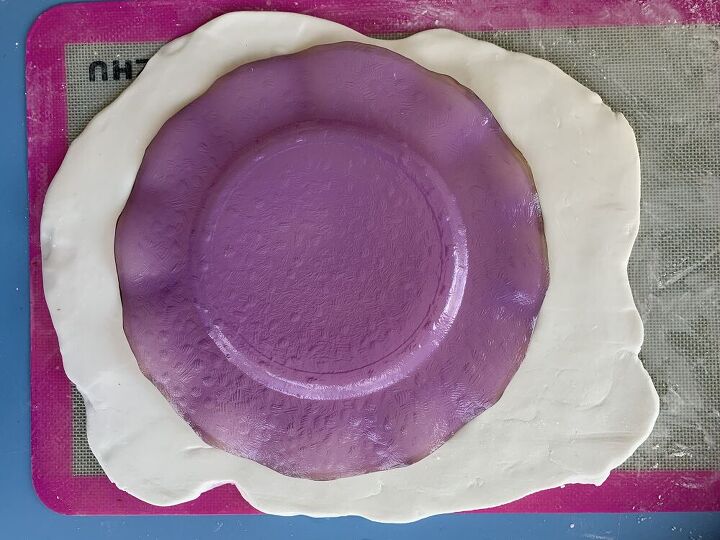
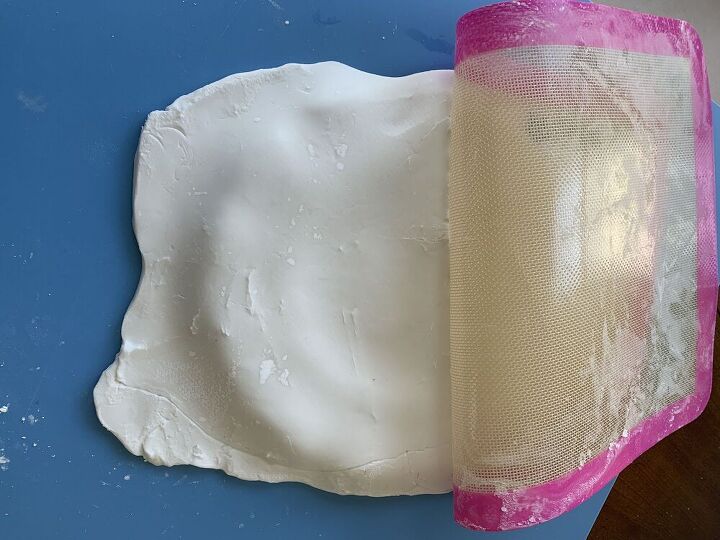
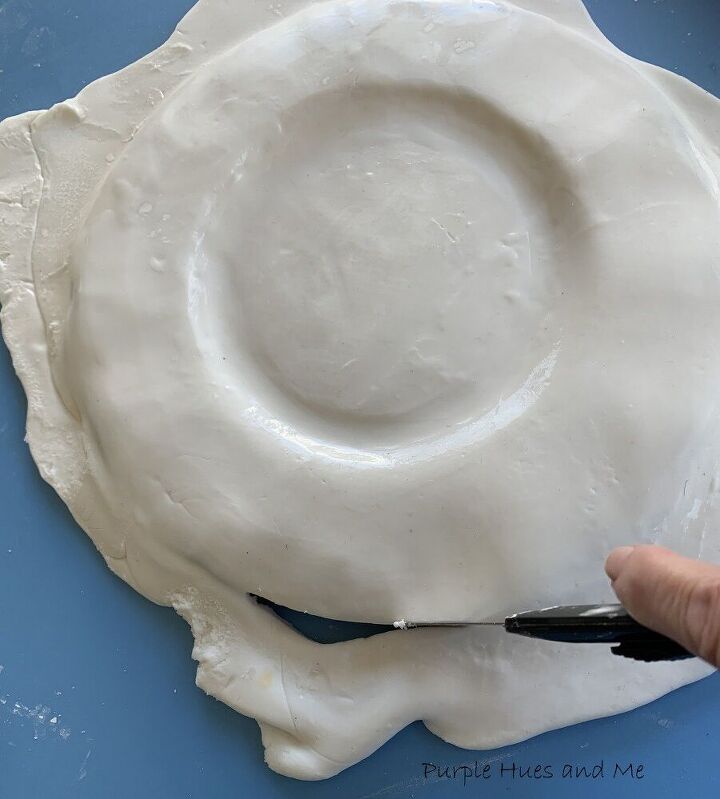
After sizing the dish to the clay, I was able to remove the silicone mat from the clay by flipping it upside down and pulling it off onto the dish.
Next, I cut off the excess clay around the dish, but had difficulty shaping the clay to the scallop edges of the dish. There wasn't much of any clay scallops showing! They seemed too shallow!
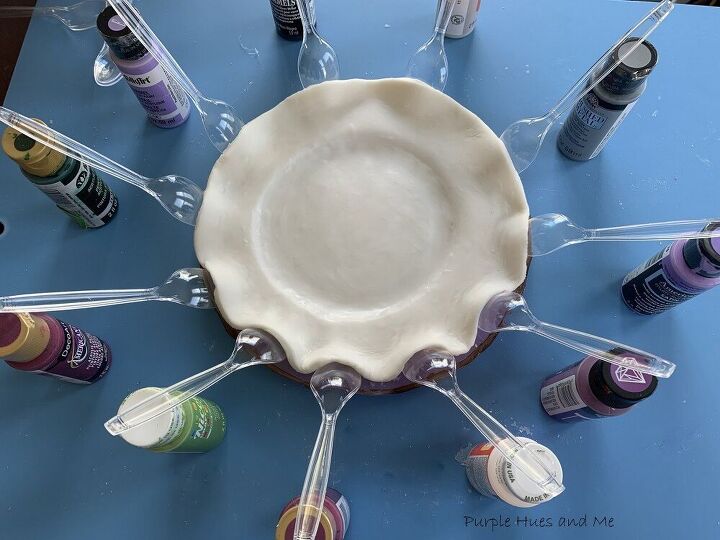
I needed to use something to enhance the scallops and to hold the shape of the clay while drying. So I grabbed some plastic spoons - ding, ding ding! What a terrific idea! It was easy to lift the clay up with the spoons and to prop each spoon (scallop) using small paint bottles while the clay dried. Little did I know that it would take at least five days for the clay to dry. And for a couple of days, I placed the contraption outside in nearly 100 degree temps to help with drying. I thought, "I should have used oven baked clay - but then, how would I prop up the scallops in the oven? I couldn't use plastic spoons and the small bottles of paint."
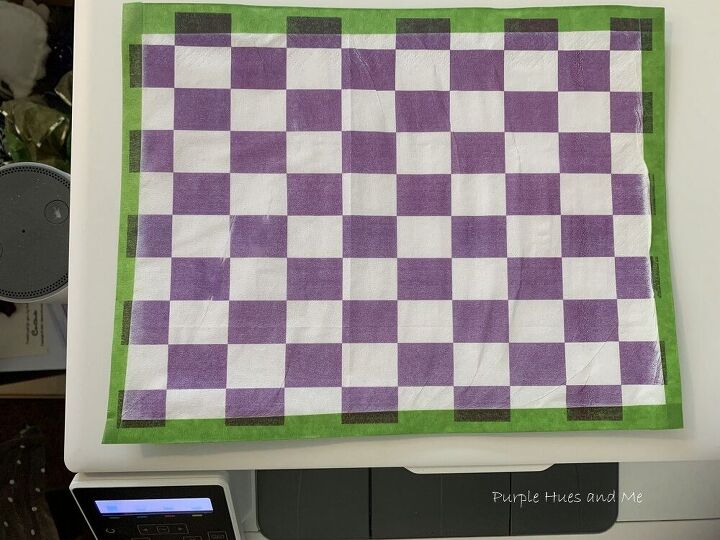
How to Make Your Own Paper Napkins Design

and printed out the design - it was that easy! I didn't separate the napkin layers before taping and printing like I should have according to a couple of tutorials I read. It worked none the less and I'm quite pleased how easy the process was!
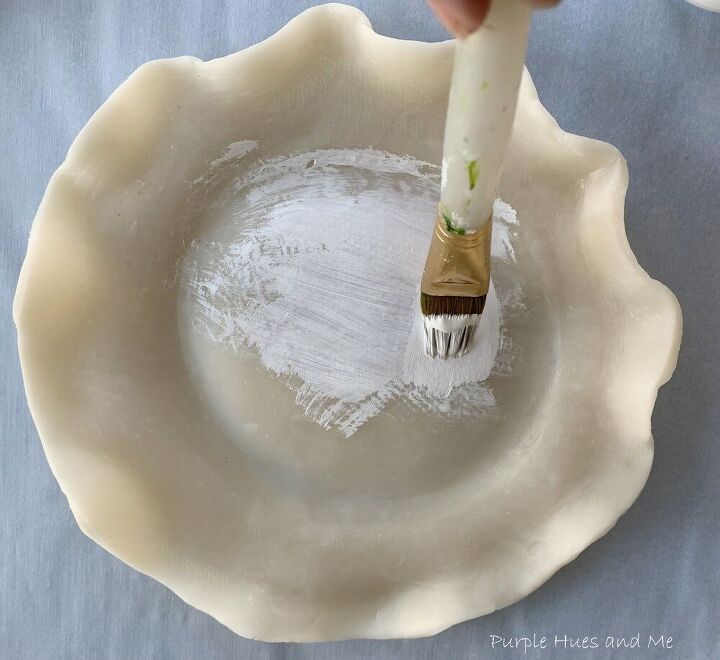
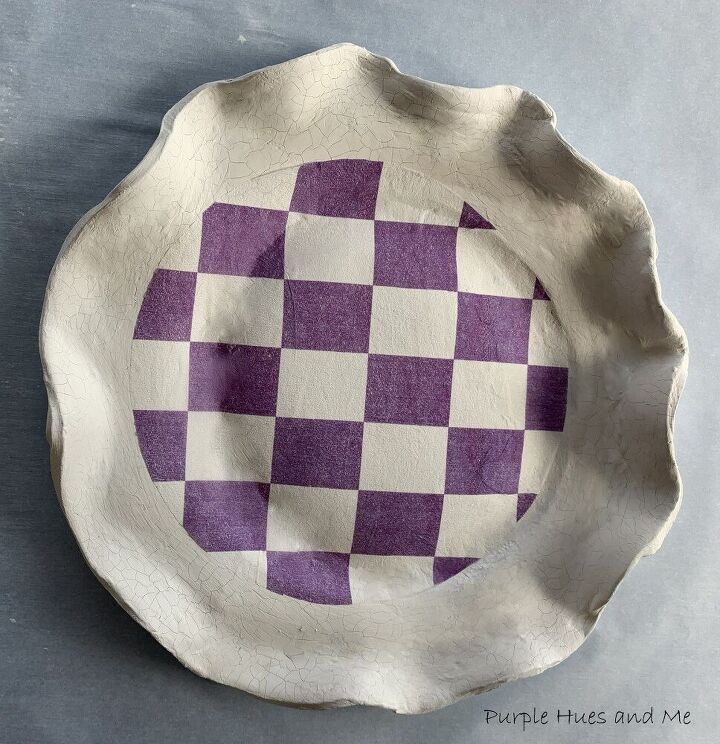
Once the clay dish was dry, I sanded some of the rough spots and edges and then painted it using white chalk paint.
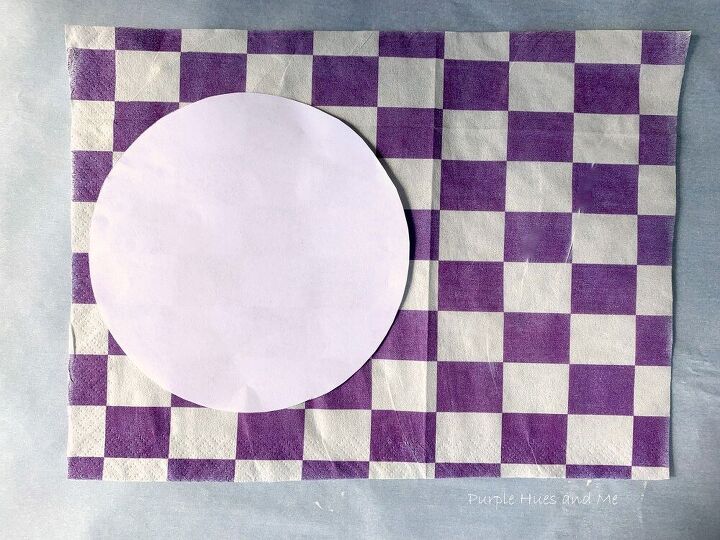
Next, I made a paper template the size of the middle area of the clay dish and cut it out. Then I separated the white layers of the napkin from the checkered design . . .
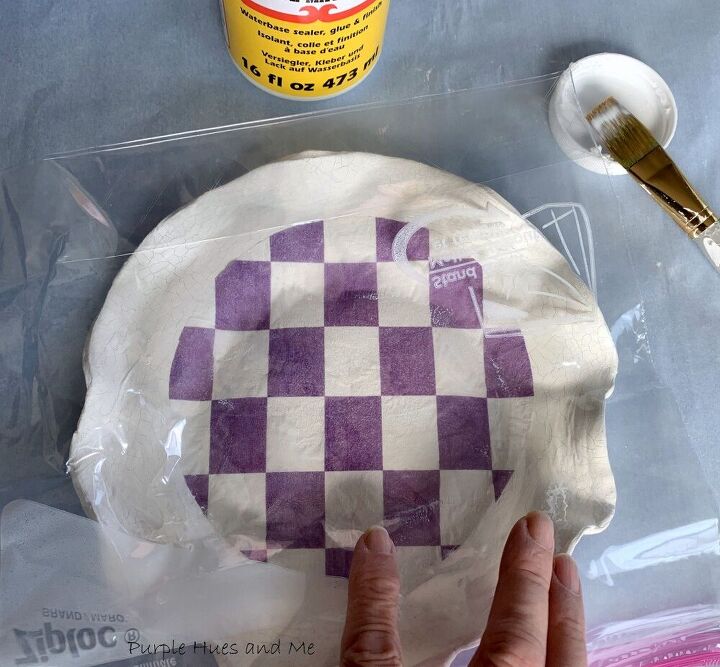
applying Matte Mod Podge to the area. Then I gently laid the design over the area, smoothing it out with a plastic baggy.
Once dry, I sealed the dish with more Mod Podge and let dry.
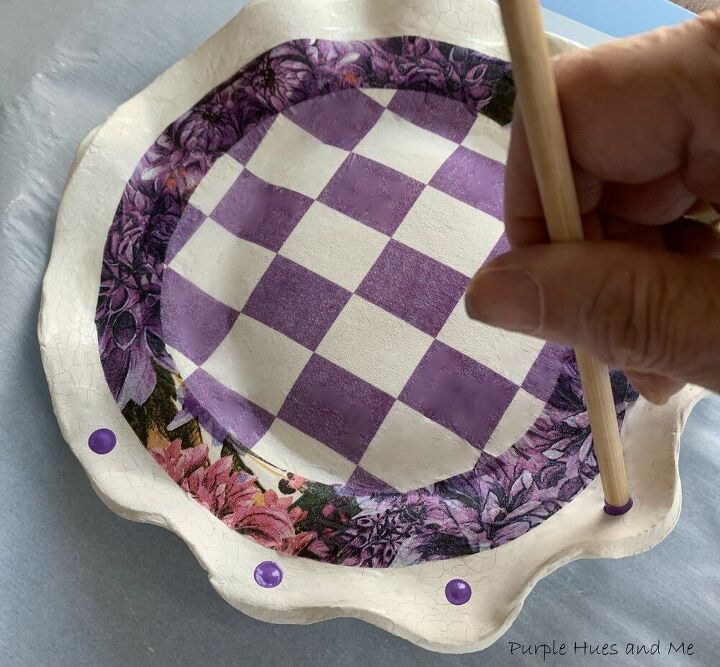
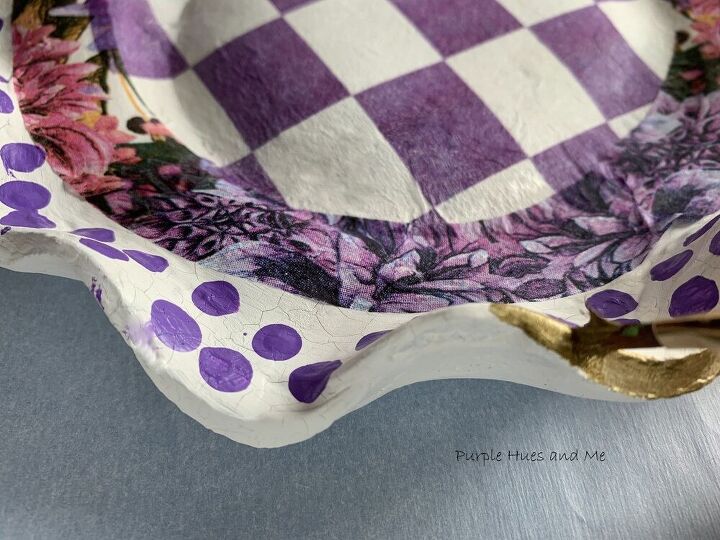
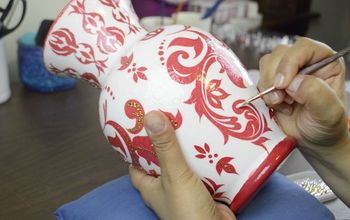
The dish needed something more, so I decoupage a cut-out border from a decorative paper napkin I had on hand to the edges of the checkered pattern. I liked the way the colors in the border complimented the checkered napkin.

Then I added a mishmash of painted dots around the scalloped edges using the end of a dowel rod dipped in paint . . .
and finishing the look by painting the edge of the dish metallic gold.
Once the dish was completely dry, I applied a few coats of a gloss varnish - drying between each coat . . . to achieve this lovely design - exactly what I was going for!
Resources for this project:
See all materials


Any price and availability information displayed on [relevant Amazon Site(s), as applicable] at the time of purchase will apply to the purchase of this product.
Hometalk may collect a small share of sales from the links on this page.More info

Want more details about this and other DIY projects? Check out my blog post!


Frequently asked questions
Have a question about this project?