


Adorable No-Sew Ghosts – Three Daughters Home

***For more fun DIY projects and home decor inspo, please visit MY BLOG. Thank you!***
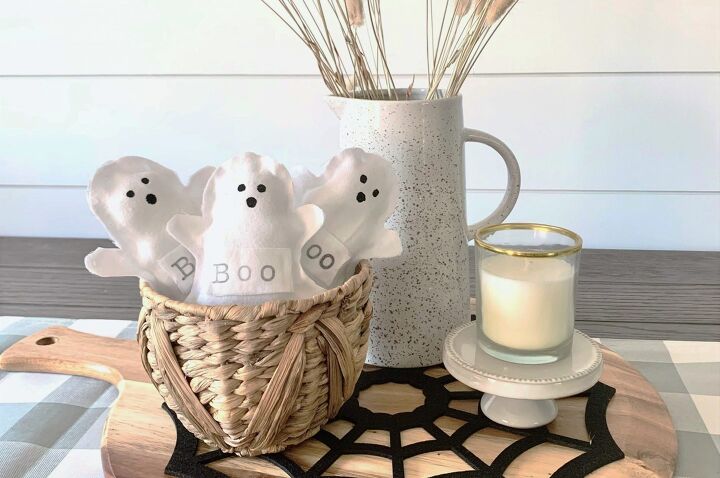
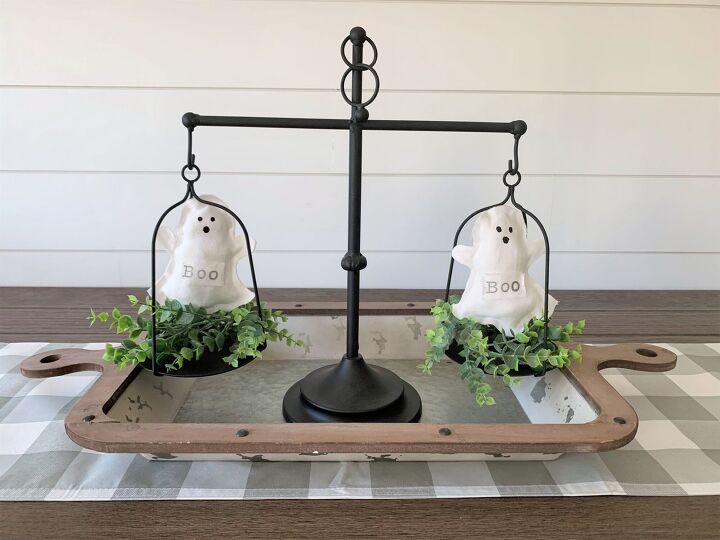
It’s almost Halloween, and I am here for it!! And what’s Halloween without ghosts?! Spooky, scary ghosts are super fun and all… but so are these adorable no-sew ghosts that are insanely easy to make! (Seriously; you can’t mess them up.) The inspiration for this project came from Jenn over at @motherthyme, who made hers with some muslin cloth and fabric markers.
Here’s how I made mine:
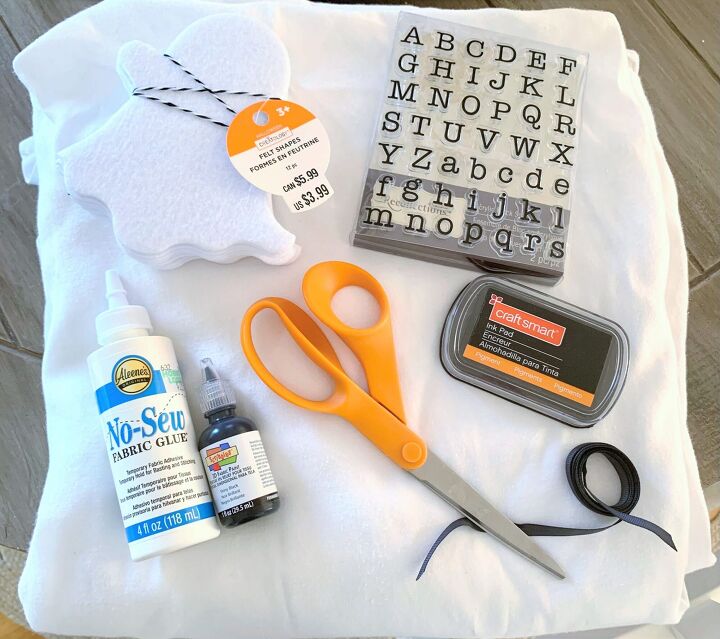
What You’ll Need:
-Any kind of fabric (I used a white bedsheet, but you could also use muslin fabric)
-Ghost stencil (I used one of these felt ghosts from Michael’s, or you could google search one and print on paper)
-Scissors (I recommend fabric scissors)
-Fabric glue or a hot glue gun
-Polyfil
-Rubber stamps (I already had these, but I'll link some from Amazon)
-Ink pad
-Black fabric paint (I'll link the exact one I used)
-Optional: sewing pins for easier cutting
-Optional: ribbon for a bow
How To:
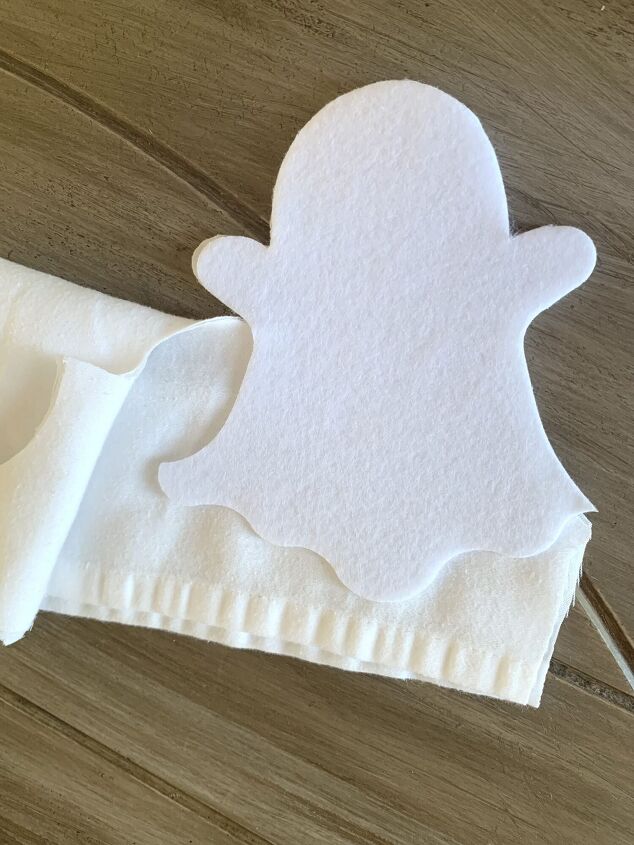
Step 1: Place your ‘stencil’ on top of two sheets of fabric. You can use pins if you want, but the felt stuck to my fabric pretty well, so I went without. You may even be able to get away with forgoing a stencil altogether by just drawing a ghost freehand if you wanted to. Any fabric will do — Literally. I happened to have an old white bedsheet (which I washed first, don’t worry) and this worked perfect. Otherwise, a quick trip to Hobby Lobby or even Amazon will have what you need.
Step 2: Cut out your ghosties. And do not worry if your edges aren’t perfect. I think the less perfect, the better! Focus more on making sure your two pieces are lined up versus following the stencil perfectly, and you’ll be golden. You guys, I promise you… you can’t mess these up, lol.

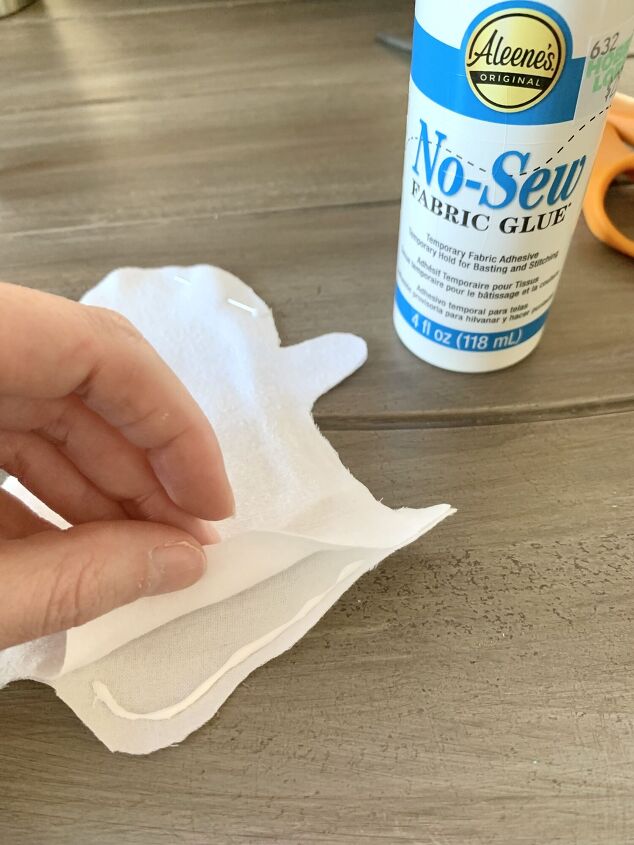
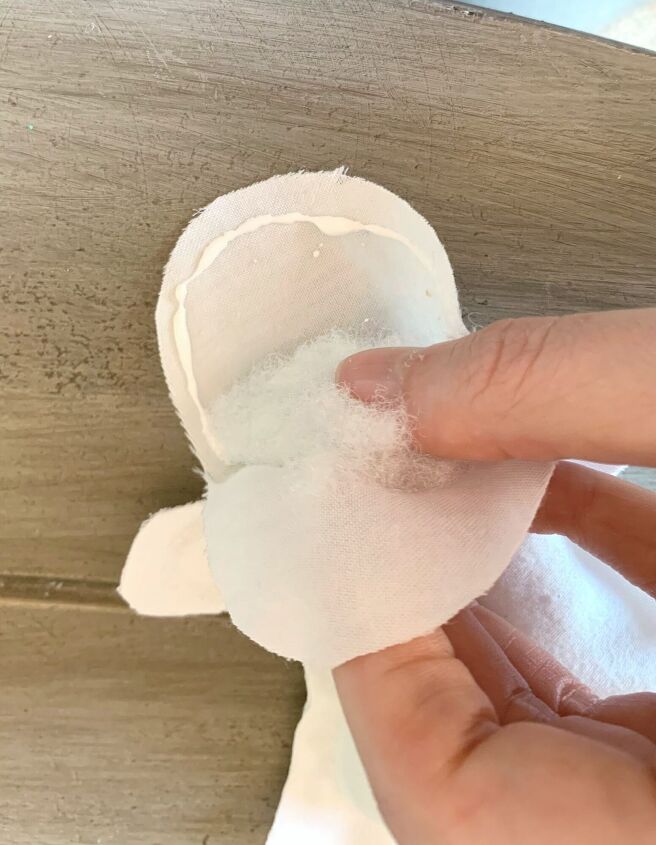
Step 3: Glue the two pieces of fabric together. I made my first couple ghosts by pinning the two pieces together and would remove the pins as I went; but depending on your fabric, you may not really need them. Whether you’re using hot glue or fabric glue, you’ll want to squeeze a thin line of glue all around the edge, leaving one end open for your stuffing. The pro of using fabric glue is that you don’t need to worry about burning your fingers. (A big plus, lol.) The con of fabric glue is that it does take a while to dry. You’ll want to wait until your glue is completely dry before you start stuffing. (You can even skip to Step 6 while you’re waiting.)
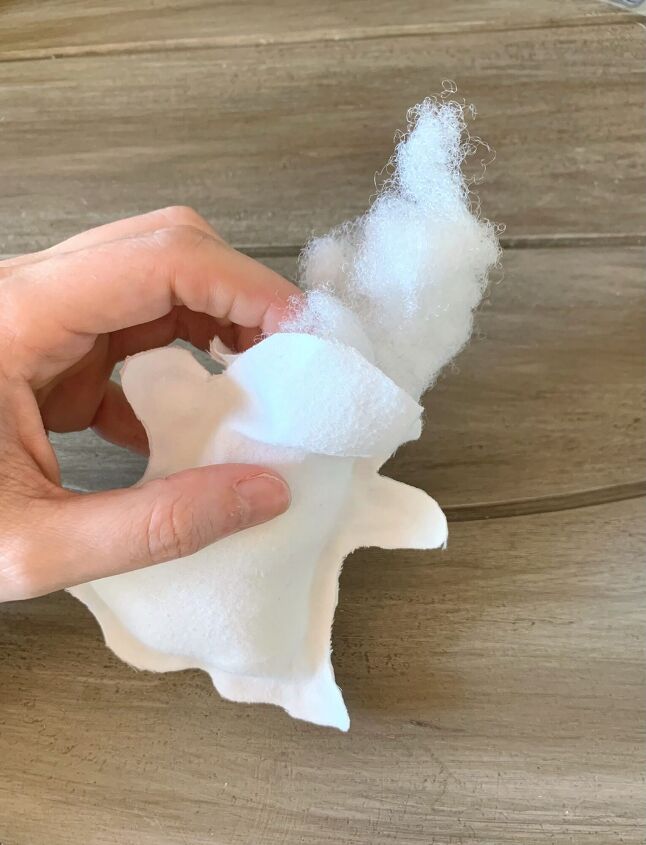
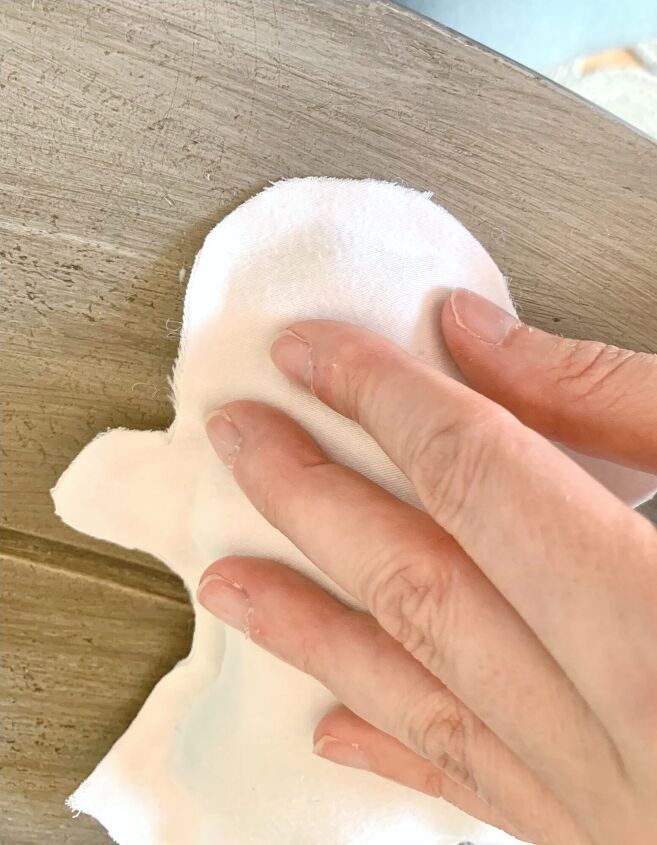
Step 4: Stuff and glue ‘er shut! Using little bits of Polyfil at a time, stuff your ghost leaving enough room to be able to glue it shut. Once you’ve glued it shut, this is where it may be helpful to use pins to keep the fabric from lifting while it dries. + PRO TIP: If you’re only making one or two of these, you could probably get away with just using cotton balls!
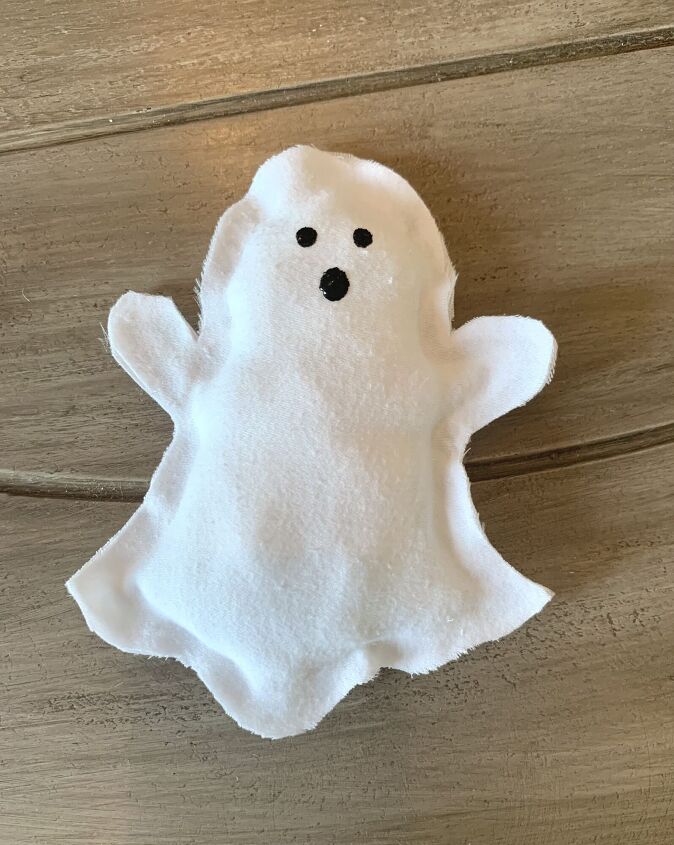
Step 5: Using black fabric paint (or a fabric marker would work as well), paint on little eyes and a mouth. You may be able to use a regular Sharpie, but I would test it on a fabric scrap first as the color may bleed.
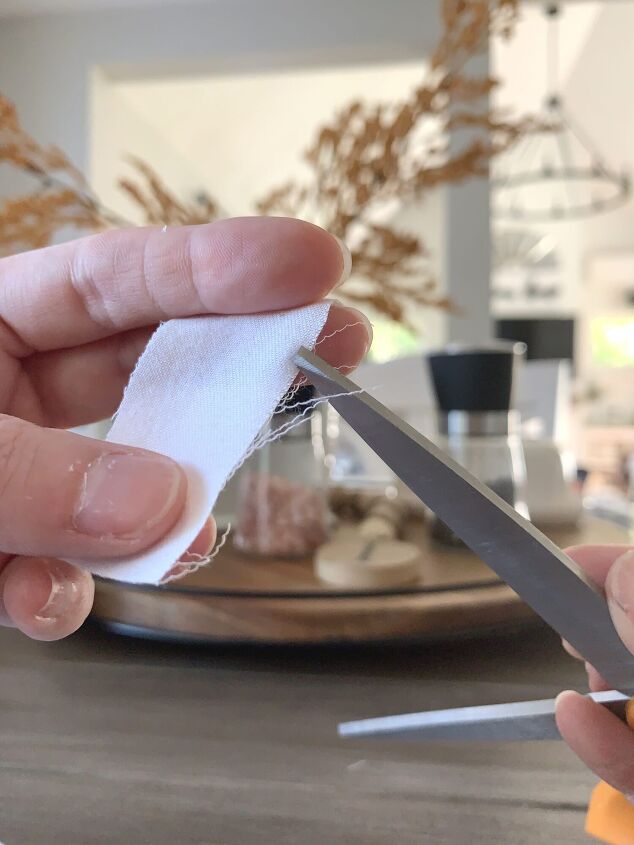
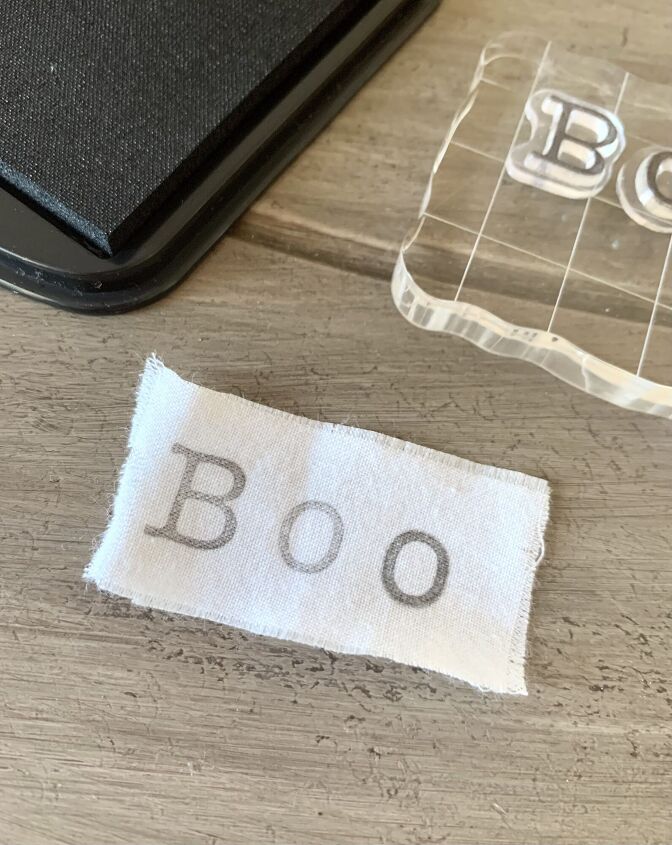
Step 6: Out of your scrap fabric you have left, cut little rectangles and (optional) fray the edges with your scissors. I think the fraying gives it a more homemade/handmade vibe, but if your fabric doesn’t fray easy, you can skip this step. Using your rubber stamps and ink pad, stamp whatever your little heart desires! I did ‘Boo’ for most of mine, but you could do ‘Spooky’ or make three separate ghosts to read ‘Trick’ ‘Or’ ‘Treat’ — sky’s the limit!
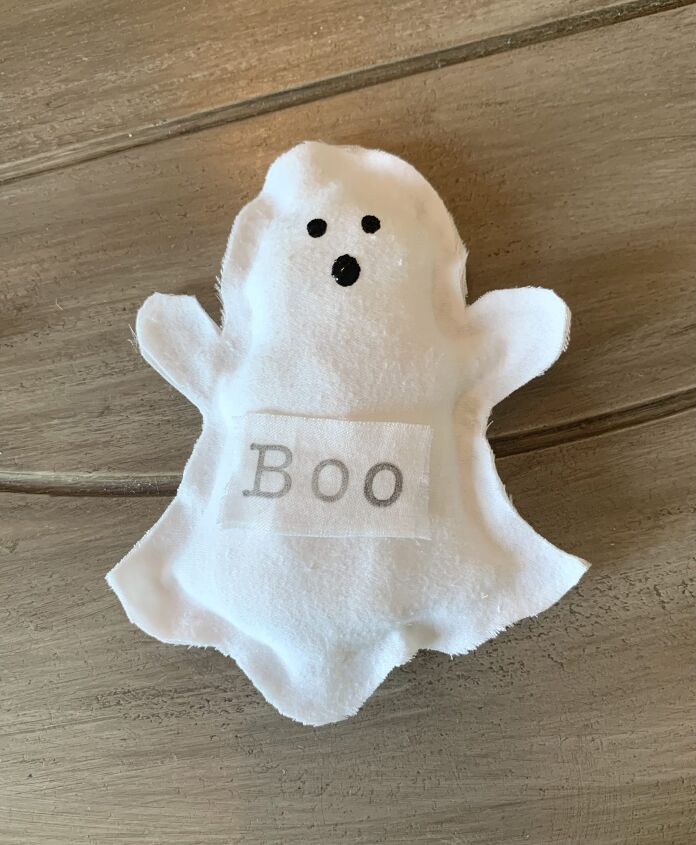
Step 7: Glue your little handmade tags to your ghosts, and ta-da! Easy, adorable no-sew ghosts! You could even glue on little bows made of ribbon, like I did with these for my daughter’s teachers:
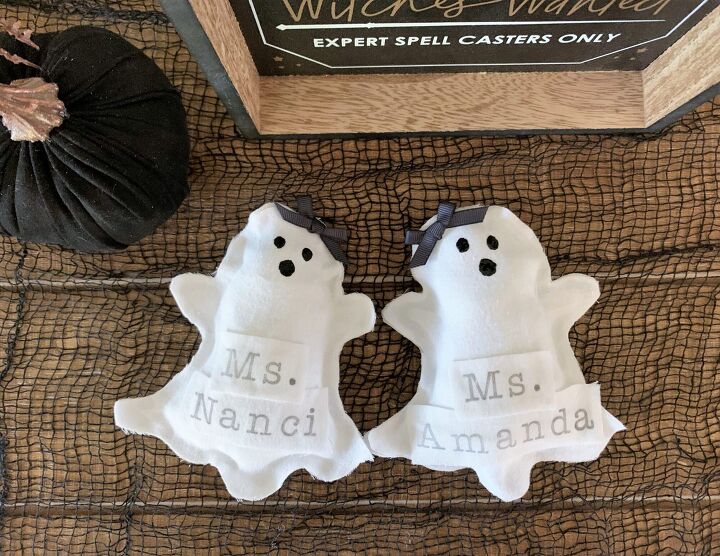
Easy, right?! Since I already had all the materials to make these, it cost me nothing (my favorite kind of project)! You can literally do this with kind of fabric and customize any way you want — It’s such an easy, fun Halloween craft that even the kiddos could do it! These adorable no-sew ghosts are perfect as boo-basket gifts, teacher gifts, bowl filler, or you could even string them together to make a garland! Give these a try and be sure to tag me (@threedaughtershome) in your cutie patootie ghost pics! 🙂
***For more fun DIY projects and home decor inspo, please visit MY BLOG. Thank you!***
Resources for this project:
See all materials


Comments
Join the conversation
-
Those are absolutely BOO-tiful! Adorable too 🎃 Ghoul 4 U 2 come up with this idea. Keep crafting Amy!
-
I like this. Started with my own and now do for g kids. Set table on day of celebrating holiday for breakfast and add small element to start festivities early. Kids love a small touch on b fast table, lunch or dinner at each place setting. Just a special touch to remind kiddos they are special. If I’m not there my kids do for their kids, they remember the fun it was. This is perfect good morning on Halloween (better than a spider on the plate or in cereal bowl)


Frequently asked questions
Have a question about this project?
add a few drops of essential oil and make them smell good too! or instead of fiber fill put in a scoop of lavender flowers?