


Americana Dollar Tree DIY

Who doesn't like decorating for the holidays? I love decorating for all holidays and I've made an early start on Americana decor. This cute DIY can be used for Independence Day, Memorial Day or Labor Day.
I love that this type of decor can be used more than once unlike most of our other holiday decorations.
As always, this is a cute, simple Dollar Tree DIY and is so fast and easy to make. Most of the materials I used were from around my house too which made this even better!
Take a look at what I came up with.
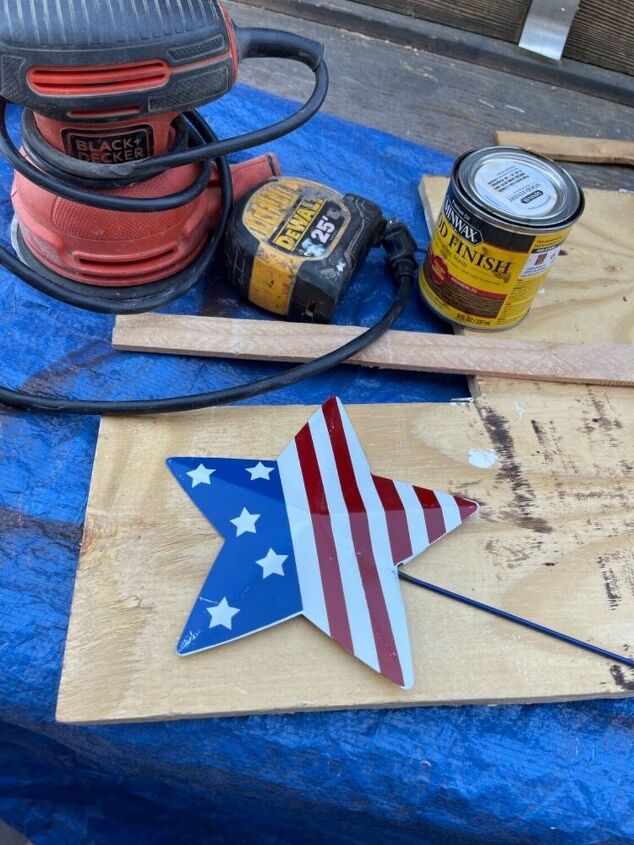
Materials:
Metal garden stick with an Americana star (bought from the Dollar Store)
Scrap wood
Stain
Paint
Measuring tape
Sander or sand paper
Beads (Dollar store)
Twine (Dollar store)
Saw to cut your wood
Glue for wood
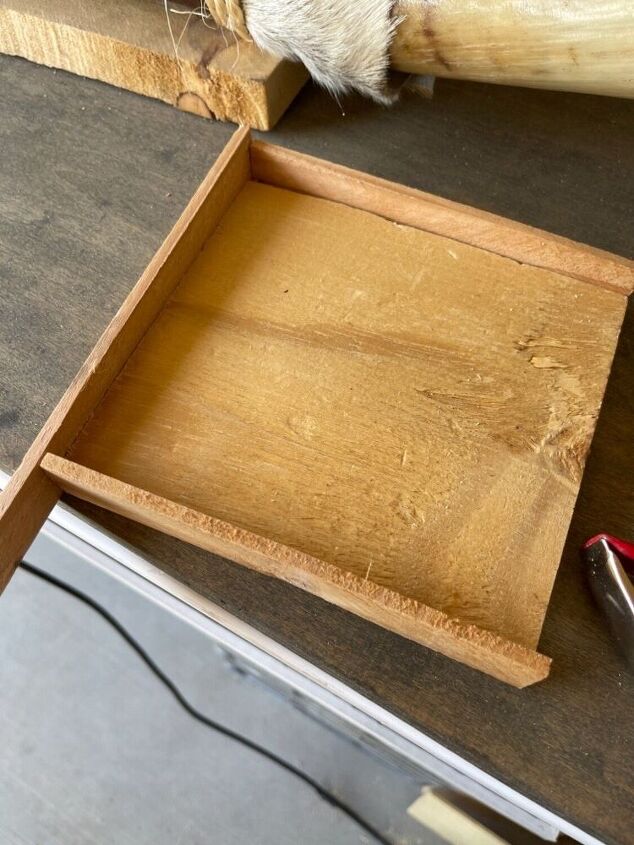
I began with a piece of scrap wood. To know the size I just lay the object on top of the wood and gave it a little bit of extra around the edges.
I wanted to frame my star so I made sure the piece of wood was large enough to fit.
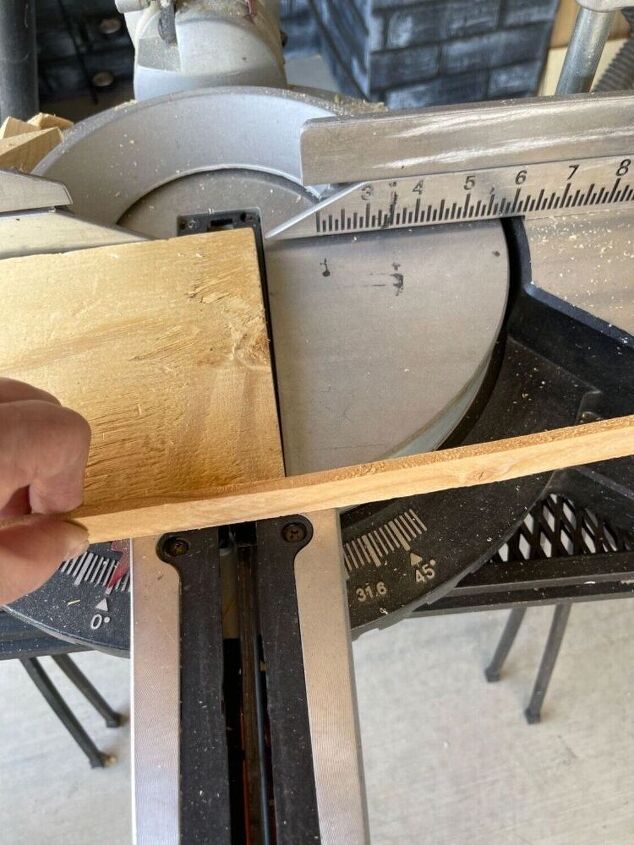
Next, I had some scrap trim so I cut it down to frame the wooden square. I set the square down and put it against the edge of the trim. I then cut 2 pieces - one for the top and one for the bottom.
After that I again laid my wood next to those and marked it. I cut two more pieces for the sides of the frame.
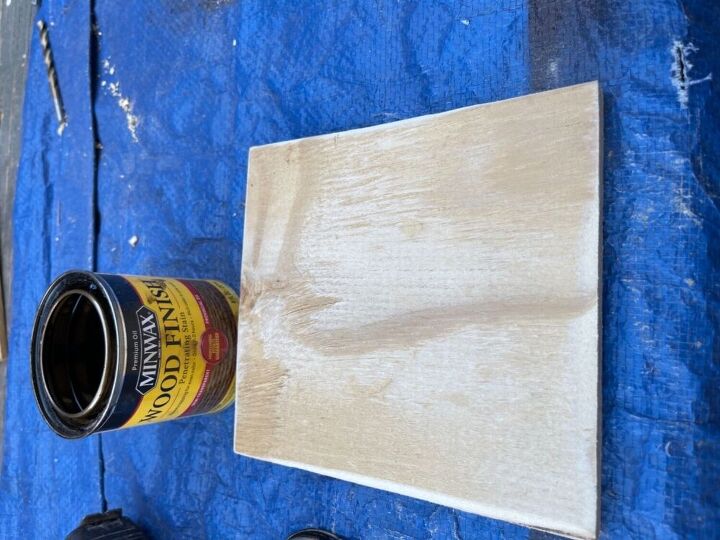
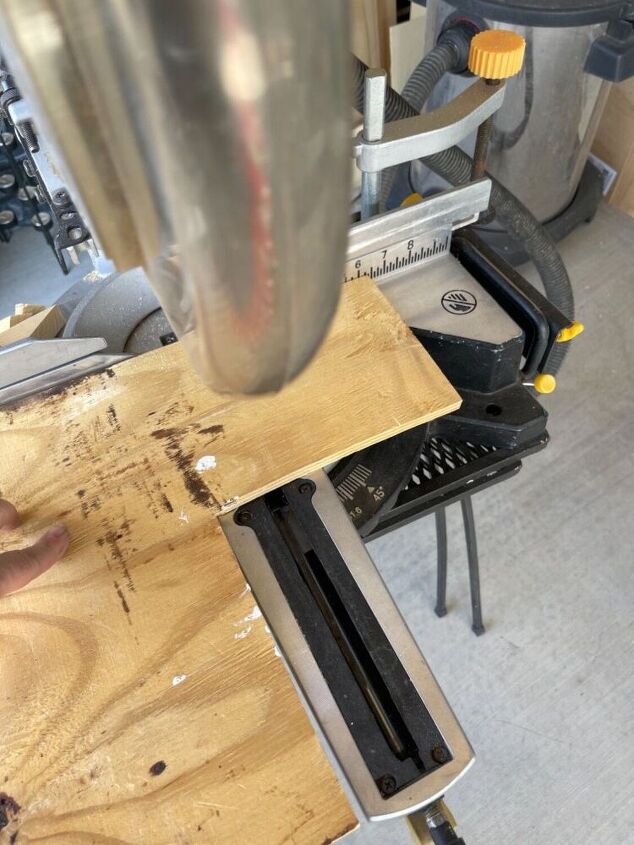
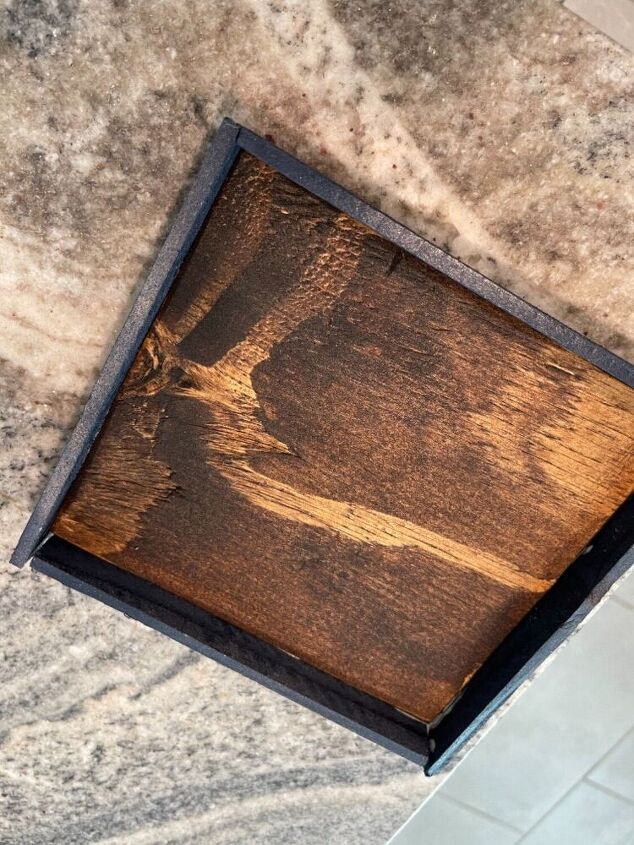
I sanded the wood down a bit and stained it using minwax in Provincial color.
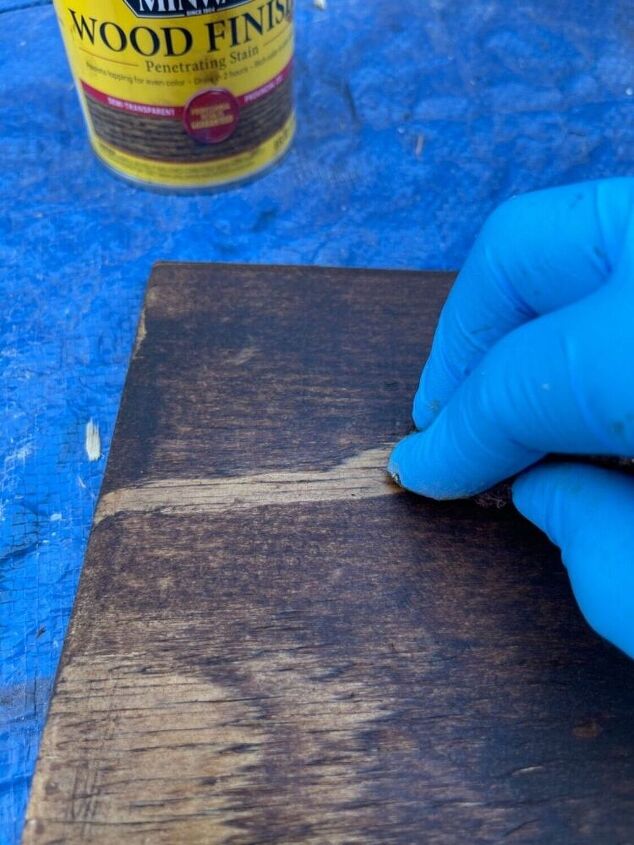
I recommend wearing gloves as it can get messy.
I then left it to dry.
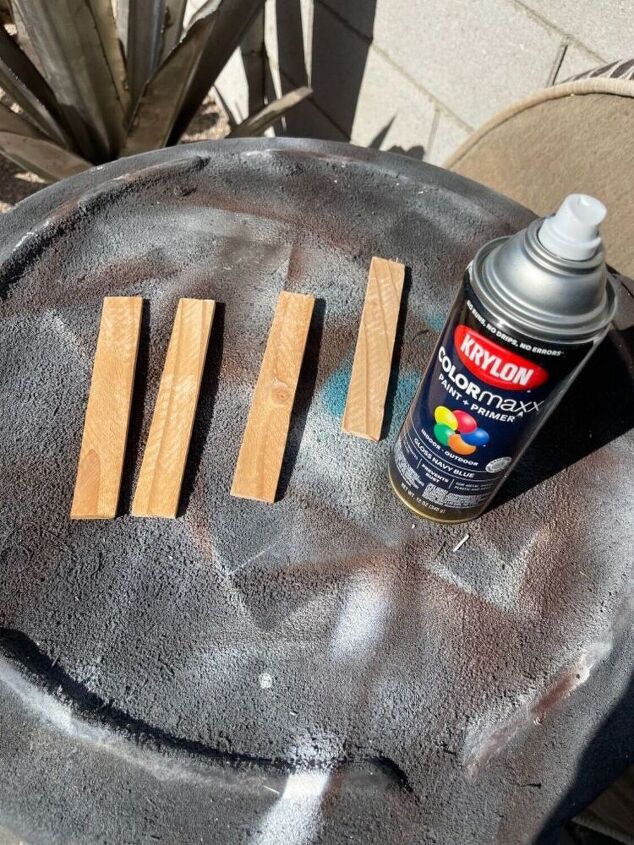
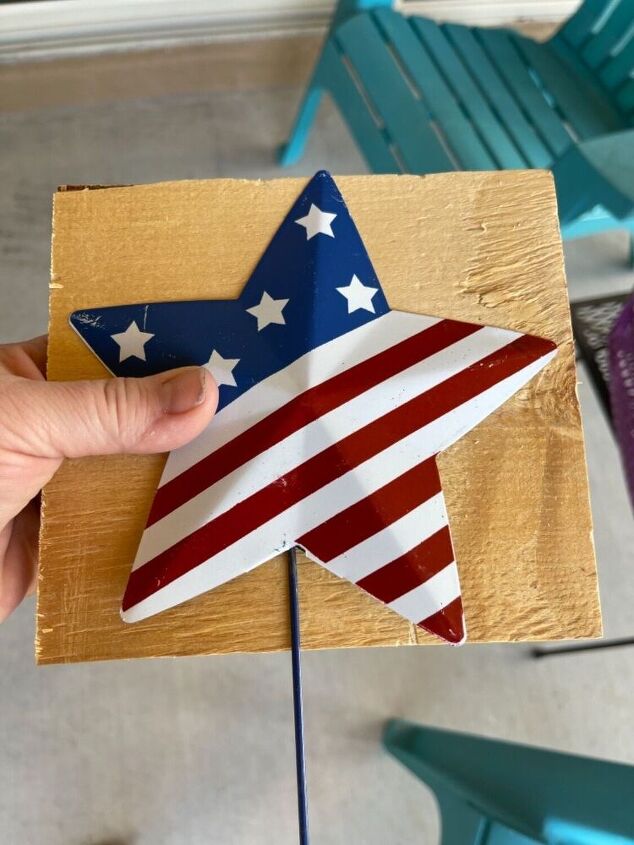
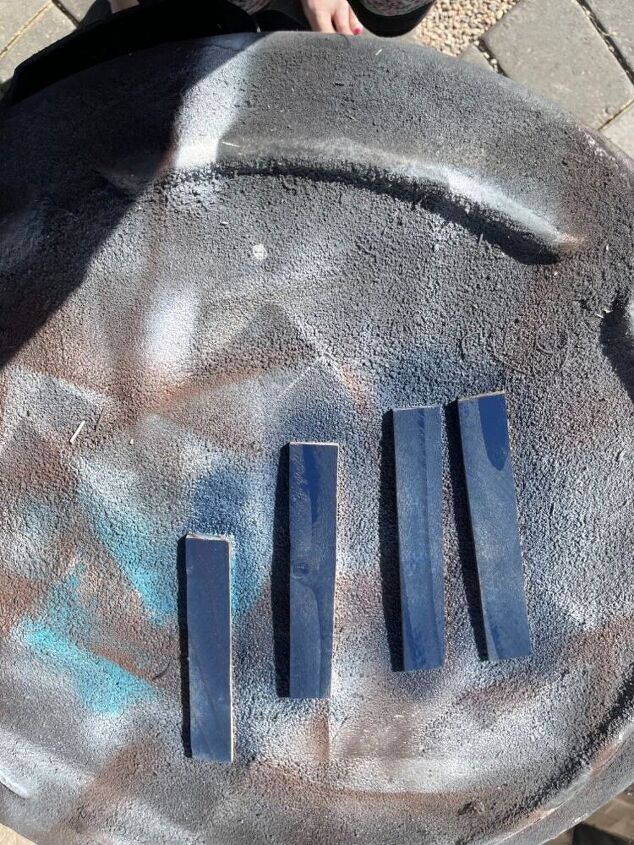
While the stain was drying I used spray paint in navy and sprayed all the sides of my trim.
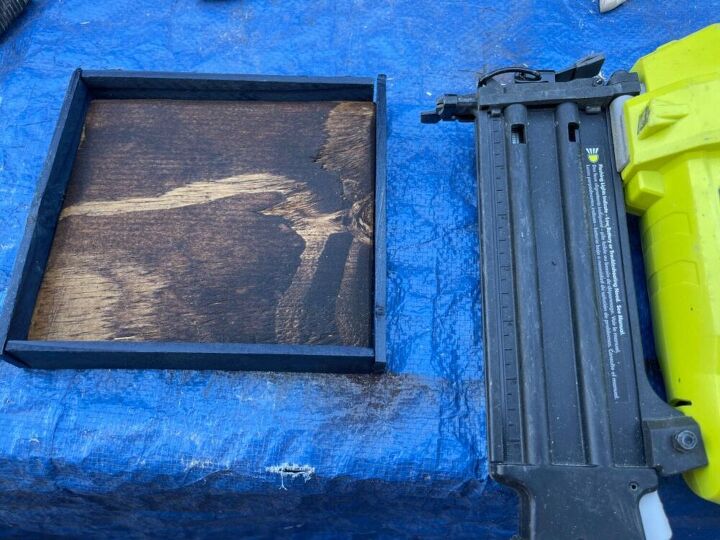
Once everything was dry, I glued the pieces together using my wood glue. I was going to nail the trim on however it started to split as it's thin so I found it better to just use the glue.
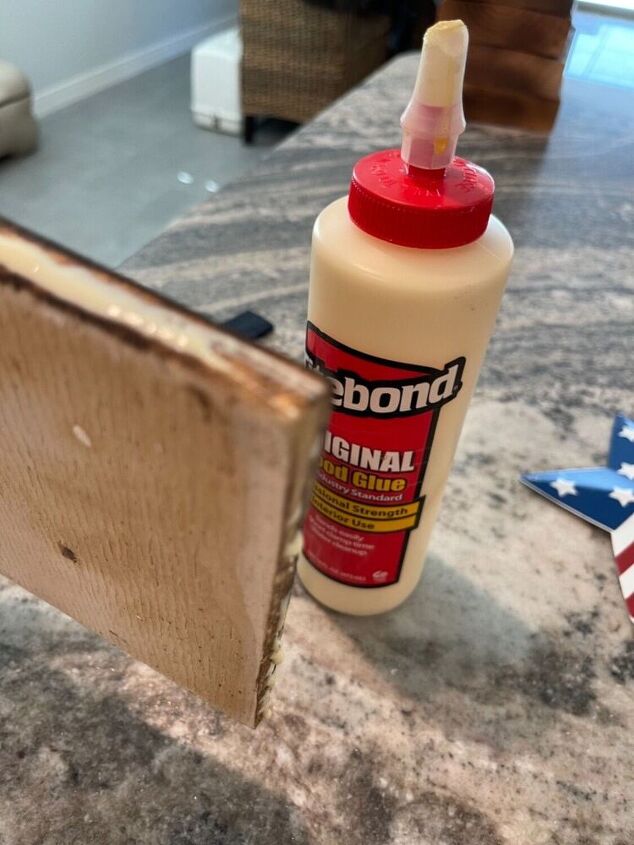
Cover all the edges with dots of wood glue.
Set to dry.
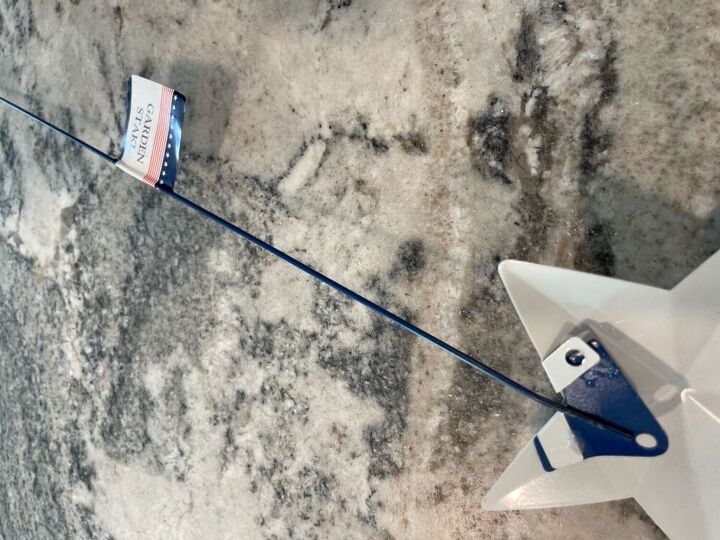
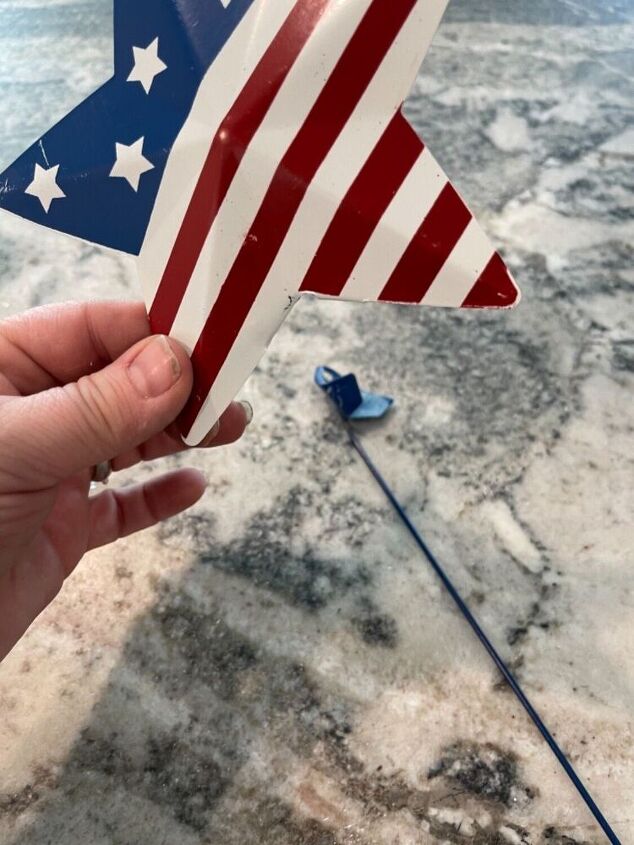
While it was drying, I prepared the metal star. This is actually a garden stake so I wanted to remove that. I just wiggled it back and forth until it popped off.
Like this
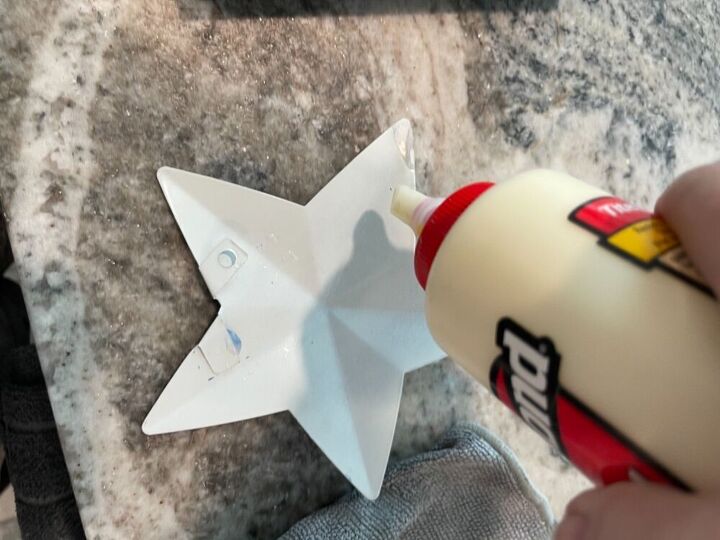
Then I added wood glue and hot glue to all the points of the star and attached it to the stained wood. Hold it for one minute until it’s firmly attached.
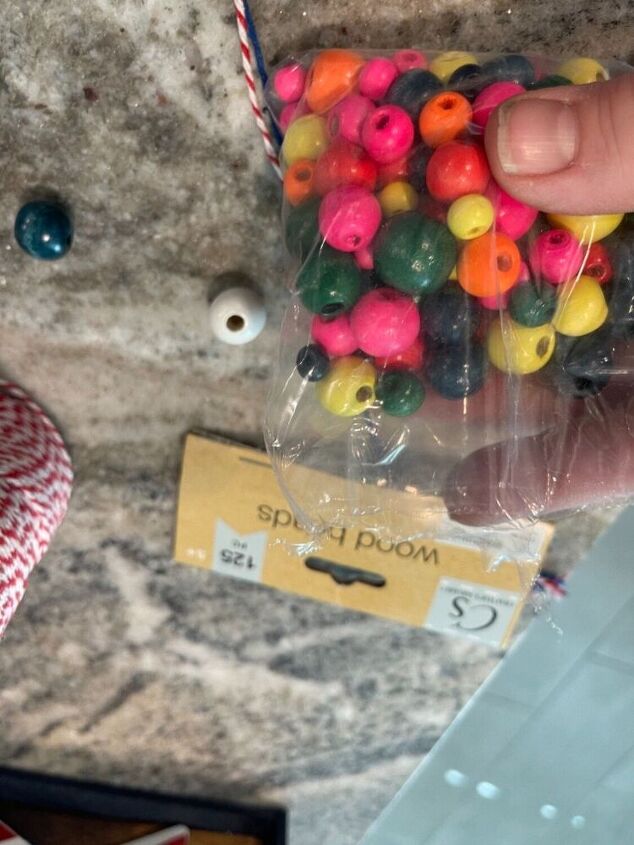
As an after thought, I decided to add some twine and beads.
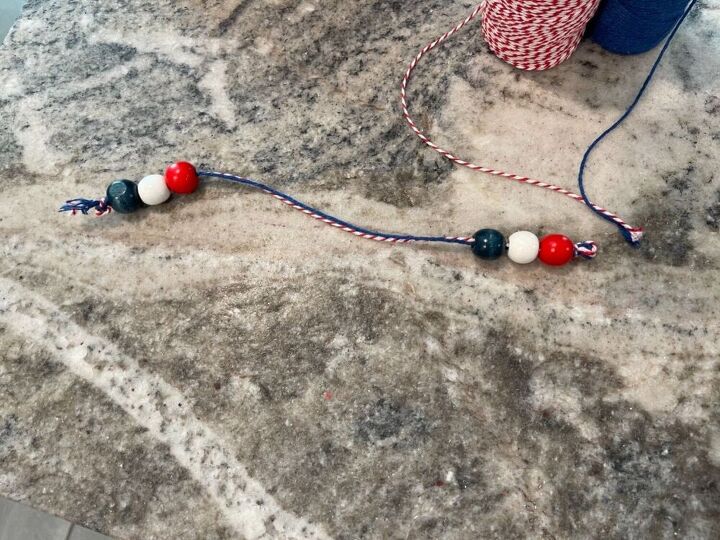
I added 3 beads to each side of my twine.
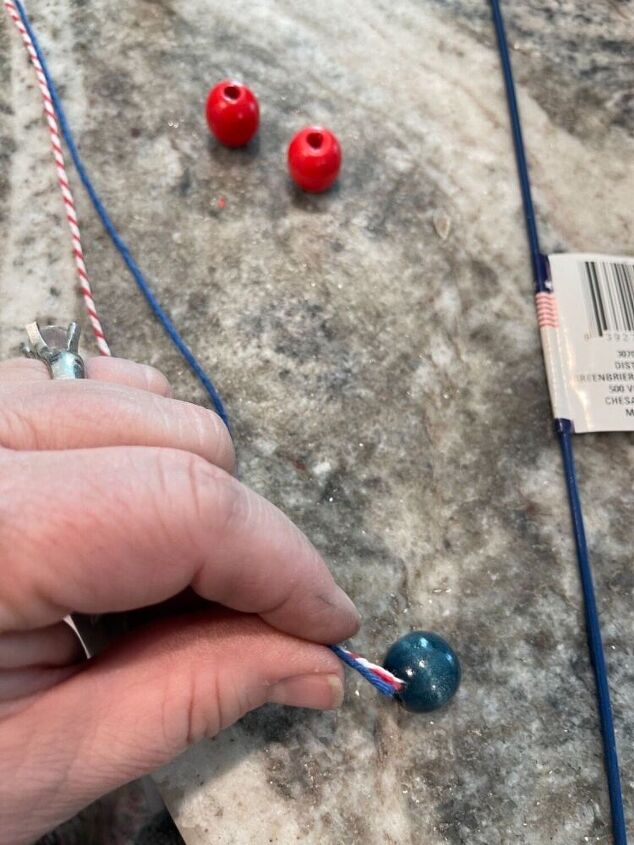
You can use the stake to push the string though the beads. Knot the twine a few times so they don’t fall off.
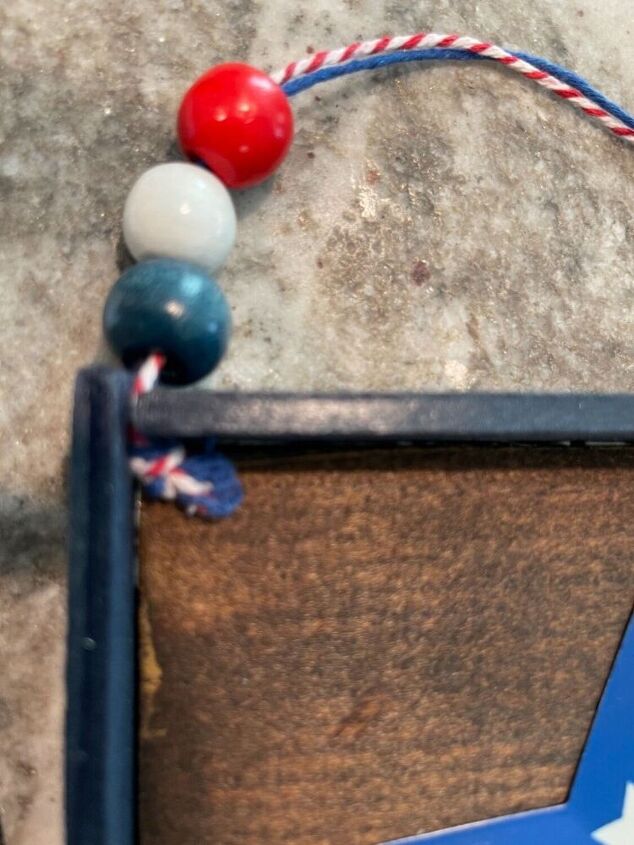
My trim didn't exactly match up so I just pushed the twine in the space on each side so it hid it well.
Now I have a beaded hanger and it looks complete.
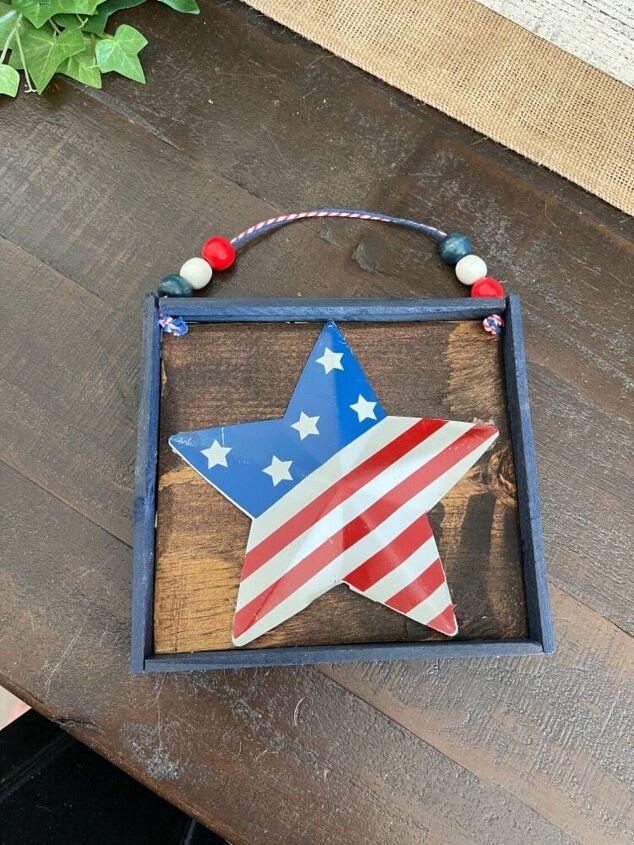
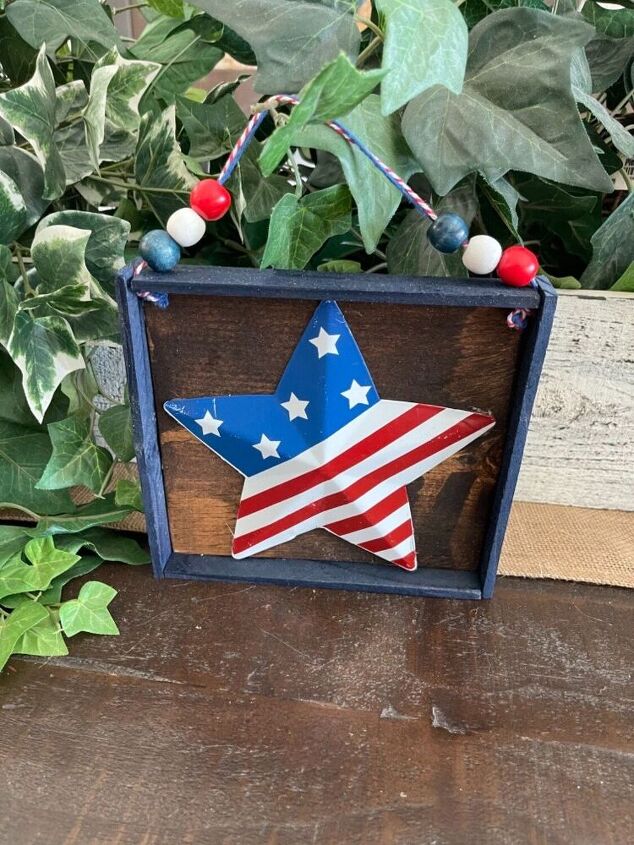
Here it is done!

I hung it on my hand towel ladder with a hook. You could add a messy bow or just leave it like this.
It was super easy to make and since I had almost all the supplies on hand it only cost me a dollar to make! If you have to buy all the materials it would still only cost you around $10.
Have a great day and follow me at Gilbert Marketplace on Facebook and YouTube for more great inexpensive quick DIY‘s.
Resources for this project:
See all materials


Comments
Join the conversation
-
Very cute. I have those stars.
-
I like your take on this. May I add my similar idea? I took three large stars and drilled the tiniest holes in two points. Wired together in triangle form and use for front door decoration. Really pops. Plenty of room to add ribbons, flowers, faux fireworks whatever you enjoy. Then continue inside with this interpretation and you carry from outside to inside. Thanks for sharing


Frequently asked questions
Have a question about this project?