


Bleached Halloween Shirts

This was such a fun, easy, and cheap project to do. I can't wait to do more shirts for other holidays as well!
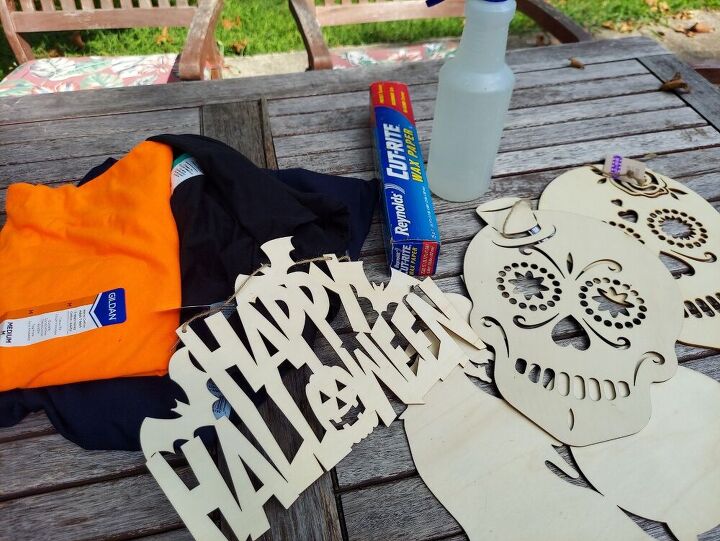
I picked up most of my supplies I needed at Dollar Tree believe it or not. You'll need the wood cut outs, bleach, spray bottle, bucket, hydrogen peroxide, wax paper, and t-shirts. (Dollar Tree even has T-shirts, but I couldn't find our size. Michael's had them for $3.99 each.
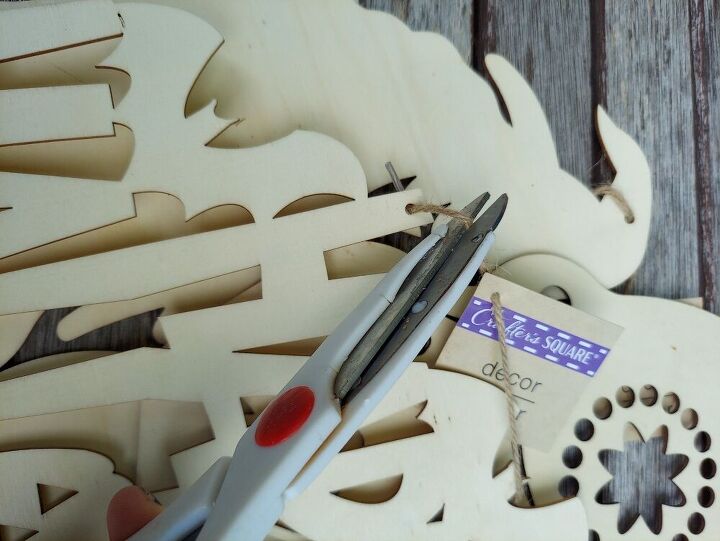
I first stated by cutting off the hanger from my wood cutouts. You don't need them.
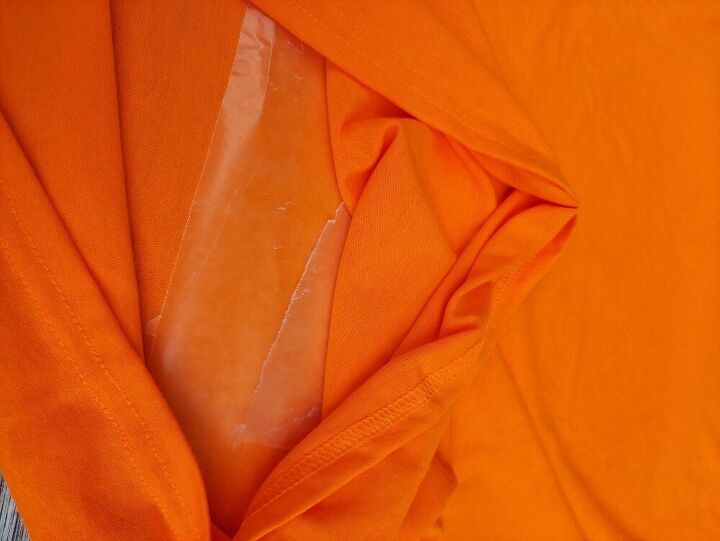
Then slide wax paper inside the shirt where you are going to put your cutout. It will keep it from bleach going through the back.
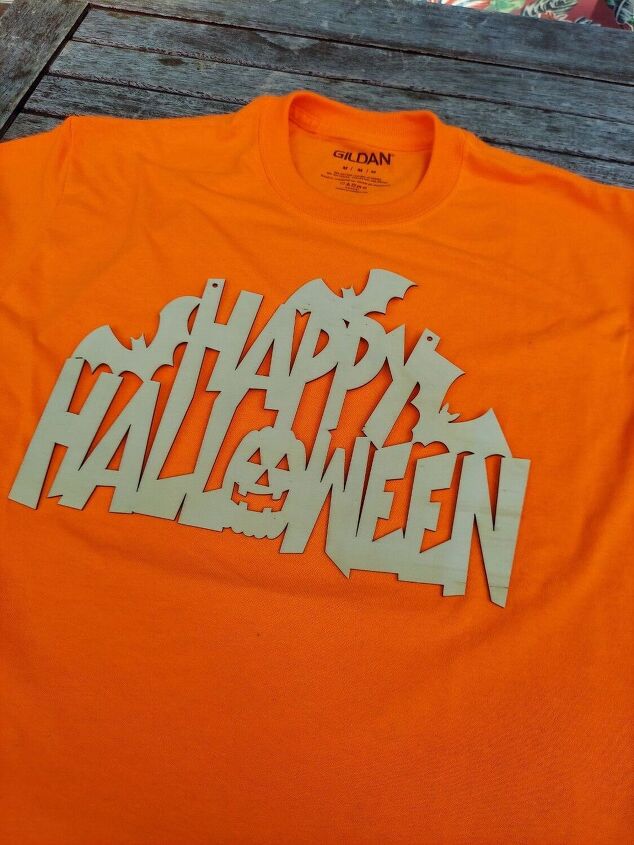
Place your cutout where you want it. I like to center it up towards the top.
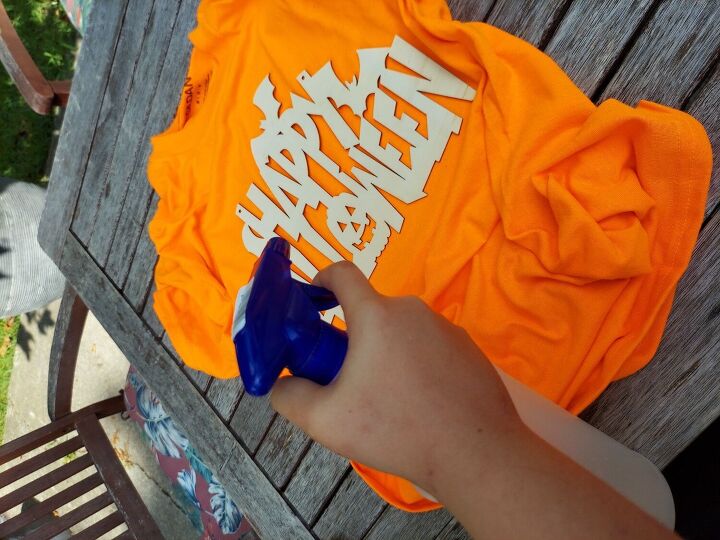
I mixed 3/4 of the spray bottle with bleach and fill the rest with water. Crumple up your shirt around the cutout for a cool design. Spray mostly around the cutout making sure you get the details pretty wet. (I should have worn gloves. My hands smelled like bleach for hours. Oops)
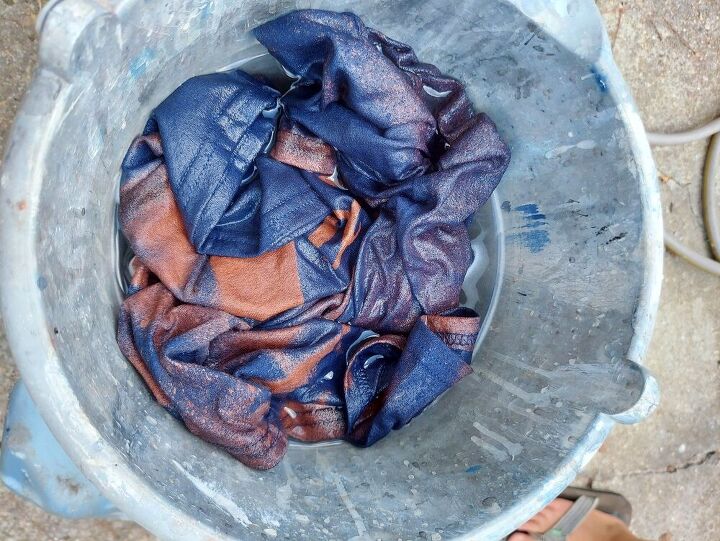
As soon as you're finished and you clearly see your design..put shirt in a bucket of water mixed with Hydrogen peroxide to stop the bleaching process. I used 1/2 cup of Hydrogen peroxide to a gallon or so of water.
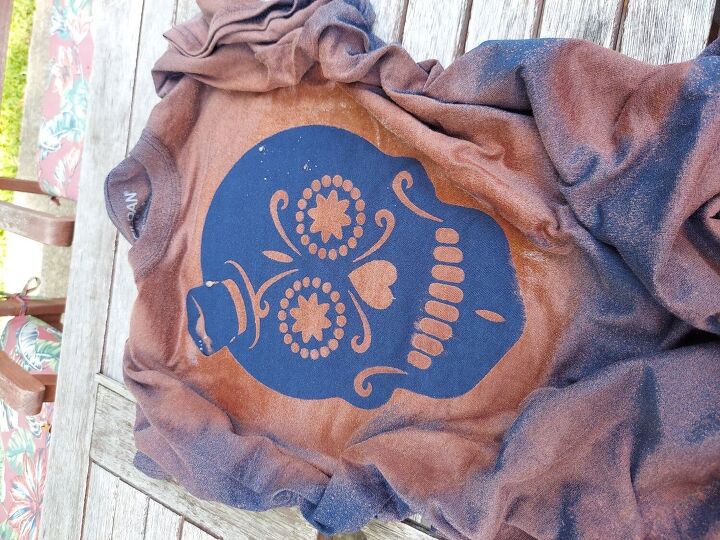
Wash alone (or with other project shirts) immediately. Unfortunately my orange shirt did not bleach well. Lesson learned that darker colors work best. This shirt was Navy blue and looked awesome within minutes!
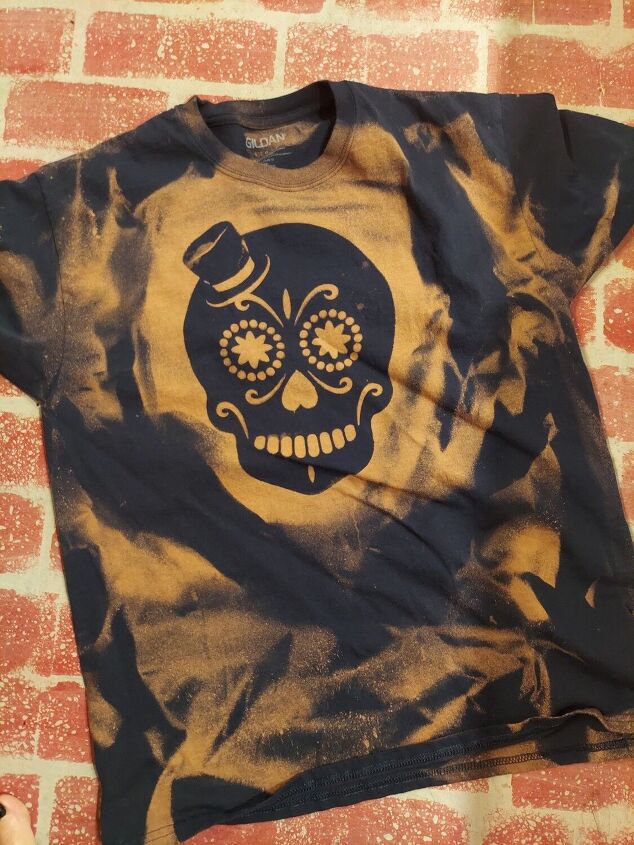
Here's the final result! Isn't it cool? I made one for each of us to wear this fall. Can't wait to make long sleeve versions for Christmas!


Frequently asked questions
Have a question about this project?