


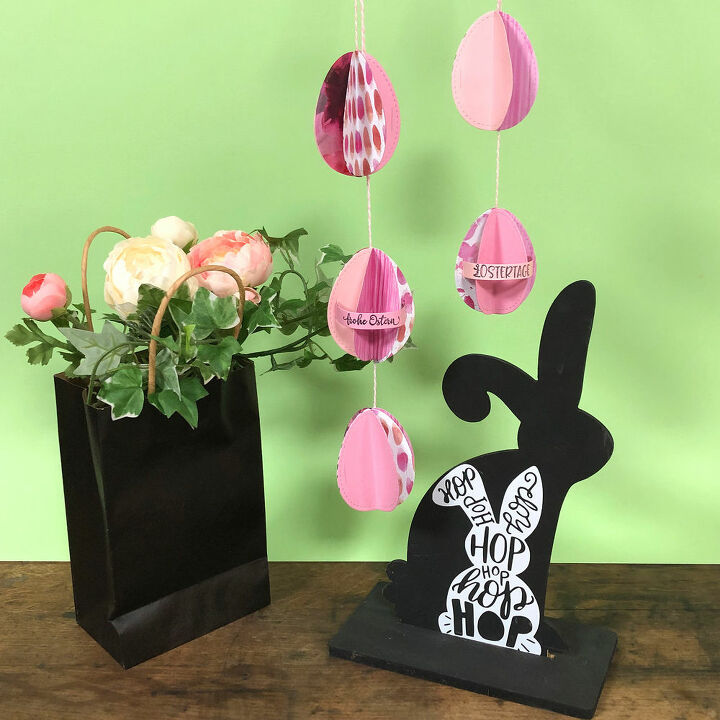
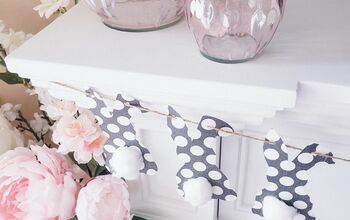
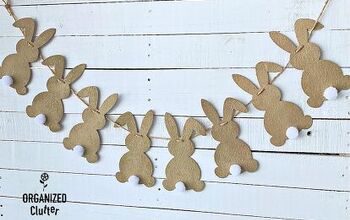
Colourful Easter Garland From Card Stock
9 Materials
$2
2 Hours
Easy
Decorate your windowsill for Easter by creating this colourful Easter garland. Easter craft projects don’t have to be difficult! You can make your own Easter decorations with only a few items, such as paper, glue and baker’s twine. It’s fun to do with children too, as part of workshop, a children’s party or during craft lessons at school.
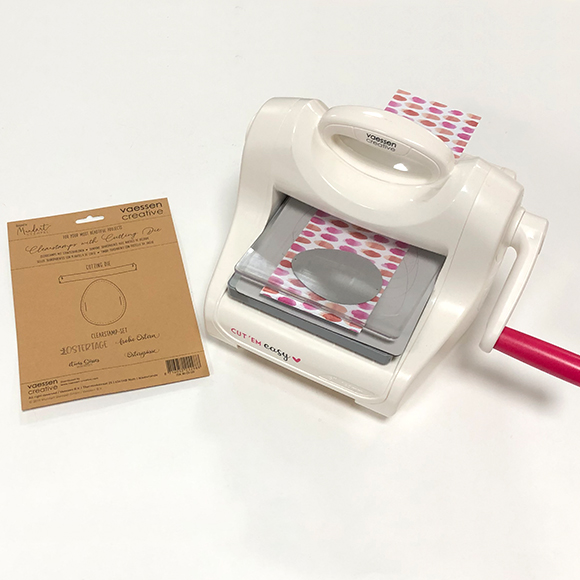
Use the Cut’Em Easy and the Mundart Stempel cutting die to cut out the Easter eggs. You will need six different punched out eggs to make each egg.
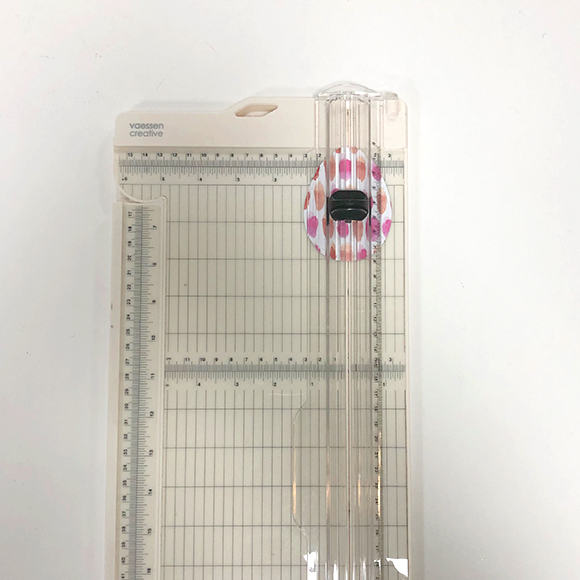
Use the cutting ruler to score each Easter egg through the middle and fold it in half.
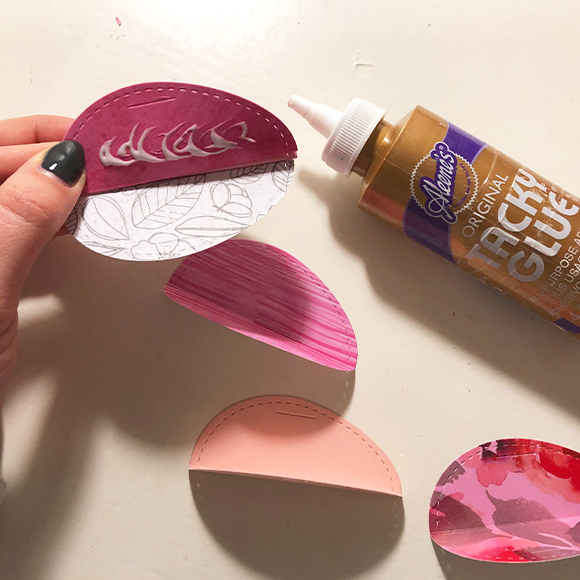
Take six punched out Easter eggs. Apply glue to half of the back of each Easter egg and stick another half egg onto it. Don’t glue the last one yet.
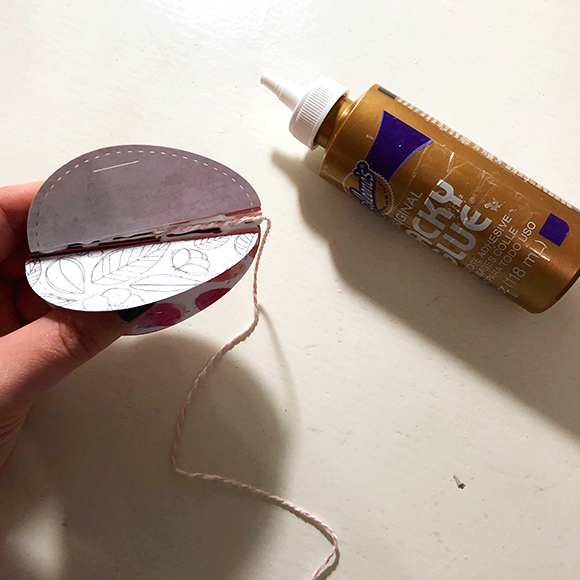
Glue a piece of baker’s twine in the middle. Now glue the last halves of the Easter egg together.
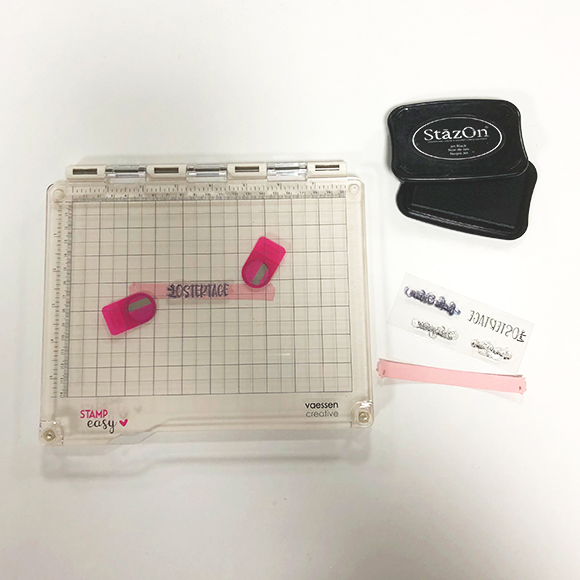
Stamp a nice Easter message onto the punched-out label using the Stamp Easy stamping tool. Slide it through the openings in the Easter eggs.

Want more details about this and other DIY projects? Check out my blog post!


Frequently asked questions
Have a question about this project?