


Day of the Dead Dollar Store Wreath

I made a Day of the Dead wreath from Dollar Tree materials, including the mesh tubing. I love how it turned out but it was a big one and took literally all day to make the wreath and paint the skull. See pic of it at the end. I used this tutorial to make the big one:
https://gracemonroehome.com/how-to-make-a-deco-mesh-loop-wreath/
I had a pile of left over pieces of mesh tubing so instead of throwing it away, I used it to create a smaller version. I think it turned out pretty darn cute!

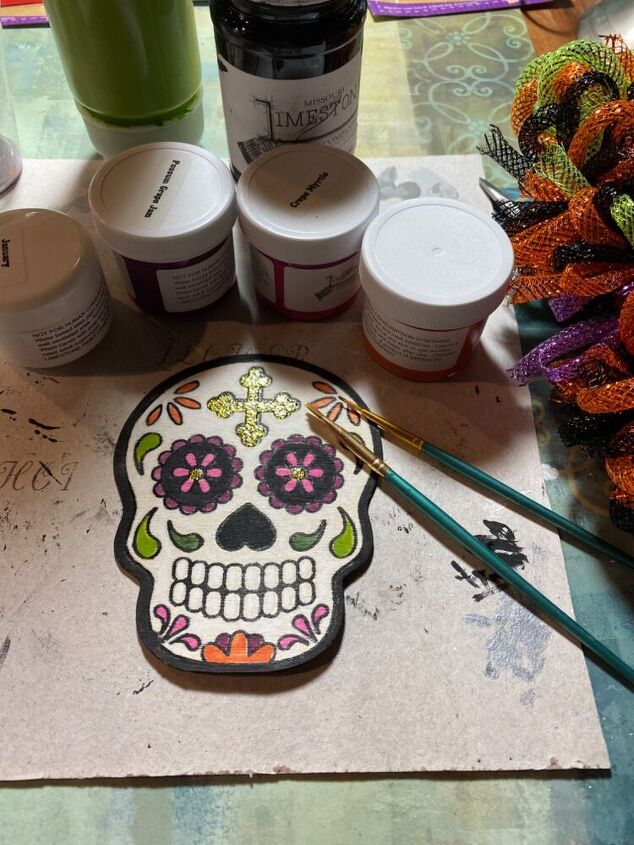
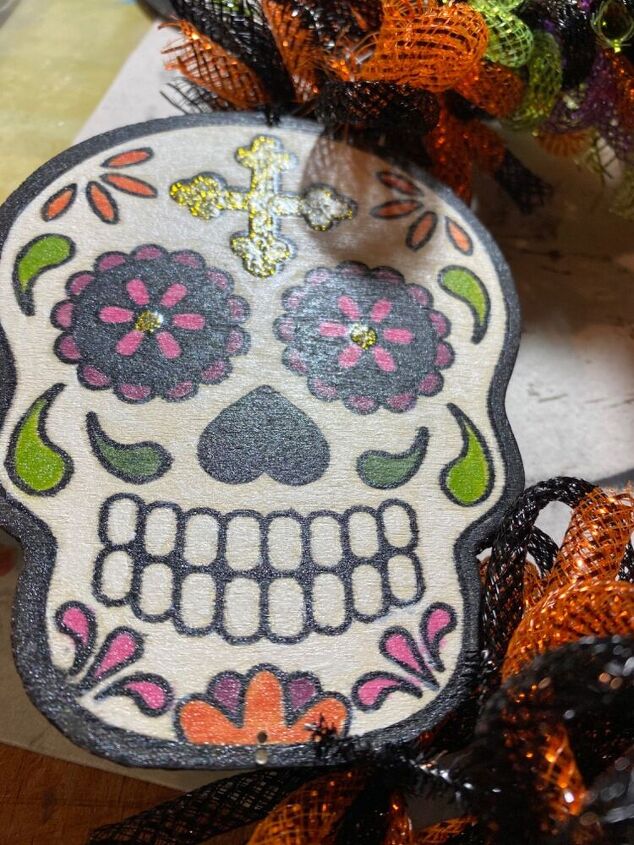
I had a small Dollar Tree Day of the Dead skull painting kit I used for this one. It is approximately 3 1/2” x 5”. It comes with several craft paints, but I chose to use our Missouri Limestone Paint Company chalk-style paint colors instead. I love how vibrant they are, but many chalk paints would work, too, as well as the paints that came with it.
I also made about a 9” wreath form out of 18 gauge wire we had here.

I cut a piece of wire about 22” long.
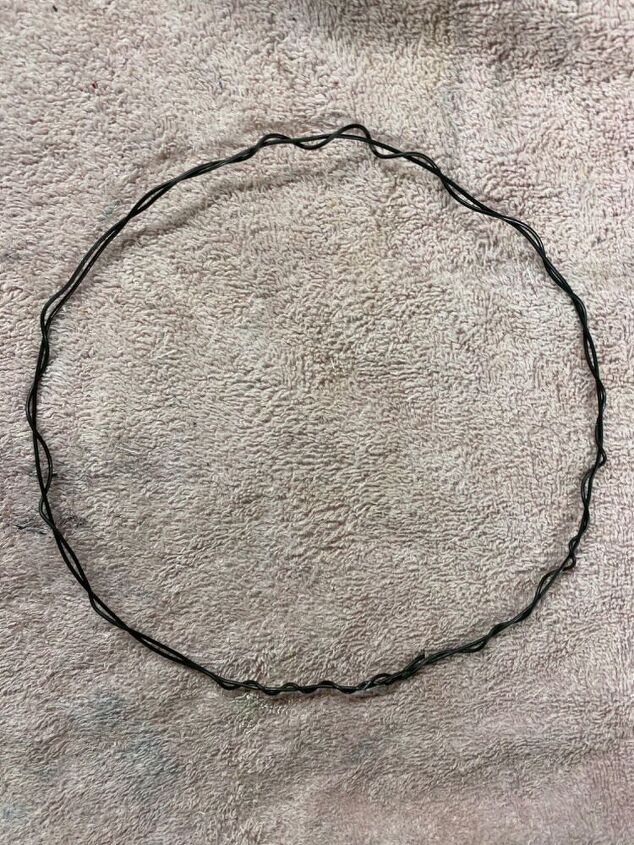
I formed it into a circle about 9” round, then wove another row around in and out to make it a bit more sturdyand cut off any excess. I crimped the ends so they wouldn’t be sharp.
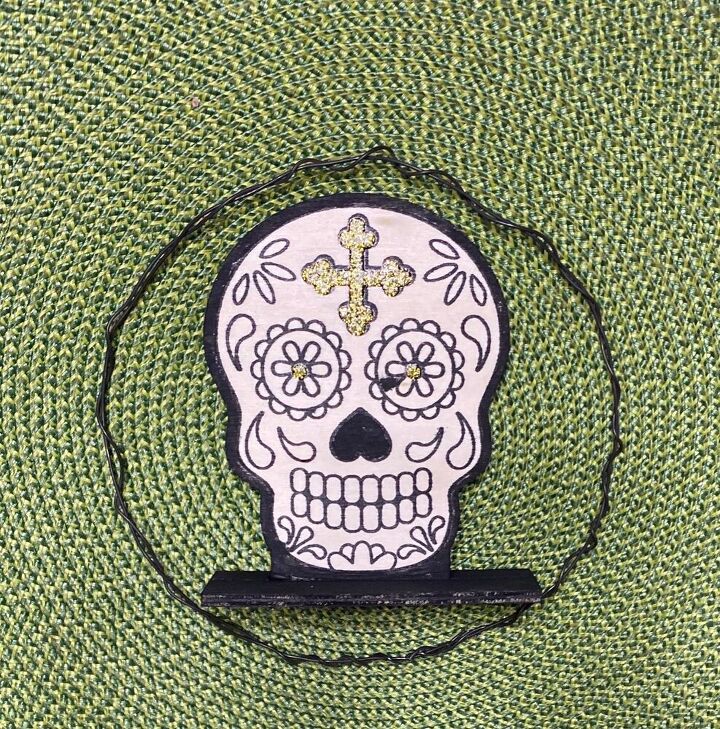
I wanted to make sure my skull would fit inside. I had already started painting it here. I also ended up removing the little stand as I didn’t need it.
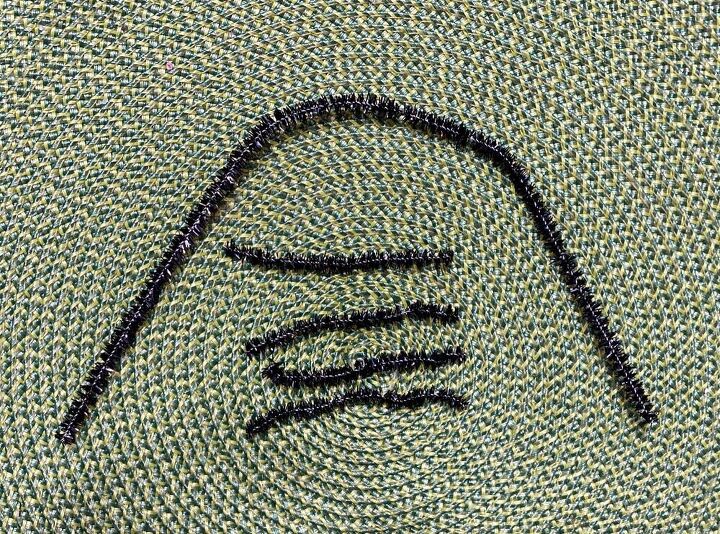
I used black but you can use any color. I cut about 10 into 4 equal pieces, but actually 3 would give you longer pieces to work with, then cut more as needed.

I used scrap pieces left over from my large one, but if you buy new, I would buy one package of each color you want to use. I used black, orange, purple and green, but used 3 strands in each “bow” I made and just alternated colors. I did this just to make it more colorful.
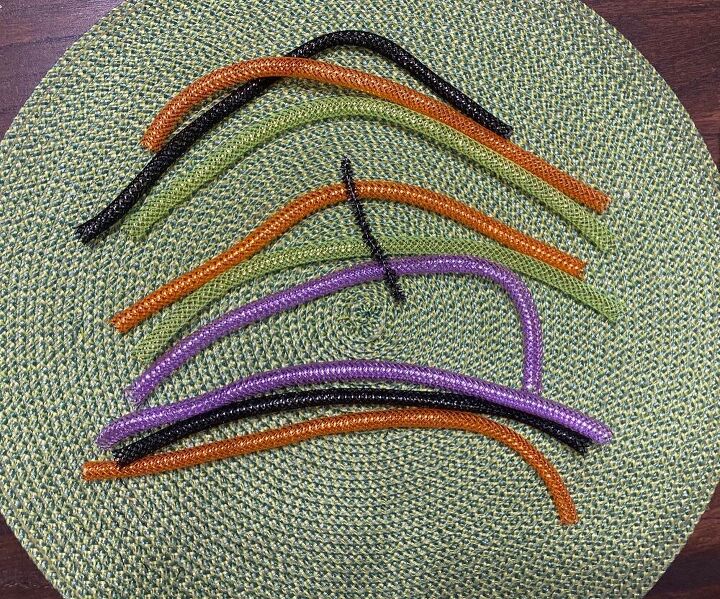
I cut the tubing into approximately 7” strands. This is the pattern I used to make the bows. I just kept repeating this sequence of colors.
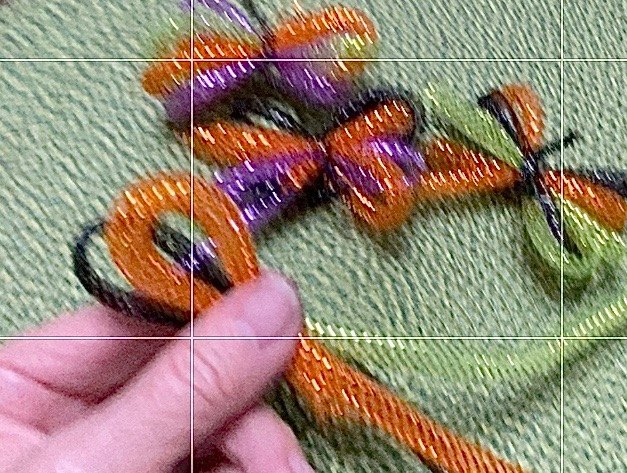
I made 2 loops with 3 of the colors and secured them with a length of the pipe cleaner.

This is how they looked with all the colors together.

Attach the bows to the wreath form by twisting the pipe cleaner ends around the form.

It should start looking like this. Make sure you push the bows close together as you go to make sure your wreath is full.
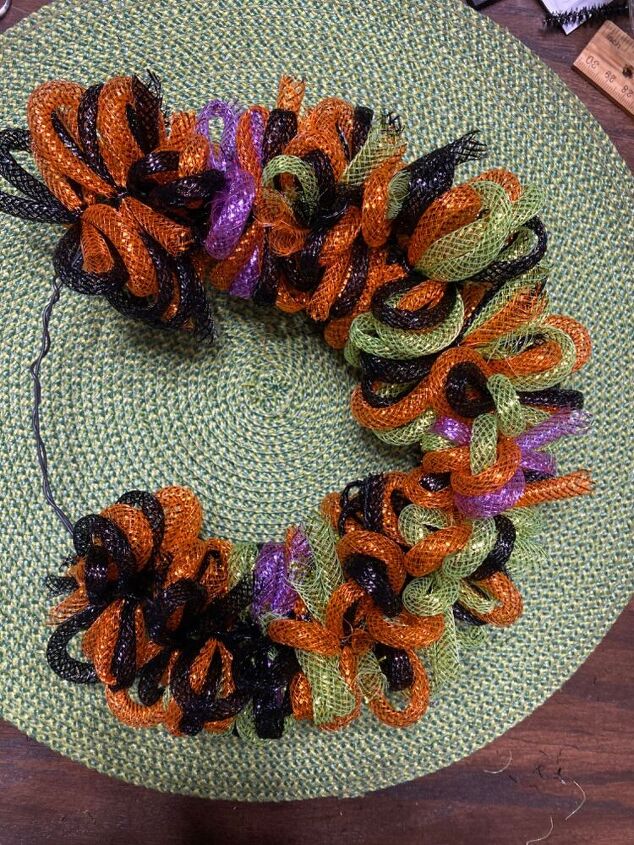
Keep attaching until you only have an empty area to attach the painted skull. Trim any long ends.
You will use these holes to run pipe cleaner through and use the pipe cleaner to secure the skull to the form.
That’s it! Your Day of the Dead Wreath is complete.


Frequently asked questions
Have a question about this project?