


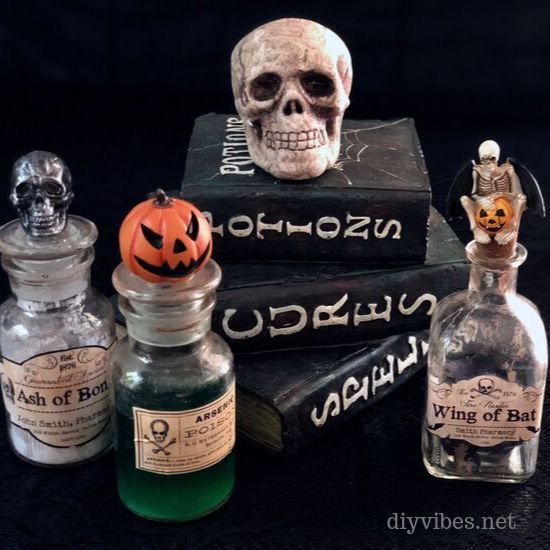
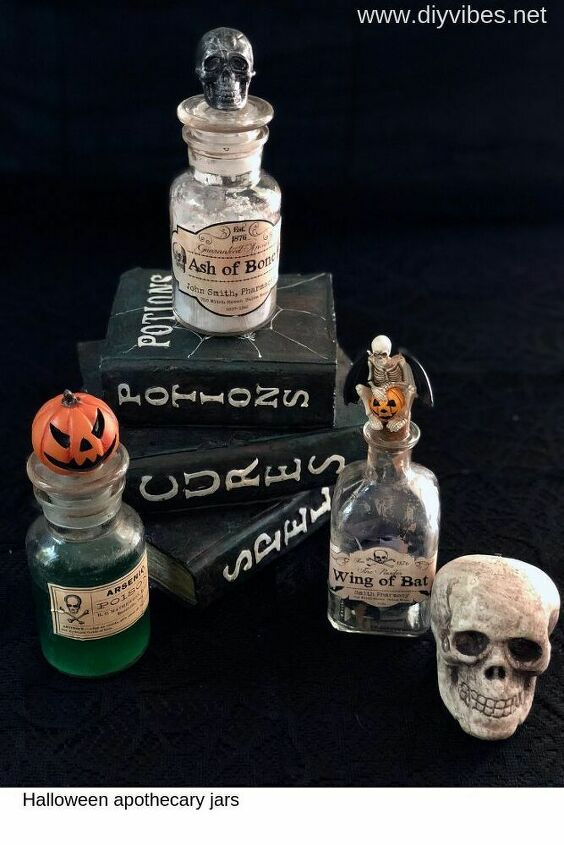
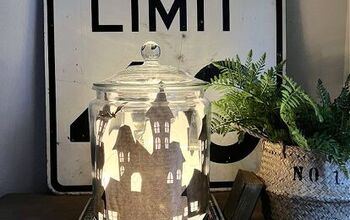
DIY Halloween Apothecary Jars
I am SO excited that October is finally here! Halloween is my FAVORITE holiday for decorating. I have a spot in my kitchen where I set up a witch’s spell book along with some Halloween apothecary jars of potion and my DIY Halloween candles. Although I have a few jars I really like, I am always on the lookout for new ones. I finally decided to make my own and they turned better than I imagined!
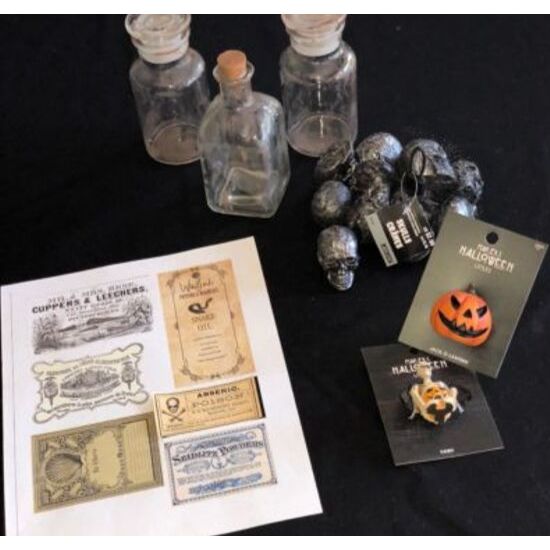
First, gather you're supples.
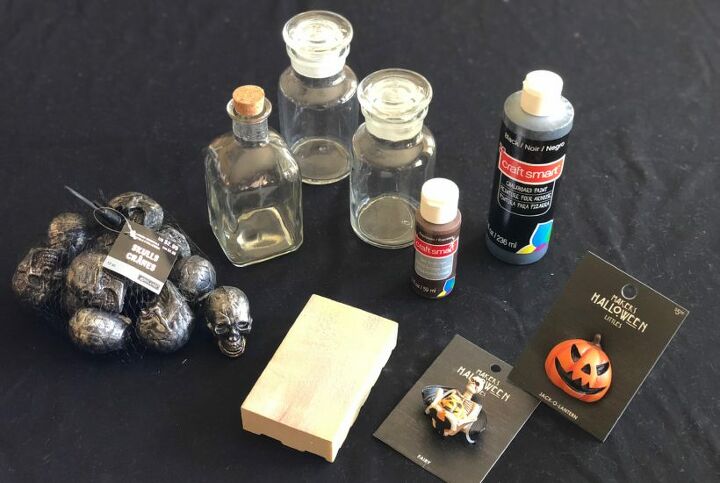
Here is what you’ll need:
- glass jars
- sand paper–I used 80 grit
- brown or black acrylic paint/brush
- printer
- scissors
- glue
- glue gun
- figurines
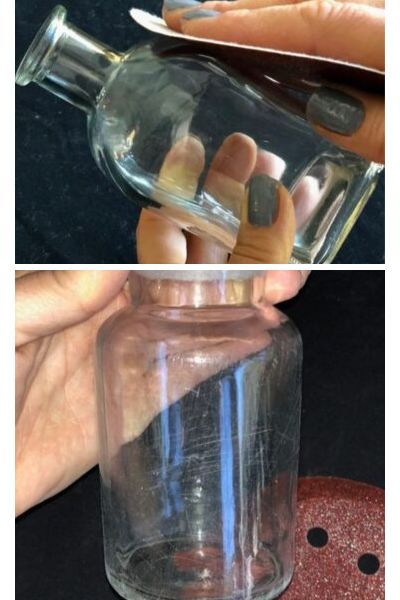
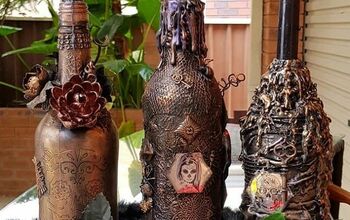
I got my jars at a local craft store. Halloween jars aren’t scary if they look new so to distress them I took an 80 grit piece of sand paper and gave them a good rub, specifically on the places where a bottle would wear if it got knocked around which is on the outer most edges and top. Make sure you sand in all directions, not just one way. This helps the paint adhere to the glass.
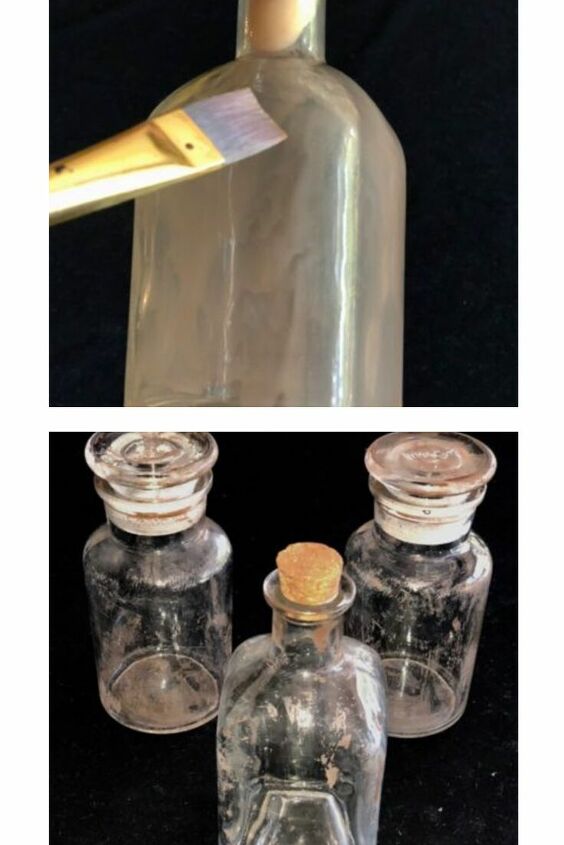
Next I watered down some brown acrylic paint (for darker you can add black in too), I used espresso and slathered it on. The ratio should be about 2:1 paint to water. About 10-15 minutes later, paint needs to be tacky not dry, I took a paper towel and gently wiped off what I could. I made sure I didn’t rub everything off. I repeated the paint and wipe down step. I didn’t want a really dirty look but if you do, don’t wipe as much off.
There are a TON of labels that can be printed off the internet. You can reduce the size of them on your printer like I did, depending on the size of your bottle. I glued them to the front of the bottles.
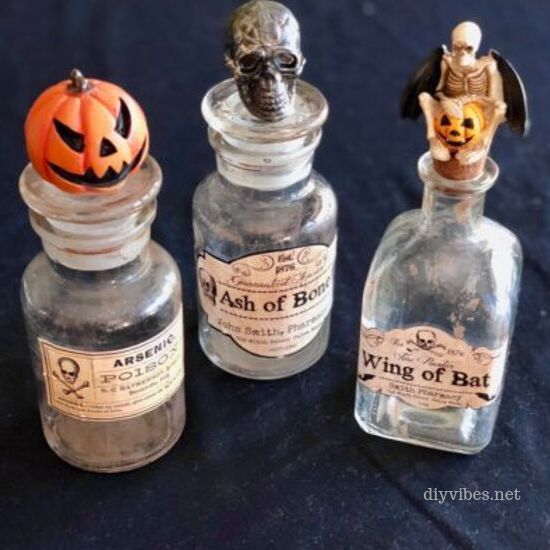
Lastly, I hot glued a figurine to the top of my bottle caps. I found these in the Halloween fairy section at Joanns. The toppers give it the wow factor in my opinion.
I purposely made the labels a bit wrinkled to make it look more "worn". Pinch the label in spots once it's glued on and press down. Now they are ready to fill and display!
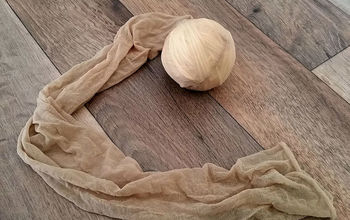
You may also like my DIY Cheesecloth Ghosts! For more Halloween ideas, go to www.diyvibes.net.
Resources for this project:
See all materials


Comments
Join the conversation
-
Perfect and fun idea! Thanks!
-
Good job 👍. And creepy too, I just love it 😘


Frequently asked questions
Have a question about this project?