


DIY Heart Pillow
Okay…
Full disclosure
I’m not a big Valentine’s Day person
And I usually don’t decorate my home for Valentine’s Day
But the other day
I had this idea
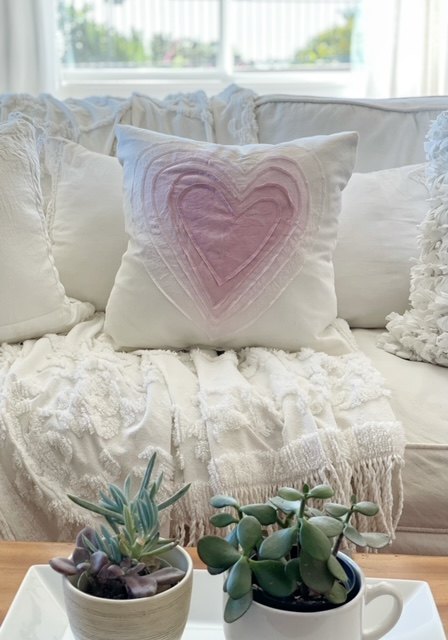
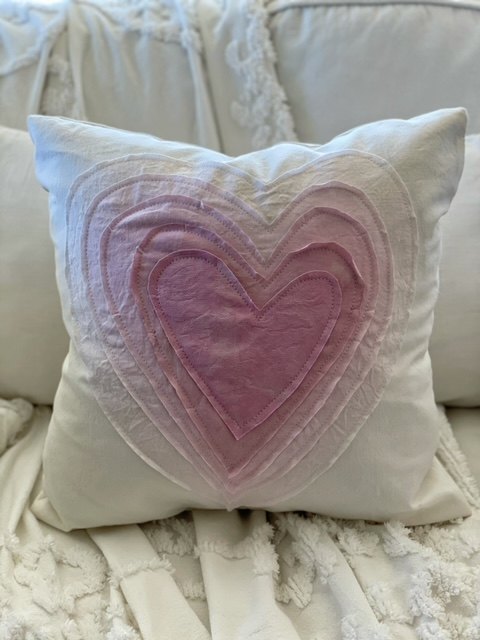
To make an ombre heart pillow.
It was so fun to do
And I like how it quietly says ‘Happy Valentine’s Day’
Or…
Wouldn’t it be adorable in a little girl’s room?

I used beets to dye the fabrics. That part takes a little time but I think it’s worth it because of the amazing color you get from the beets.
BUT
If you don’t want to dye your own fabric — just read all the way to the end — there’s a Quick and Easy Version that you can do in about 15 minutes.
So if you’re ready for an adventure…
Read on!
If not —
Just read Step One
Then skip to the bottom of the post!
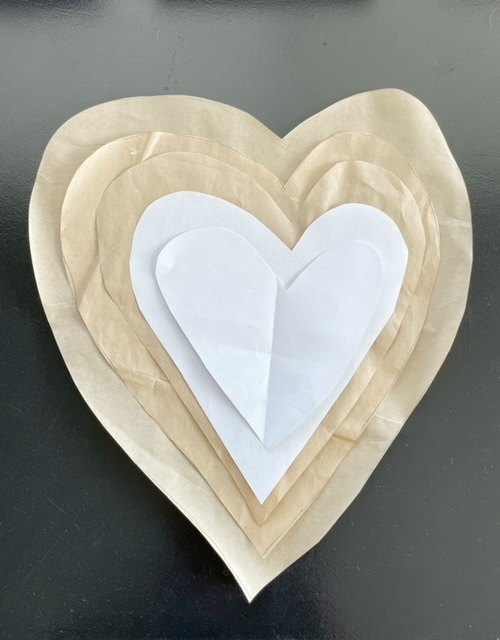
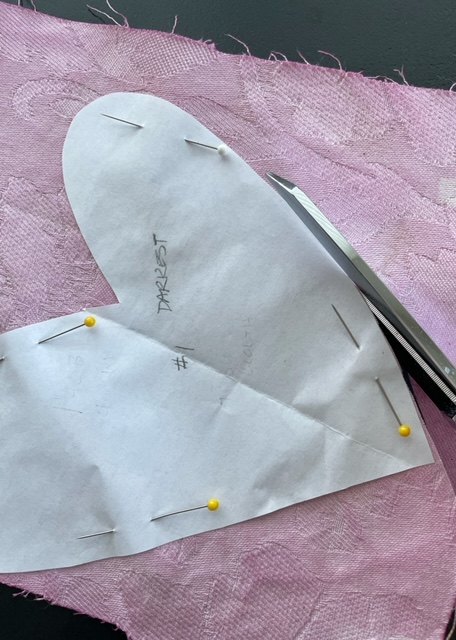
STEP ONE:MAKE YOUR HEART PATTERNS
Draw a heart shape on a piece of paper. I like mine kind of asymmetrical for a little whimsy. You could do the same or make yours symmetrical by folding the paper in half and cutting both sides identical. Make your first heart about 6 1/2 inches by 6 1/2 inches.
Then draw another bigger heart by drawing around the first one about an inch or so larger. Keep doing this until you have 5 heart patterns.
Number your patterns from 1 to 5 with number 1 being the smallest (and darkest) and number 5 being the largest (and lightest).
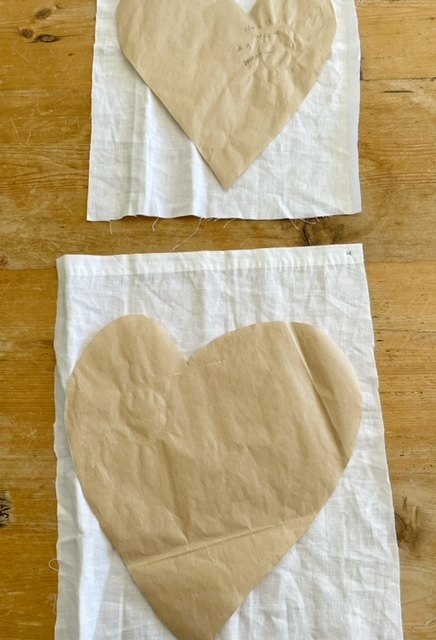
STEP TWO:
CHOOSE YOUR FABRIC
You’ll need pre-washed, white, 100% cotton, wool or linen fabric for this project. Don’t use any synthetic fabric — it won’t take the dye.
I used linen for all of my hearts except for the top one. That one is cotton damask.
Cut a piece of fabric the size you need for each heart. Write the corresponding number on a corner of the fabric so you’ll know the order you’ll need to dye them.

STEP THREE
COOK YOUR BEETS
Take 3 to 4 medium-sized beets and scrub them well. Then cut the tops off and peel them. Cut them into 3-inch chunks and put them into a pot with about 10 cups of water. Now boil them for about 1 1/2 hours.
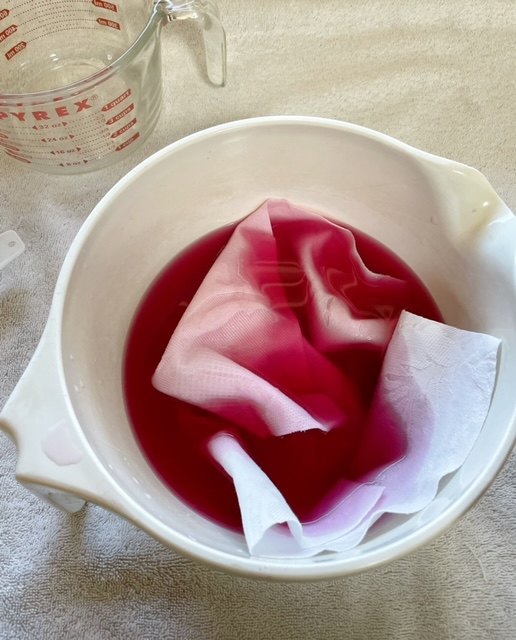
You should end up with bright pink water after boiling them.
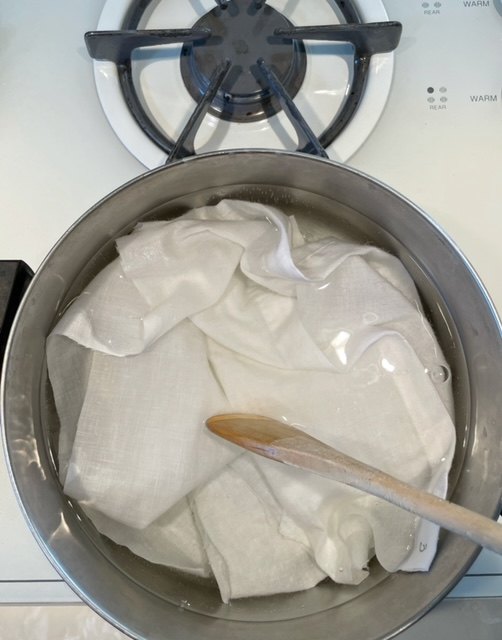
STEP FOUR
PREPARE THE FABRIC
While the beets are cooking, put 8 cups of water and 2 cups of white vinegar in another pot. Add your fabric pieces and bring it to a boil. Simmer for about an hour then drain the water off. (It’s okay if there’s some left in the pot and on the fabrics.)
STEP FIVE
MAKE YOUR DYE CONCENTRATE
After the beets have cooled, puree them in the blender with some of the beet water from the pot. Now strain the blended beets through some cheesecloth or nylon stocking and back into the pot of beet water. If you need to add water to strain them, use the beet water, not fresh water — you don’t want to dilute the dye concentrate too much. Now you should have a very strong beet liquid concentrate in your pot. Make sure there aren’t any little bits of beets in the beet water — it might leave spots on the fabric.
Make sure you have about 7 cups of beet dye concentrate to begin with. If you don’t, add a little water to it until you have that much.
Next, you're going to mix some of your beet concentrate with some clear water to make the different shades of dye for each fabric.
First make the lightest color for the largest heart:
In a separate bowl, mix 1/2 cup of the concentrate with 4 cups of clear water.
STEP SIX
DYE YOUR FABRIC PIECES.
Now take the wet fabric piece out of the vinegar pan and immerse it in the dye bath. Make sure the whole piece is totally submerged and let it soak for 5 minutes then take it out and gently squeeze most of the dye out of it (don’t wring it). It should have just the slightest tinge of pink. Hang it up to dry.
To get the shade variations, I added more concentrate to the dye bath and more soaking time with each new piece of fabric so the pieces got darker each time.
Check each piece to make sure it’s visibly darker than the one before it before moving on to the next piece.
Continue this way:
Fabric 1 more cup of concentrate to the dye bath and soak the fabric for 20 minutes
Fabric 1 more cup of concentrate to the dye bath and soak the fabric for 3 hours.
Fabric 2 more cups of concentrate to the dye bath and soak the fabric for about 18 hours.
Fabric should be 1 - 2 cups of concentrate left. Put fabric directly into the concentrate and soak for about 2 hours.
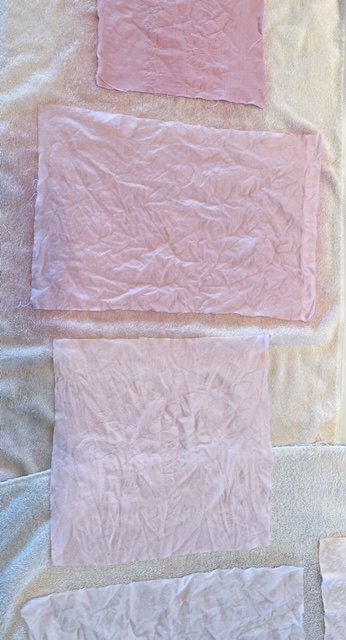
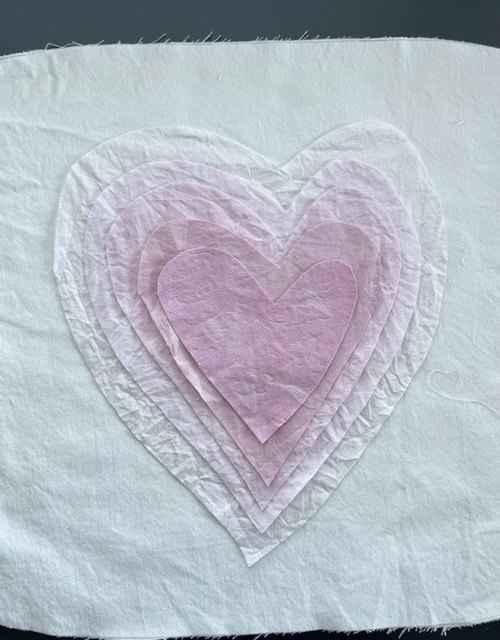
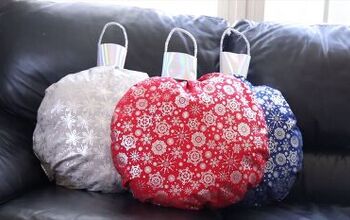
Your fabrics should look something like this
If your next piece isn’t dark enough, put it back in the dye and let it soak for longer until it is.
Hang all the pieces up to dry.
STEP SEVEN
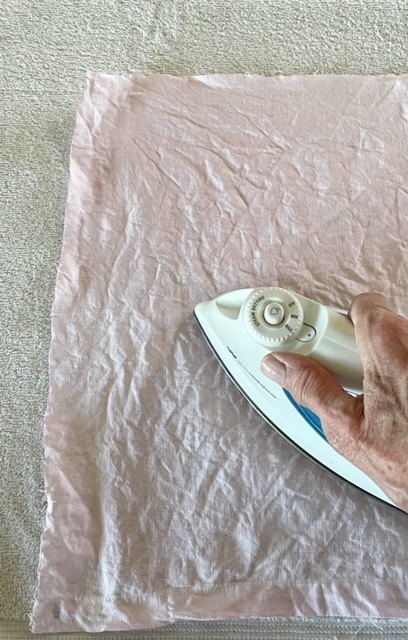
IRON THE DYED FABRIC
Using a warm (not hot) iron and no steam, iron each dry fabric piece for about 5 minutes to set the dye.
STEP EIGHT
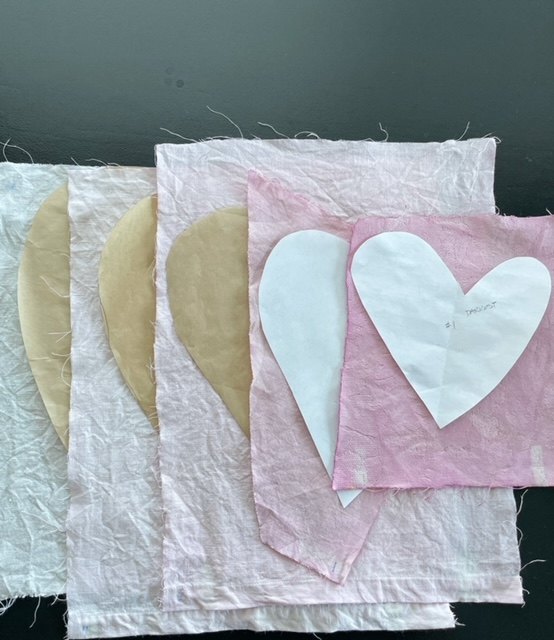
CUT OUT YOUR HEARTS
Using your patterns, cut out the hearts with heart # 1 (the smallest) being the darkest and then lighter as they get larger
STEP NINE
CUT A PILLOW COVER
Cut 2 19 x 19 squares out of white fabric for your 18 x 18 pillow cover.
STEP TEN
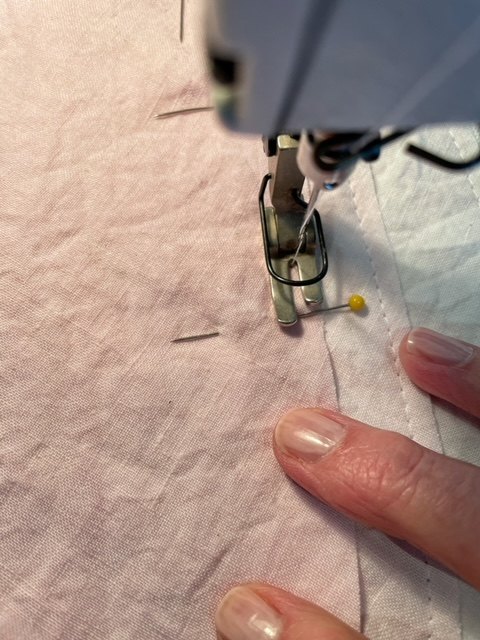
SEW THE HEARTS TO THE PILLOW
Starting with the largest heart, pin it to the center of the front of the pillow cover and sew around the edges about 1/4 inch in.
Continue sewing each heart on top of the previous one until they’re all sewn on.
STEP ELEVEN
SEW THE PILLOW COVER
Sew the front of the pillow cover to the back leaving an opening at the bottom to insert your pillow form.
Turn the pillow right side out and insert the form.
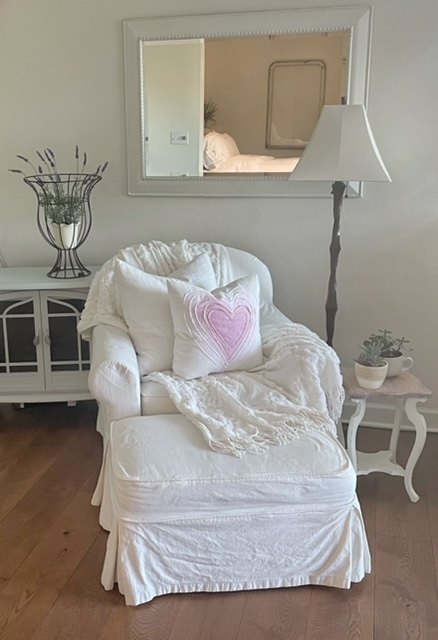
Then stitch the opening closed…
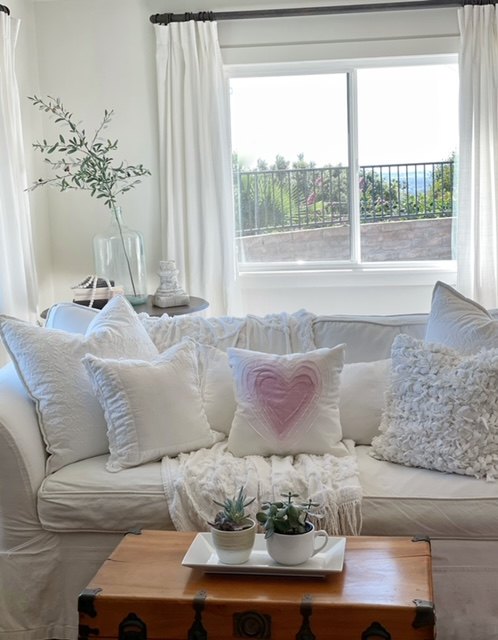
And toss it on the sofa!
I love the way this turned out and I hope you’ll give beet dying a try
But I get it if you don’t want to spend the time
So…..
Here’s the
QUICK AND EASY VERSION OF THE OMBRE HEART PILLOW:
SKIP STEPS TWO THROUGH ELEVEN
Buy pink fabric in 5 shades from light to dark.
Buy a pre-made white pillow cover and pillow form.
Now draw your hearts and cut them out as shown.
Place a piece of cardboard inside the pillow cover
Use fabric glue to glue the hearts onto the front of the pillow cover (the cardboard is so the glue doesn't seep through and glue the front of your cover to the back.)
Let it dry
Insert a pillow form
And D O N E!
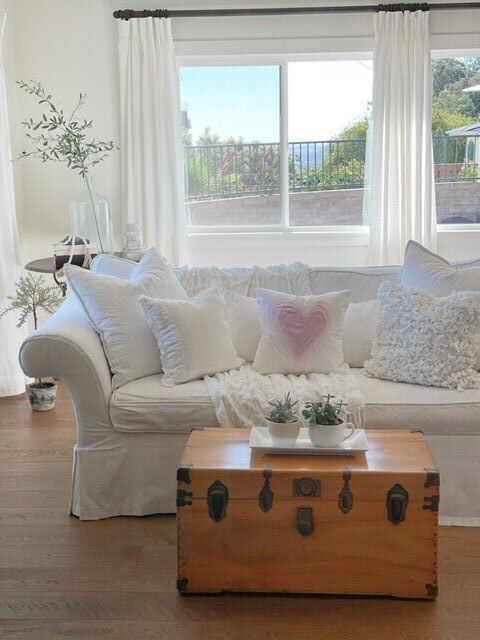
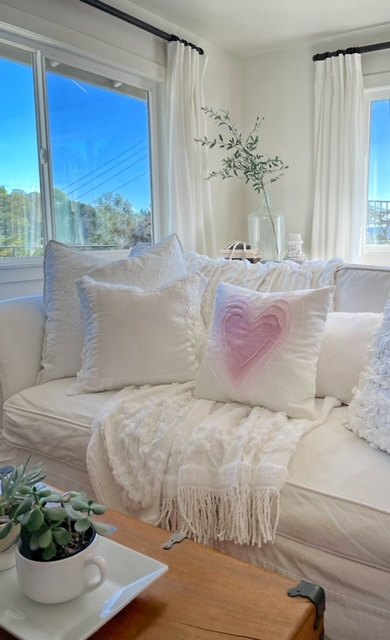
PS: If you’re looking out the window — yes, it’s January here. Gotta love So Cal!!
Resources for this project:
See all materials


Comments
Join the conversation
-
Beautiful, I will be snowed in this week and have all my sewing stuff out to keep me busy. Am actually working on Valentines decor to sell in the shop. Looking forward to making this lovely pillow.
-
So cute!!! I think it could stay in that beautiful room year round! I love that little punch of pink!


Frequently asked questions
Have a question about this project?