


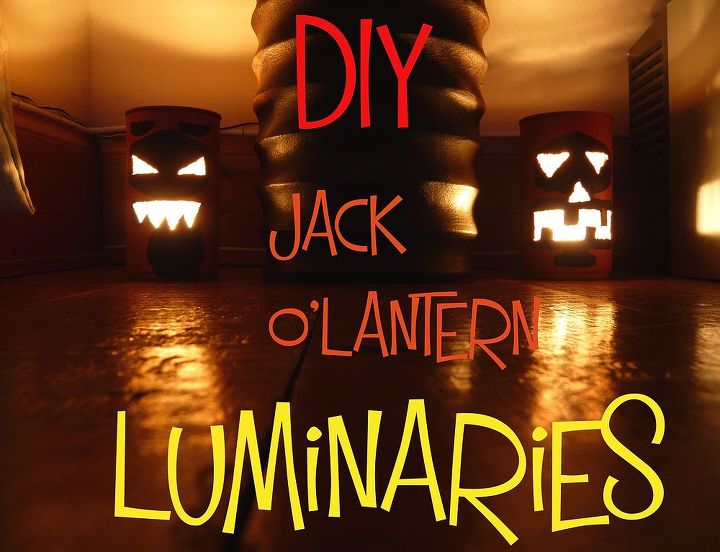
DIY Jack O’ Lantern Luminaries (From a Can)

by
Mila Myk
It’s time for easy and fun halloween craft! Jack o’ Lanterns are (beside all pumpkin crafts) my favourite diy halloween decorations! And I loooove luminaries, so I decided to make simple Jack o’ Lantern from a can.
o make these, you will need:

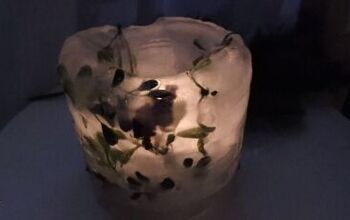
4- Melt the ice. I put cans in the sink and poured boiling water all over them to make it quicker (impatient person here!)
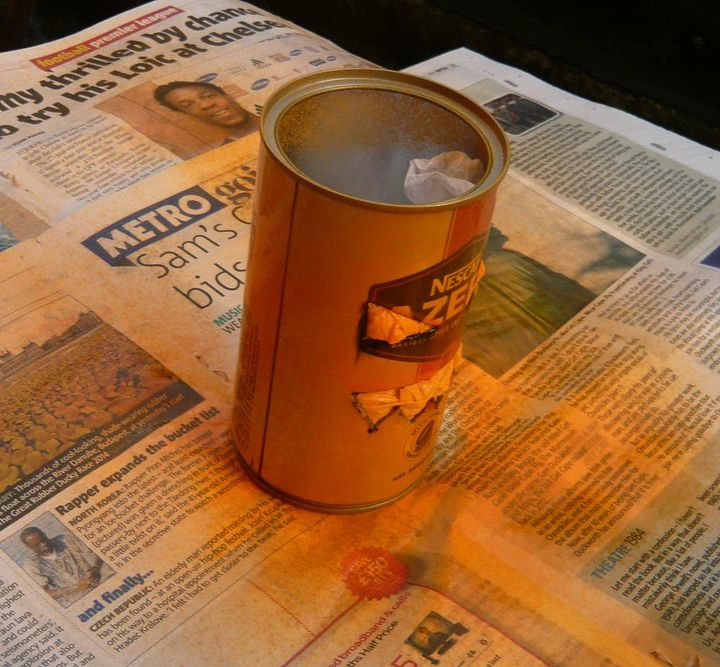
8- Let it dry completely!
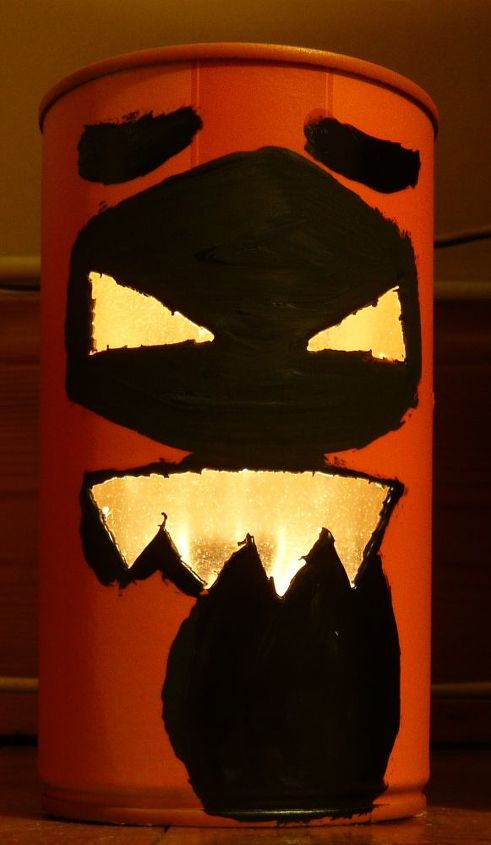
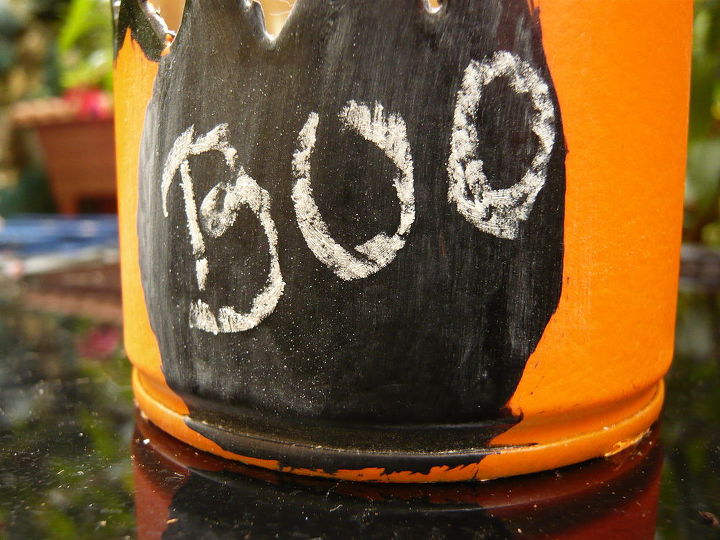
(My orange spray didn’t cover coffee labels well, so I decided to paint all over them. As I used chalkboard paint, I have a spot for possible halloween doodles! )
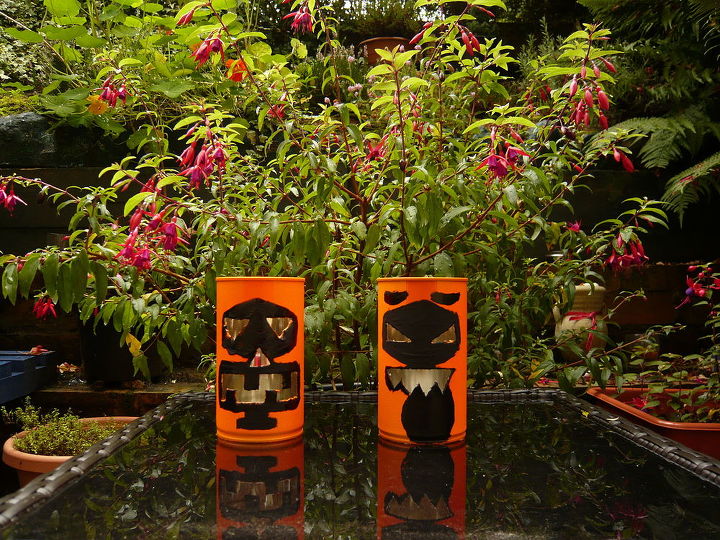
10- Put candle or fake candle inside the can and VOILA!

Want more details about this and other DIY projects? Check out my blog post!
Comments
Join the conversation
2 of 4 comments
-
Thank you :)
-
This looks like a good use for all those plastic Folgers coffee cans! tea lights or LED candles should be OK inside the plastic.


Frequently asked questions
Have a question about this project?