


DIY No-Sew Bunny Pillow
Find the easy steps to make a No-Sew Bunny Pillow for spring or Easter. A fun craft project for anybunny, no sewing skills required!
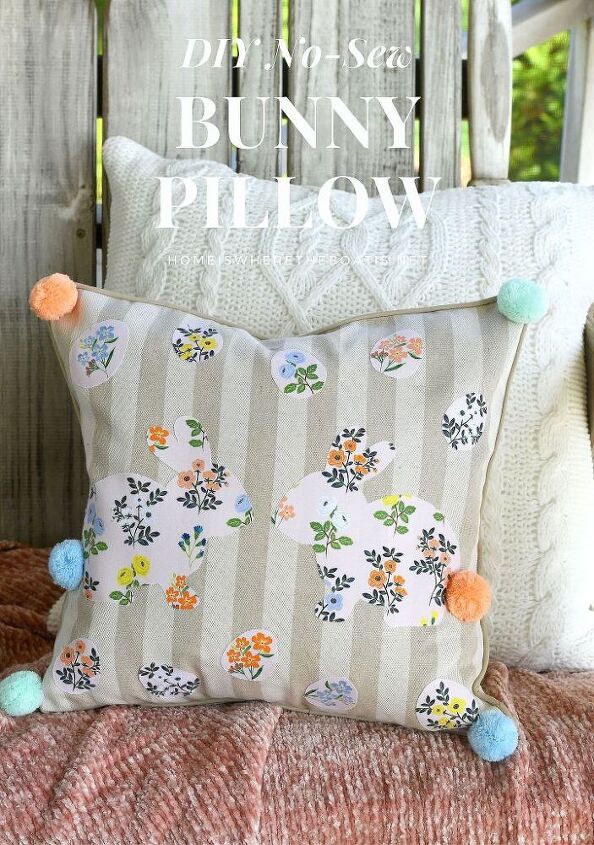
This decorative bunny pillow is an easy and fun project! If you can trace a pattern and have an iron, you can make a bunny pillow, no sewing skills required.
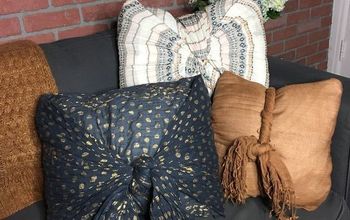
To start you’ll need a pillow cover. I used an 18 x 18 inch pillow cover I picked up at Hobby Lobby, which was 50% off the week I was there. You can also find affordable pillow covers on Amazon.
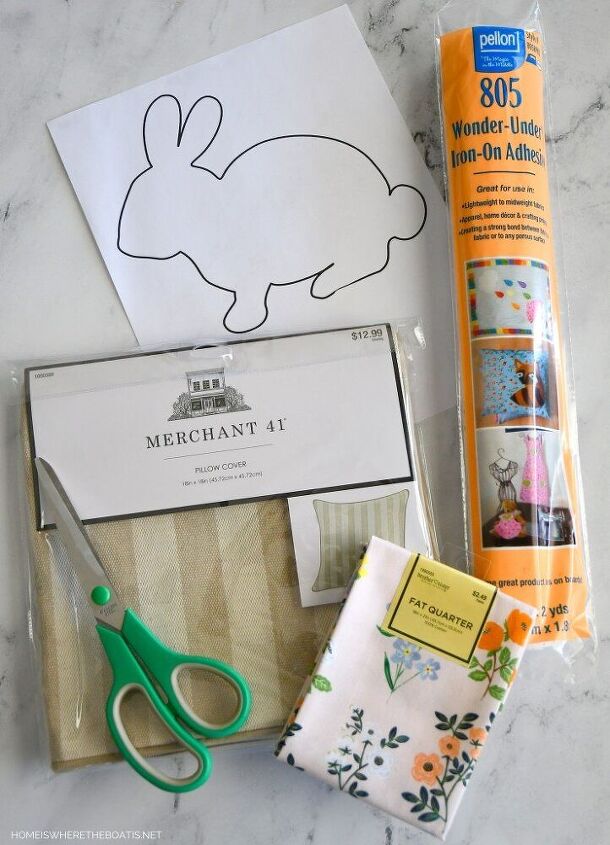
You’ll also need some fusible web (I used Wonder Under), some fabric and a bunny template. Visit HERE for the printable bunny template, source links for supplies, as well as 12 other creative craft projects.
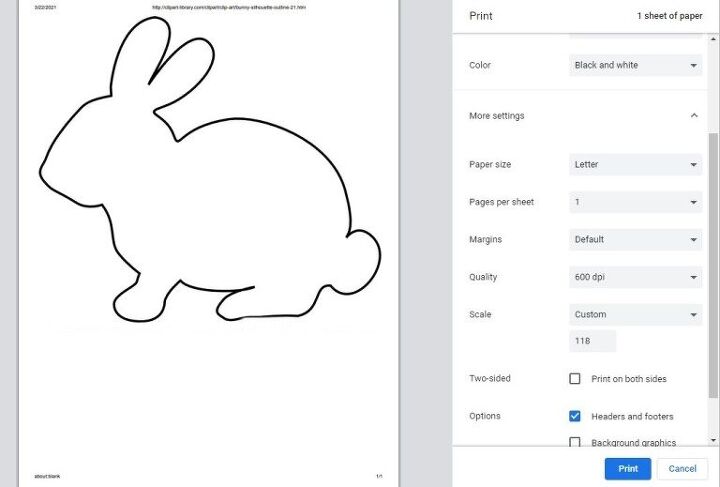
Adjust your template to the size desired and print it out. I experimented with sizes and enlarged the bunny to 118% so I could fit two on my pillow. After I decided on the size, I printed the bunny on a piece of card stock to make it easier to trace around.
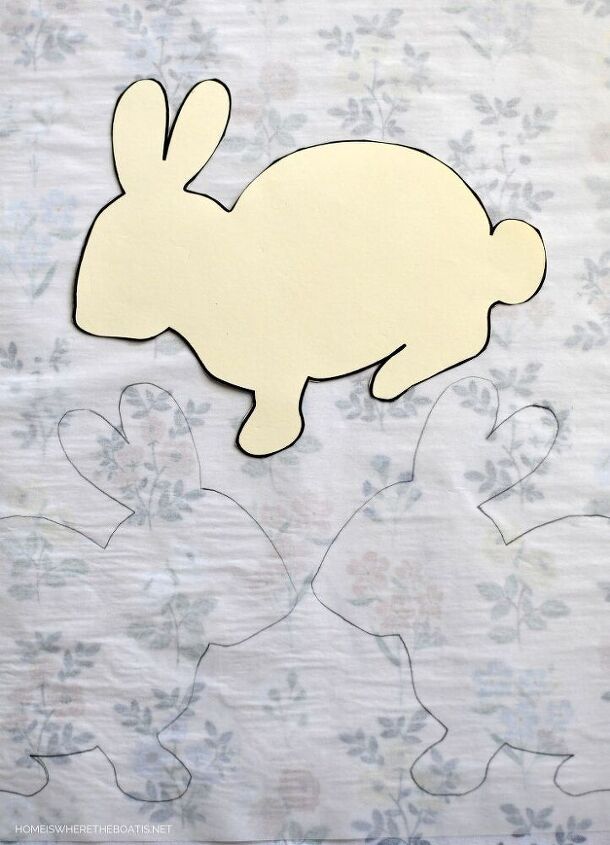
To begin, iron your fabric and pillow cover, removing any wrinkles or creases. Cut a piece of Wonder Under (or fusible web of choice) to the size of your fabric. Follow the package directions to fuse it to the wrong side of your fabric. Wonder Under’s directions say to press for 5 – 8 seconds with hot, dry iron. It took several passes with my iron to fuse the webbing. Let it cool.
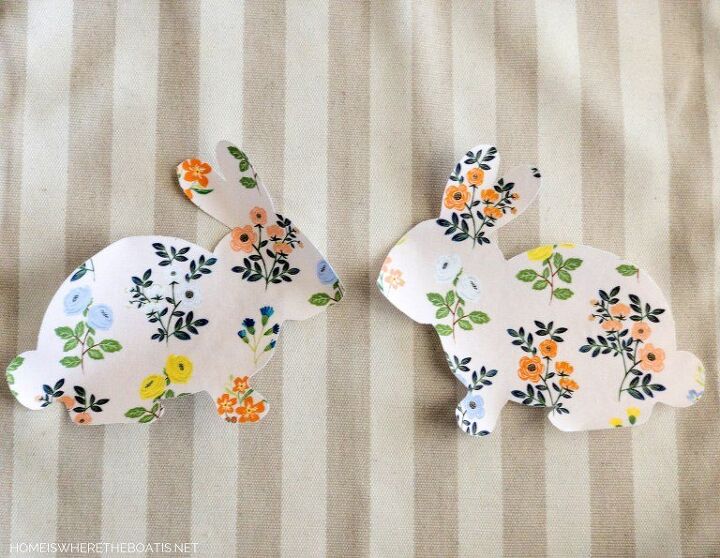
Trace your template on the paper backing, (I did mirror images) and cut out your bunnies.
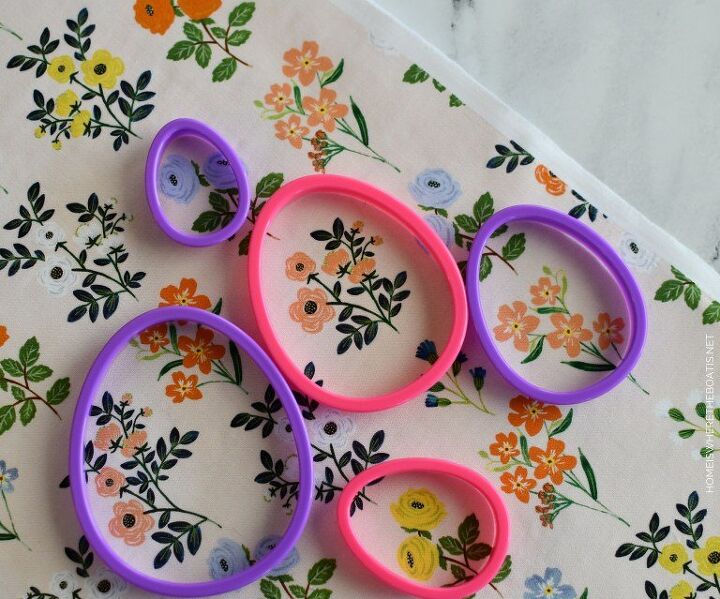
I decided to add some decorative eggs for Easter with my *eggs-tra* ;) fabric. I used my Easter egg cookie cutters as templates, tracing the shapes.
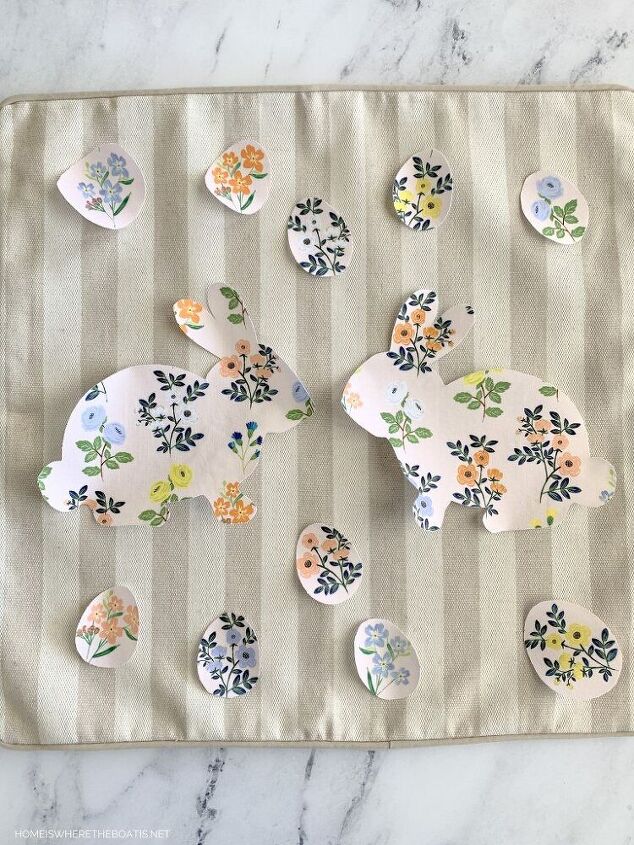
After your Wonder Under is fused and cooled, gently peel off the paper backing. Place the fusible web side down on your pillow cover and position your bunnies and eggs as desired. I fused the bunnies first, then positioned the eggs so the multiple pieces would be less likely to shift.
Wonder Under’s directions say to cover with damp press cloth and with your iron on the wool setting, press firmly for 10 – 15 seconds. Repeat, lifting and overlapping iron until fabric was fused. Remove press cloth and iron to eliminate excess moisture.
Note: I had a bit of trouble peeling the paper backing off my fabric, especially the eggs. While trying to separate the paper backing from the fabric, the edges frayed a bit, so I trimmed the frayed edges with the scissors before fusing the eggs to my pillow cover.
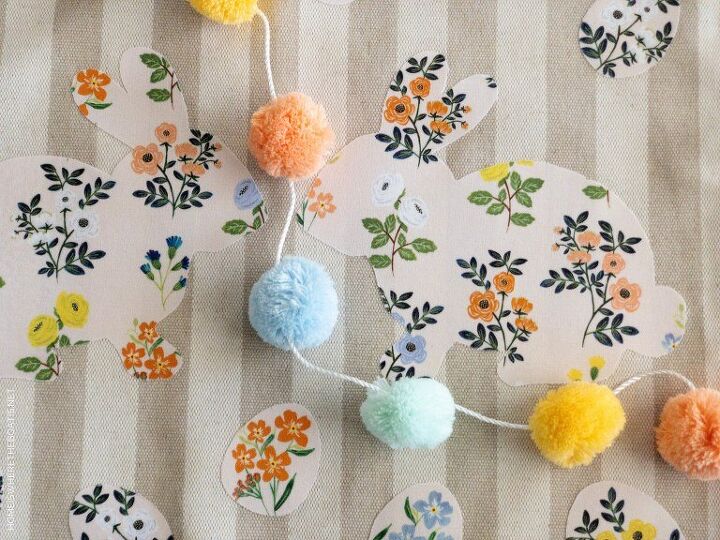
I found a pompom garland at Target to coordinate with my fabric for the bunny tails. I already had the pillow insert but if you need one you can find them on Amazon.
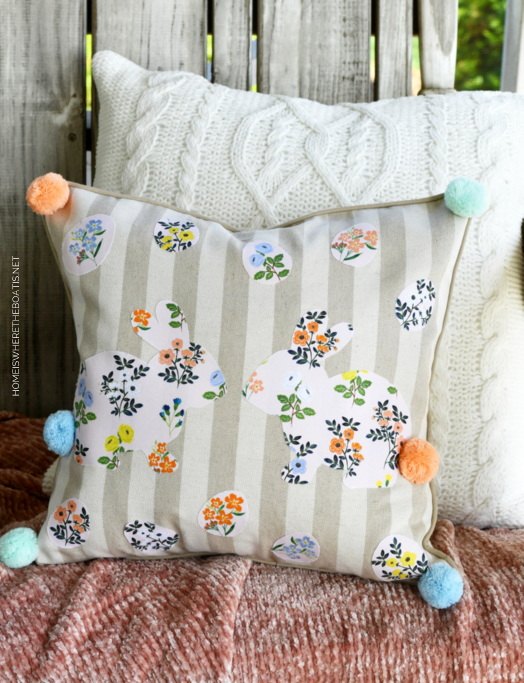
To keep this pillow ‘no-sew’, use a glue gun with a low melt glue stick or fabric glue to attach pompoms to the pillow for the bunny tails. Alternatively, use a needle and thread to attach the pompoms to the pillow if you prefer. After attaching the pompoms to the bunny tails, I decided to add a pompom to each pillow corner. More photos and sources at the blog link below.


Comments
Join the conversation
-
Cute project. I like fabric choices together. As a quilter and avid appliqué (er), options for appliqué are open. I prefer to, using washable glue stick design on fabric and when it’s as you like, you can stitch down by hand using embroidery or quilting stitches or machine stitch down using straight stitches or one of many decorative stitches that we rarely use on our machines. Glue washes out and Applique doesn’t slip off while stitching. I recommend if you’re planning on using more than a couple of weeks/year. Iron on stuff doesn’t always hold up after all the washing as well as you think
-
Adorable! 😁❤️


Frequently asked questions
Have a question about this project?