


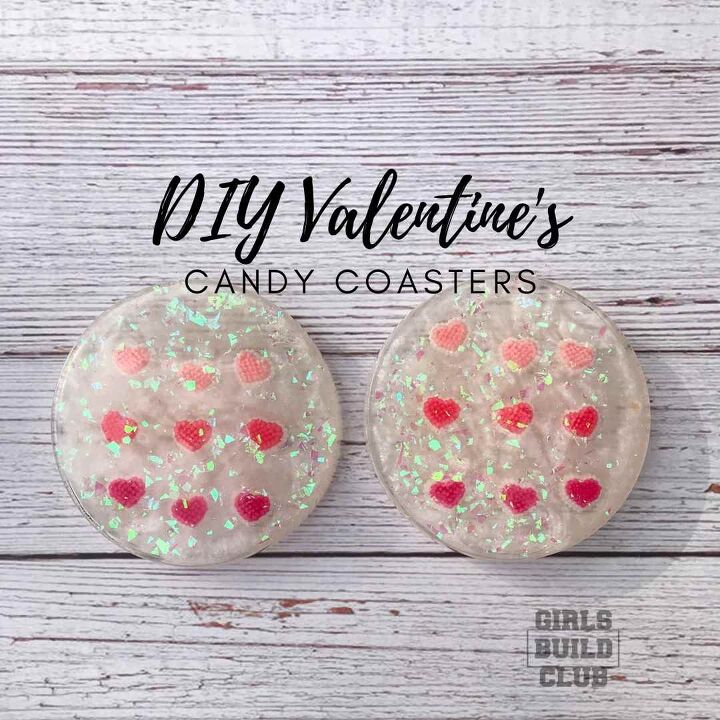
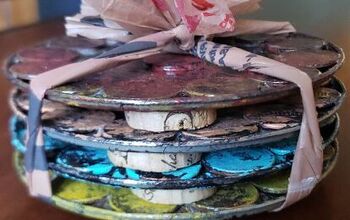
DIY Resin Coasters With Candy Hearts for Valentine’s Day
Resin drink coasters are so easy to make, and a great way to experiment with resin before you go all out! These DIY Resin Coasters with Candy Hearts are perfect for your Valentine’s Day decor or as a handmade gift.
This article was originally posted here at GirlsBuildClub.com.
Your DIY Valentine’s resin coasters will be one-of-a-kind, and that is one reason why I love DIY projects!
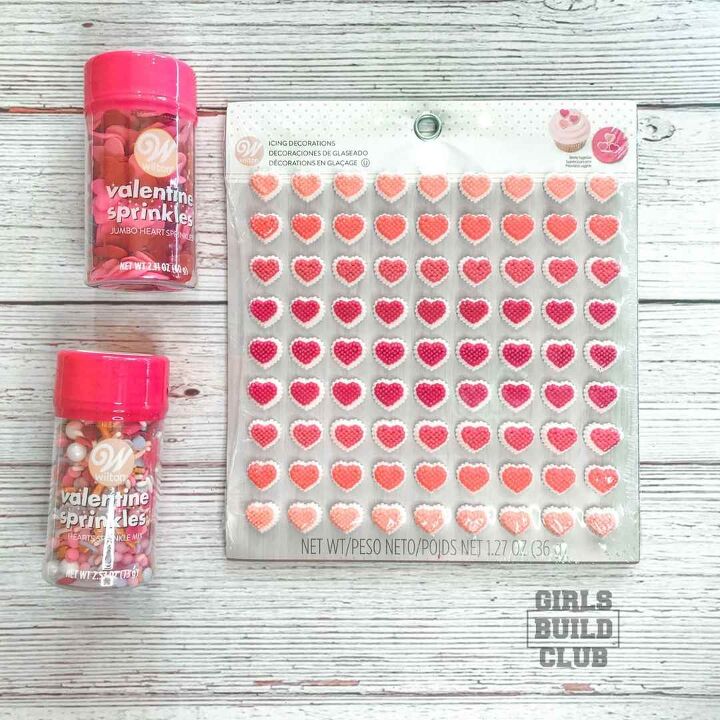
Head on over to your local grocery store for some Valentine’s Day candy or cake decorations. Technically, these candy hearts are meant for cake, I believe!
The resin itself can be expensive, but since we are using a small amount it won’t cost a ton. However, if you really get into this as an art, you can sell your creations for a lot of money. (ie River Tables, fancy charcuterie boards, etc)
Anyway, back to these DIY Resin Coasters with Candy Hearts!
For this project we need a few supplies:
Supplies for the Valentines Resin Coasters
- Resin Coaster molds from Amazon or Hobby Lobby
- Resin Epoxy – I’ve used several kinds of resin and I prefer MAS Epoxy for this project.
- Mica powder to color the resin, from Amazon
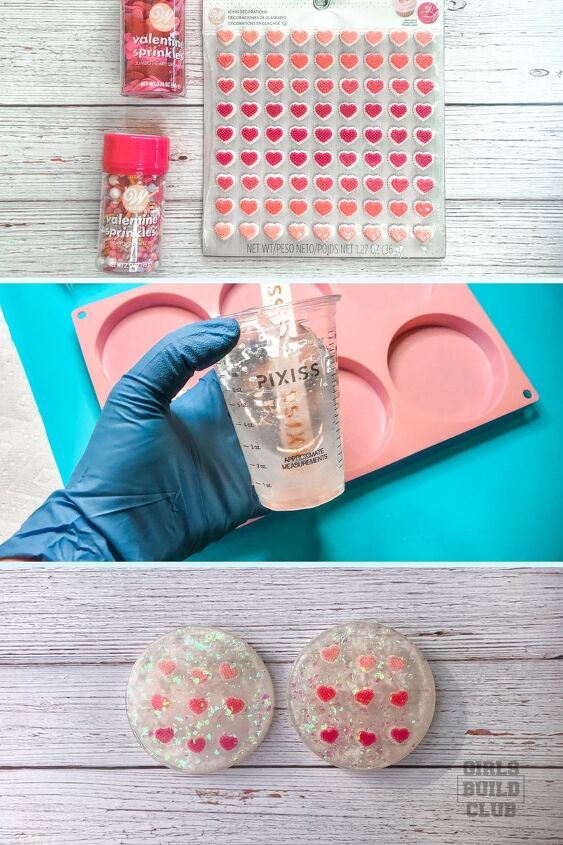
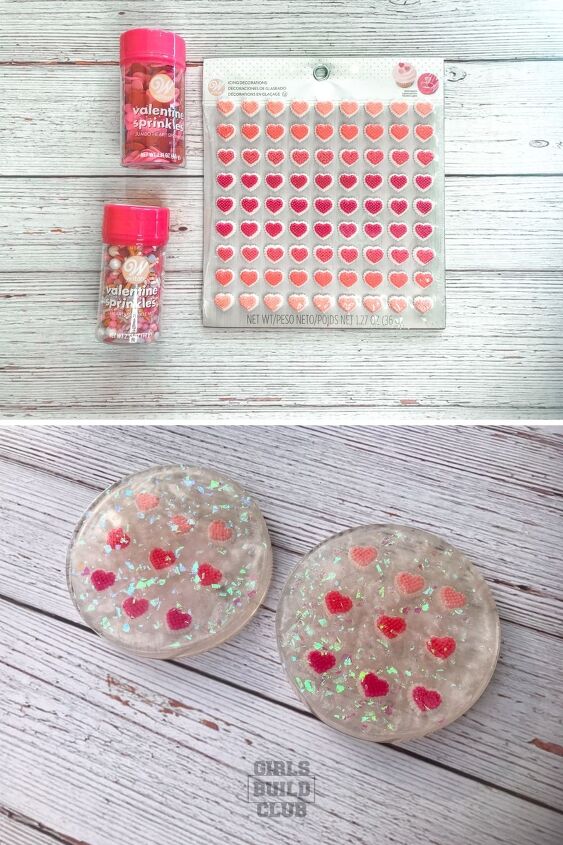
- Heart Candy from Walmart
- Sparkly Confetti from Walmart
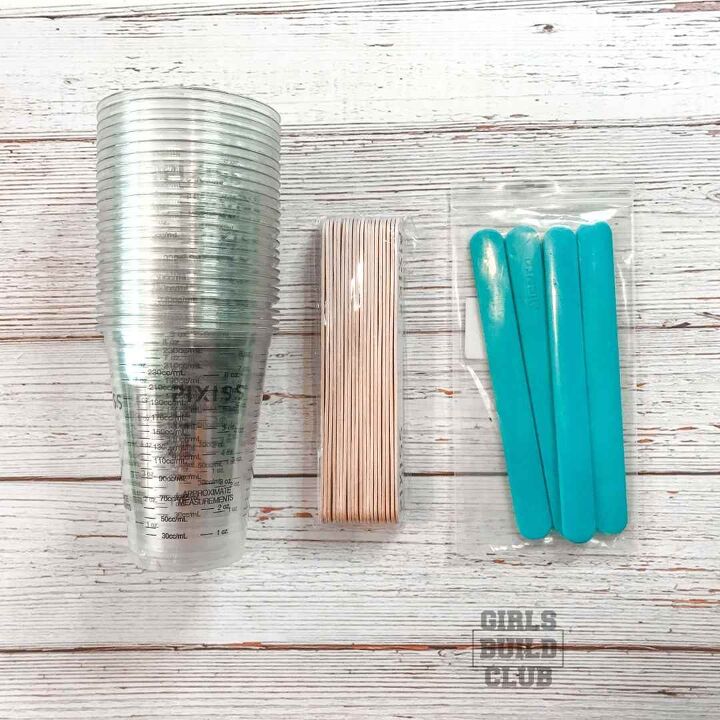
- Mixing Cups
- Stir Sticks
- Disposable gloves (several pairs!)
- plastic drop-cloth to protect your floor and work table
- Heat gun or torch
- optional – silicone project mat
- optional – cork coaster backing
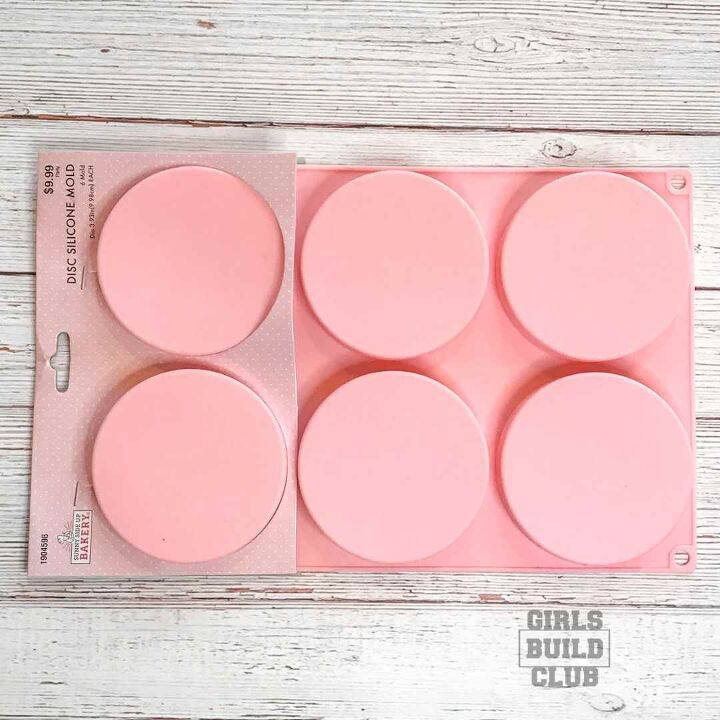
You can find most of the supplies in a silicone version which is great because the resin doesn’t stick to silicone once it’s cured, making the silicone tool reusable.
Often times, I’ll find awesome silicone molds in the baking section of a store – at Walmart of at Hobby Lobby.
1. Set Up Your Resin Project Workspace!
First thing you want to do is to protect your work area and organize your supplies so that everything is handy.
You don’t want to be running around looking for something when you have rubber gloves on and sticky resin is smudged on your gloves. You really have to be mindful of not getting resin smudges on anything important.
Use a plastic drop cloth –
Use a drop-cloth thick enough that it won’t tear easily and let resin onto your floor.
Or double up some cheap ones from the Dollar Store!
(No matter how careful I am, it always happens!)

Cover your table or counter with drop cloth, then add some silicone project mats.
Always protect your area a little more than you think you’ll need! And be careful not to step in resin drips and then travel away from the drop cloth area.
Don’t ask me how I learned that one. :/
Set up your supplies within arms reach
And yet, give yourself plenty of room for the piece you’ll be making. Space things out a bit, if possible.
I like the space in front of me to be the project with the items I’ll use repeatedly, and then on a neighboring foldup table I’ll put my supplies that I use once. That way I can use them and then get them out of the way.
Have a loose plan
There’s room and time to experiment as you’re working, but I like to have a plan for the colors and sprinkles that I’ll be using.
That helps cut down on the amount of rummaging around I do with sticky resin hands. 🙂
Use mold release spray, to prep your coaster mold and make it easy for the resin to release once it’s cured.
In the pictures below, you’ll see what looks like water marks on the coaster mold. That’s the dried mold release spray.
2. Mix The Two-Part Epoxy Resin
Epoxy resin is two parts – part A and part B. You mix them together in specific ratio, and the chemical reaction between the two parts make it harden over several hours.
For these coasters, I mixed 6 oz total and that gave me 2 coasters.
The resin I love working with the most is by MAS Epoxies because I love doing deeper pours and their resin allows me to do that in one pour, instead of several layers. So it saves me time and effort.
Check the mixing ratio for your brand of resin, and mix accordingly.
(It’s a different ratio for every brand and type)
I mix it together in my clear plastic cups with measurements printed on the side. You can also purchase pumps for your resin bottles that dispense the perfect ratio so you don’t have to measure yourself. It’s super handy and cuts down on mistakes which can ruin a project.
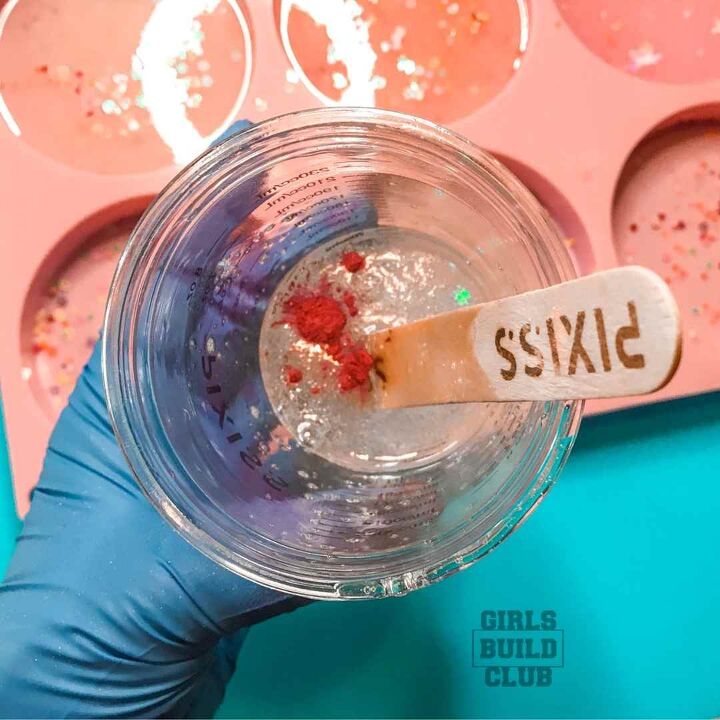
3. Add Colorant to Your Resin
There are several methods to coloring your resin – powder, acrylic paint, ink, etc.
For this project I added a little bit of white mica powder to my resin as a colorant.
A little colorant powder goes a long way! I put in a tiny scoop as you can see here… although this pic is from another coasters project.
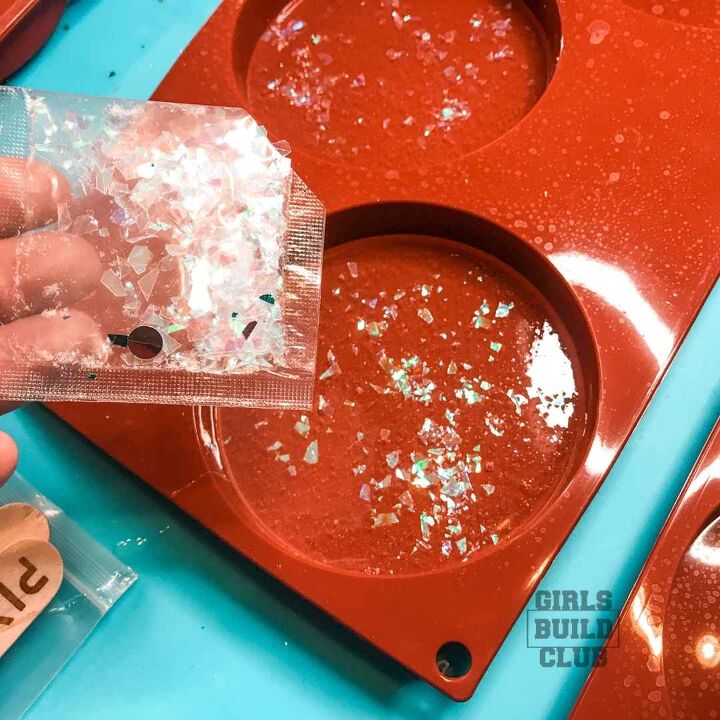
4. Pour a Little Resin Into Your Coaster Mold
I poured a light layer of resin, to start with.
I added some sparkly confetti, too!
Finally, I popped any bubbles with my heat gun (or you can use a torch).
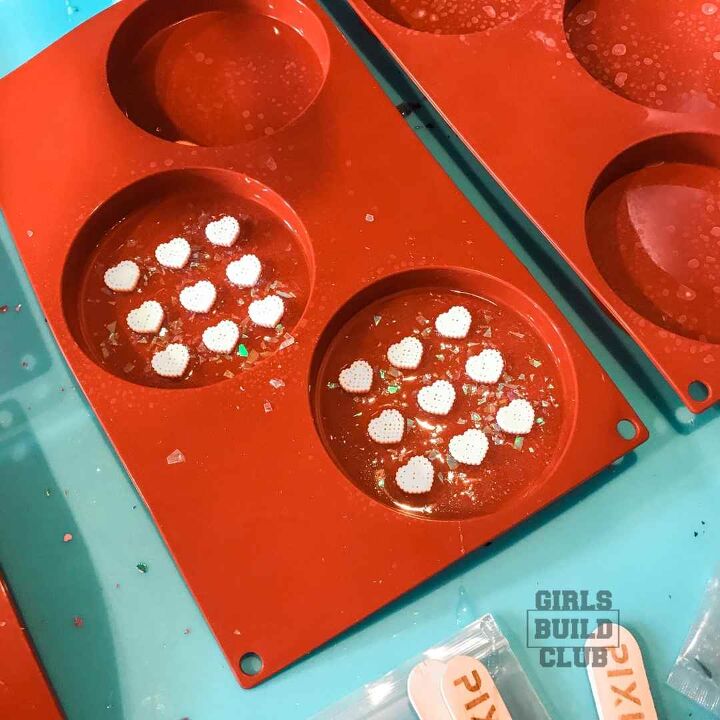
5. Put the Heart Candy In Your Coaster Mold
Remember, the bottom of your mold will end up being the top of the coaster.
So I turned the candy over and put it face down in the mold.
I arranged it in three rows, in a color gradient, from light pink to dark pink. Add some sprinkles to your mold before you put the resin in. The bottom of the mold will become the top of your project… at least that’s how I wanted it to be since that will be a smooth surface that doesn’t need sanding.
The part of your coaster that is currently in the bottom of the mold will be perfectly shiny and smooth (since it’s against the silicone mold), whereas the top surface will need some sanding around the edges.
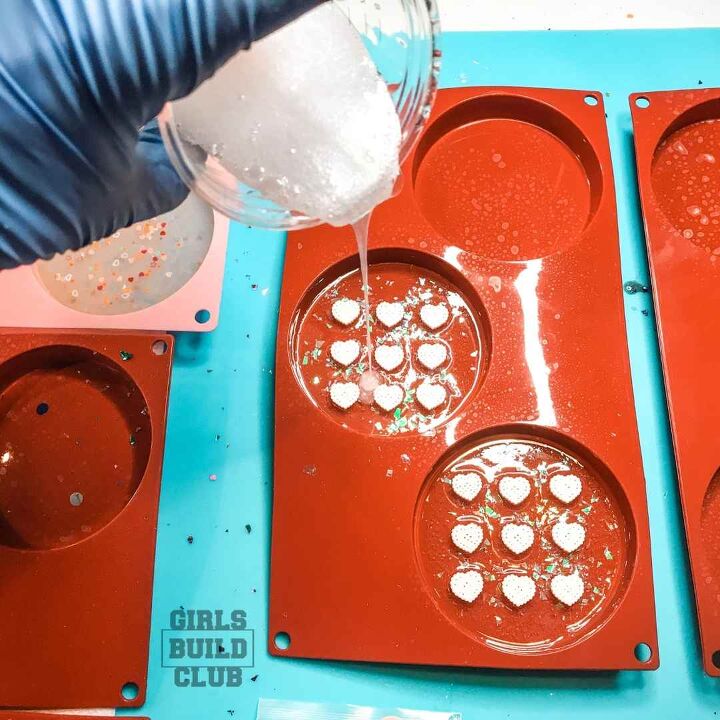
6. Add More Resin, to the Final Depth
Now that you’ve got your candy hearts in place, pour the rest of the resin in.
I added a few more pieces of confetti, too.
Then I continued to pop rising bubbles with the heat gun every five minutes or so for about 20 minutes.
You are almost done making your DIY Resin Coasters with Candy Hearts!
7. *Resin Tip*
Check the working time of your resin so you don’t “overwork” it. It will be listed in your instructions.
You don’t want to heat gun it once it starts to set up and harden.
8. Cover Your Work
Cover your work with cardboard boxes, plastic bins, or what I did…
…I bought some dollar store tupperware and I use those to cover my projects so that dust doesn’t settle in and stick to my work. The covers will stay over your project overnight while it’s hardening. After that you can take them off.
It’s the worst when you come back to a project and find a hair or fiber embedded in your beautiful art!
Be careful about what clothes you’re wearing – nothing linty or with long fibers that could fall into your resin. It’s worth it to wipe your clothes down with a sticky roller before you start.
9. Now You Wait
This is the hard part! Waiting for your work to harden up so you can de-mold it. It’s pretty fun taking it out of your mold and seeing if it turned out how you imagined.
It’s almost never exactly what you had planned, but mostly they are good surprises and you’ll be happy with how it turned out.
10. Add the Finishing Touches to Your DIY Resin Coasters With Candy Hearts
The top of your coaster may be perfect, and you can avoid sanding that surface. However the sides and bottom edge will likely need attention.
Sand off any rough edges – with several grits of sandpaper, until it’s back to shiny.
You can start with 100 grit and work your way up to 200, 400, 800, 1000, 1500, etc until it’s all shiny again. Try not to sand any areas that are already shiny or you’ll knock them down less sheen, and have to do more sanding!
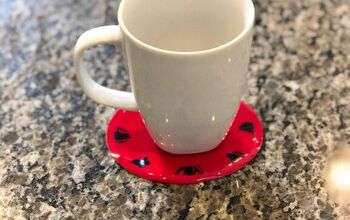
And you can even add a cork backing to the coaster so it doesn’t slide around on your furniture.
11. Display or Give Away
You’re all done! Now you’ve got some beautiful handmade coasters to decorate with for Valentine’s Day or give them away to a special someone.
I hope you had fun!
Want More Resin Projects?
If you like resin projects like this, please sign up for my (infrequent) email newsletter on my blog so you can be notified of new resin projects.
Before you go...Grab Your Valentine’s Printables (50+ Pages Free)
I made 50+ pages of Valentine’s Day Printables for you to download and print to decorate your home for Valentine’s Day. Lot’s of cute and fun phrases to pick from.
> Grab your free printables here.
And you get 50+ pages to choose from. 🙂
I'd love to hear your comments and questions.
Have fun!
~Liesell Maretta
GirlsBuildClub.com


Comments
Join the conversation
-
Very cute! I may try. Working with resin has intimidated me


Frequently asked questions
Have a question about this project?
Beautiful! Is it difficult to unmold them?