


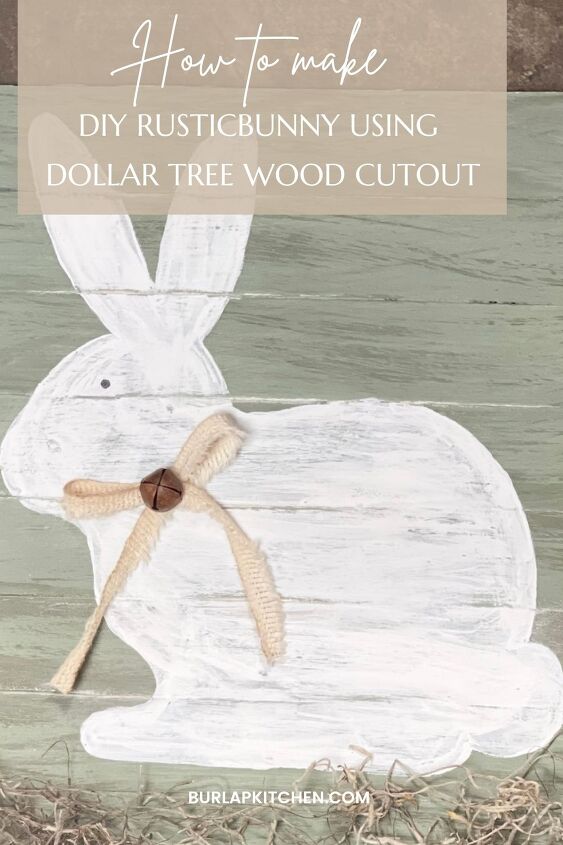
DIY Rustic Bunny
DIY rustic bunny using a Dollar Tree wood cutout.
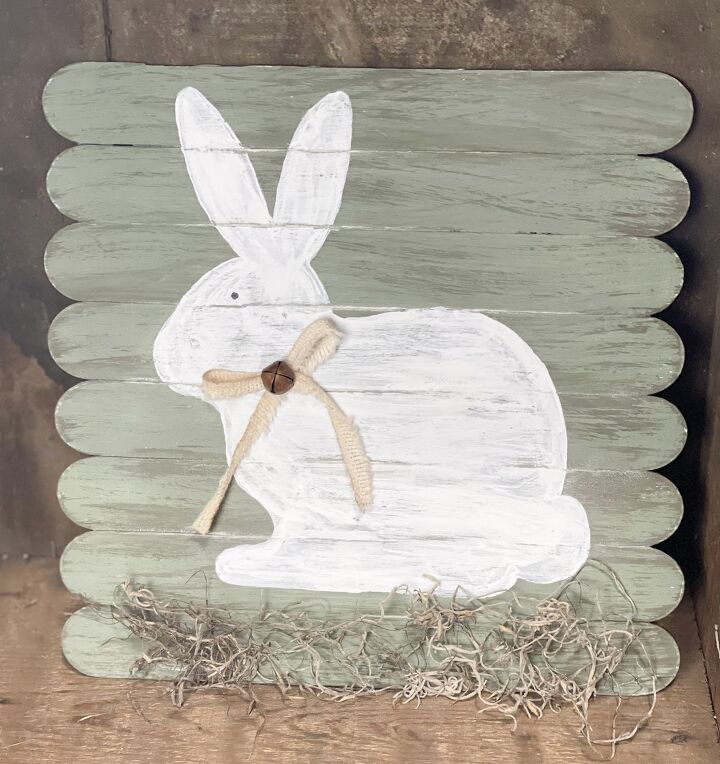
Today, I am thrilled to be sharing with you how to make a DIY rustic bunny using a Dollar Tree wood cutout. This beautiful DIY farmhouse style bunny craft was so simple and fun to make. I love using wood cutouts I find from the Dollar Tree, or other craft stores, to create budget-friendly DIYs for my home décor. How adorable would this DIY rustic bunny be to add to your spring décor this season? Also, this simple springtime DIY could make a special homemade Easter present for your friends and loved ones!
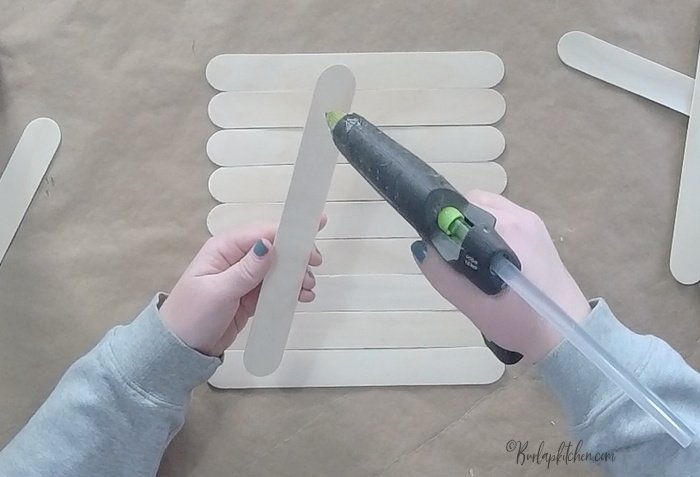
Step 1. Take 8 jumbo popsicle sticks and lay them down horizontally so that they are snug together, but not overlapping. Be sure that they are all even/lined up so that they create a square shape. This is going to create the backing for our project.
Step 2. Take 4 jumbo popsicle sticks and hot glue them down vertically over top of the 8 jumbo popsicle sticks so that this will hold all of the 8 jumbo popsicle sticks together to create the backing for your project. I placed 1 popsicle stick vertically at each end of the project, and then hot glued it to hold the project together. Then, I cut 2 popsicle sticks down to size so that I could place them in between the 2 popsicle sticks at each end of the project so that the entire project was secured in place. Allow to dry. Flip the project over so that the 4 vertical popsicle sticks securing your project together are the back.
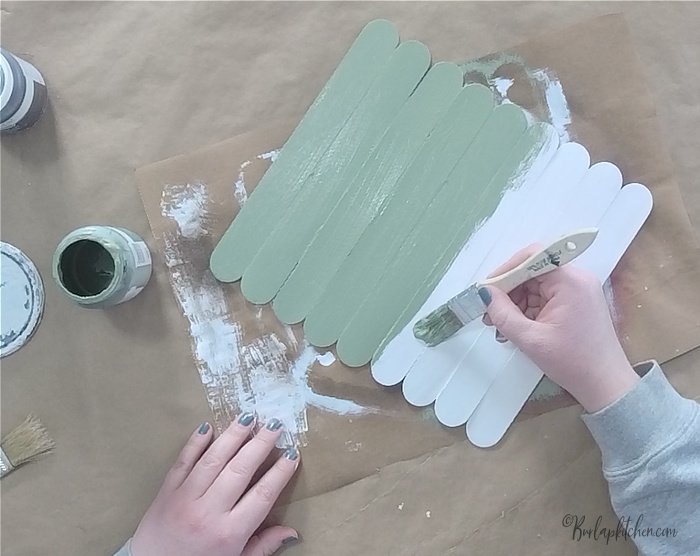
Step 3. Use Waverly paint in the color “moss,” and paint over your entire project, front and back. Allow to dry. Then, add another coat of paint to the front of this project. Allow to dry.
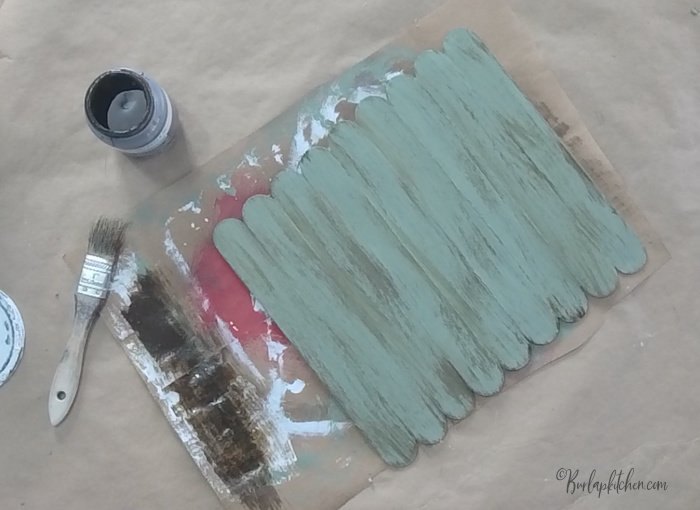
Step 4. Using a piece of sand paper, gently sand over the front of the project. Blow off any dust from sanding.
Step 5. Using a chip brush, take some Waverly antique wax and dip your brush into the antique wax, then brush a good bit of the antique wax off onto a paper bag, and then randomly brush the remaining antique wax across the front of your project to create a rustic look. Allow to dry.
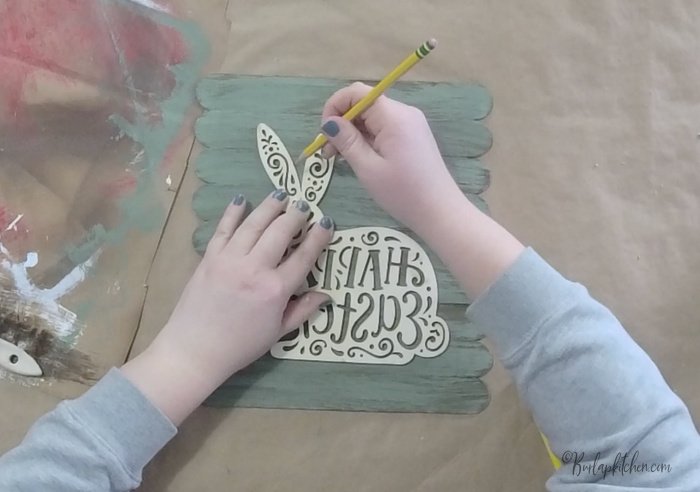
Step 6. Take the wood bunny cutout, or any wood cutout of your liking, and place the wood cutout onto the center of your project. Then, take a pencil and trace around the outside of the wood cutout so that the outline of the bunny is traced onto your project. I purchased my wood cutout bunny from the Dollar Tree.
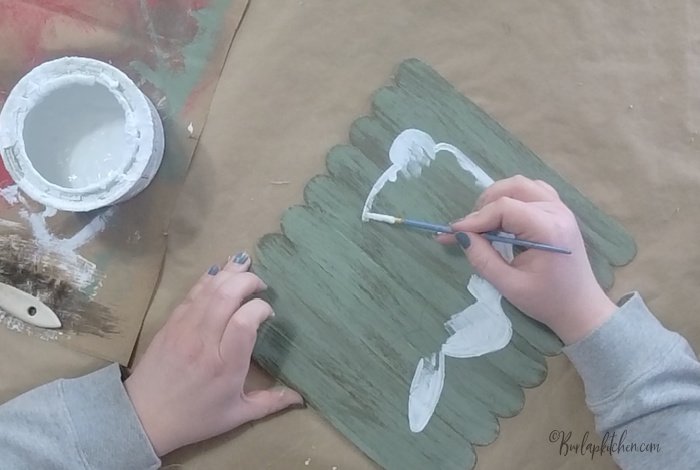
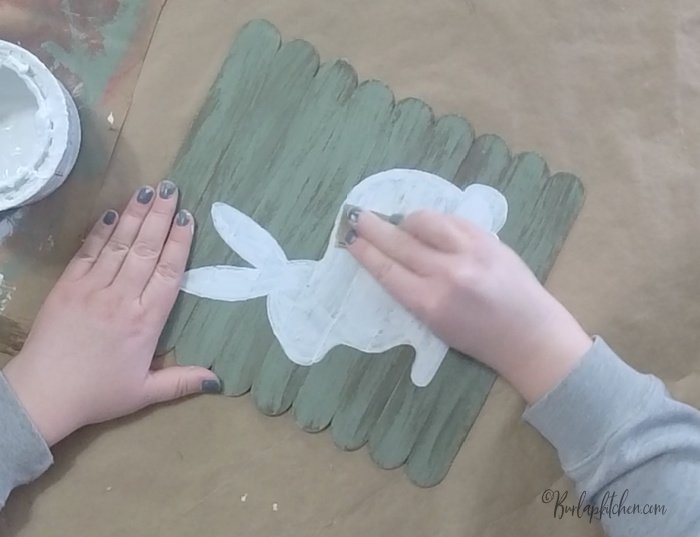
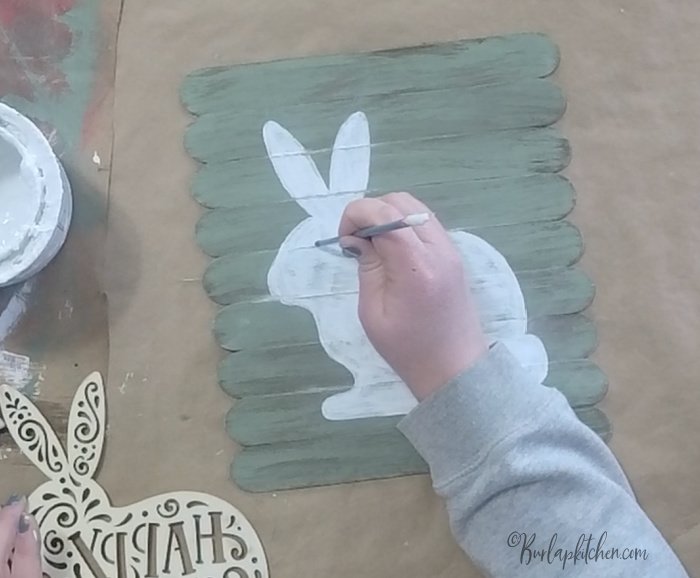
Step 7. Using a really thin paint brush, use white chalk paint and carefully paint over the outline of your bunny. Take your time with this step. Once you have painted the bunny outline onto your project with white chalk paint, use the same white chalk paint and paint brush to fill in/paint the entire bunny. Allow to dry.
Step 8. Once your bunny is completely dry, gently go over it with sanding paper. This will add a more rustic look.
Step 9. Next, dip a thin paint rush into some black chalk paint and place one dot on the bunny where the bunny’s eye would be. Allow to dry.
Step 10. Take a thin piece/strip of a coffee dyed flour sack and make a small bow to place around the bunny’s neck. Once you have the bow to your liking, hot glue it down onto the bunny’s neck. I like to have each side/end of the bow hanging down a little. Trim away any excess coffee dyed flour sack end from the bow. Allow to dry.
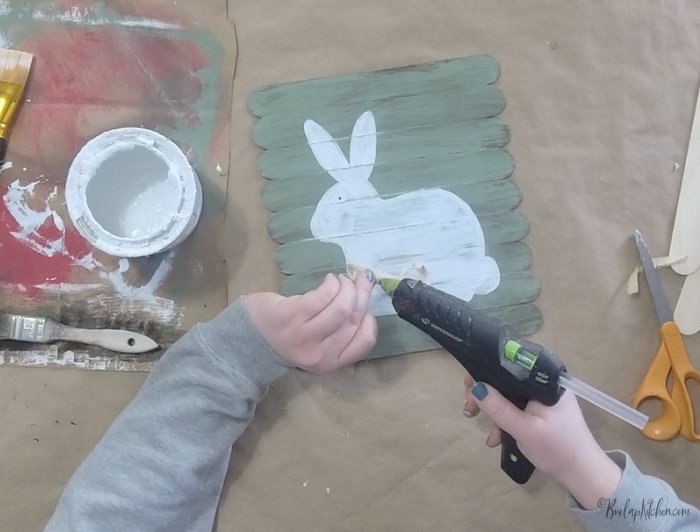
Step 11. Hot glue a small rusty bell, or any embellishment of your liking, onto the center of the bunny’s bow. Allow to dry.
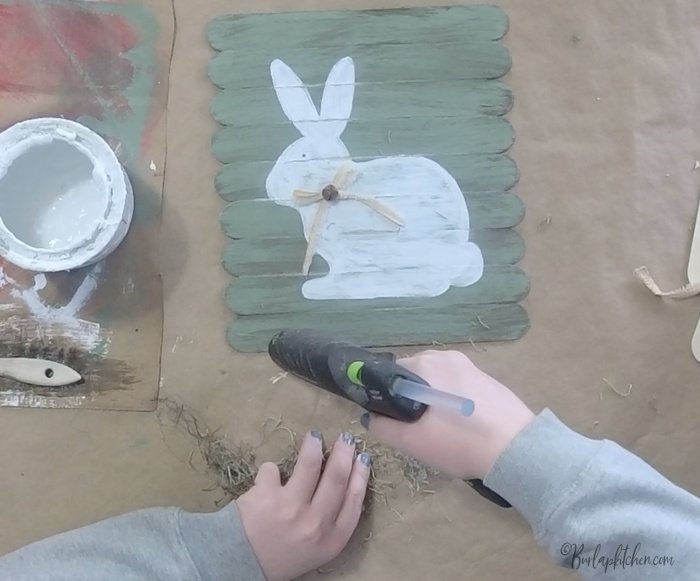
Step 12. Hot glue some Spanish Moss across the very bottom/ base of the project, so that it looks as if the bunny is sitting on some Spanish Moss. Allow to dry and trim away any excess Spanish Moss. Enjoy!
If you decide to make this DIY I’d love to hear from ya! You can drop a comment below or message me on any of my social media pages. Hope you have a blessed weekend and as always remember to keep it simple. Catch ya next week my friends! Facebook, Twitter, Pinterest, Instagram, youtube
Looking for more fun Easter crafts? Give these a try!
How to make a cute carrot using an empty roll of toilet paper
How to make a cute Dollar Tree carrot decoration
.
Resources for this project:
See all materials


Comments
Join the conversation
-
Sweet! Lovely in its simplicity 💕
-
with projects like this you can add or leave off stuff, you can change the color of the ribbon also. instead of a bell you can add a flower. make it yours!


Frequently asked questions
Have a question about this project?
Where's the cotton ball tail?