


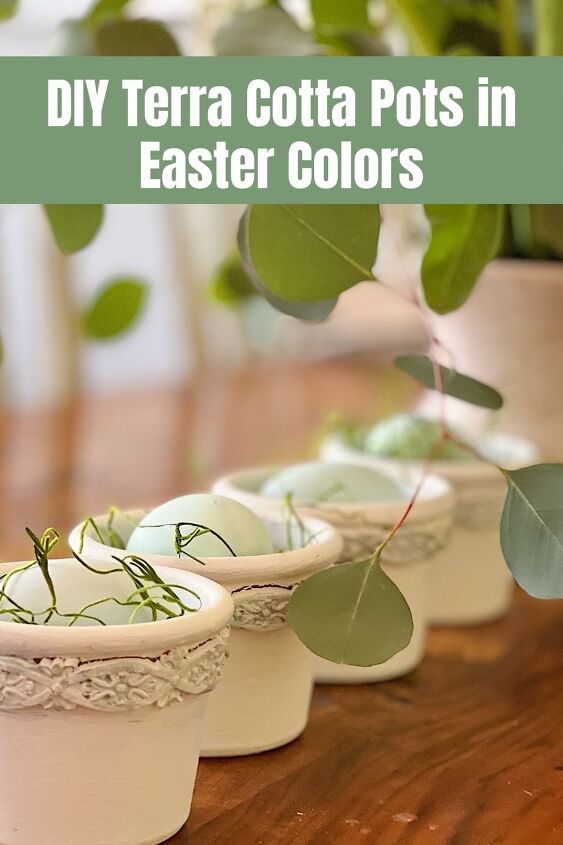
DIY Terra Cotta Pots in Easter Colors
Easter colors are so beautiful. These DIY terra cotta pots and Easter eggs were inspired by these gorgeous colors of spring.
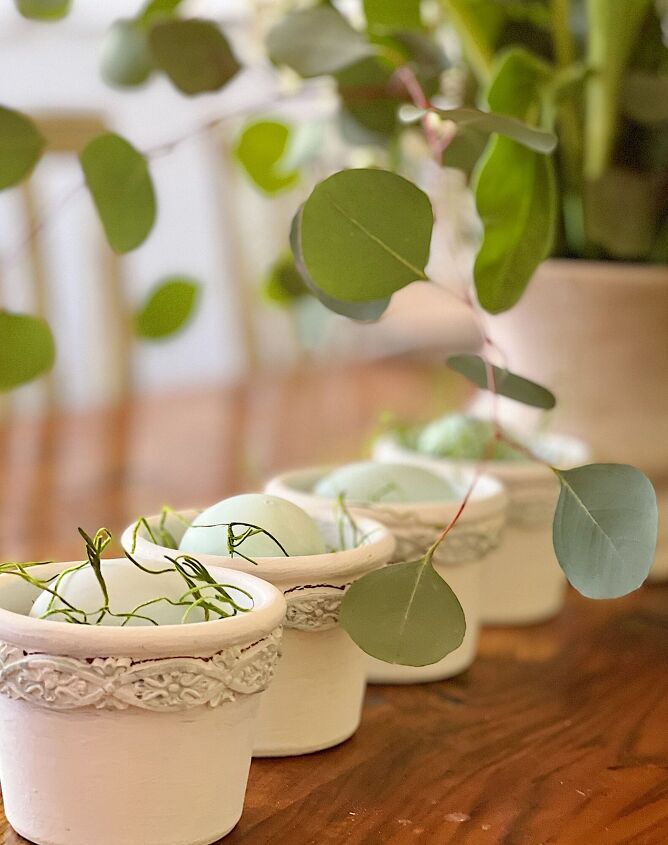
Looking for some inspiration for your Easter decorating this year? I was inspired by pretty blues and greens, and the hues of Martha Stewart’s favorite Araucana chicken eggs. I also made some really cute terra cotta pots. Keep reading to learn how to make your own in these pretty Easter colors.

Surprise! I have another DIY.
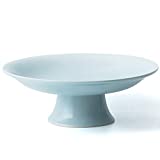
Ok, I know I am a serious crafting junkie. But how adorable are these pots? I started with a regular terra cotta pot and added used an Iron Orchid Designs mould and some clay. I glued the clay to the pot and painted it.
That’s all it took.
Oh wait, I did paint some wooden Easter eggs too. Easy peasy.
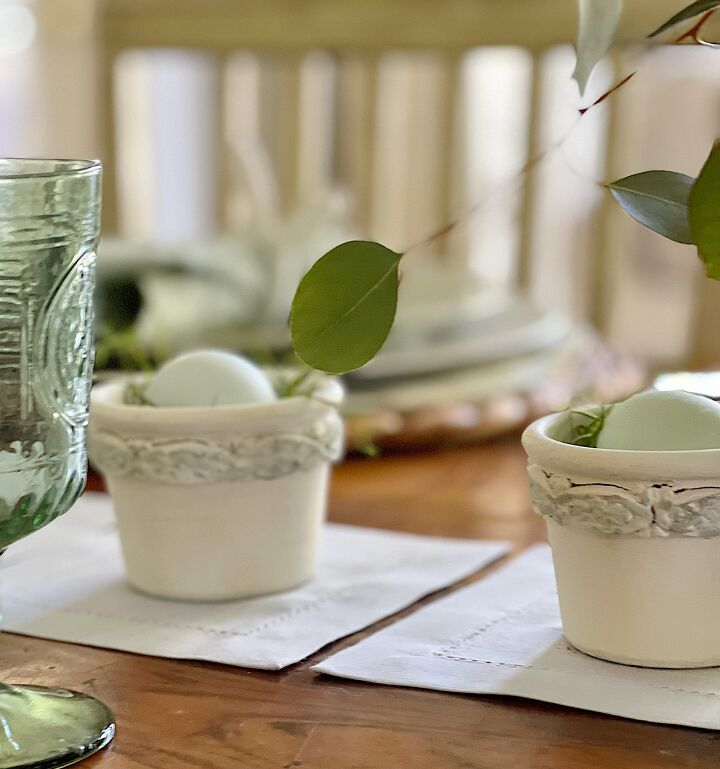
And even though I made them for an Easter table I can promise you I will be using them all year long!
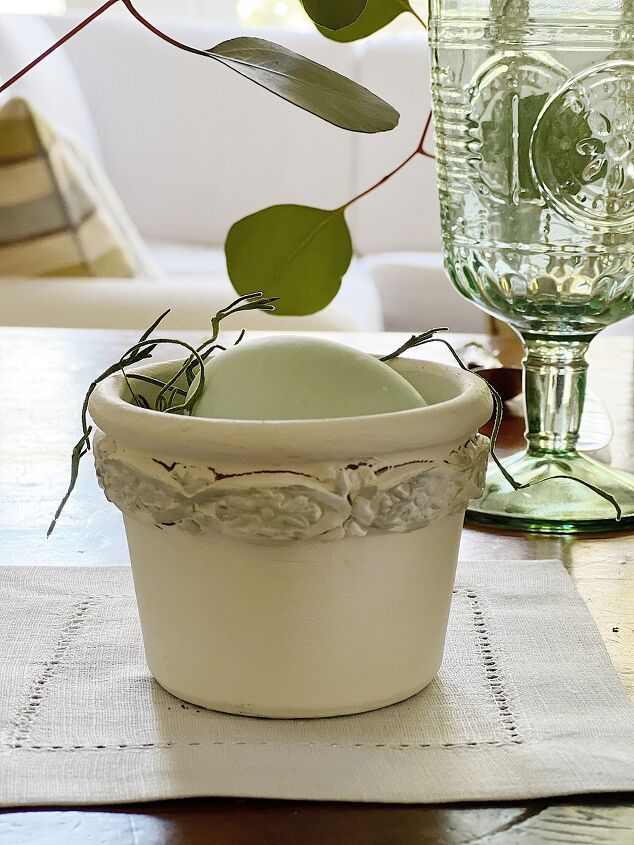
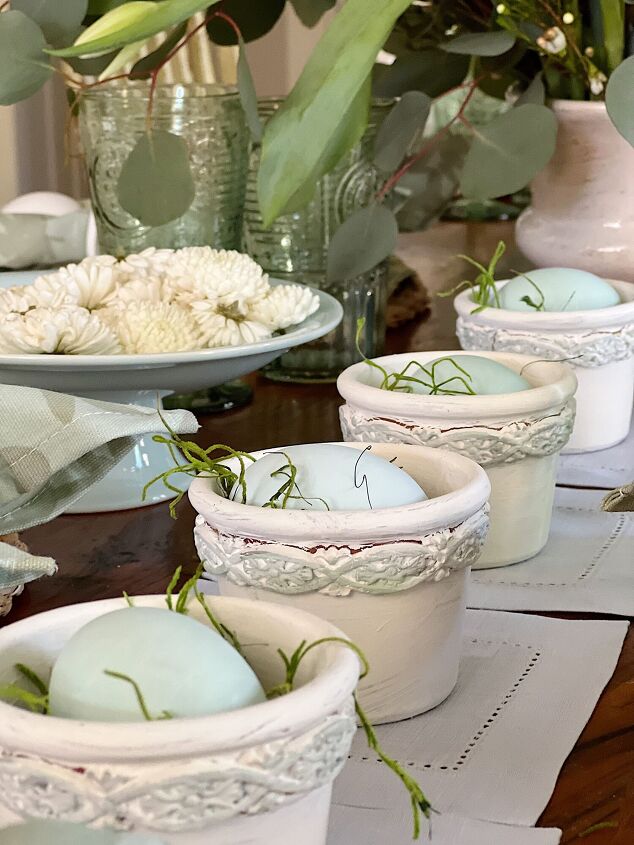
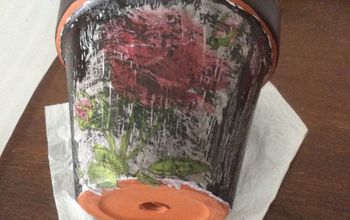
Can I just say that I love the fact that the pots are handmade and not perfect? So if the cracks bother you, then just touch them up with paint after they dry. I like them this way.
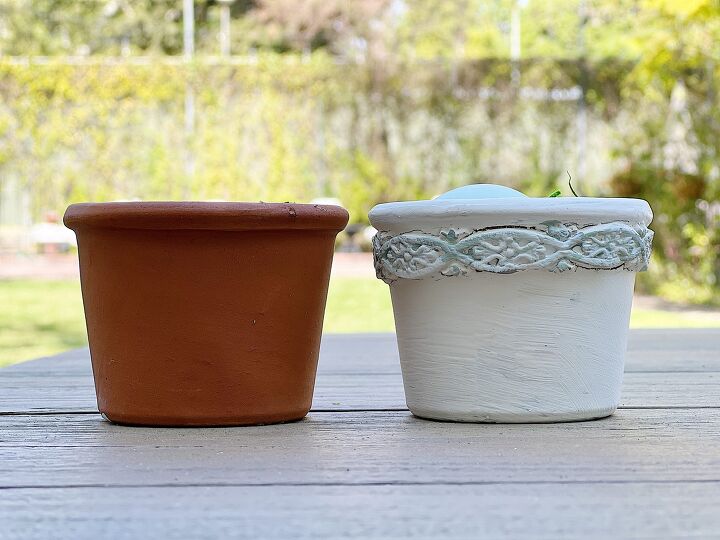
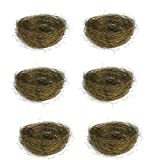
You gotta love the before and after. And you can barely see the painted Easter egg and a bit of grass peeking out from inside the pot.
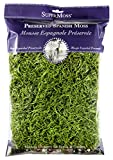
I thought it might be fun to not only paint these terra cotta pots but also add some clay. Of course, I needed to use a mold.
I love using clay moulds from Iron Orchid Designs. You all know how much I love to craft and I am always looking for new ideas that look amazing and are not hard to do. Iron Orchid Designs has the most incredible products for crafts and DIYs. Their designs are so creative, they are a company of wonderful people, and their products will easily help you to discover amazing new DIYs and crafts.
If you go to the IOD website you will find “DIY tools and tutorials to inspire your creative soul”. They have decor moulds, decor stamps, and decor transfers to make fabulous items for your home. Today I get to share how I made used their decor moulds to decorate eight terra cotta pots.
Where can you buy Iron Orchid Designs products? Just click here to find a retailer near you! (You can also order online from some of the retailers.)
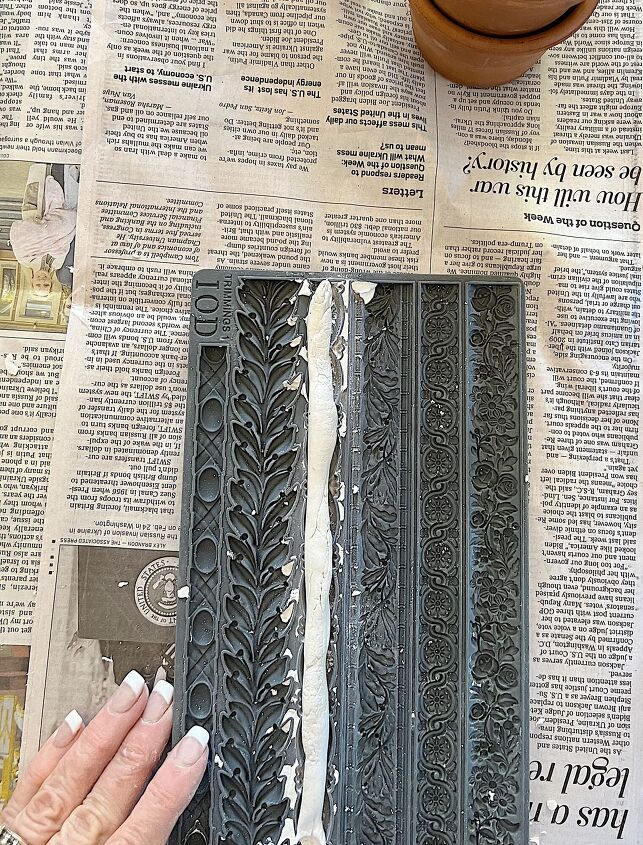
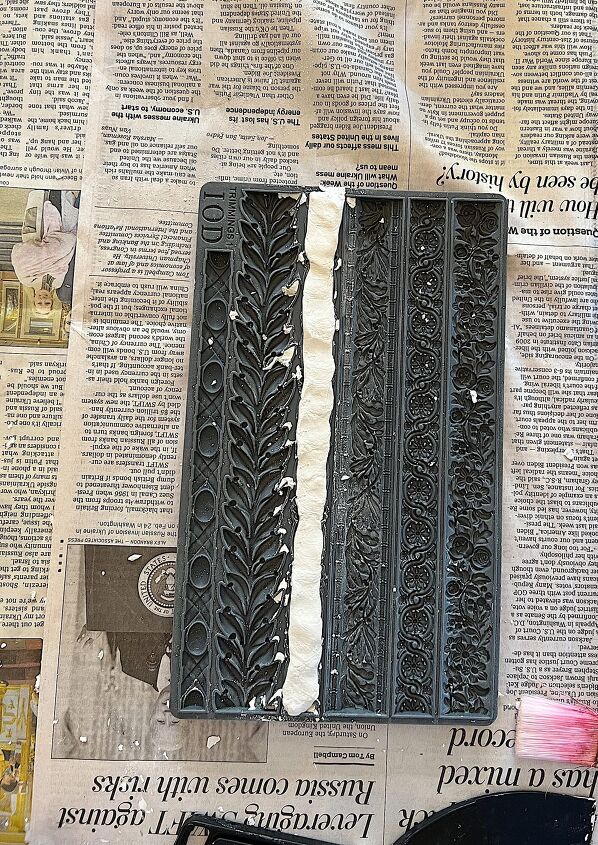
I used the IOD Trimmings 1 Mould. This mould has six different designs!

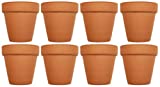
Here is what you need to make these terra cotta pots.
- Terra Cotta Pots (see below)
- IOD Trimmings 1 Mould
- One oackage of Sculpey Model Air White Dry Clay
- Titebond Quick and Thick glue
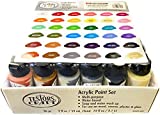
- Acrylic Paint in shades of green, brown, gray, and cream (or white)
- Paint Brushes
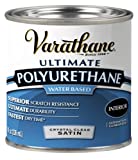
- Water-based satin sealer
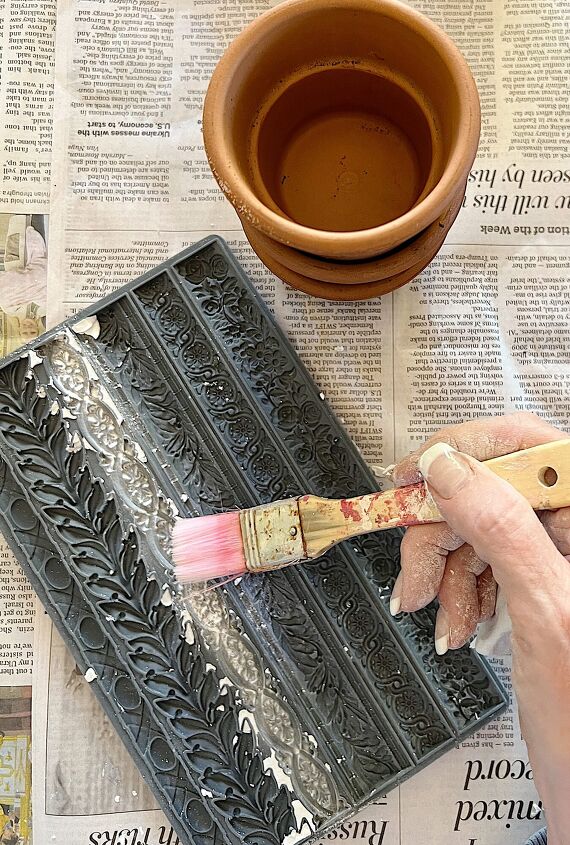
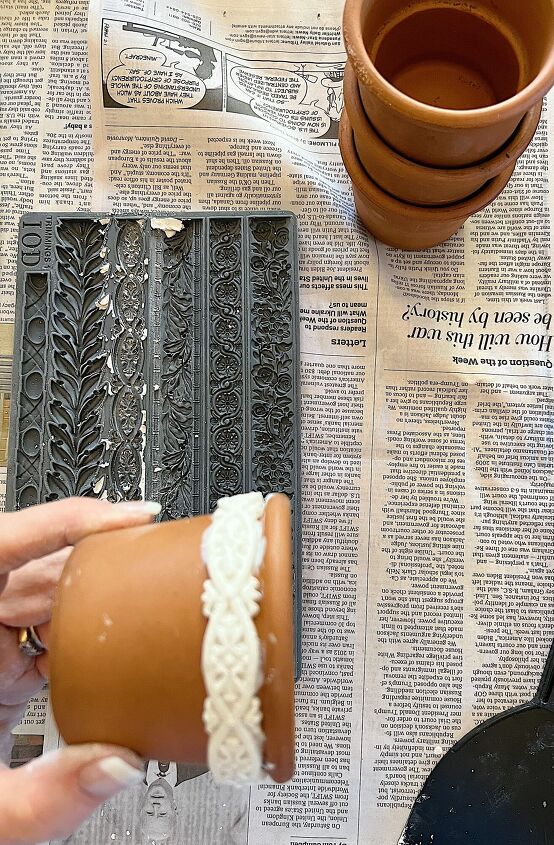
- one – To prevent the clay from sticking, lightly brush some conrstarch into the mould (optional).
- two – Roll some of the clay in your hand to soften.
- three – Place a generous amount into the mould.
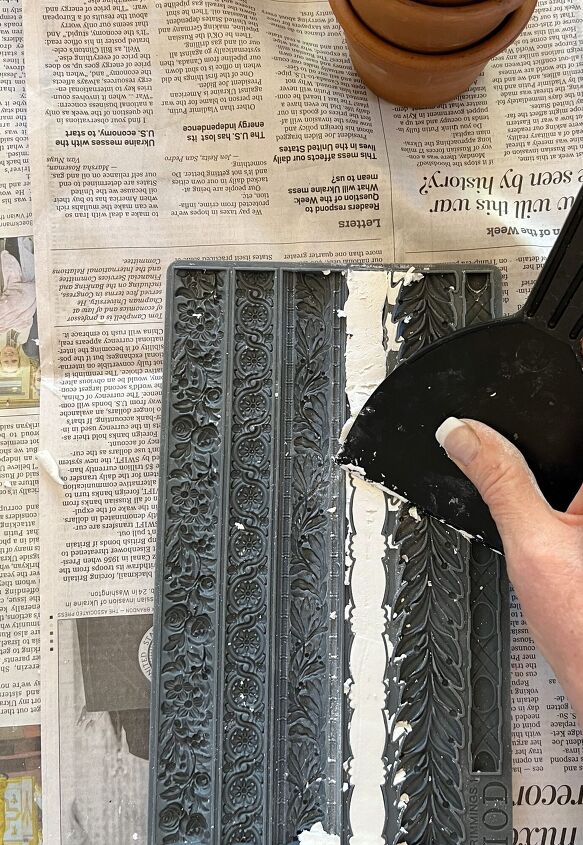
- four – Flatten the clay into the mould.
- five – Using a scraper, flatten and scrape the clay until it is flat (as seen in the photo).
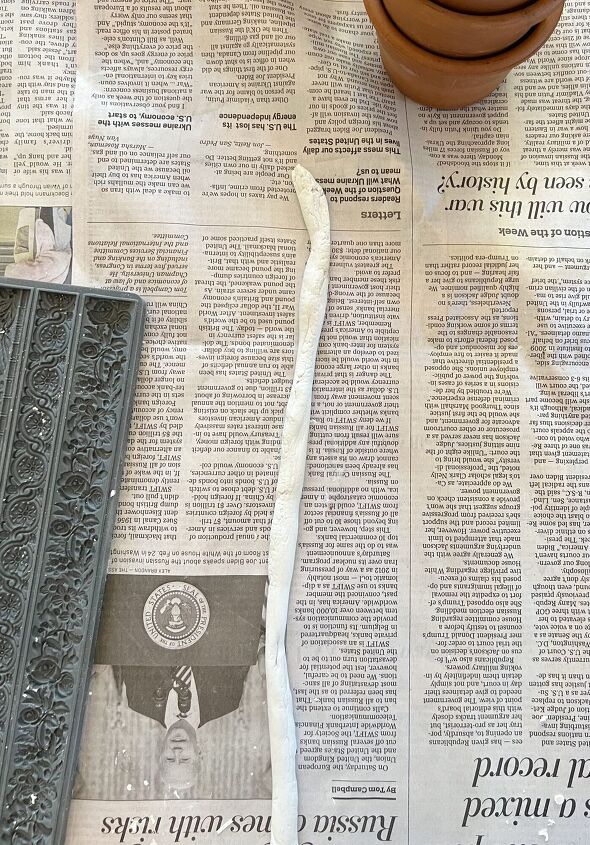
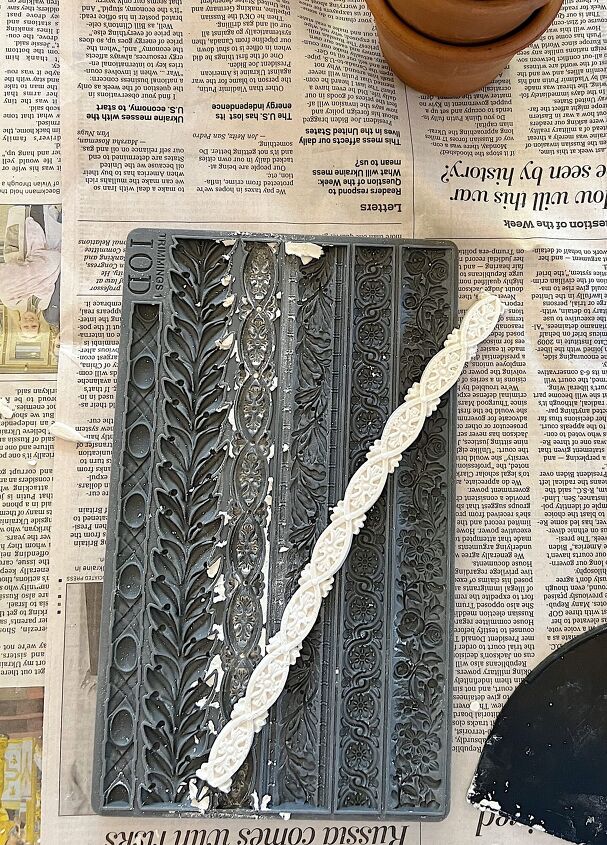
- six – Lay the moulds flat but don’t let them dry. You will glue them on while they are still wet.
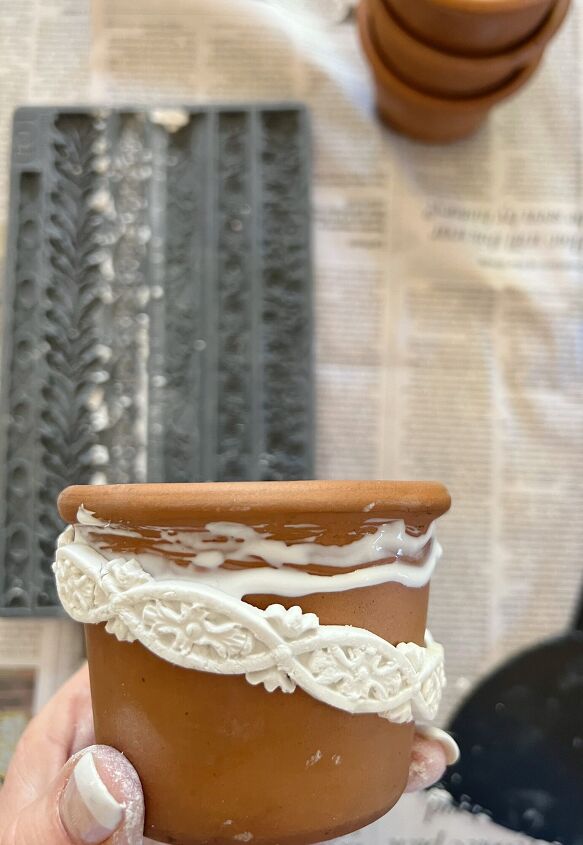
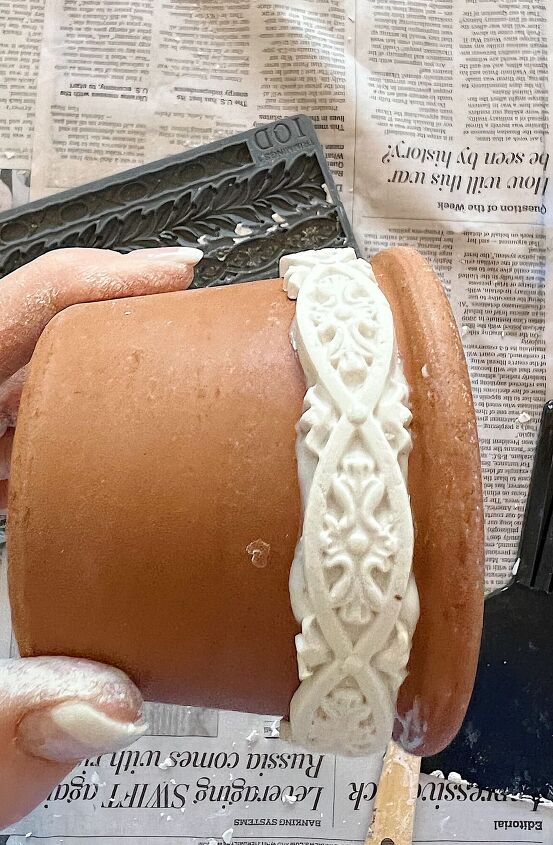
- seven – Apply the Thick and Quick glue to the top of the terra cotta pot and attach the clay to the pot.
- eight – If the clay trim doesn’t fir all the way around cut a small piece to patch. Join the ends together.
- nine – Hold the clay in place for about a minute until it won’t slide off.


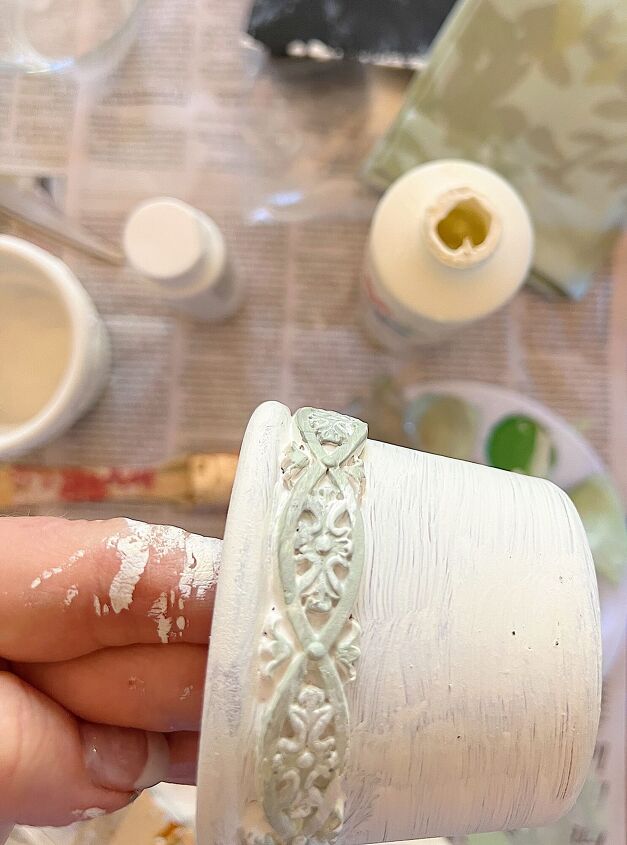
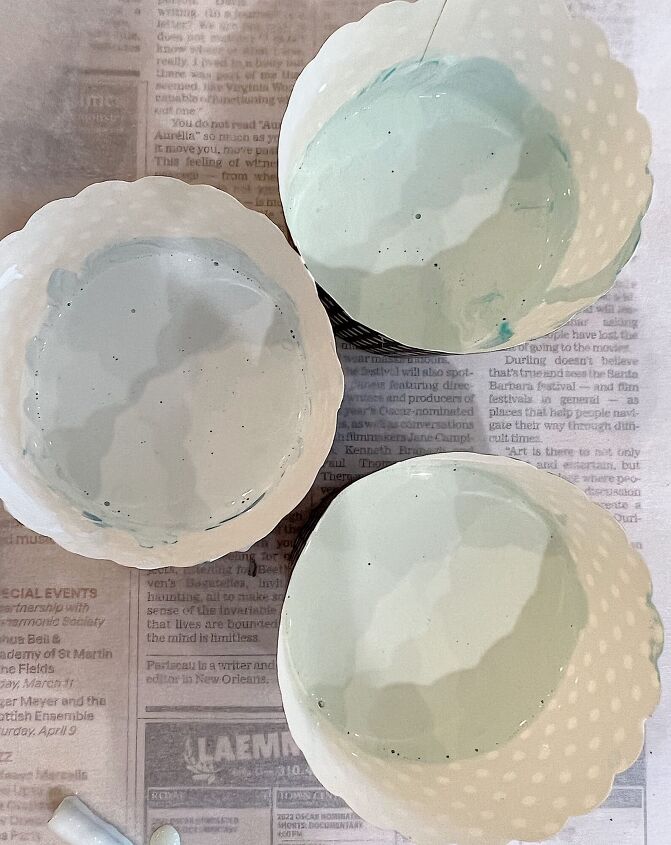
- ten – Mix your paint colors with acrylic paint. I mixed three shades of green and a cream color, which is white mixed with a small amount of gray and brown.
- eleven – Paint the entire pot cream.
- twelve -Paint the trim with a highlight color. If desired, go back and paint a light amount of the cream paint on top of the highlight color.
Let the pots dry and then seal the pots with a polyacrylic sealer.
If you are enjoying my blog, you can sign up to receive my blog updates here. .
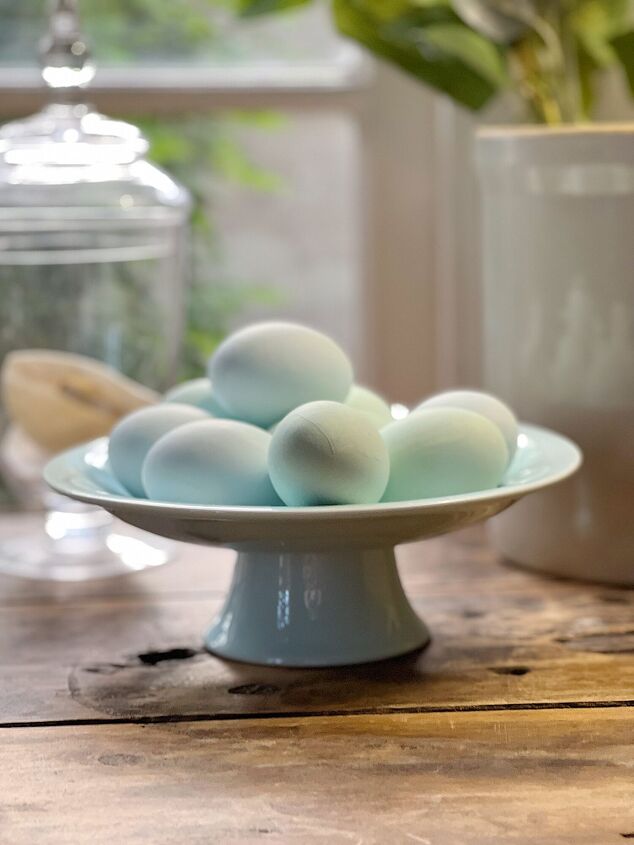
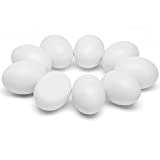
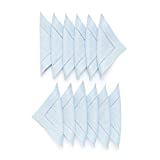
I have bought these white wooden eggs for years and every year I either paint them or repaint the ones I already own (depending on my current color palette).
I mixed these very light colors to paint my eggs and I used a lot of white paint, a small amount of gray paint, and three different colors (Testors Green, Deep Sea, and Paradise). It was easy to mix the three colors, with the gray and white paint in small containers in three small containers.
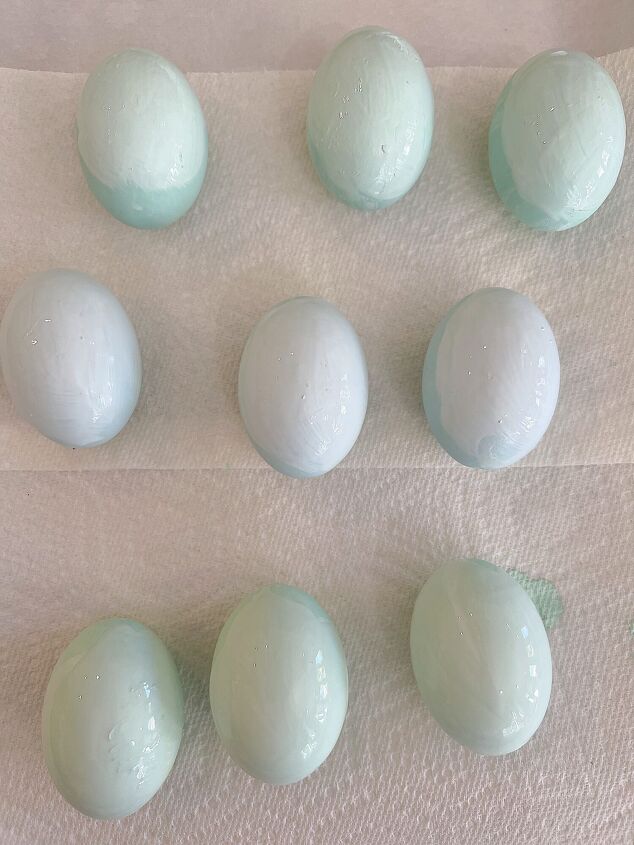
I painted them and let them dry on parchment paper. Once one side was dry I set them on paper towels so they wouldn’t roll and painted the other side.
I love having the chance to talk with all of you about all of the things that I love.
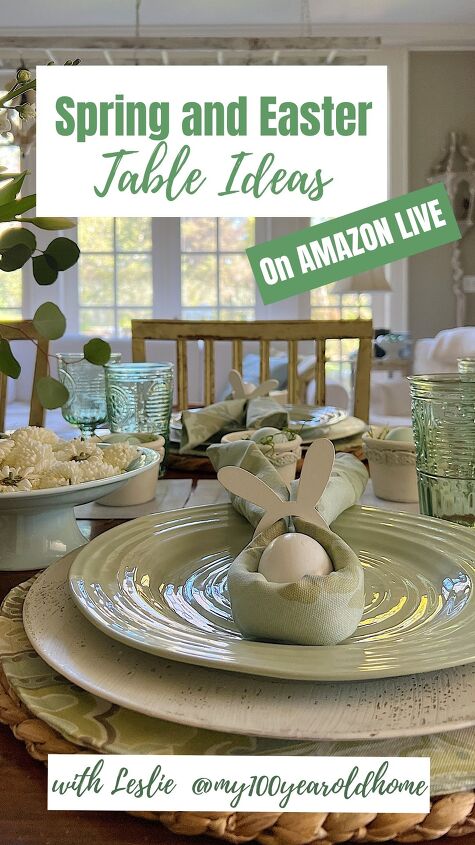
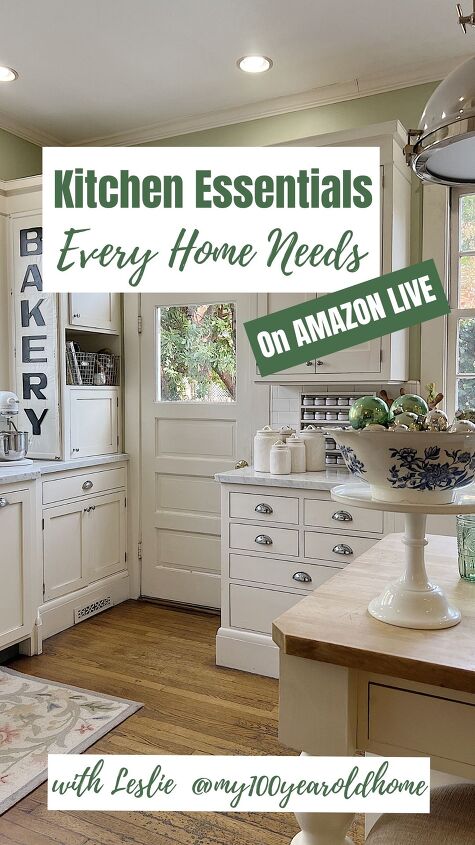
I am now sharing a few Amazon Live broadcasts every week and I hope you will tap on the links to see what’s new.


These clay pots and wooden eggs were so easy to make. Below is everything you need to make your own!


Pin the image below to your boards on Pinterest (just click the Pin button in the top left corner). You can also follow along with me on Pinterest!
For more real-time updates, follow me on Instagram @My100YearOldHome

ABOUT LESLIE
Welcome to My 100 Year Old Home. I started my blog so I could share my passion for entertaining, décor, cooking, and crafts. You will find all this and more right here. Read more…

Comments
Join the conversation
-
Super Awesome ideas!!!! Thank You 😘


Frequently asked questions
Have a question about this project?