


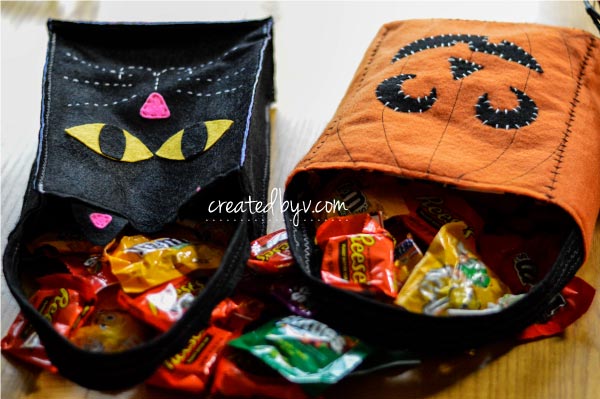
DIY Trick-or-Treat Bags
Last year I made my kids their own trick-or-treat bag as the perfect accessory to their costume. They loved them!

When I pulled the bags out of the Halloween storage box this year, they were so excited to see the bags again that I thought I would share a quick tutorial so you could surprise your kids this Halloween, too.
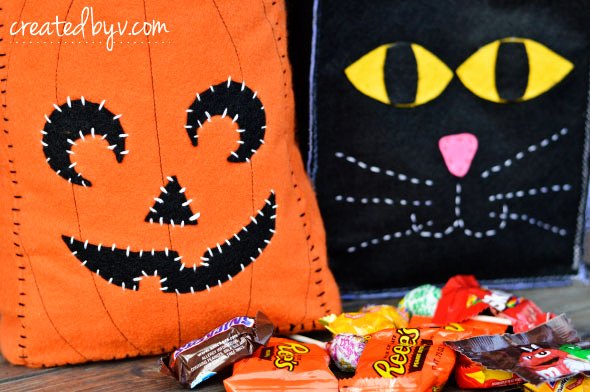
These trick-or-treat bags are about the size of a medium gift bag and hold plenty of candy. They would also make great gifts filled with fun treats for co-workers, neighbors and friends.
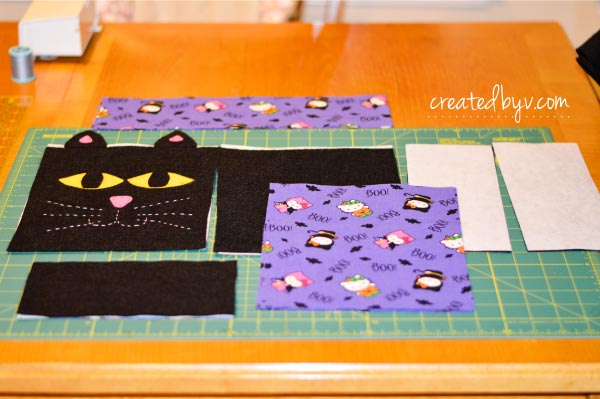
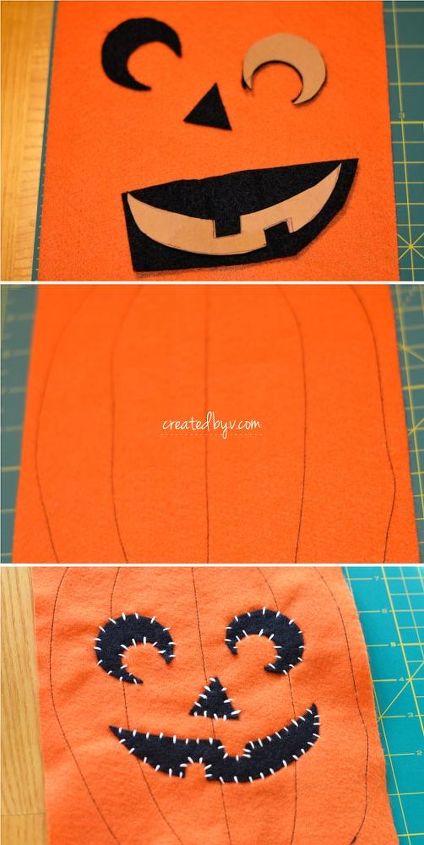
2. Cut and assemble the face pieces on the front of the bag. {Sew the segments of the pumpkin before attaching the face.}
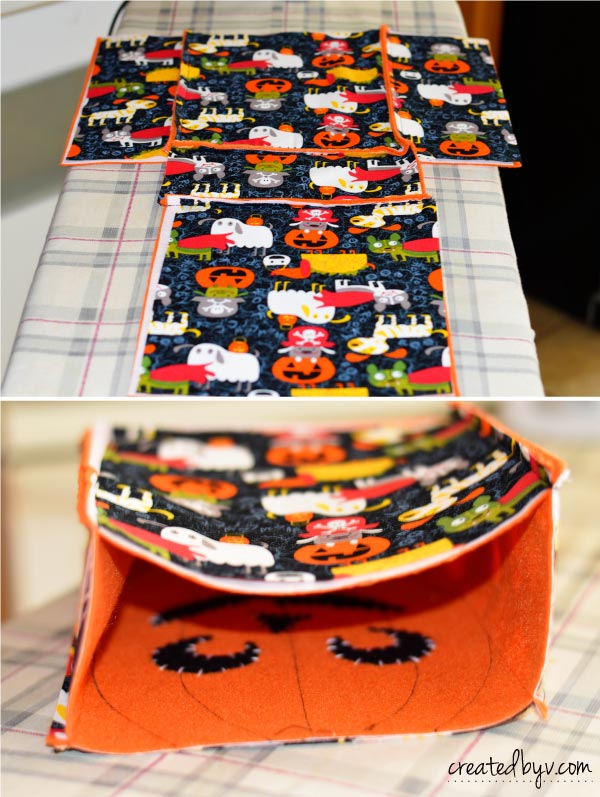
3. Assemble the bag. Sew it inside out, right side out with a straight stitch or zig-zag -- there is no wrong way to put these fun bags together!
4. Assemble and attach the handle. Giving it some extra stitches down the middle strengthens the strap.

Now you're all set to fill the bag with candy!
Please visit the blog for a complete list of materials, free printable pattern and step-by-step tutorial.

Want more details about this and other DIY projects? Check out my blog post!


Frequently asked questions
Have a question about this project?