


DIY Witch’s Broomstick Place Card Holder
I absolutely LOVE this diy witch’s broomstick place card holder for a Halloween table setting! It is SO cute and SO EASY to make.
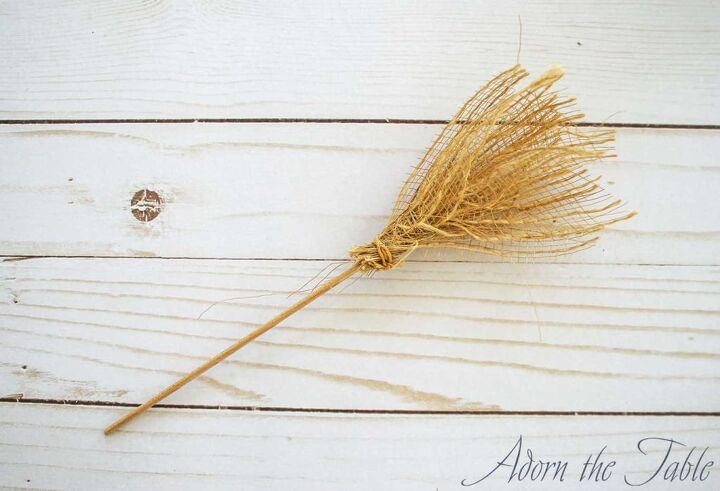
It’s the natural colored mesh that really makes it work. The strands look like bristles on an old broomstick.
Can’t you see a witch (or maybe Harry Potter, lol) riding on this broom?
Making this diy witch broom is very simple. You can do it in about 15 minutes.
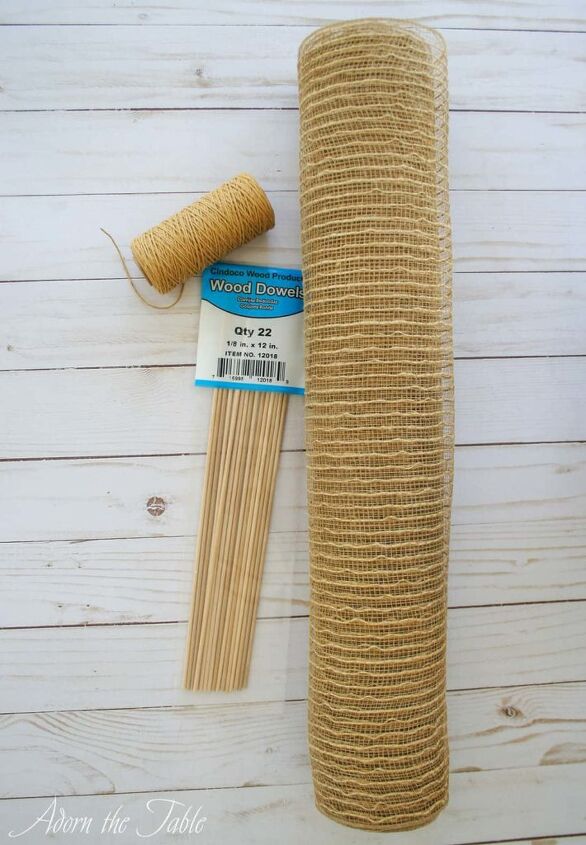
Supplies for Witch’s DIY Broomstick Place Card Holder
- Jute Mesh Wrap
- 12″ Wooden Dowel
- Jute Twine
- Hot Glue
How to Make a Witch’s Broom Place Card Holder
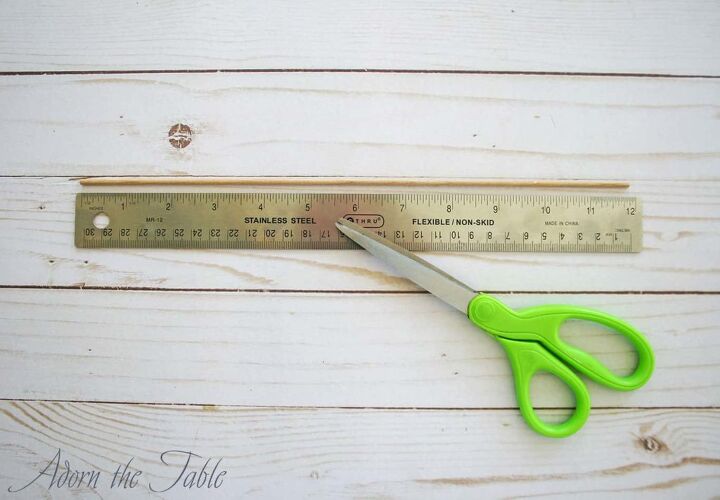
Step 1: Prep for Making the DIY Witch’s Broomstick
Take a 12” wooden dowel and cut it in half so you have two 6” pieces.
Measure and cut a 4” wide section of the jute mesh, the length of the mesh. You will have a 4” x 21” piece of mesh.
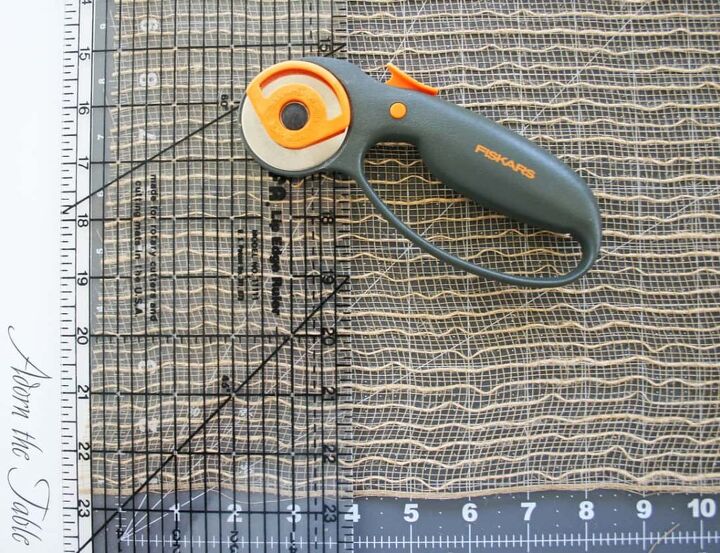
Now cut that in half so you have two pieces that are 4” x 10.5”.
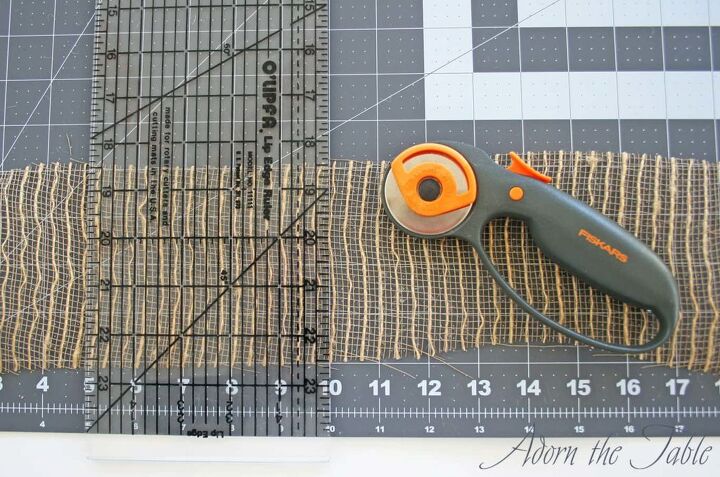
Long the side of the mesh cut the 4” width down about 2.5” to 3”. Don’t cut all the way through!
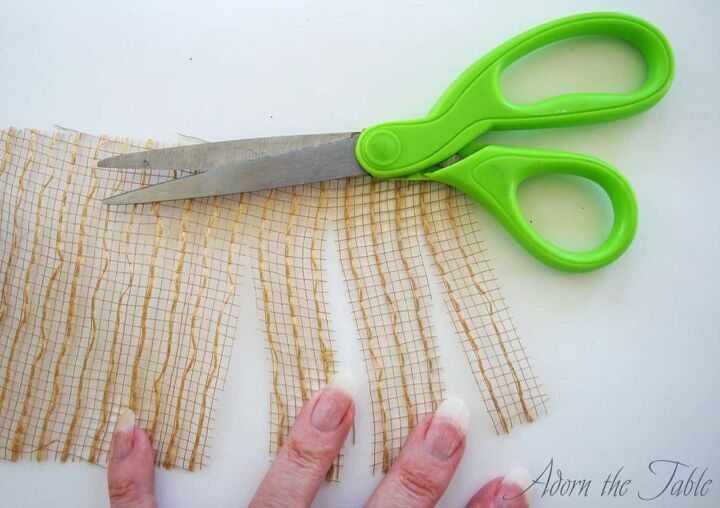
Do this at about 1” intervals. No need to be exact. On my mesh, this was every third row.

Step 2: Assembling the Witch’s Broom Place Card Holder
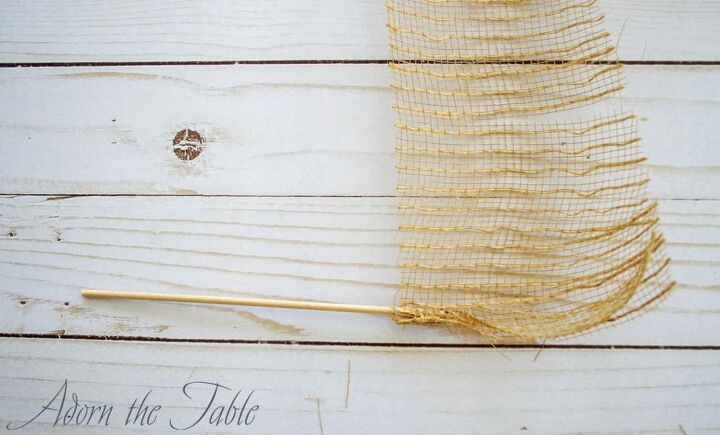
Put a little hot glue on the bottom 1” of the wooden dowel. Press it onto the uncut edge of the jute mesh, an inch from the bottom. (Note: be VERY careful not to burn yourself. I found that by pressing the dowel onto the mesh, versus pressing the mesh onto the dowel, I didn’t actually touch the hot glue).

I used hot glue because it dries quickly and would hold the mesh in place as I worked. You can use a different glue, but you will need to wait for it to dry, before going on to the next step.
Now start to wind the uncut edge of the mesh around the bottom of the dowel. Carefully pull it snug as you wind.
Add small drops of hot glue as you wind the mesh. The hot glue will seep into the layers of mesh and hold it together.
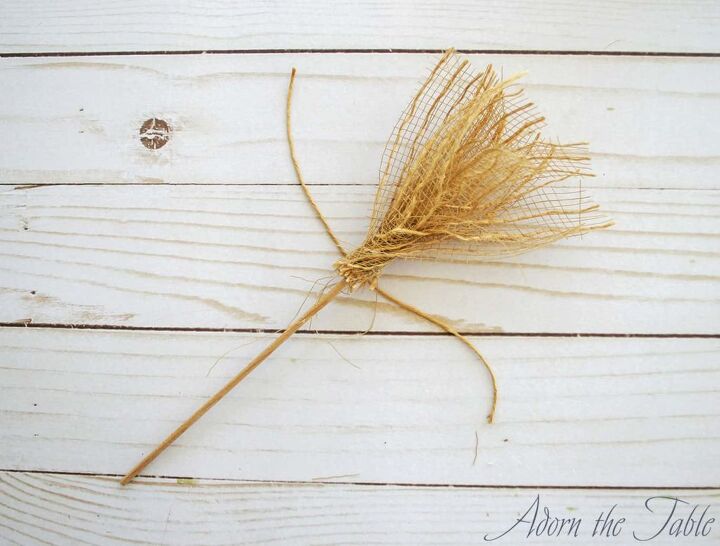
Once you have wound all the mesh around the dowel (broomstick handle), cut about a 3” piece of twine. Tie it around where you just wrapped the mesh then wind the twine around the mesh a few times.
Finish it by tying a small knot and snipping any excess twine.
Step 3: Adding a Name Tag to the Witch’s Broomstick Place Card Holder
You can use either a simple piece of colored paper or a small tag. I have a tag punch, so I punched my name tag out of a piece of cardstock.
Punch a small hole in the tag and tie it onto the witch’s diy broomstick.
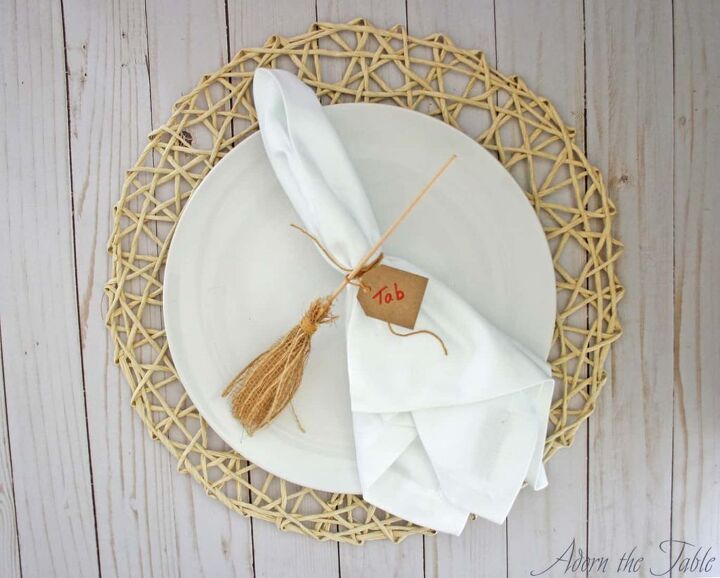
Isn’t it a cute place card holder for your Halloween table?
Time to invite friends over so you can show them off!
You can even use it as a Halloween decoration around your home. Add the diy witch broom to a table’s centerpiece, or a Halloween vignette.
Or make a cute black cauldron and put them together. Too Cute!!!
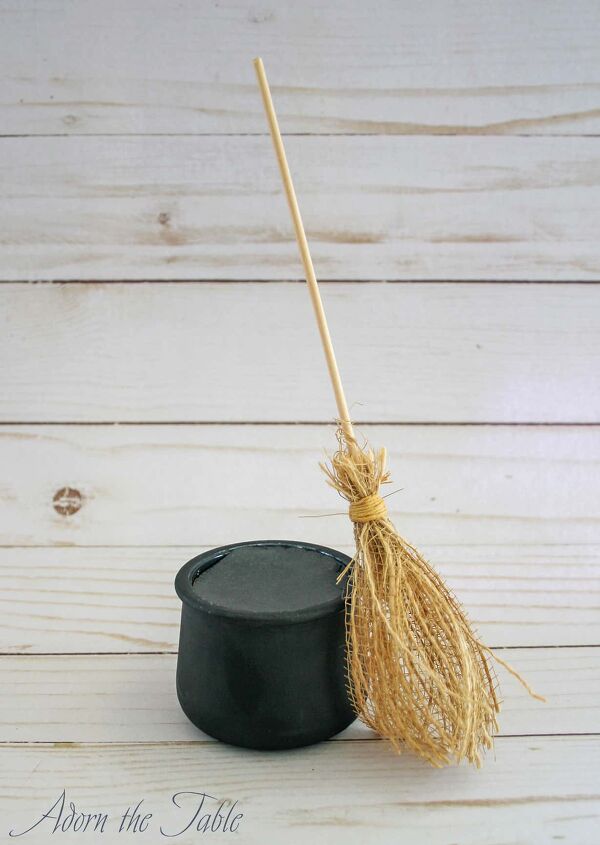

*Note: the black cauldron is from my St. Patrick’s Day pot-of-gold diy project. Super easy to make!
Just visit AdorntheTable.com.
*******
For the complete DIY instructions go to DIY Witch's Broomstick
Check out other easy Halloween DIY projects visit AdorntheTable.com.
Resources for this project:
See all materials


Comments
Join the conversation
-
So clever! ❤️
-
Very neat (can witches brooms be cute?). I love to add seasonal surprises to table, even with paper napkins. Kids love getting excited about an upcoming event (but not too soon, by time event comes, luster of the moment Lost). I like this small festive touch. Thanks for sharing


Frequently asked questions
Have a question about this project?