


Dollar Tree Pumpkin Shadowbox

Dollar Tree has some cute mini pumpkin shadowboxes out this year and I had to grab one! This project is very easy and inexpensive--2 of my favorite criteria for a craft project!
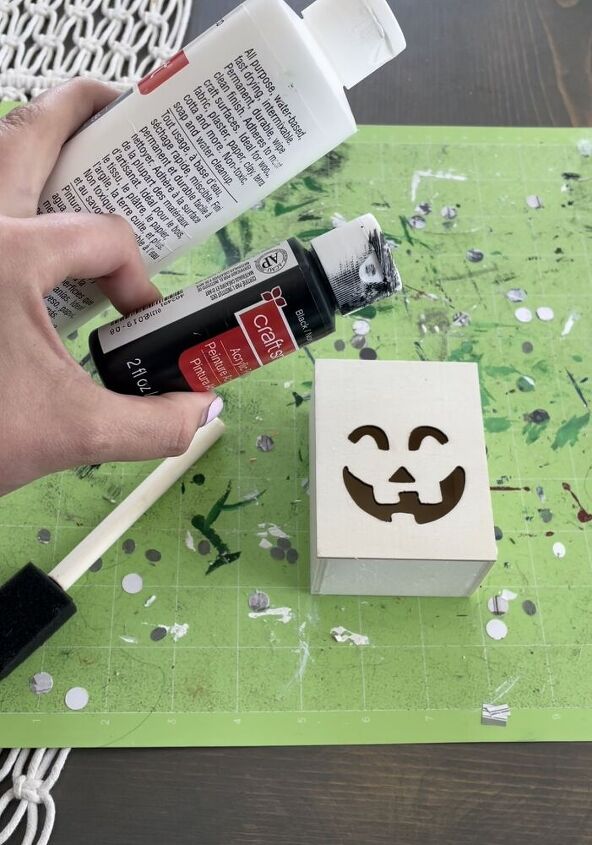
Paint your shadowbox in the color of your choice. I chose black, but white or orange would also be great options! You will want to paint the top, bottom, all 4 sides and the inside of the back.
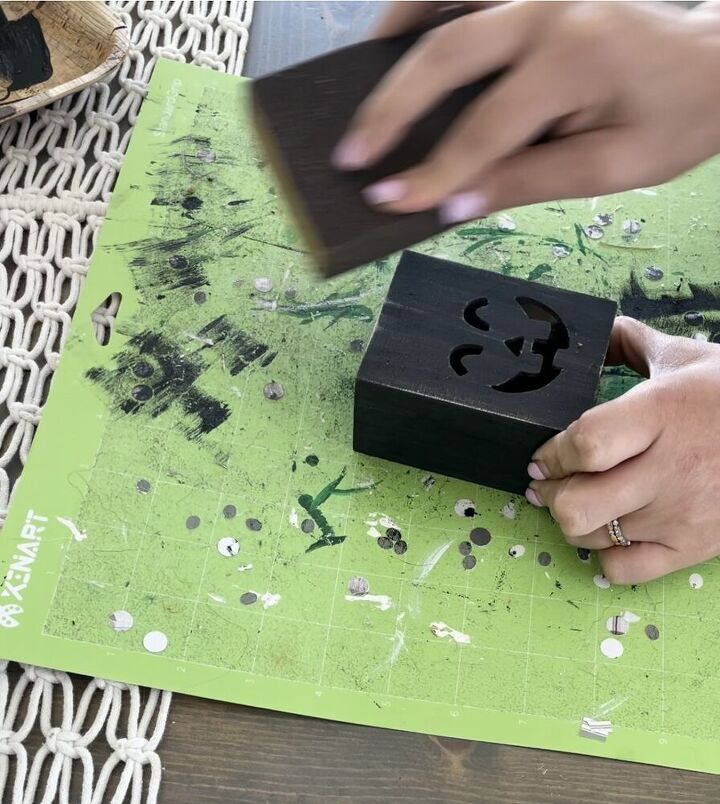
Once your pumpkin is painted, use some sandpaper to rough up paint and give it a rustic finish.
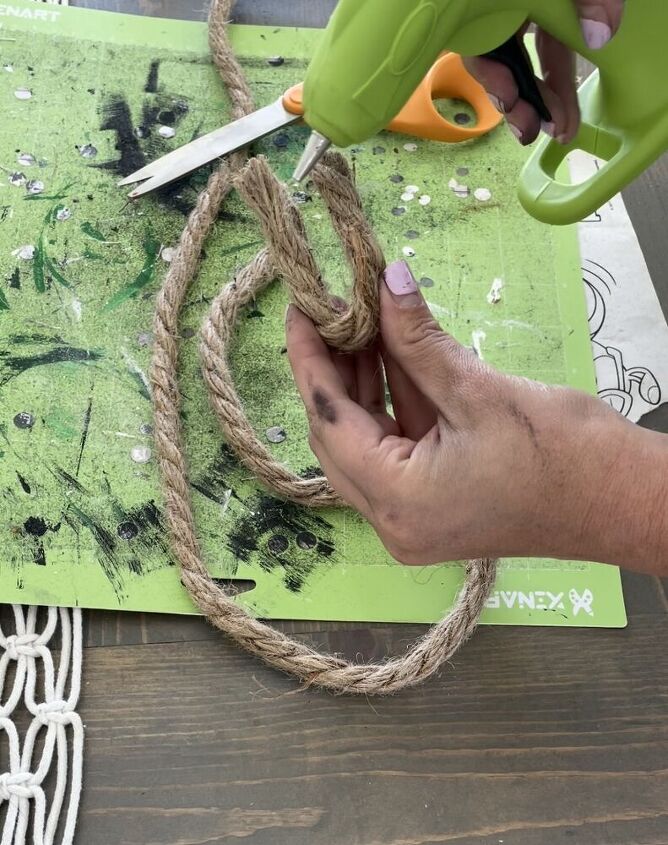
Cut off a small section of rope and hot glue together to create a stem. You could also use a branch piece, cork, piece of wood, etc.
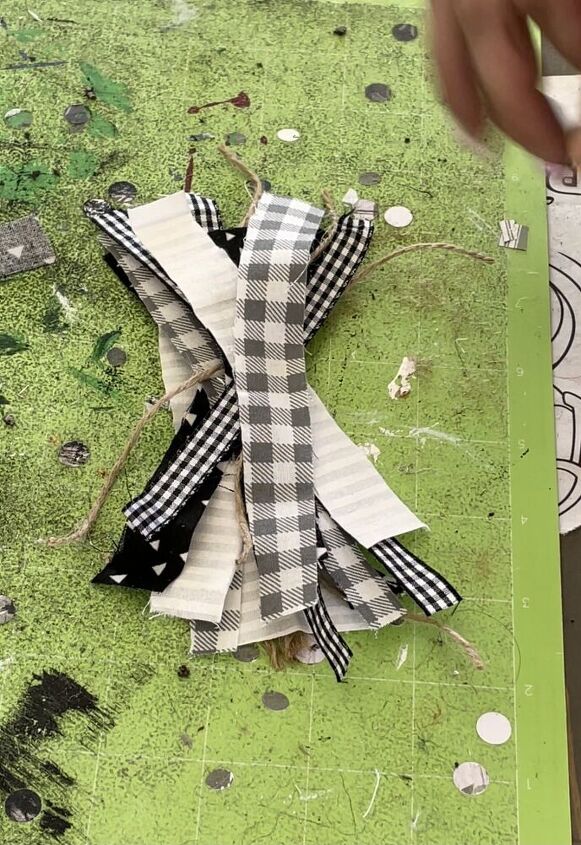
Cut and gather various scraps of fabric, ribbon and twine and layer them in a pile. Use to piece of twine to tie the middle, creating a bow.
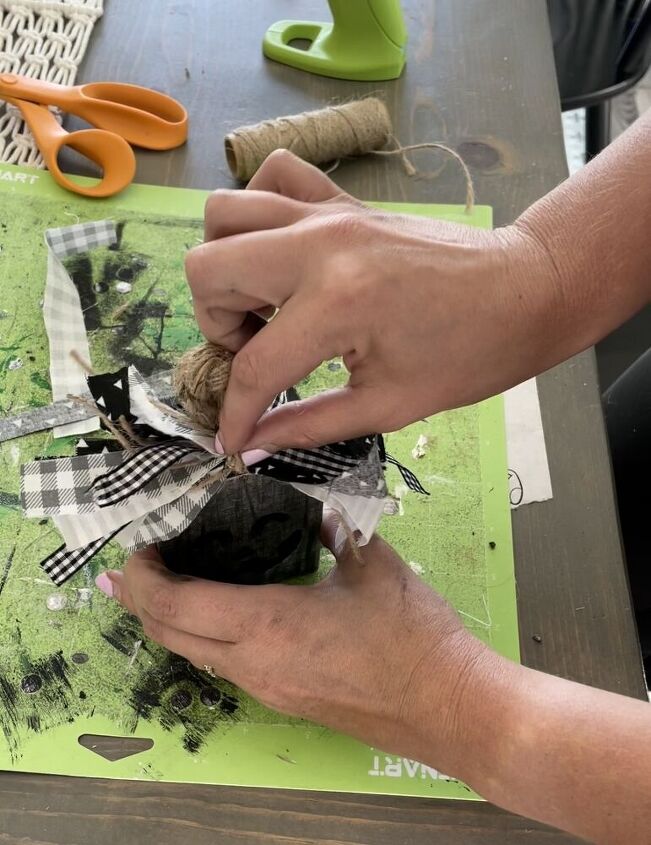
Use a hot glue gun to adhere the stem and bow on top of the pumpkin. I then trimmed up the bow a bit to give it the length and fullness I was looking for.
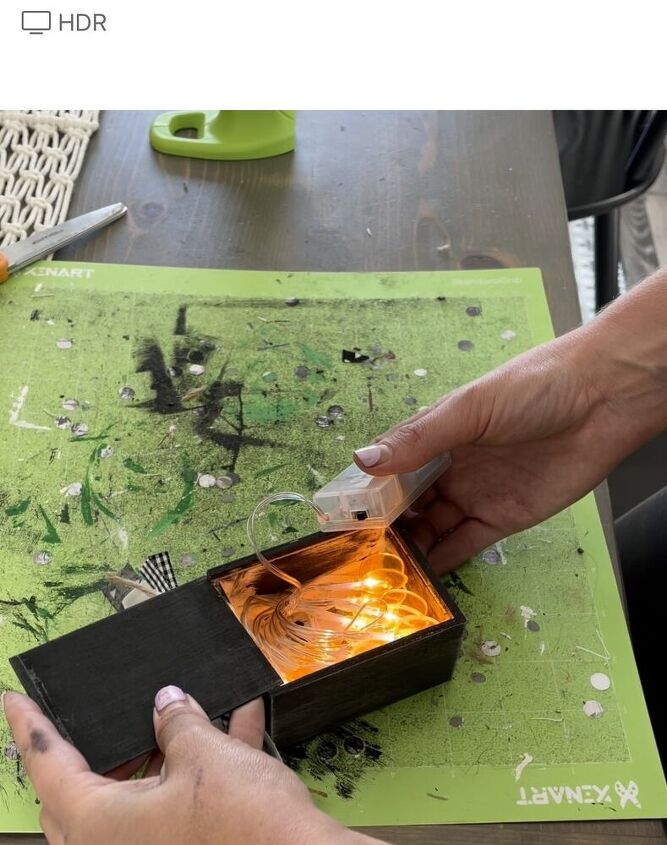
Dollar Tree also has these really neat battery operated LED lights! Grab a pack, remove the back of your shadowbox and insert the lights.
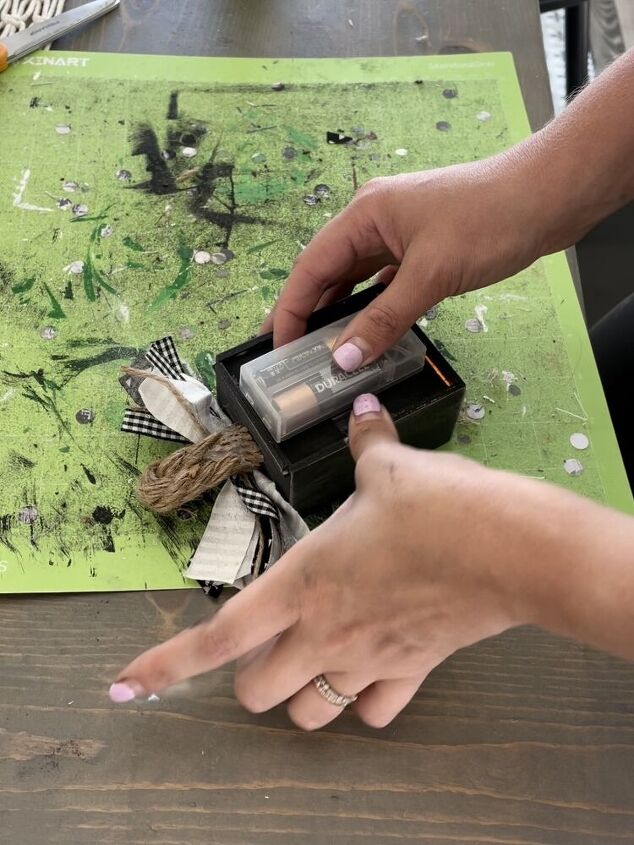
There is enough space to leave the battery pack inside, but I chose to tape it to the back panel which allows to easier access when turning the lights off and on.
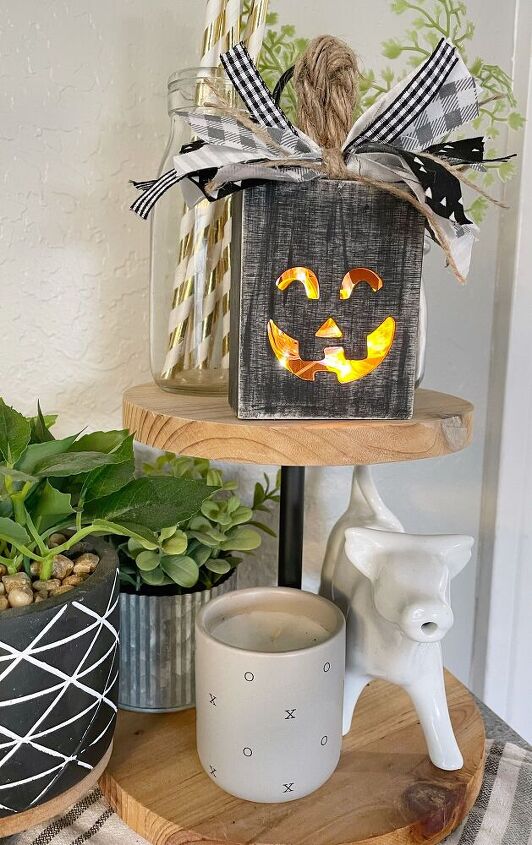
These are the perfect size to compliment a tiered tray or brighten up a shelf!
Comments
Join the conversation
-
So cute! I love the little bow on top
-
I did but only wanted pumpkin!! I found some this year!!


Frequently asked questions
Have a question about this project?