


Double Duty Seasonal Decor With Healthy Choice Plastic Bowls

by
Rembatb
9 Materials
$10
3 Hours
Easy
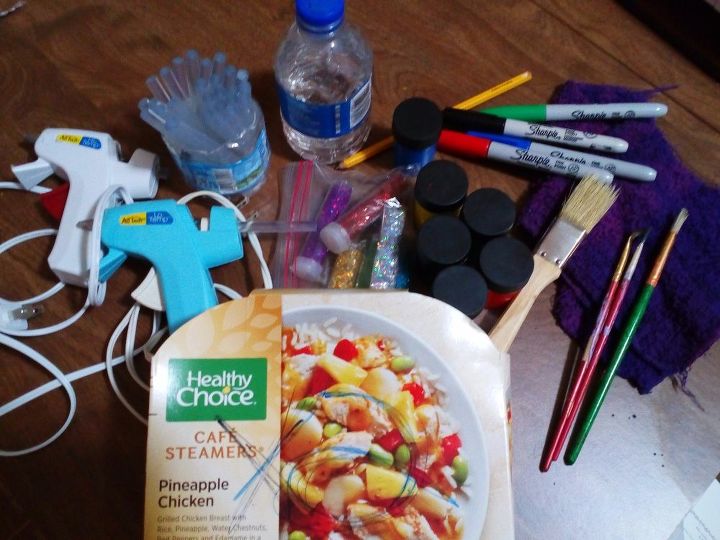
I wanted an easy, cheap way for kids of all ages to feel apart of the seasons. I like to recycle and upcycle and this does both. Here are the materials but you might not need to use them all! Also you can paint one side of the bowl with one season and the other side of the bowl with another season. An example would be an Easter Lily on one side or a firecracker for the 4th of July on the other side. I would advise that adults be present during this activity not only because you're using a glue gun but because none of this was non-toxic including the sealant at the end.
Notice the " x 2"?
You will need [two] Healthy Choice dinners for two bowls. The strainers that come with these will not be needed. As an added bonus you can break down it's little box and use that to paint your bowls on.
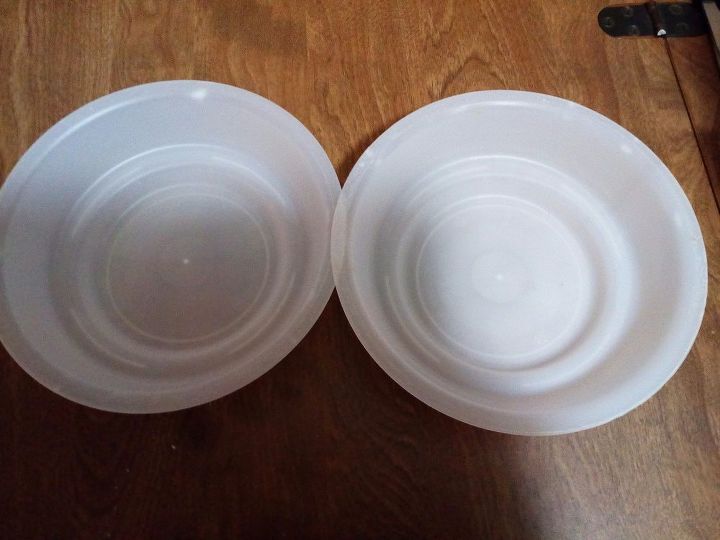
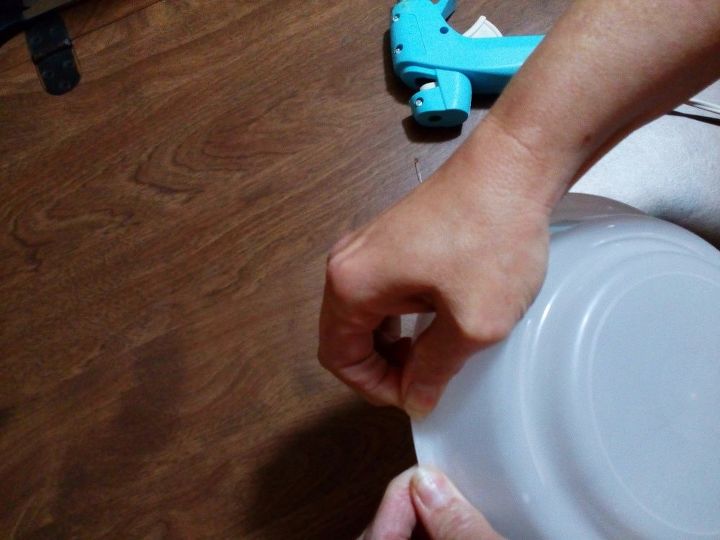
The bowls
Cleanse well and dry.
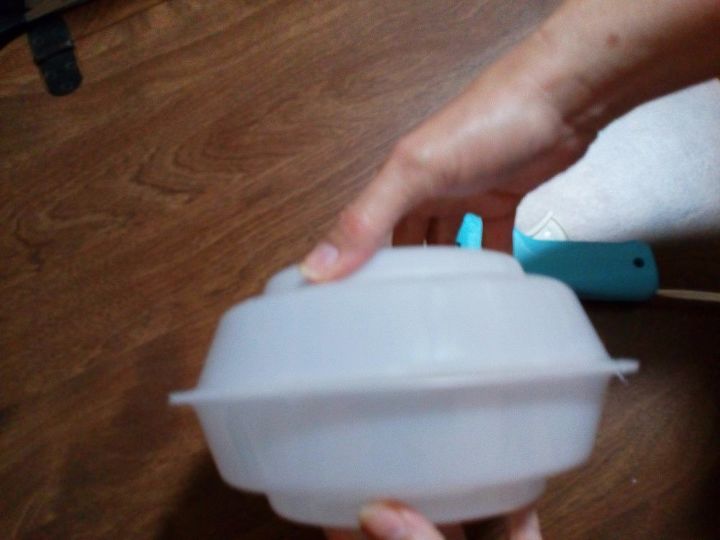
Bowl geometry
Place one bowl open-faced on top of the other open-faced bowl. Make sure that they make a ball shape with ridges. When glued this is how they should look and stay together.
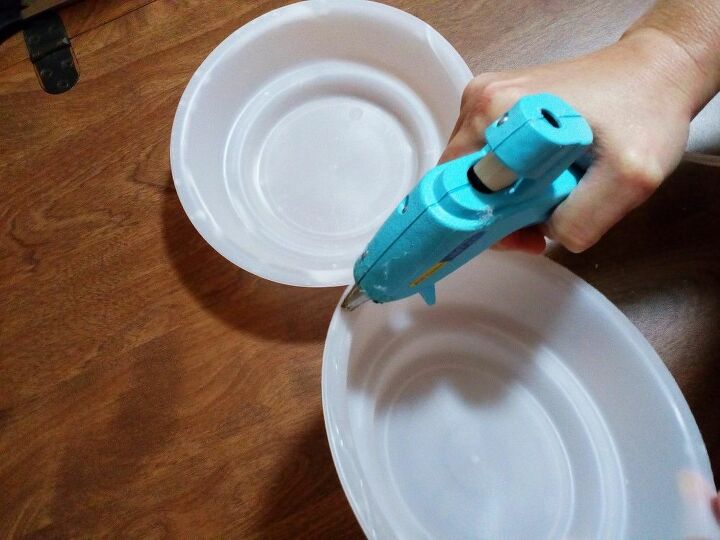
Get your glue gun. Parental Guidance required
I initially used the low temp glue gun shown in the photo but later chose to use the high temp glue gun, the reason for this was because with the low temp glue gun it did not seem to stick so easily together the two bowls. The higher temp gun although making it much easier to be burned by, seemed to really flatten out and adhere to the type of shiny plastic in which these bowls are made.
Pressing the lips together of the bowls
With the low temp gun I was unable to pinch the lips of the top of the bowls ( pressing) but with the higher temp I was able to do this and the lips stayed stuck together. Let set for a few minutes. Sorry for the redundancy of pictures but I really wanted to be understood.
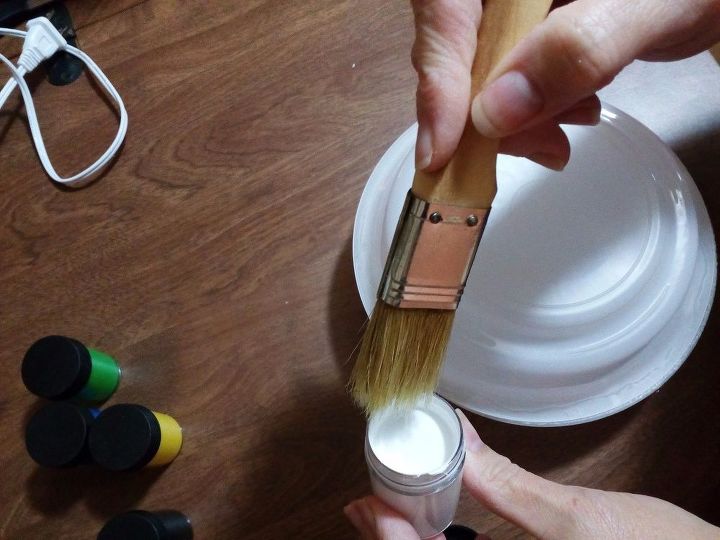
Let's paint
Initially I made I believe a mistake. I chose to not sand down the bowls to bring some of that gloss down and I also chose to use the acrylic white paint as a base first. If I do this again and I'm sure i will in the future, I would spray paint initially the front and back of this project in order to ensure a better stickiness with the base coat. The paint made a sloppy kind of bubbly look that later turned out kind of cool because it looked kind of chalky so I stuck with it. Let dry for at least an hour.
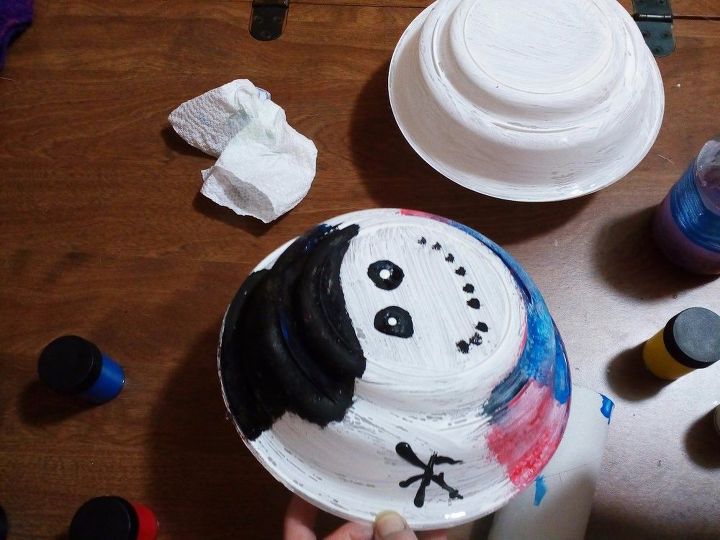
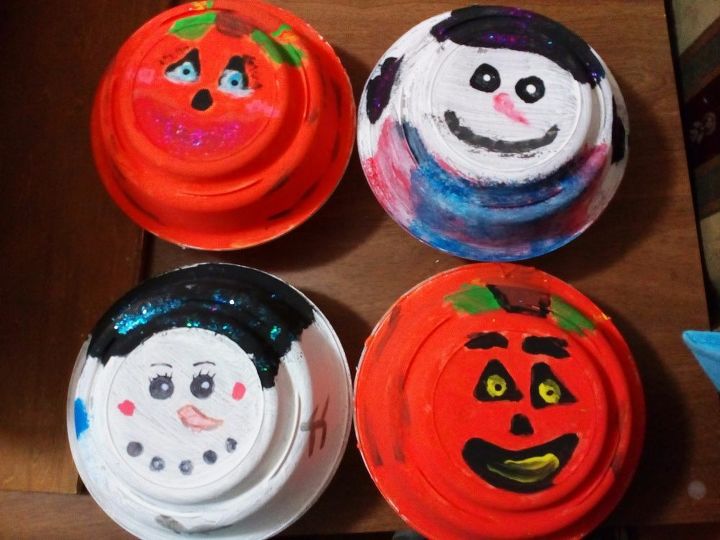
Let It Snow
Using acrylic paints I started making snowman faces. The Ridges proved a problem when trying to make a hat on the other hand it really made it come out 3d-ish! These are so fun to make for kids and adults alike. One word of caution: these were permanent acrylic paint in so much ventilation was needed! Make sure that when you paint a side to let it thoroughly dry before painting on the other side. It took me longer than expected only because some of them were reworked. Account for 1 hour for the base paint to dry and another hour for each layer of paint that you add. This is so you can safely handle it without it smudging on your clothes or ruining the face that you are creating.
Fall and winter, back and front
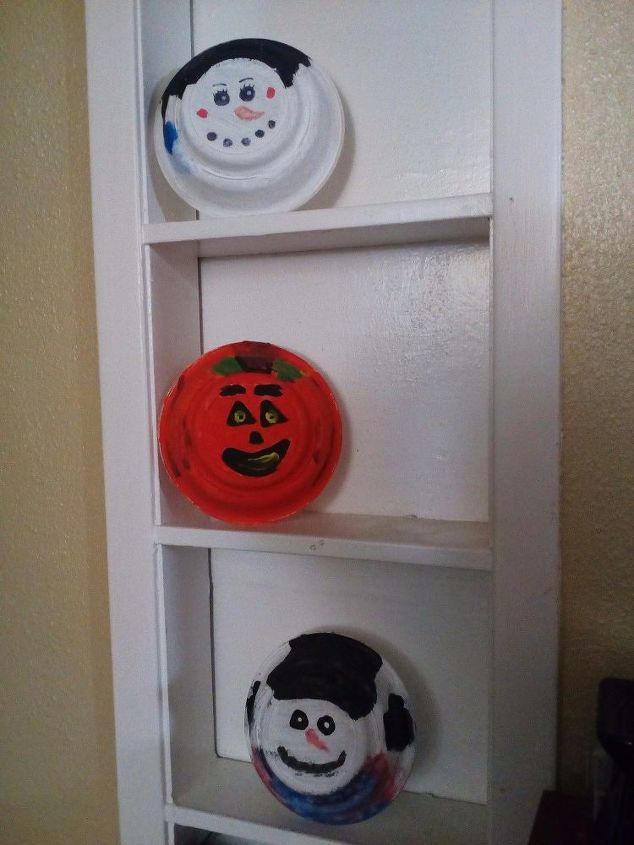
When finished painting and you've allowed it to dry, you can choose to also spray Modge Podge sealant on it in order to let it last another season or two.
To you from all of us
If you are wondering where the Sharpies come in - on some of the faces Sharpies were used to make the face before painting or just instead of painting the Sharpie was used. Glitter was also used to enhance hats and mittens and that sort of a thing but it wasn't used on all of them. I had most of all of these items at home except for the acrylic paint, so for me the cost was $5 because I was able to find the paints in a six pack and not like the 12 which I have shown in the material list. At our local Walmart the Horizon permanent acrylic paint had a set of six primary colors for $5 and I just mixed the colors to get the purples and the browns. I didn't find the six pack online at the Walmart. Have fun!
Comments
Join the conversation
2 comments
-
What a cute craft idea!

-
Thank you Wendy!


Frequently asked questions
Have a question about this project?