


Easy DIY Thankful Sign - Reclaimed Window & ColorShot Paint Markers
Today I am sharing the EASIEST DIY reclaimed window sign to share with you using ColorShot Markers.
This isn’t a traditional sign, because we are using the reclaimed window.
But using a reclaimed window is what makes this such an easy DIY.
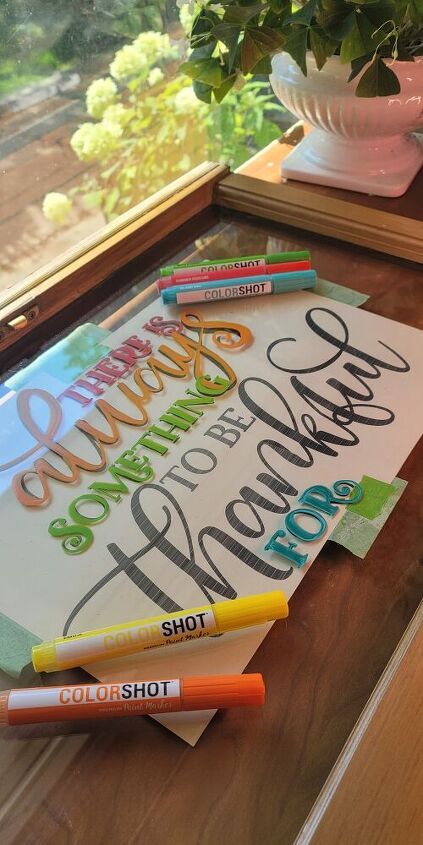
- Here’s what you need:
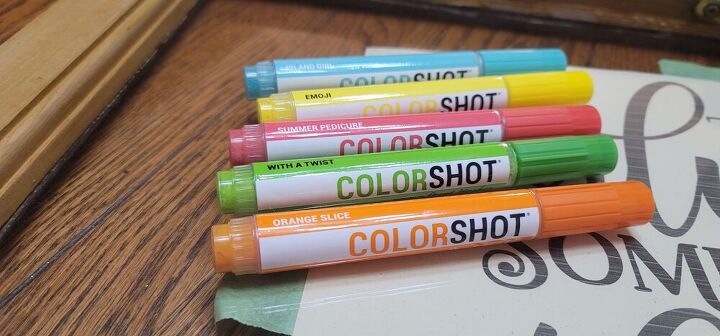
- ColorShot paint markers in your favorite colors – you can find them at Home Depot
- An old window Sign Design Graphic
- A printer [inkjet or laserjet will do]
- Painters tape
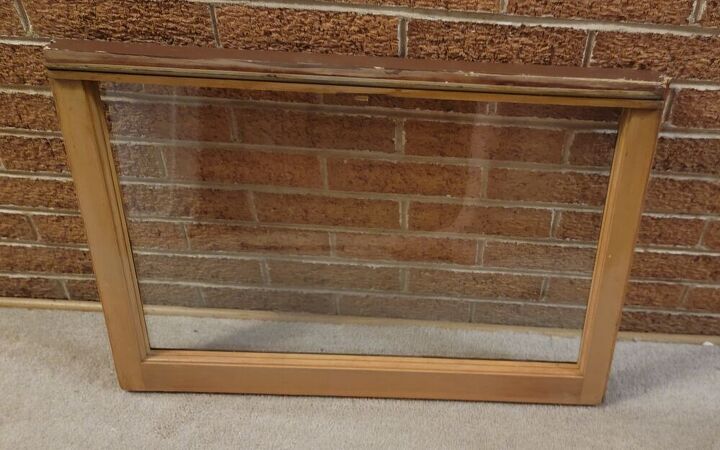
To start, make sure to clean the window, so that the paint will adhere properly.
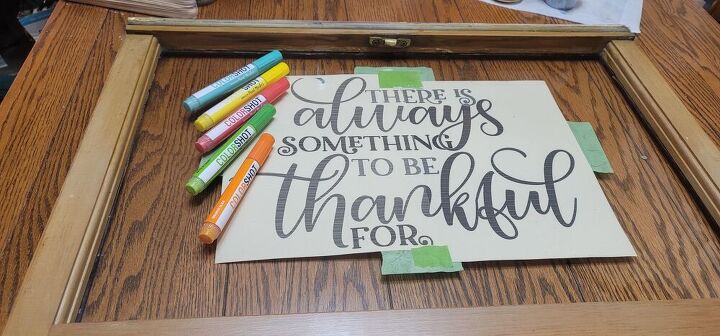
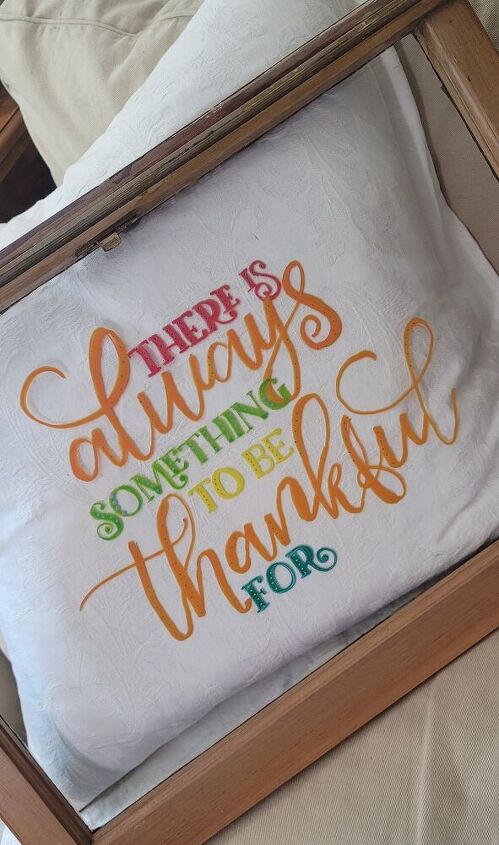
Then, pick out the image you want to use, I chose a quote “There is always something to be thankful for”.
It’s a loverly reminder that no matter what kind of day you are having, that we should be thankful for all we are gifted with.
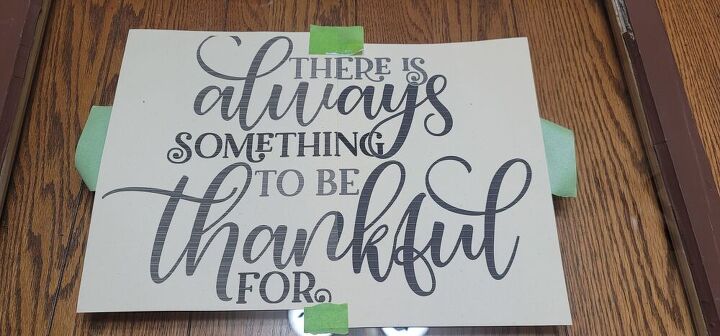
If you want to see how I created the extra large image, head over to the original post for the full tutorial.
Place the image on the back of the window and center it with the image facing the glass.
Then secure it with painters tape.
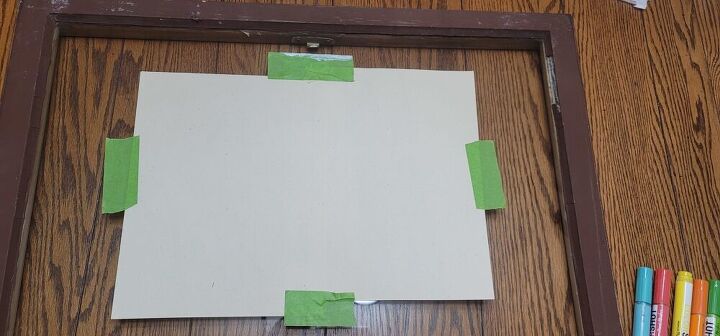
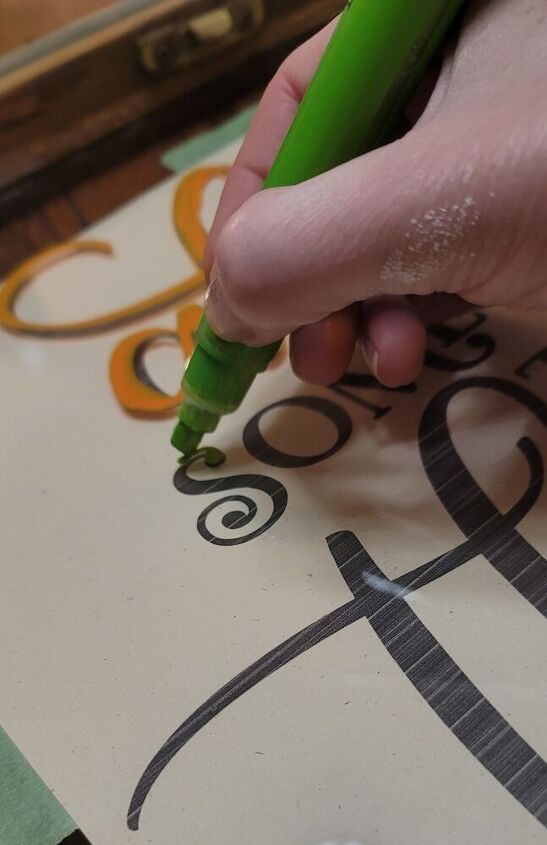
Flip your window over to reveal the image.
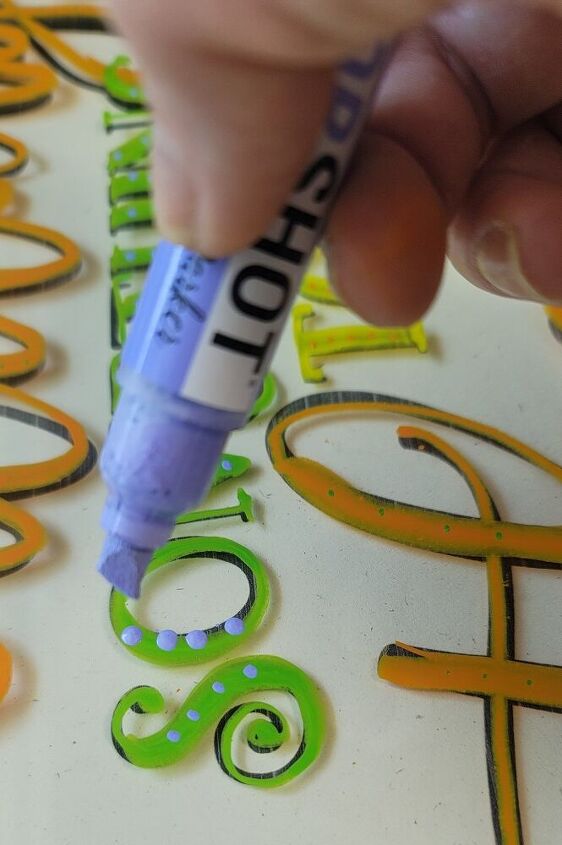
You will use this as a template to trace with your with your ColorShot paint pens

The ColorShot paint pens are SO easy to use and come in a variety of colors.
You can find them to purchase by clicking on this link.
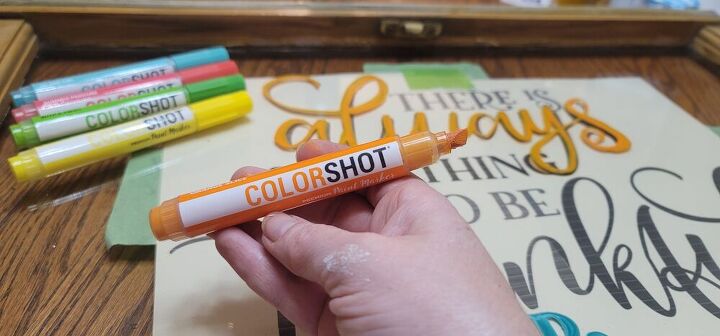
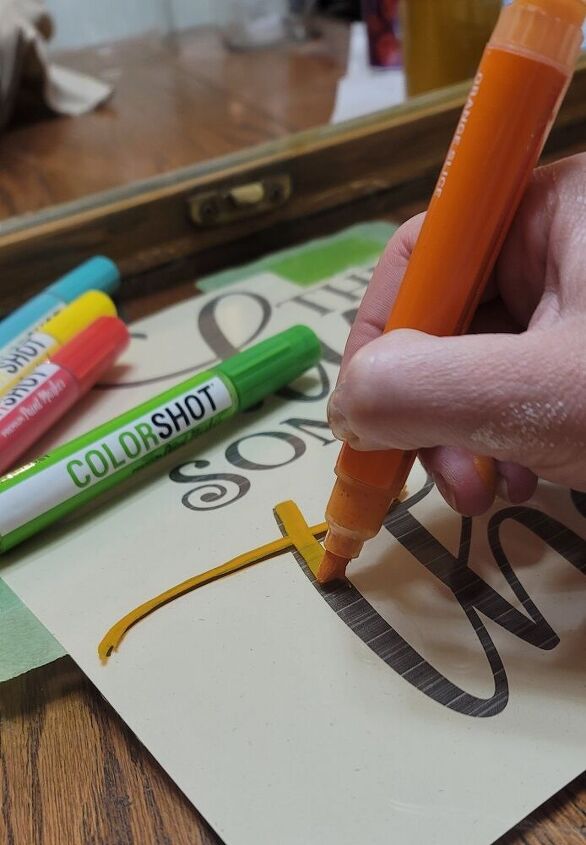
I couldn’t decide which paint color I liked the most, so I used them all!
I mean, why not?
The colors are so vibrant, even on glass! All you have to do is trace the image with the paint pens.
I used a different color paint pen for each line of text.
The ColorShot paint pens have the cutest names, too.
The green one I used it called “with a twist”, like a twist of lime.
The orange one is “orange slice.”
Keep in mind, when tracing the image, you don’t have to be exact.
I think switching up the swirls kind of make it more custom, more YOU!
Once the image is all traced, I went back in and highlighted some of the letters by adding little dots with a contrast color.
Once you finish the little details, remove the paper from the back of the image to reveal your beautiful reclaimed window sign.
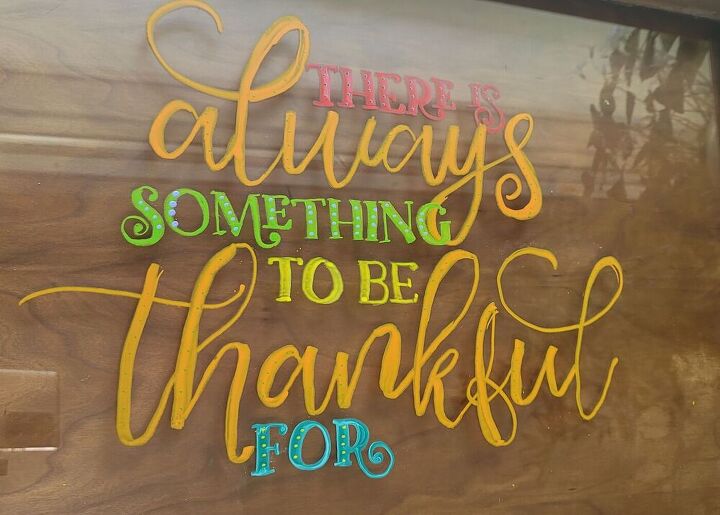
How easy was that? I just love the pops of color from the ColorShot paint markers.
Here's a quick video to show you how easy it was to transform this old window into a beautiful sign with ColorShot paint markers

I'd love for you to come visit me on the blog.
Social media is also a great place to keep in touch with the latest posts.
You can find @aloverlylife on Facebook | Instagam | Pinterest
I look forward to connecting with you!
A biento - Juliet
Resources for this project:
See all materials


Frequently asked questions
Have a question about this project?