


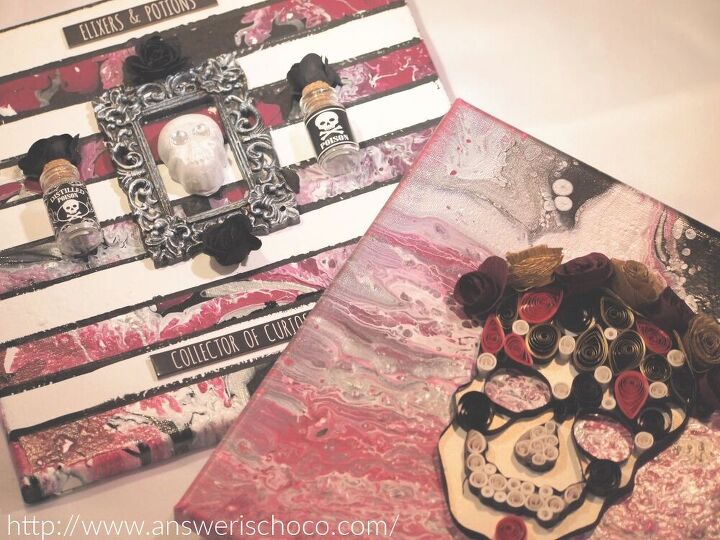
Gothic and Romantic Halloween Using Paint Poured Canvases

I recently showed my husband and son the joy of acrylic paint pouring and used my canvases to create some Gothic and Romantic Halloween art.
Paint or paint pour canvases to use as your background. Mine are 10x10.
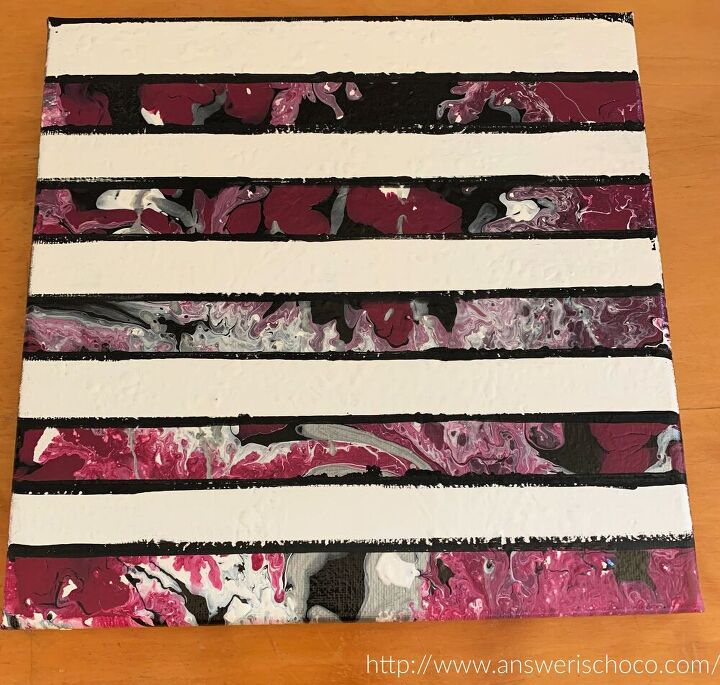
Tape off stripes, apply 2-3 coats of paint in desired color and edge the sides of the stripes with a paint pen or acrylic paint. I tend toward a "shabby" or imperfect style in my crafting so I wasn't going for perfection in my edging.
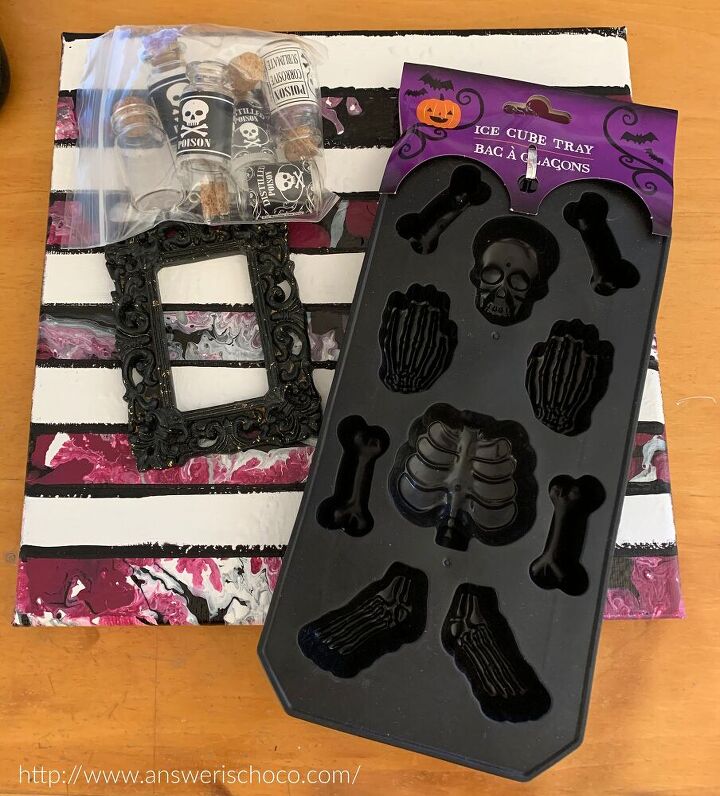
Gather your embellishments. I had miscellaneous things in my Halloween stash so I just went through and pulled out some things to use: a black frame, some mini poison bottles, and a silicone mold which I used to create a skull out of hot glue.
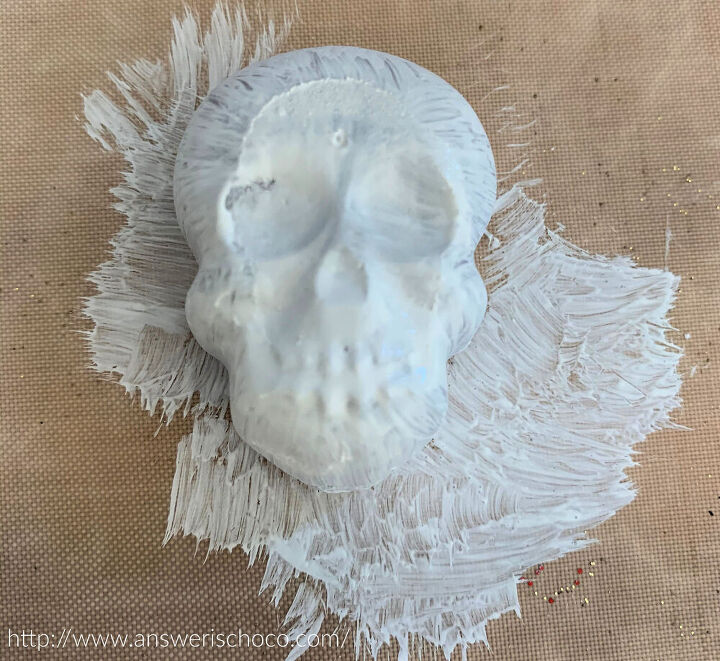
Squeeze hot glue into silicone mold, let set, remove and then paint with white paint, dry brush with silver.
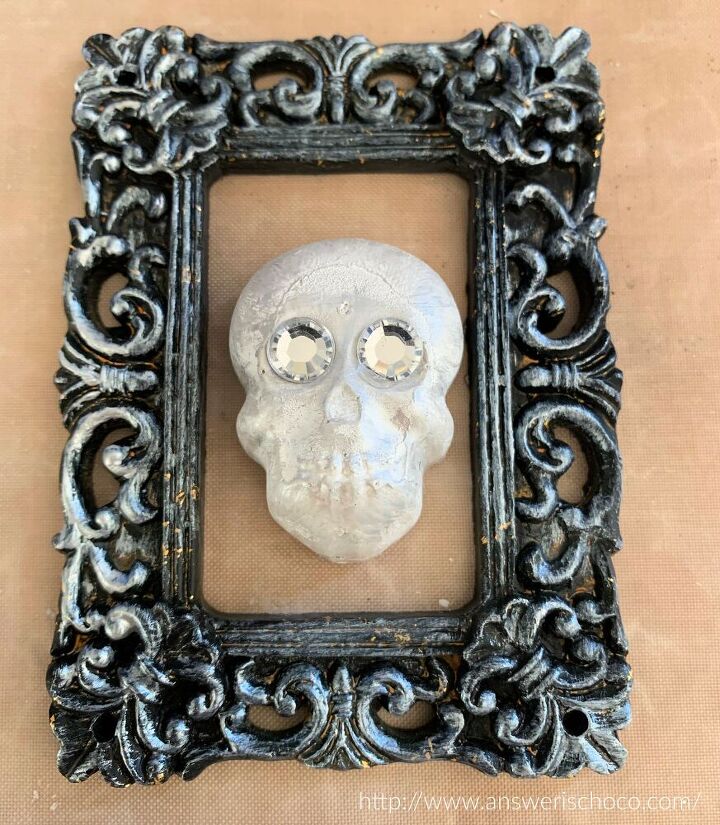
Dry brush the black frame with silver and add rhinestones to the eye sockets of the skull.
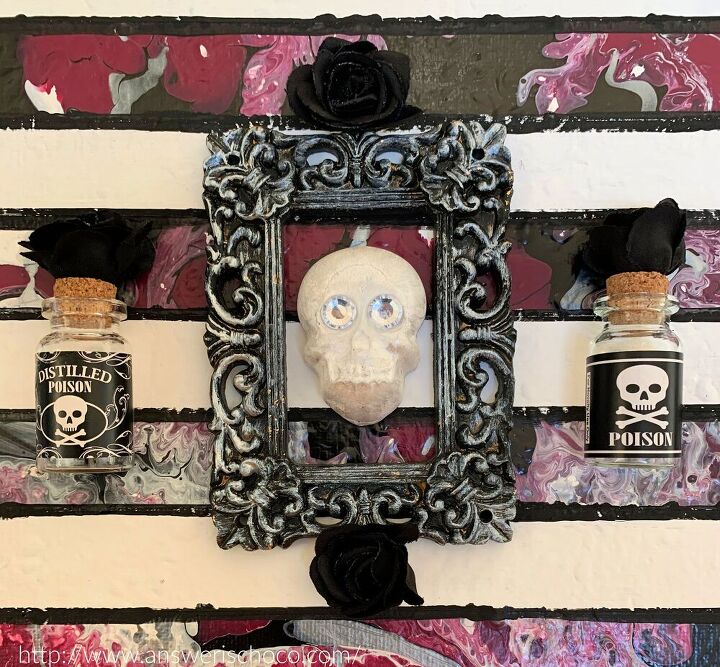
Position and glue (gel superglue) frame and skull on your prepared canvas and then glue poison bottles on either side. Before I glued down the bottles, I glued black silk flowers to the tops. Also added these to the top and bottom of the frame.
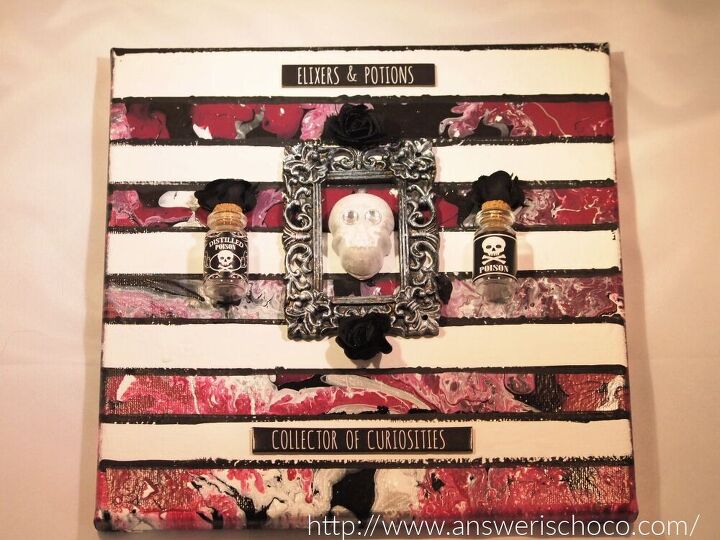
To finish, I added a couple of chipboard phrases ( Tim Holz, from my stash) to the top and bottom!
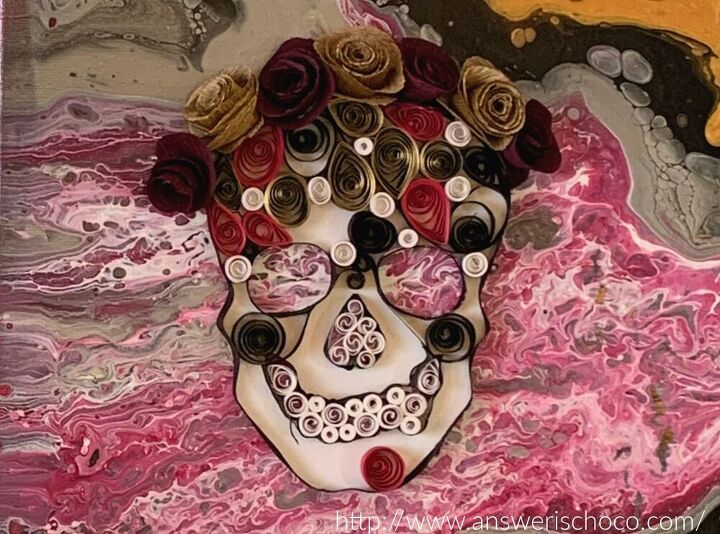
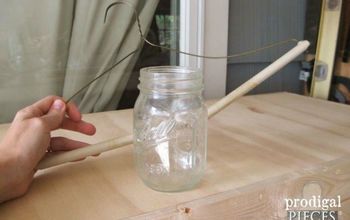
For the second canvas, I went with a Sugar Skull / Frida Kahlo inspired focal. I've recently fallen in love with quilling so had fun making this quilled skull! For this you will need quilling strips which you can either buy pre-made or cut yourself. Mine are .25 inch width.
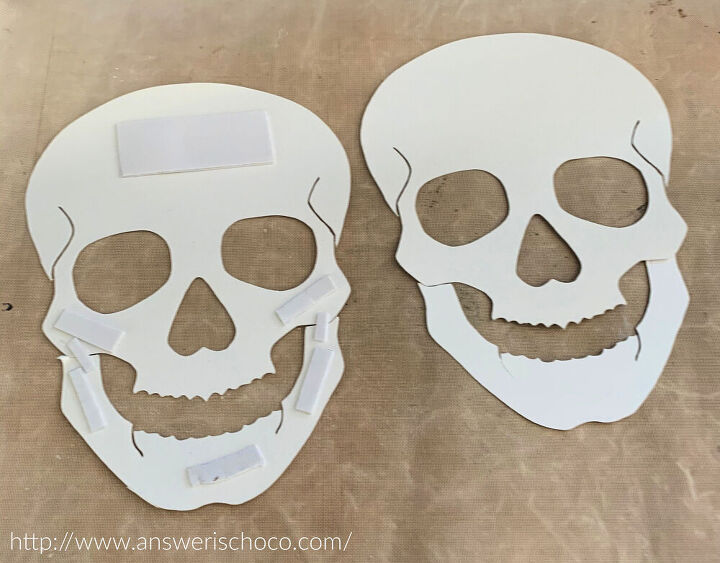
Cut two skull images or use pre-cut diecuts. I cut mine using my Cricut Explore Air 2 . I have found that layering two images using foam tape gives me a sturdier base for my quilled projects.
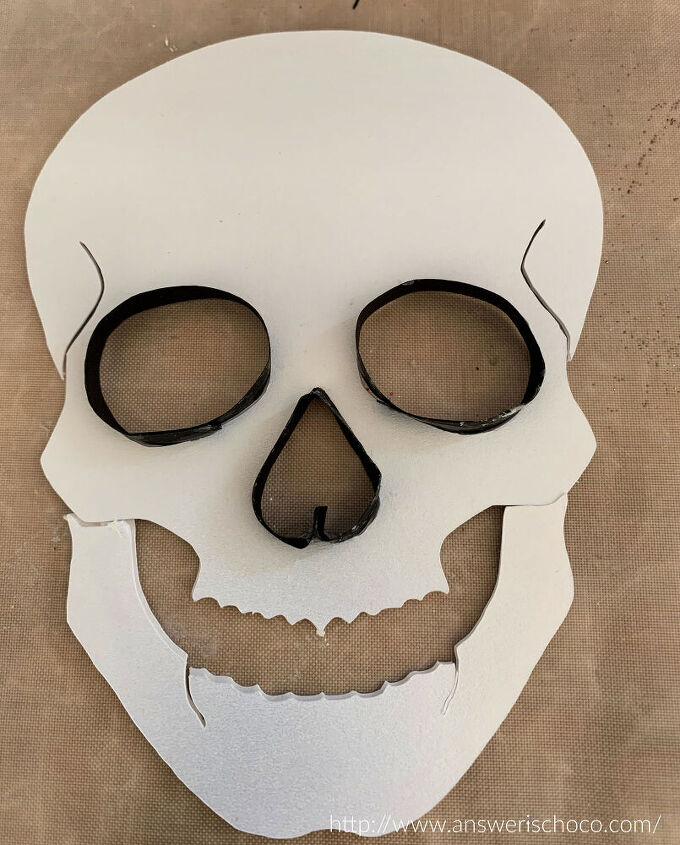
Line the inside of the eye sockets an the nose with black quilling strips.
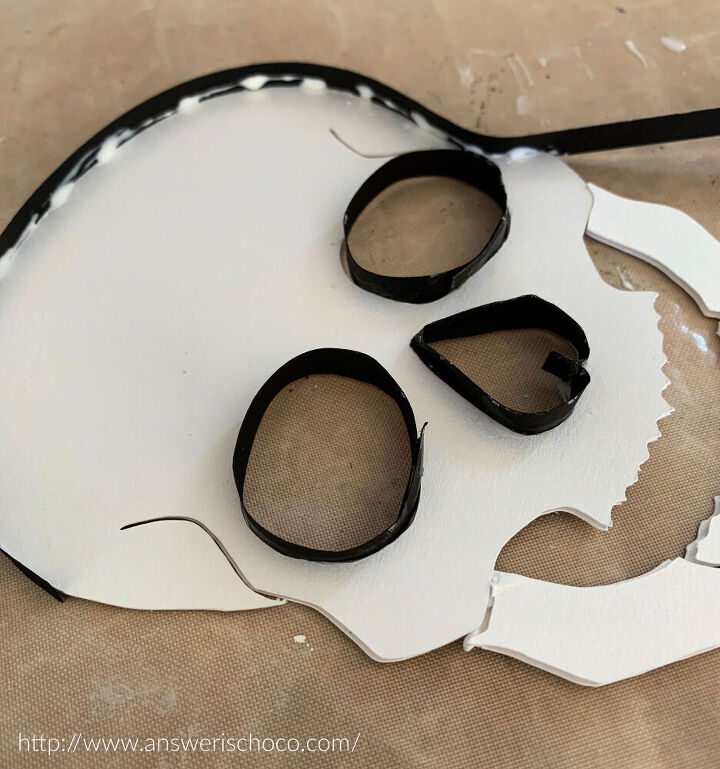
Use black quilling strips to outline your skull. I love Aleene's Turbo Tacky Glue for this because it grips quickly. It's thicker so not as good for detail but for outlining it's my go to.
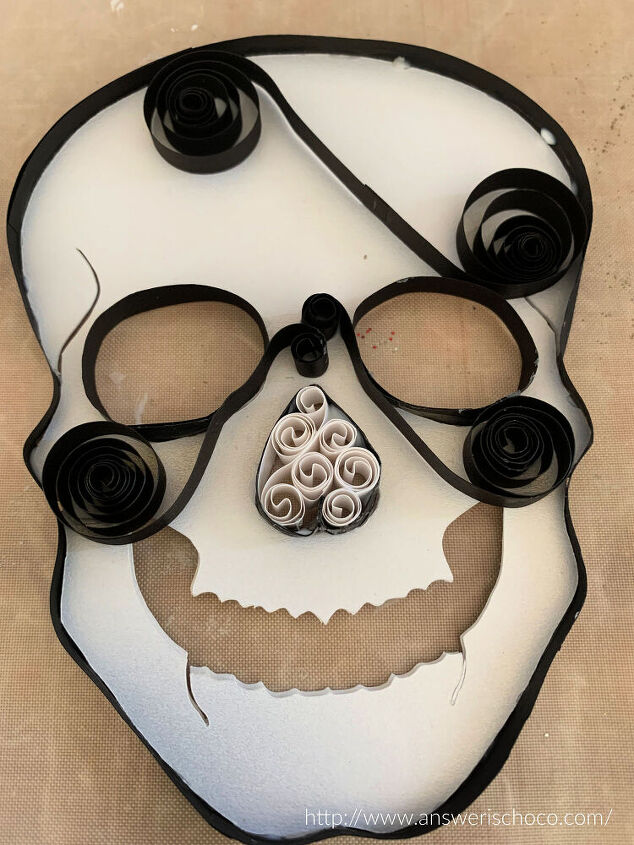
Once your skull is outlined, start filling in as desired with quilled swirls and coils. There are tons of tutorials on Pinterest and You Tube that cover the basics of quilling. I'm self taught so just kind of do my own thing as far as a pattern goes. Once I was happy with my piece, I hand cut some rolled roses from coordinating colors of crepe paper, glued my skull to the canvas with the roses forming a crown!


Frequently asked questions
Have a question about this project?