


Halloween Mirror
With Halloween coming around again shortly, we are all looking for new ideas for Halloween decor. This year I wanted to try and make a Halloween mirror. I had a mirror laying around that was in need of a makeover, which worked perfectly for what I had in mind. I also wanted something that I could easily remove after Halloween and still use the mirror. I liked the idea of a sugar skull reflection in a mirror.
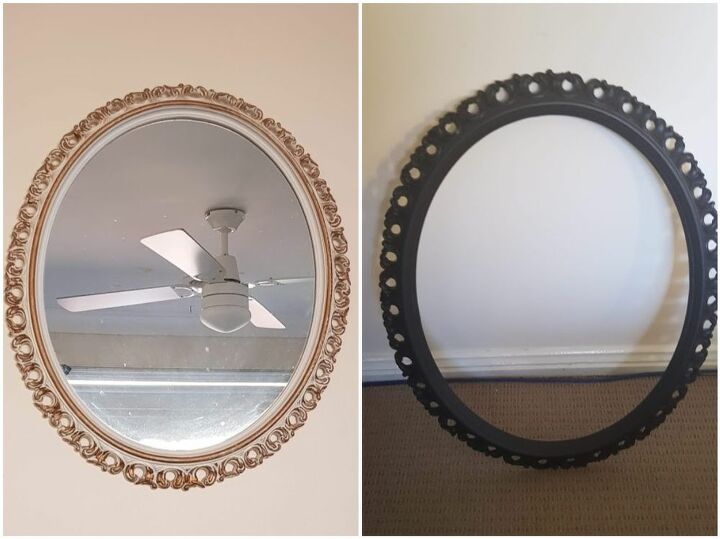
I did not like the white and gold on the mirror, I thought it looked old fashioned. I started by painting a coat of black gesso on the frame. I only used gesso because it was what I had at home.
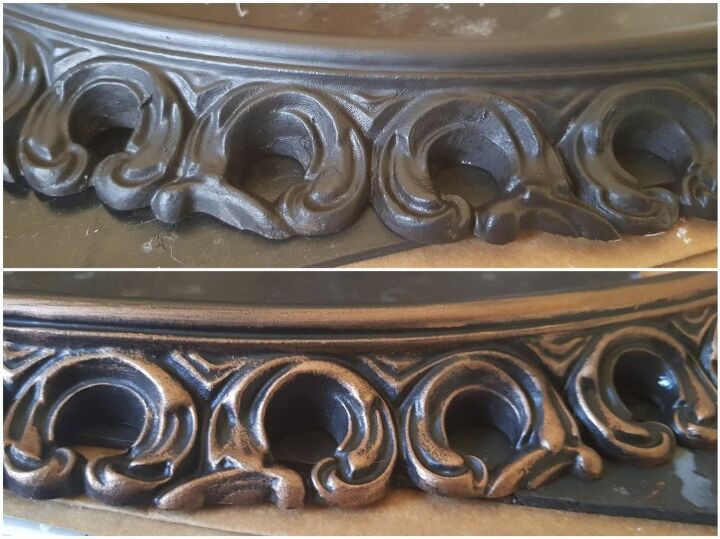
Once the gesso was dry I added some bronze wax paste to the raise areas on the mirror. It works best if you use your finger and wipe the wax along the surface. Don't fill in all the nooks and crannies with bronze, or you will spoil the effect. This step honestly took me less than 2 minutes.
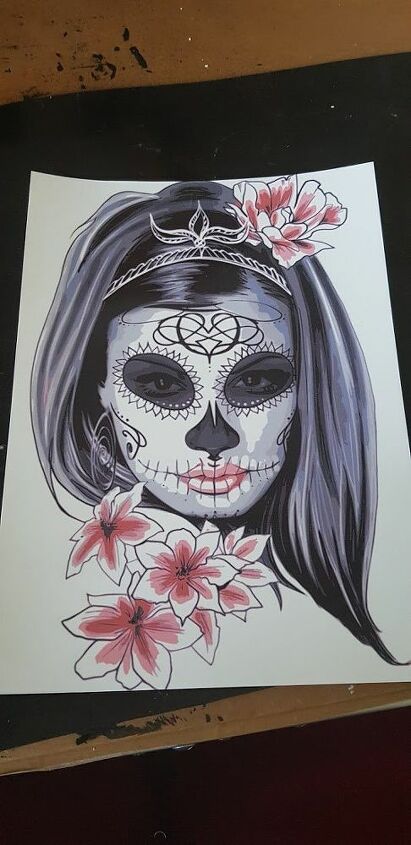
I went on pixabay to find free images to use and found this sugar skull. To transfer the image onto the mirror I used waterslide paper. It is very simple to use. Load the paper into your printer and print like normal. No need to reverse the image or do anything special. Spray the image with 2 coats of acrylic spray to seal in the ink.
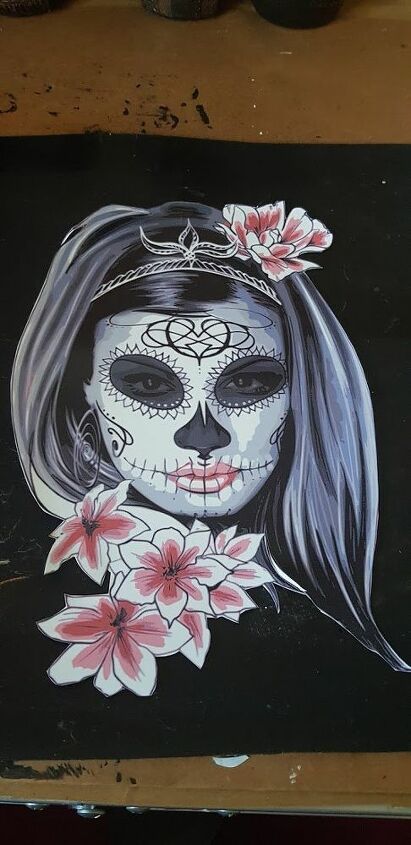
Cut the image out as close to the design as possible. On a mirror the excess film will be reflected.
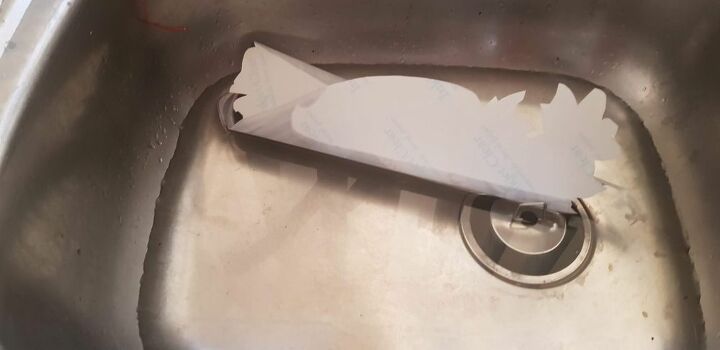
Add some water to the sink and put the image into the water. It will curl up instantly which is fine. Make sure all the backing paper is wet. This takes about 15 seconds when I timed it.
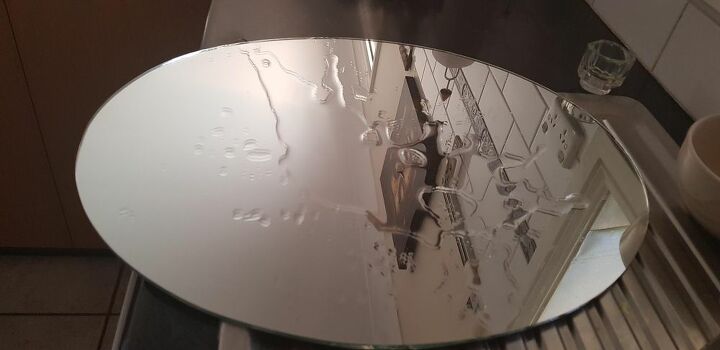
Add some water to the mirror. This will help you position the image.
Put your image on the mirror paper side down. You will be able to slide the image off the paper. You have to be very gently or you will tear the film. I always hold the top of the image down and slide the backing paper out.
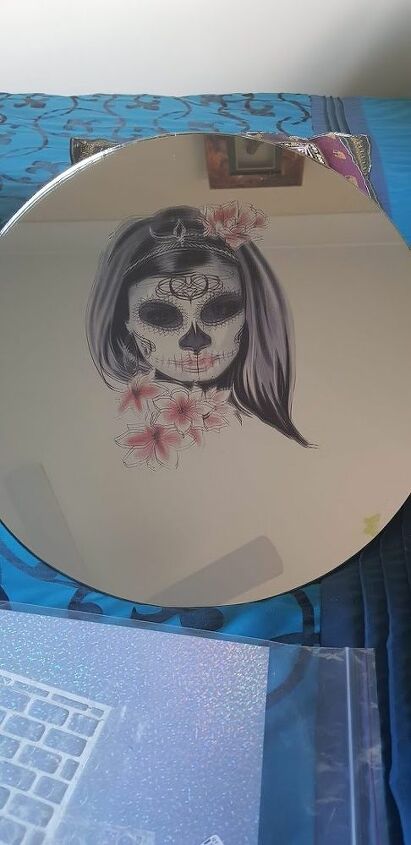
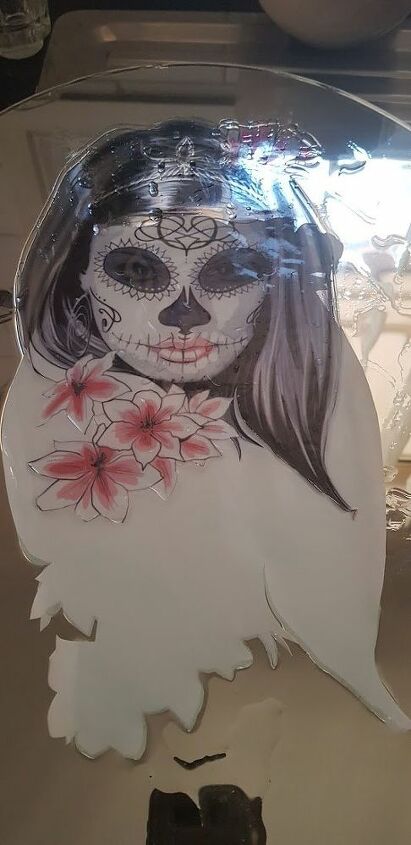
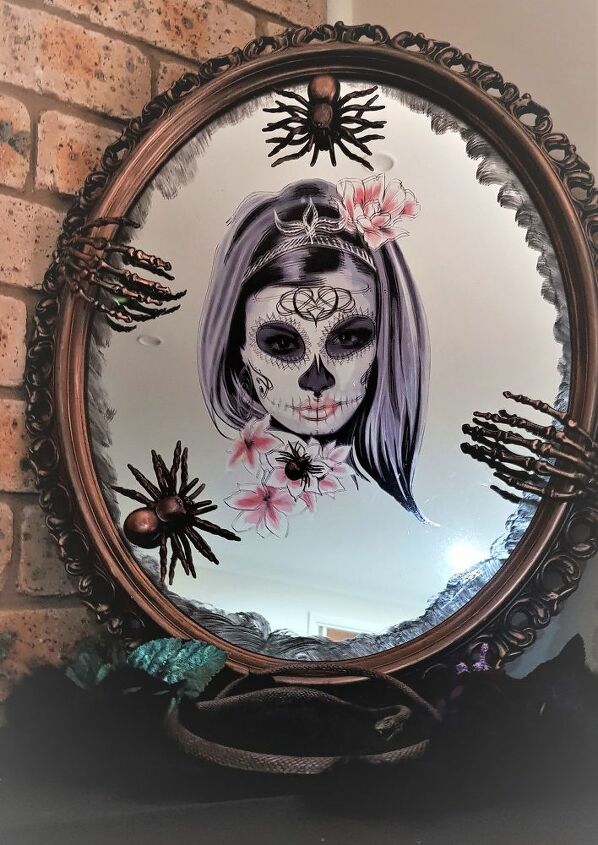
Using a soft cloth gently smooth the water out from under the image. Once the water is gone it will be very difficult to move the image. The good part of this image is how it reflects in the mirror at certain angles. It looks really eerie. once dry I used the gesso to add some black around the inside of the mirror to make it look more worn.
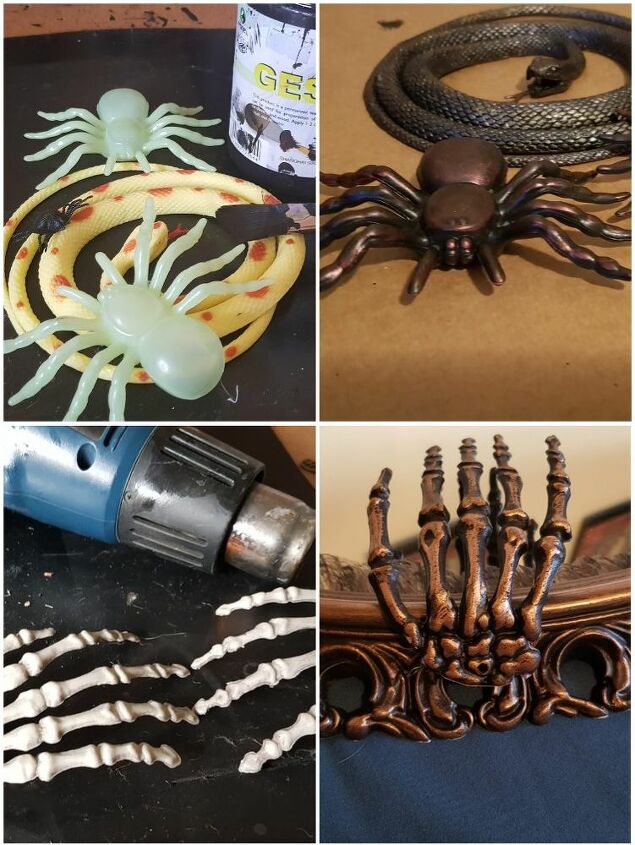
I bought some cheap spiders and painted them in the same way as the frame. I made some red wax paste to colour the spiders for effect. I ordered some cheap and cheerful skeleton hands which I moulded into shape using a heat gun. They were also painted with black gesso and rubbed with bronze wax paste. All the elements were glued in place using a hot glue gun for easy removal after Halloween.
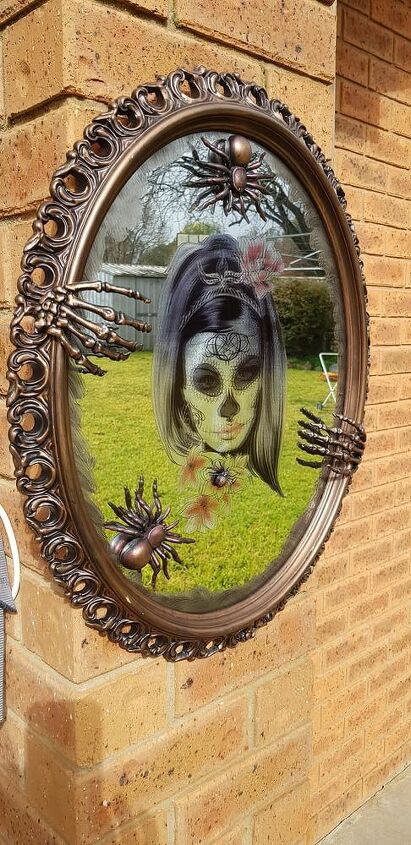
At angles you can see the reflection of the image which makes it look eerie and spooky.
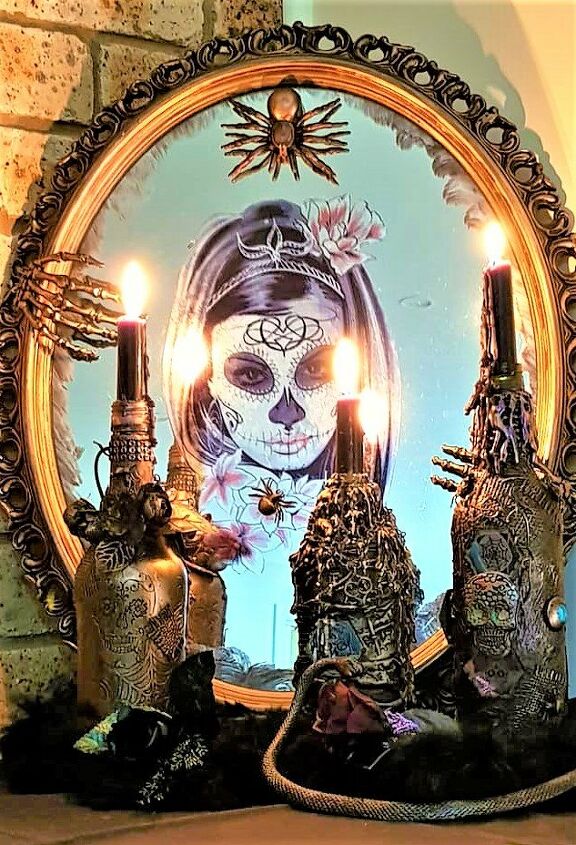
The mirror turned out so pretty I decided to make some Halloween bottles to go with the mirror.
Looking for more Halloween ideas check out this flashing Halloween sign. Hang the sign on your front door to let the trick or treaters know they will get treats from your home. This project cost me very little because I had every thing at home except the spiders and hands.

Comments
Join the conversation
-
Wow, Love this! I'm always looking for ways to use what I already have, but also have things that I can take apart and use for everyday. Thank you!
-
I can't find the flashing Halloween sign ,mentioned above. Can you please give the link? Thank you
- See 2 previous


Frequently asked questions
Have a question about this project?