


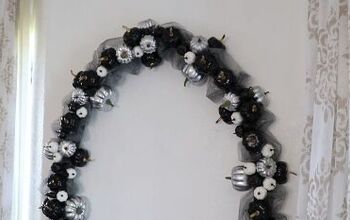
Halloween Pumpkin Wreath Tutorial
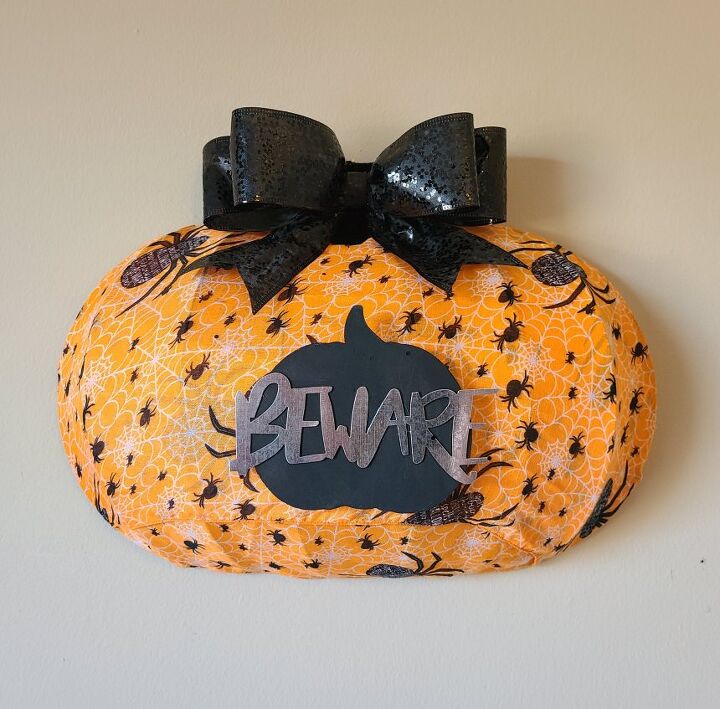
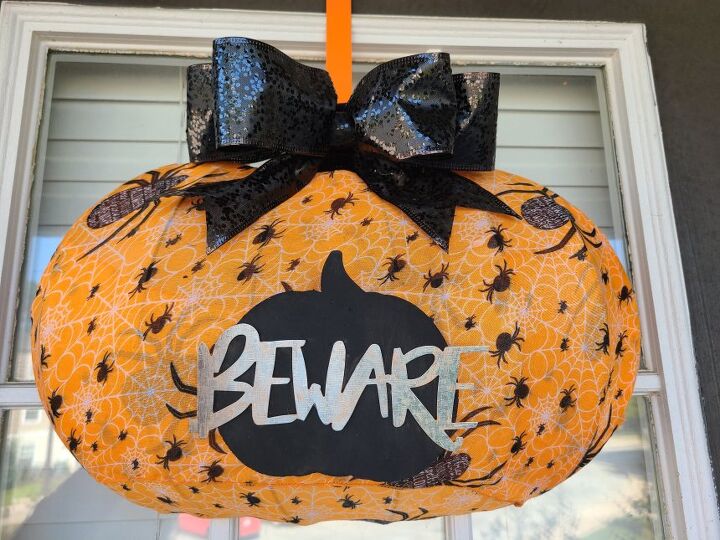
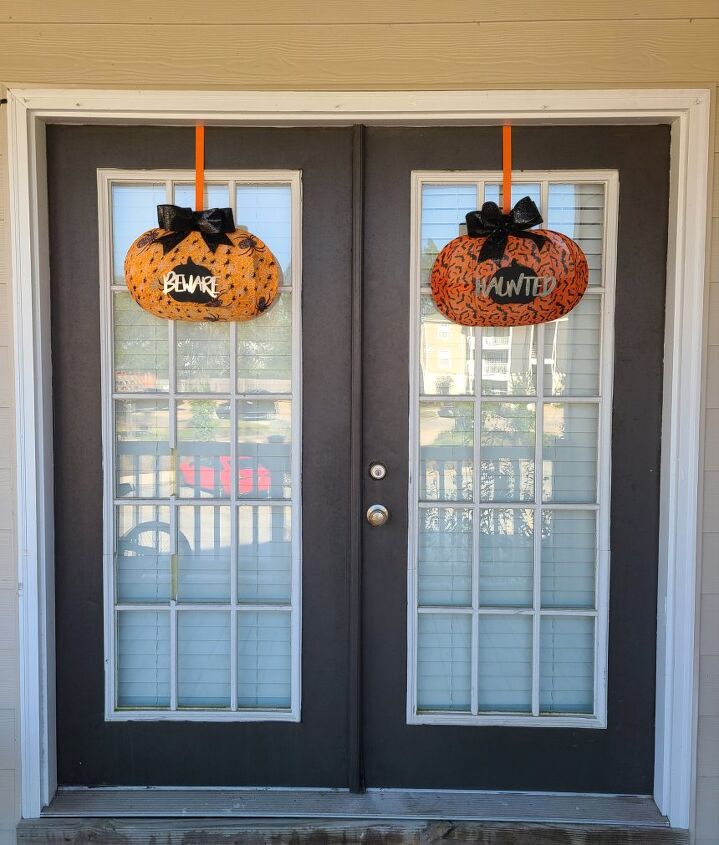
By now you know that I love everything to do with wreaths: making them, hanging them, having them, and especially sharing their tutorials with you! Today I’m going to share how to use a Dollar Tree form to make a Halloween pumpkin wreath. Everything I used in this project came from Dollar Tree! This Halloween wreath looks amazing on our balcony door! I went ahead and made another one for the other door, and I couldn’t be happier with the look.
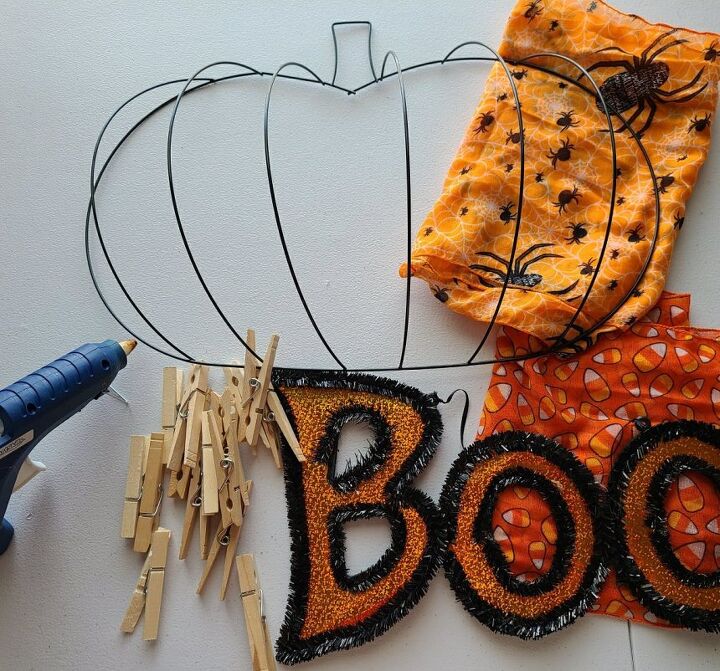
- Halloween themed scarf
- Pumpkin wreath form
- Sign from Dollar Tree that has pumpkins in/on it
- Halloween metal words- They come in a 3 pack; Haunted, Spooky, & Beware.
- Ribbon (optional)-I used a 2.5″ black plastic sequin ribbon.
- Black acrylic paint & paint brush
- Hot glue gun & glue
- Scissors
- Clothespins
- pipe cleaner
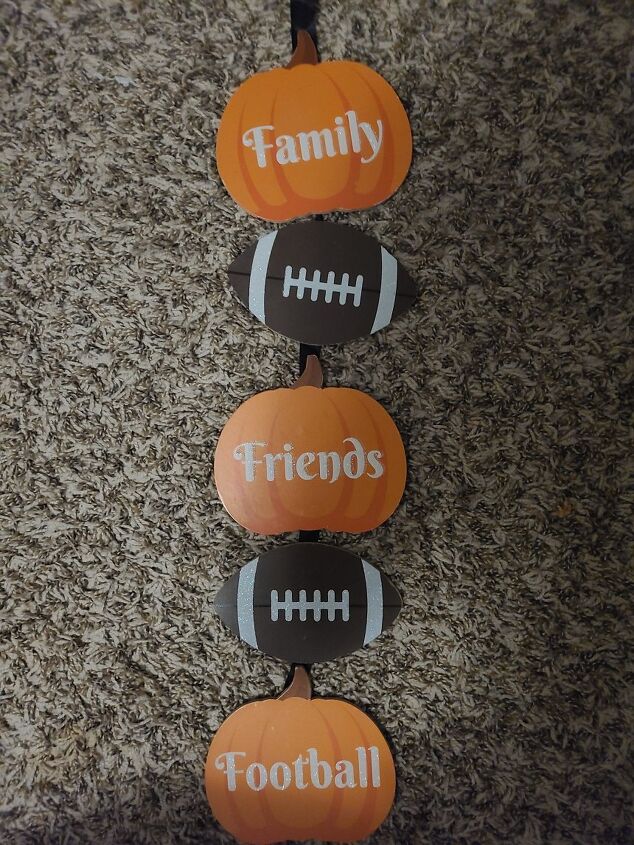
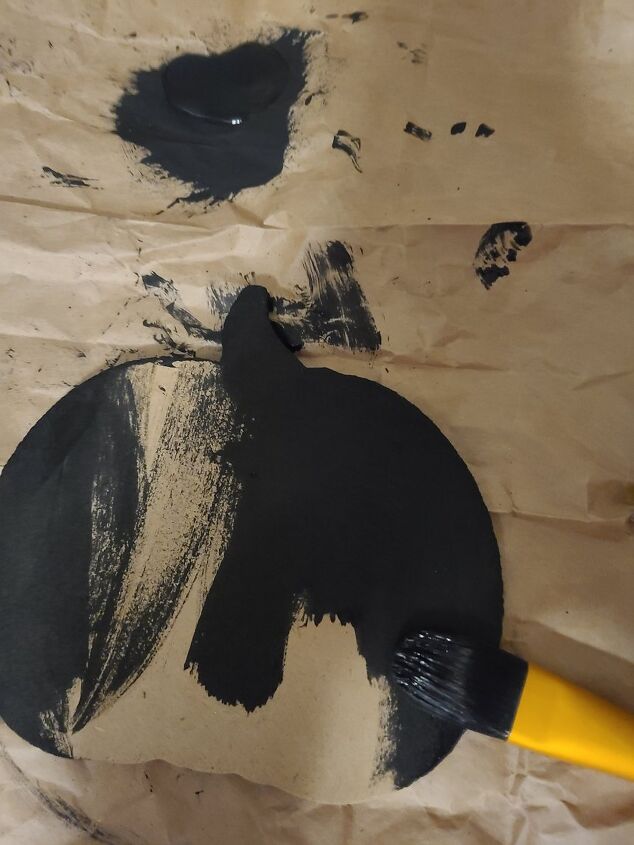
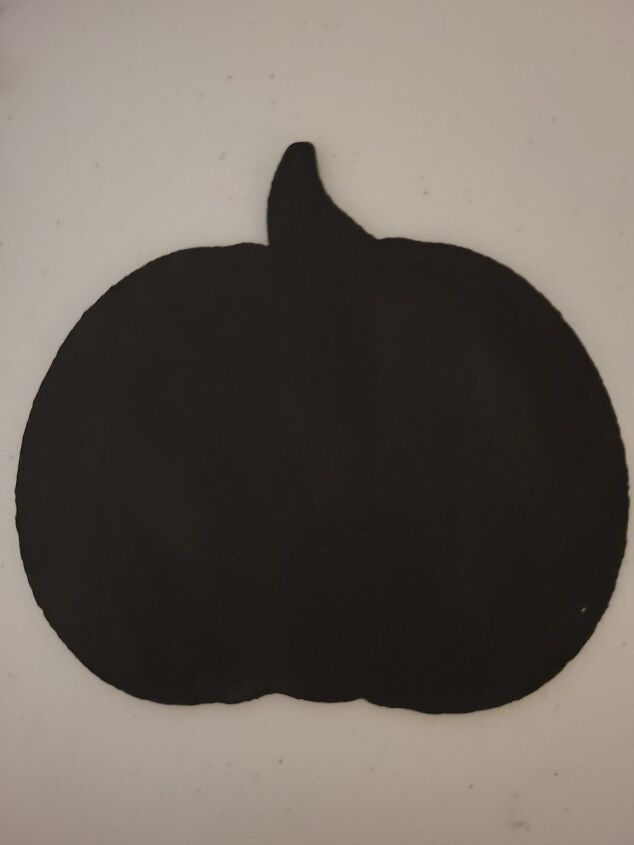
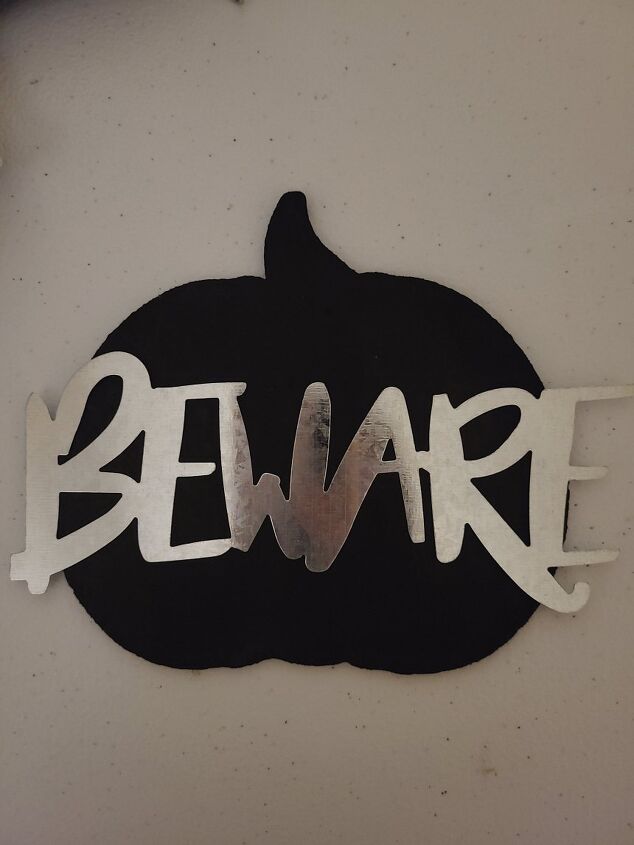
I used the football and pumpkin sign pictured above for my pumpkin on the front of the wreath. Dollar Tree has other signs with pumpkin shapes on them, so if your local store doesn’t have the football one, go with what they have. You need to remove one of the pumpkins from the ribbon it’s hung on. They are just held on by a staple, so it’s easy to remove and keep intact. Flip the sign face down and hold one pumpkin in your hand, and lift the ribbon out and away. It doesn’t take a big pull, it just pops right off. Lightly sand the area where the staples were. It’s not a must do step, but it helps diminish the mark a bit.
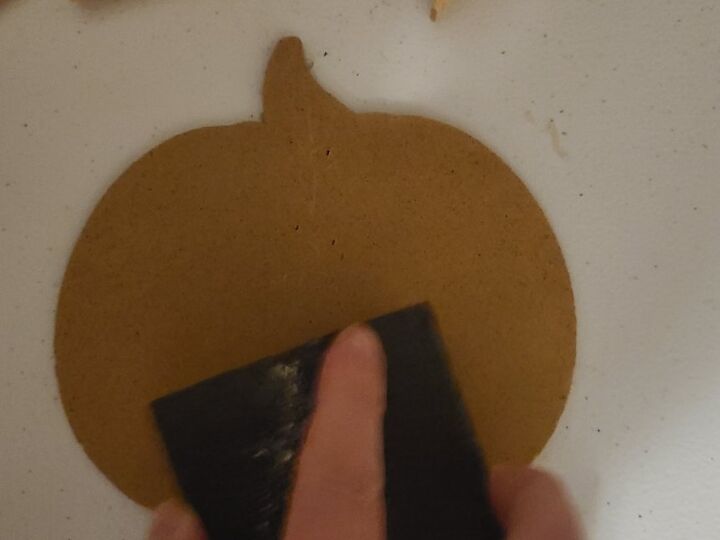
Dust the pumpkin off and paint it black. It only takes one coat to cover it well. Set it aside to dry.
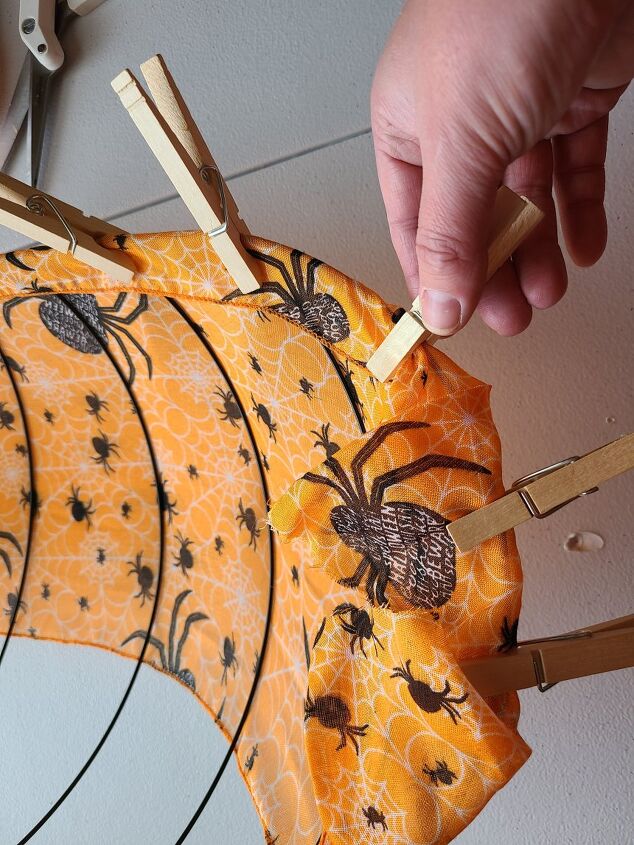
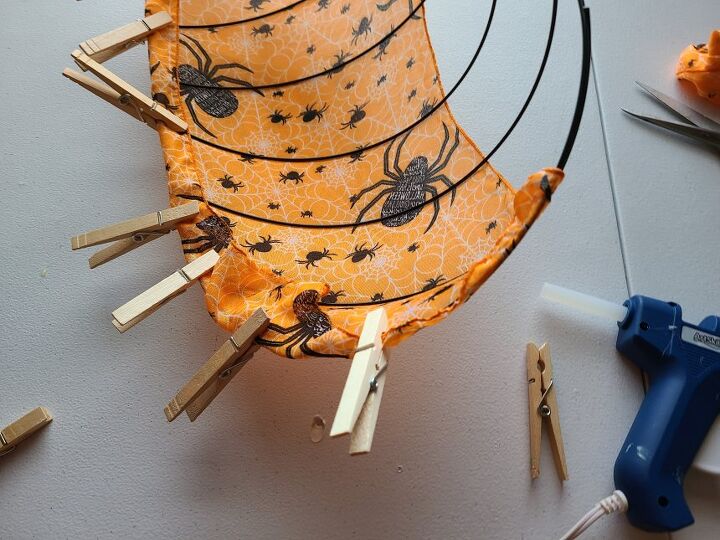
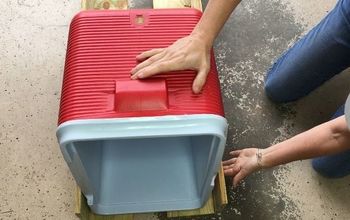
Next you need to pin the scarf to the wreath form. Start at the bottom on one side of the form, draping a bit of the fabric over the edge of the bottom wires (about 2″ or so) and the edge of the sides. Place a clothespin over the fabric on the wire, holding it in place. Pull the scarf as tight as possible, then place the clothespins every few inches to hold it on before it’s glued. You won’t be able to pull it really tight yet because the clothespins will slide around some. Don’t worry too much about it at this point.
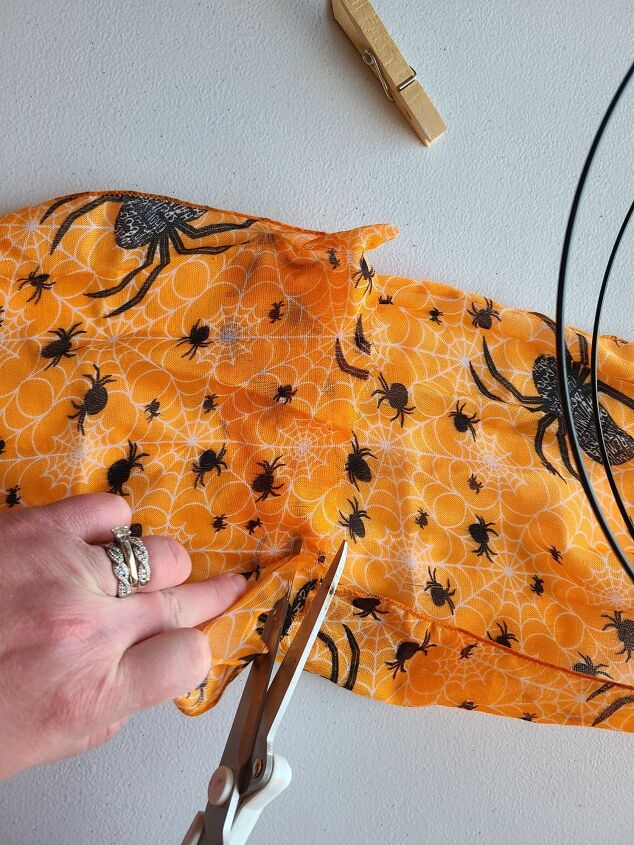
With entire bottom half of the pumpkin covered, you will need more fabric to cover the top. Leave 2″ of the scarf to glue around the wire, then cut the rest off. Clothespin the part you just cut from to the form.
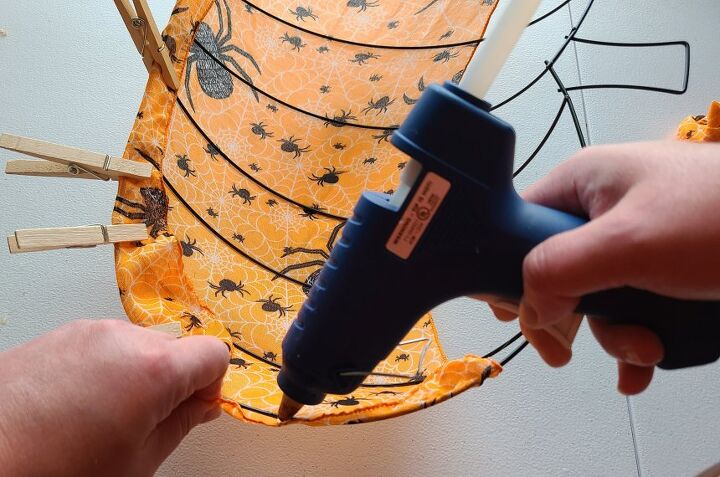
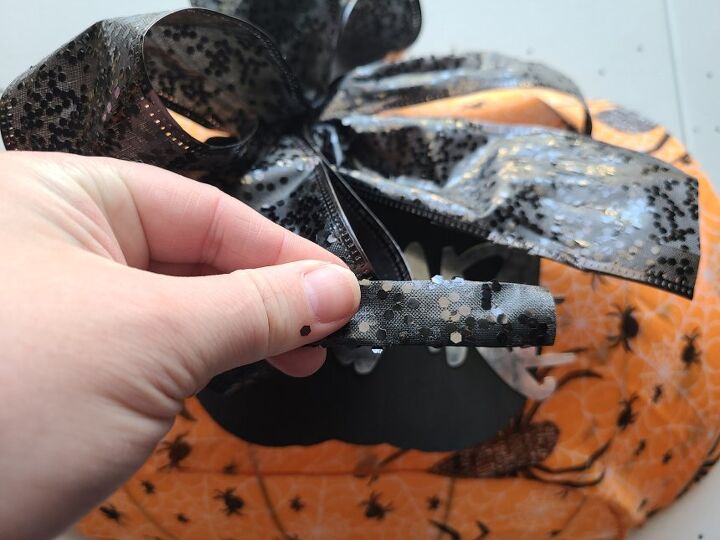
Now you’ll begin hot gluing the edges over the edge of Halloween pumpkin wreath. Start where you placed the first clothespins. Remove one, pull the edge taunt, then place a strip of glue along the back of the outside wire on the form. Don’t touch the fabric to press it down onto the glue. It is extremely hot and the scarf fabric is very thin, almost sheer. It will burn you. I have the bubbled burn mark to prove it! Place the clothespin back on the wire to hold the scarf in place while it dries.
Pull the scarf taunt, remove the next clothespin, squeeze hot glue on the next section of the wire, and use the clothespin to hold the scarf in that section. Continue with this until you have completely glued the bottom half onto the wreath. Make sure you have the fabric pulled tight because it does not look good sagging.
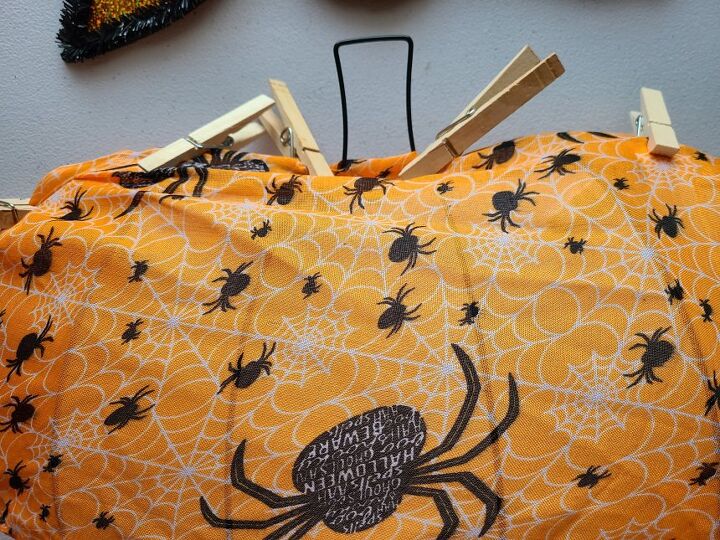
By the time you have finished gluing bottom half of the fabric on the wreath, the glue should be dry. Take off the clothespins to use them on the top of the form. Attach the scarf just as you did on the bottom. For the “stem” section put one clothespin right at each side. The stem has a slope on each side, creating a “V” in the center so it’s harder to glue on without something holding each side.
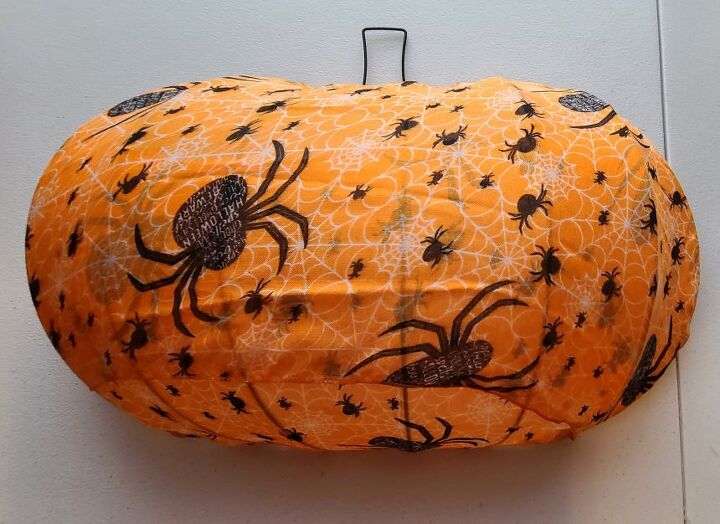
Now glue the top section on just as you did the bottom. If you have a lot of extra fabric on the back when you’re finished gluing, cut it off. Just leave about 2 to 3 inches all around.
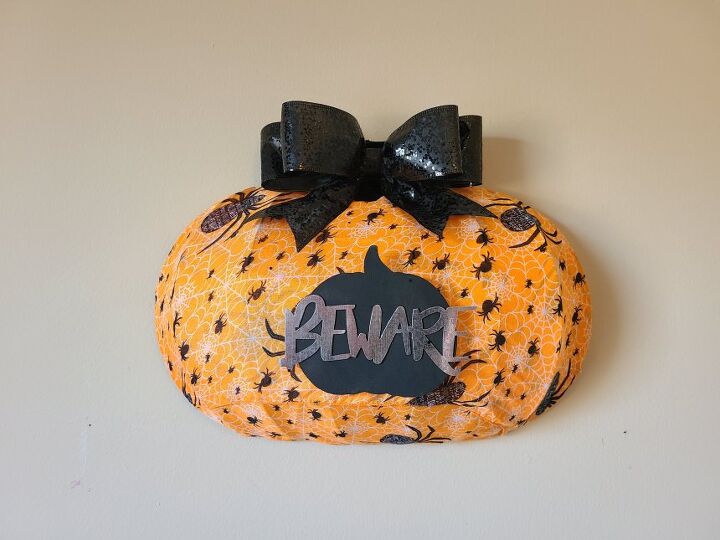
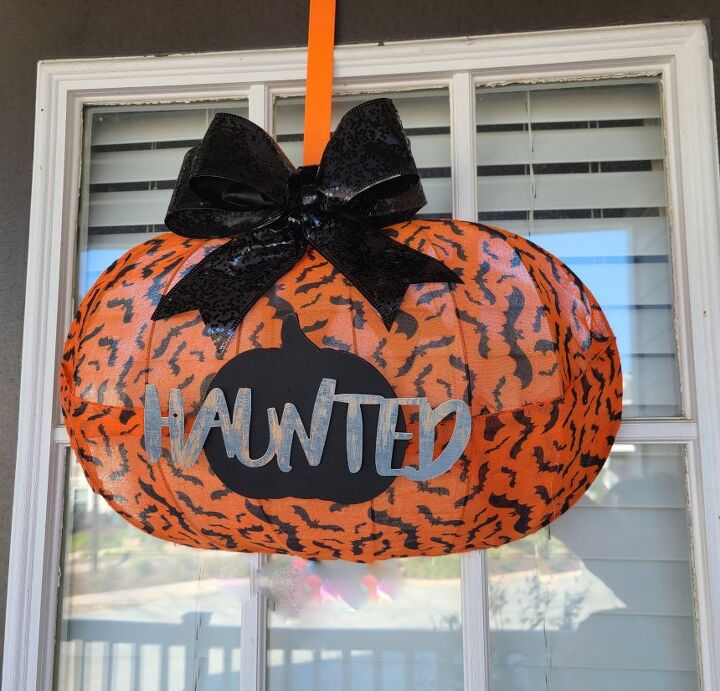
Now the form is finished so it’s time to add the accessories. Pick one of the metal Halloween words to glue to the black pumpkin. I used “Beware” on one of mine. The word is longer than the pumpkin, but that’s fine. Center the word on your pumpkin and glue it on. Center the pumpkin on the front of your wreath and glue it on.
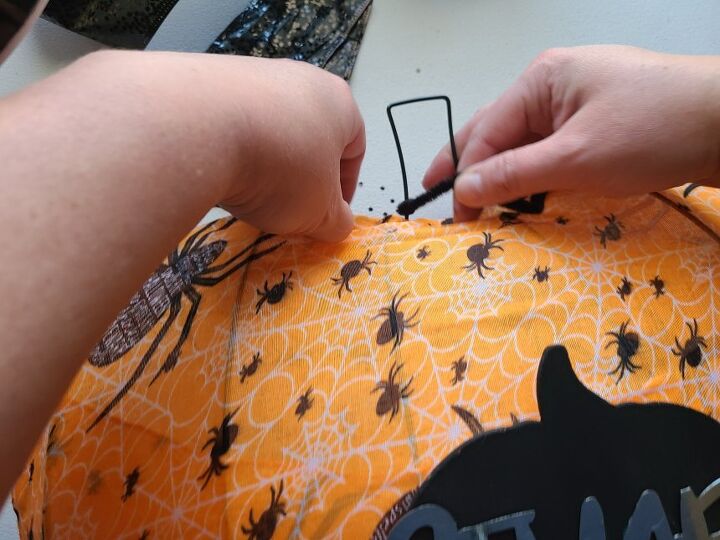
Next you need to cover the “stem” of your pumpkin with a black pipe cleaner. You could also use twine, ribbon, or anything you have around that would look good on it. Wrap the beginning of the pipe cleaner around the bottom of one of the stem wires, right where it meets the wire that forms the main part of the pumpkin, and put a dab of hot glue on it to keep it in place.
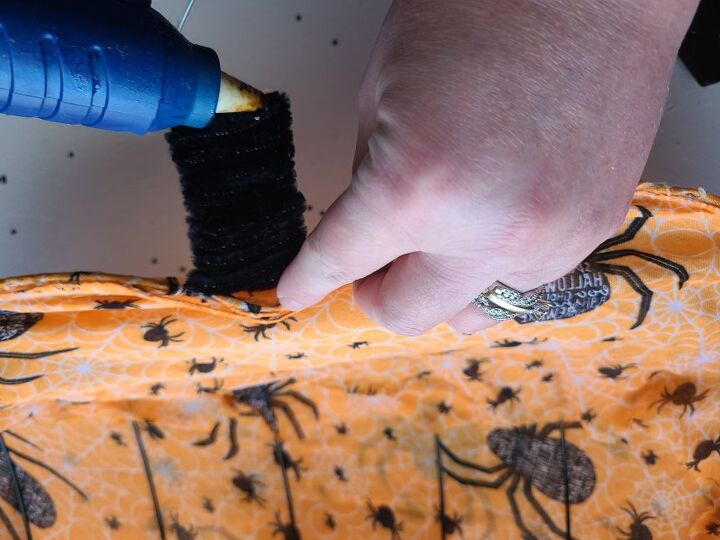
Wrap the pipe cleaner around both wires and upward. When the pipe cleaner runs out, glue another one on and begin it just as you did with the first. I ended up using about three and a half. When you reach the top, glue it across the top of the stem, so that none of the stem wire is showing. Cut off any extra that’s left.
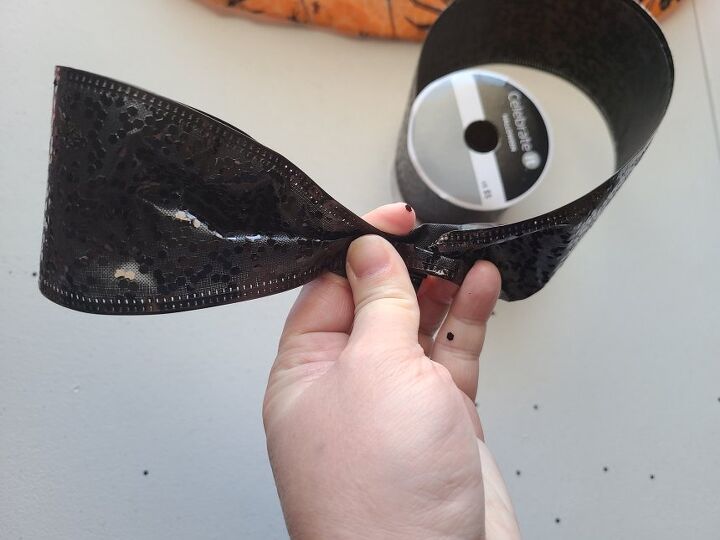
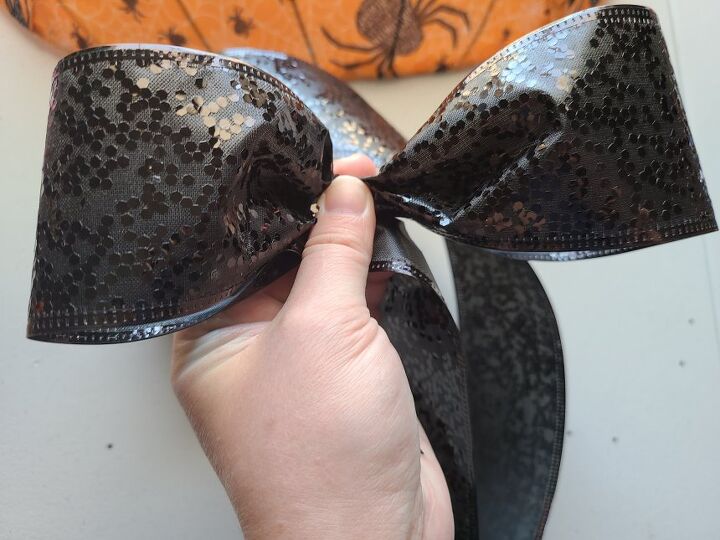
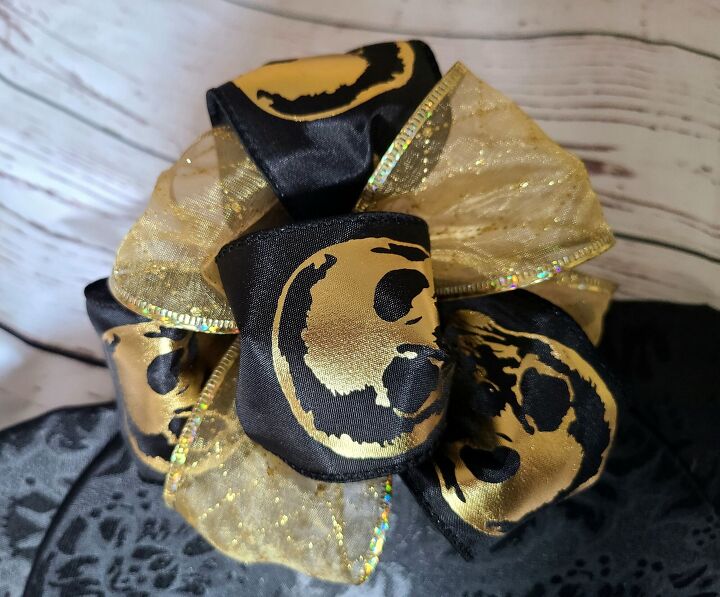
Finally make a bow to glue in the middle of the stem. I used a black 2.5″ black wired ribbon that’s covered in sequins that I bought a few years ago. I made a simple four loop (double loop bow) with it. Pinch the ribbon about half an inch from the beginning. Loop about 4″ of ribbon (making the loop 2″ across) and bring it back to where you have the ribbon pinched.
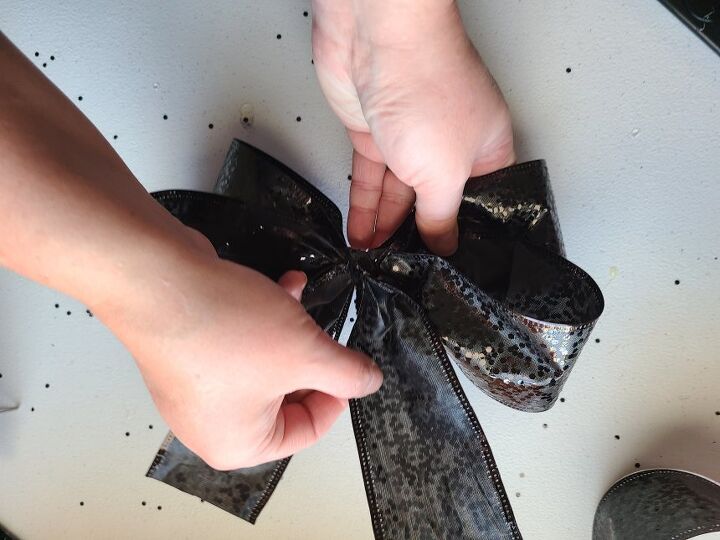
Next make another loop the same as the first, and bring the end of it back to the center.
Twist the ribbon and begin a third loop behind them first one. Make this loop with about 4.5″ of ribbon and bring it back to the same pinch in the center. Make the final loop on the opposite side, another 4.5″ and again pinch in the center. Cut off the extra ribbon. Twist a pipe cleaner around the middle to hold your bow together.
To create the tails of the bow, cut two 5″ pieces of ribbon. Pinch the top of one and glue it to the back of the bow, angled slightly to the right so that it will drape that way once it’s done. Now do the same to the other tail, just angle that one slightly to the left.
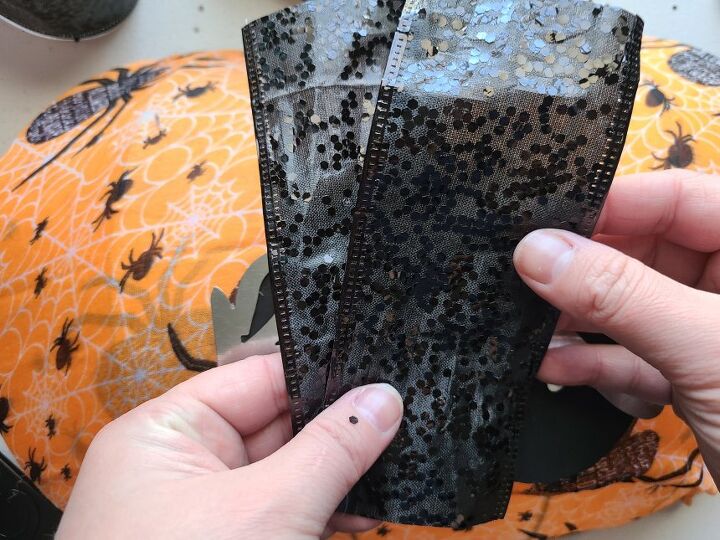
Cut a 3.5″ piece of the ribbon to cover the pipe cleaner in the middle. Fold the piece until it’s only about an inch wide.
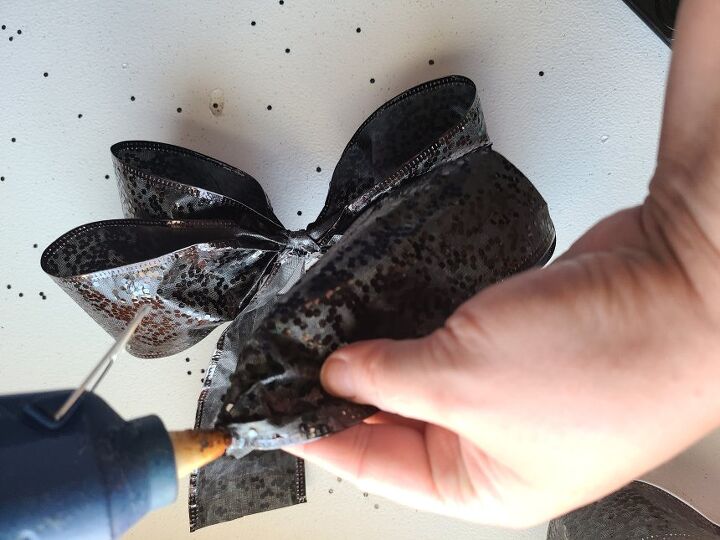
Glue one end on the back center of the bow. Wrap it around the front center, then glue the other end on top of the other end on the back. Now you’re cute sequin bow is finished.
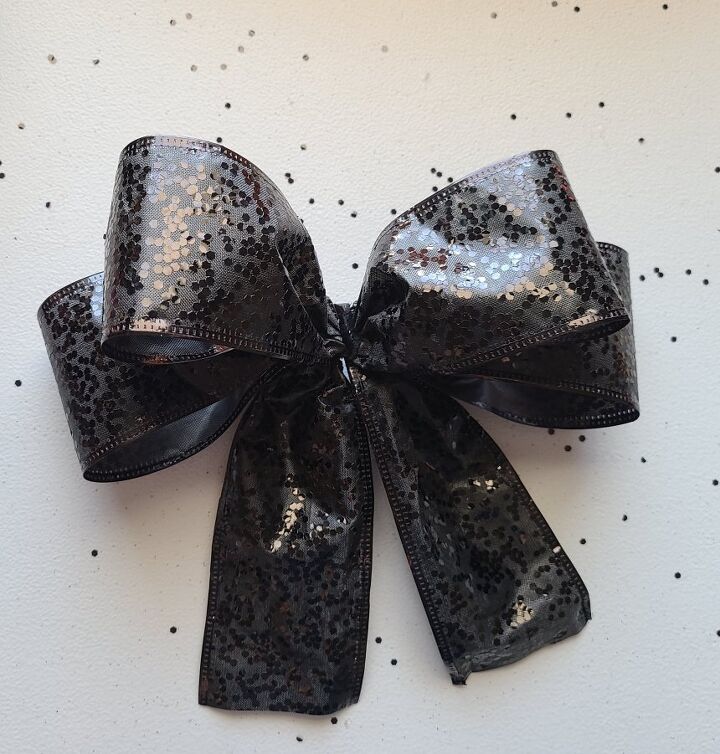
Fold the tails length wise and cut the ends diagonally to create a “V” at the ends. Glue the bow onto the middle of the pumpkin stem and you’re wreath is complete!
I now make my bows a little differently (most of the time). I make the loops all the same, but when I get to the tails, I create them before twisting the pipe cleaner around it. It is a little easier, and can look a little better if you’re bad at gluing the tails on. This Christmas wreath tutorial will show you a more detailed tutorial for this method, but I’ll try to explain it here just a little. You can see pictures in the other post.
Once you’ve made the fourth loop, make another loop extending from the bottom of it, about 5″ long (using 10″ of ribbon). Bring the ribbon back up to the bow and pinch it off. Twist a pipe cleaner around the middle of the bow to secure it. Cut the bottom “loop” in the middle which will leave you with 5″ tails. Fold them in half and cut a half “V.”
I just love the look of this! I had the Halloween scarves for years, and I am glad I kept them. Here’s a peak of our Halloween balcony. I had different scarves, and they were similar so I didn’t feel the need to go buy two more. You can of course buy the exact same scarf to make two if you would like.
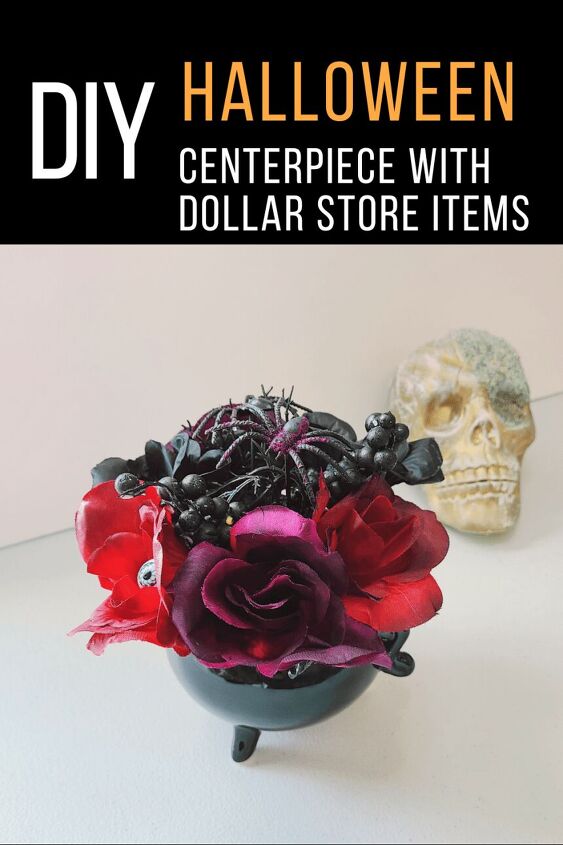
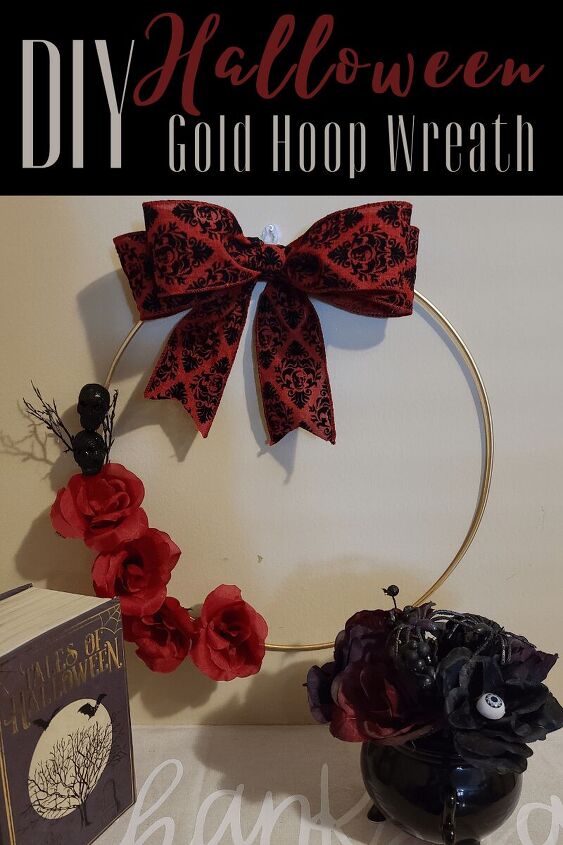
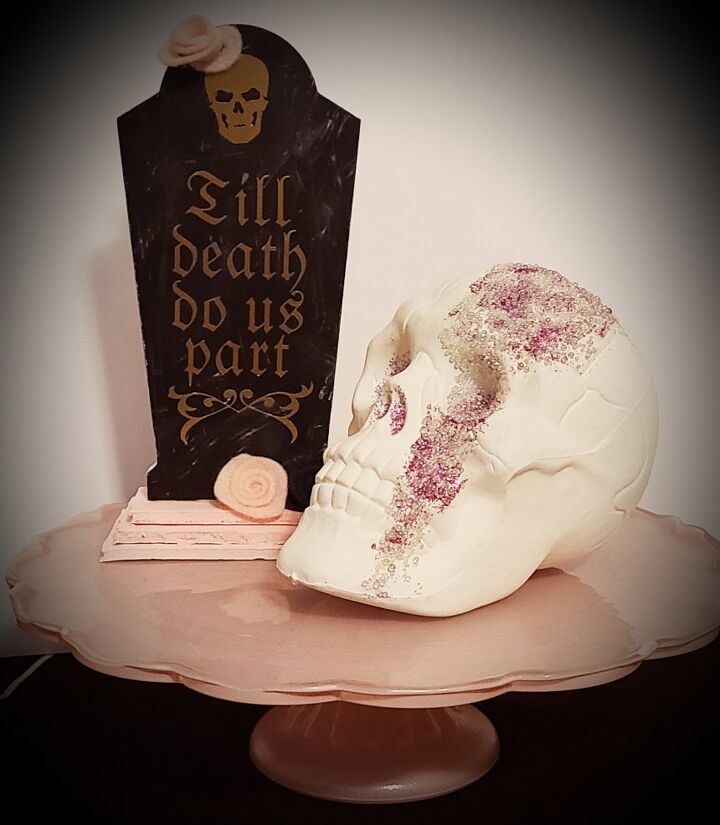
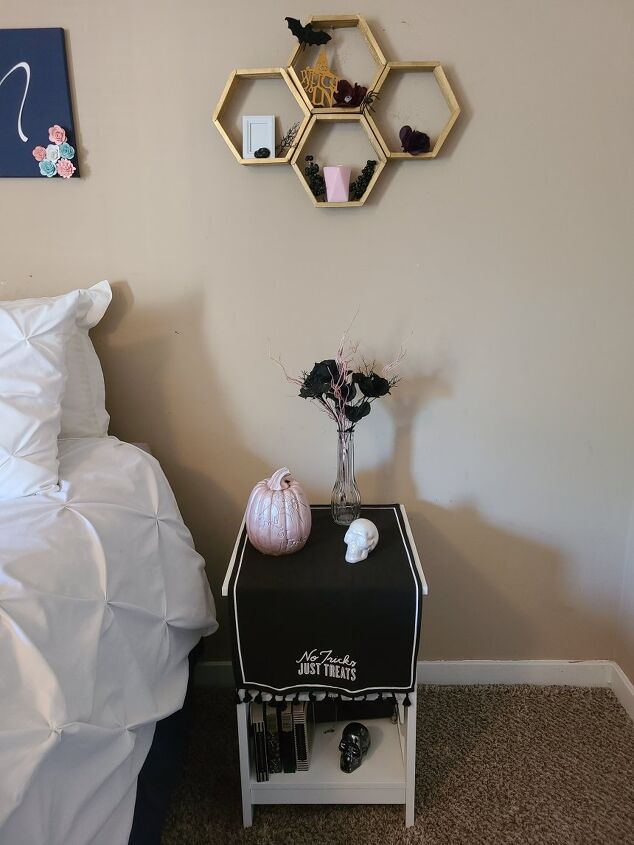
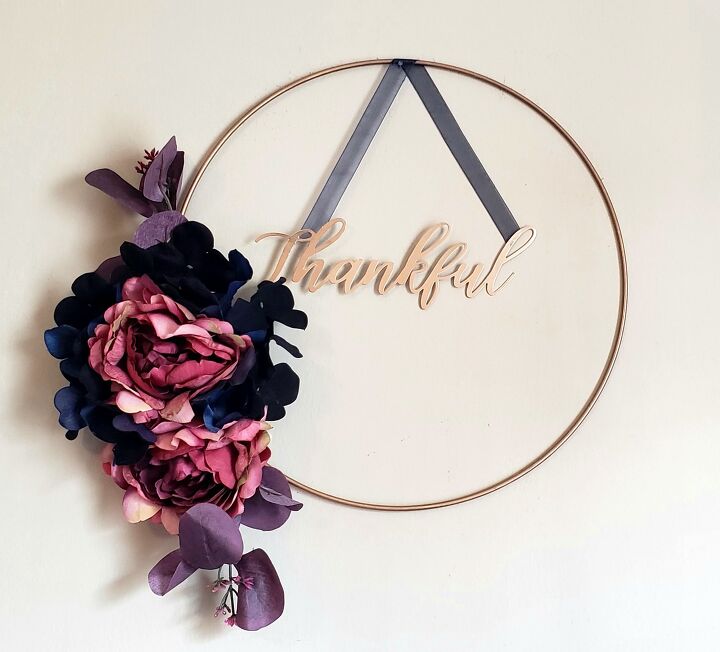
If you love wreaths and decorating for Halloween, you will like these posts and tutorials: this Halloween witch cauldron centerpiece, this elegant Halloween hoop wreath, this Dollar Tree sign upcycle, and this DIY gravestone for table top decoration. You might also want to check out my Halloween master bedroom decor from 2020.

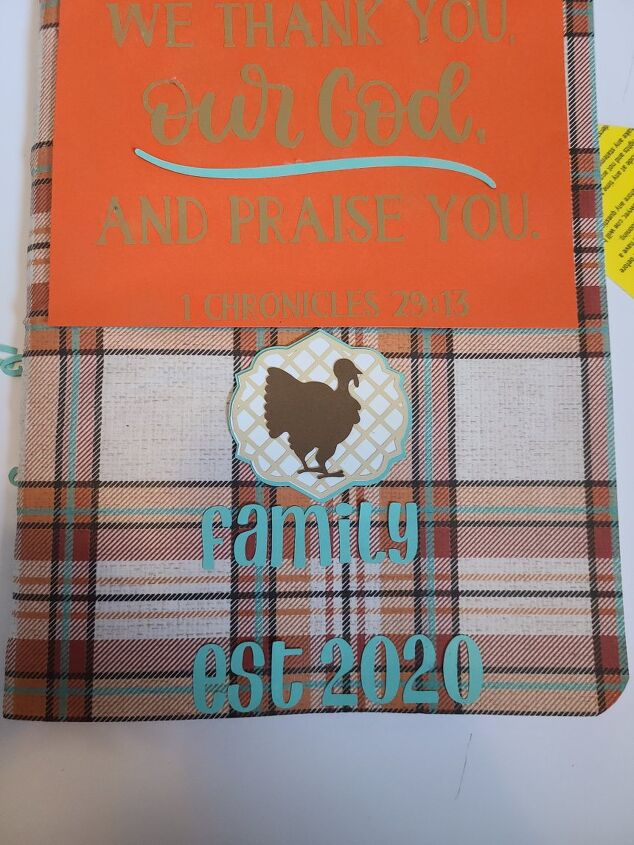
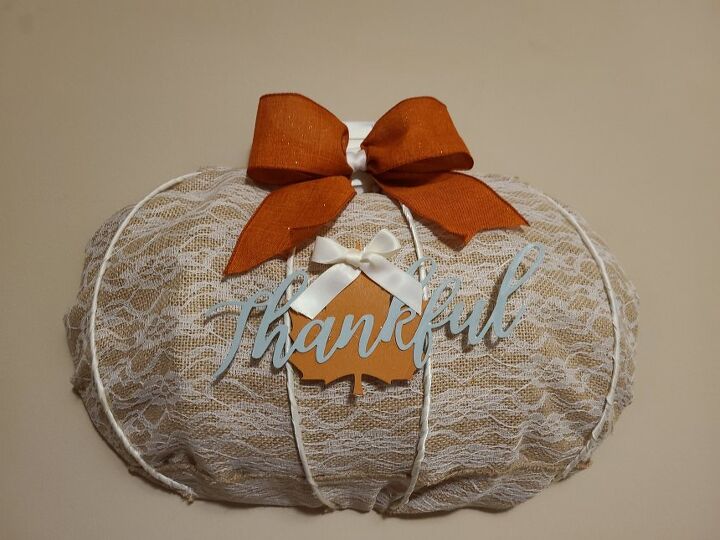
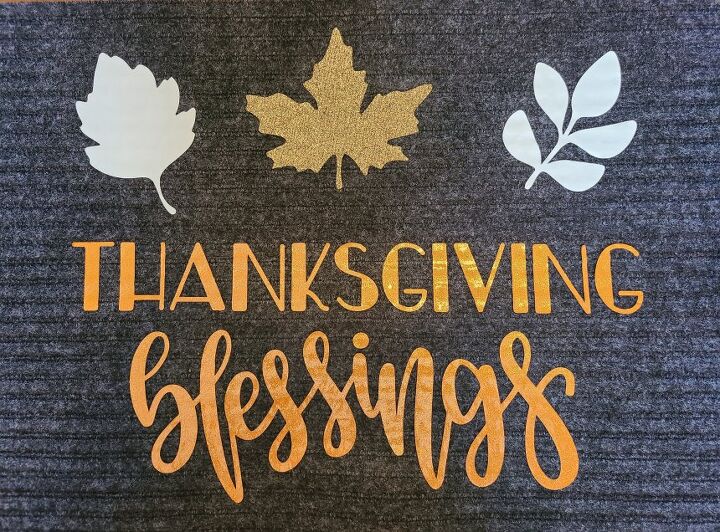
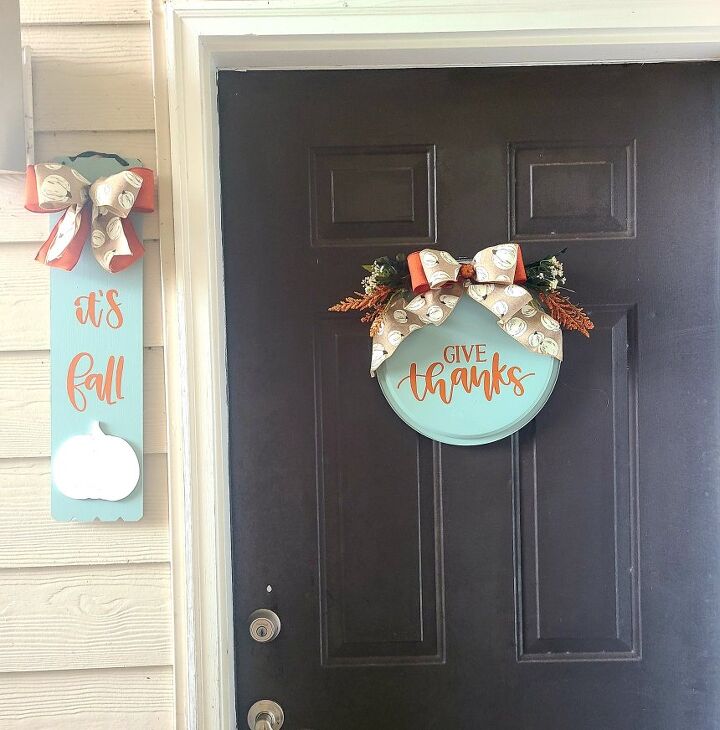
It’s fall and Thanksgiving is on the way so you might enjoy these posts: Thanksgiving DIY Dollar Tree doormat, a family thankful journal for Thanksgiving to use year after year, this beautiful fall wreath with matching door hanger, and this elegant burlap and lace pumpkin wreath. Of course there’s a lot more than these, so please hang around and check out all there is to see!
I hope that you enjoyed this tutorial and will make your own Halloween pumpkin wreath! Make sure you pin this tutorial for inspiration and for when you’re ready to make it. If you’re friends and family like wreaths and Halloween decorating as much as you and I, I would love for you to use the buttons at the bottom of the post to share on social media!
I have many tutorials, free printables, and great posts planned for you! Use the buttons on the sidebar to follow me on social media. I am finally trying to grow the channels now that I have this blogging thing down a little better! Let me know when you follow, either in the comments or on the platform where you follow, and I will follow back if you’d like. The best way to make sure you don’t miss a great post by entering your email address below. You will get an email when a new post is added, and never any spam!
Get notifications about new tutorials, free printables, & other posts delivered to your email!
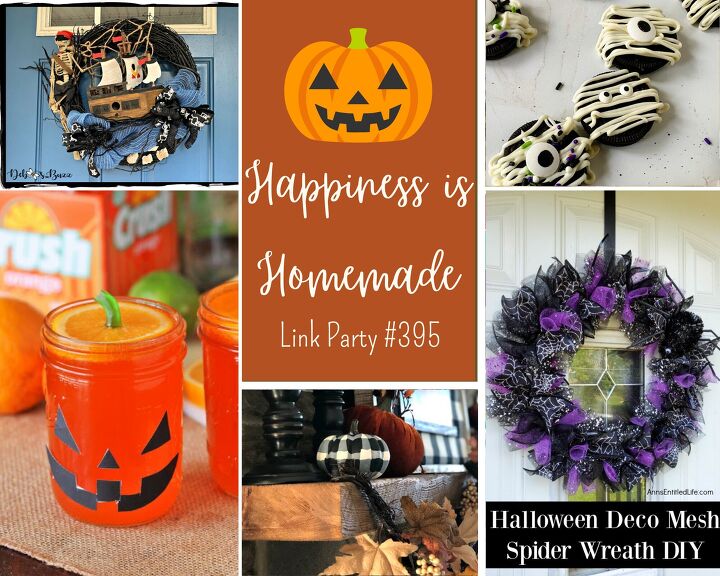
If you love finding great ideas and tutorials you will enjoy our weekly link parties, Happiness is Homemade, You’re the Star Blog Hop, and Traffic Jam Weekend. You’ll find recipes, crafts, DIYs, home & seasonal decor, family posts, gardening ideas, and more. If you’re one of my blogger friends, we’d love to have you share your family friendly posts on each party weekly, and you will have a chance to be featured on the next week’s party!


Comments
Join the conversation
-
The scarf covering the wire pumpkin frame has to be the best idea I've seen!


Frequently asked questions
Have a question about this project?