


How to Make a Ribbon Flag
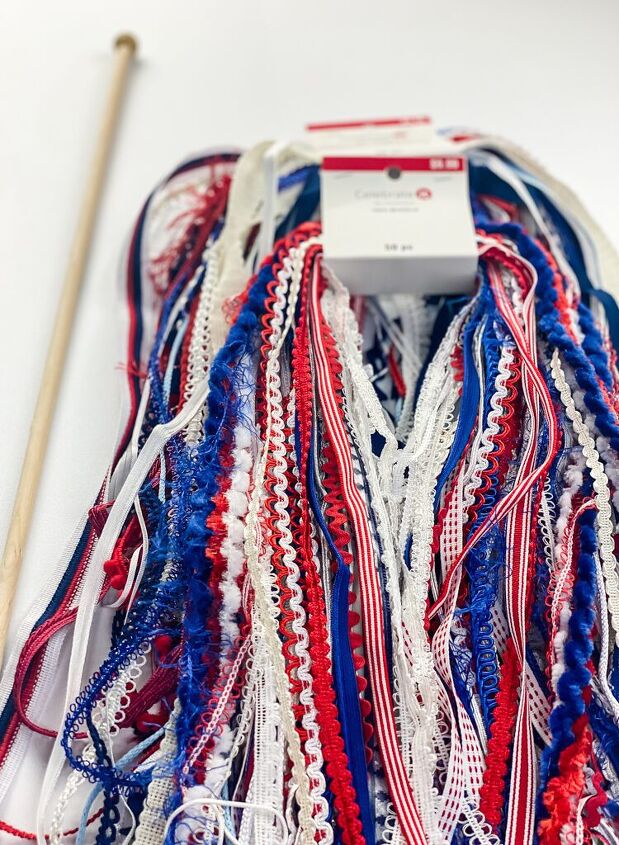
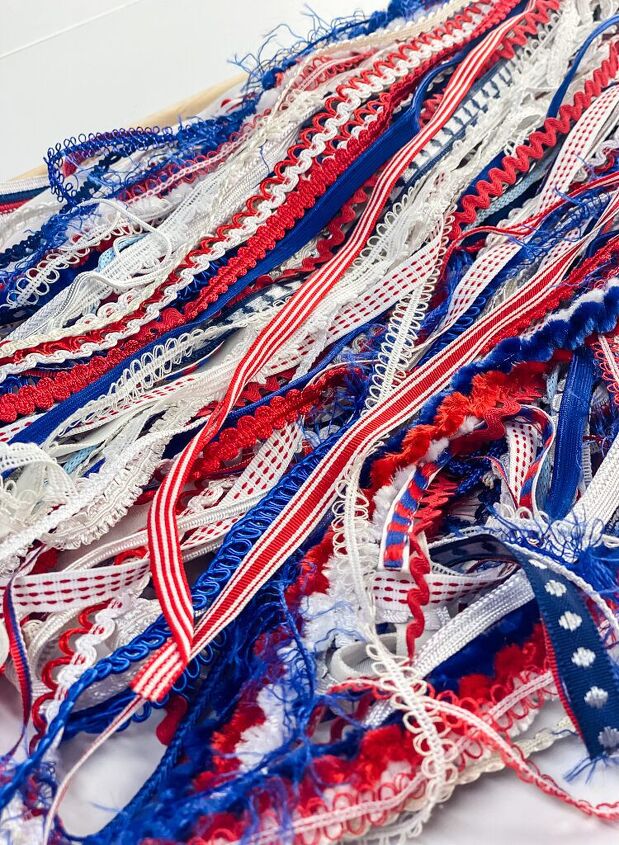
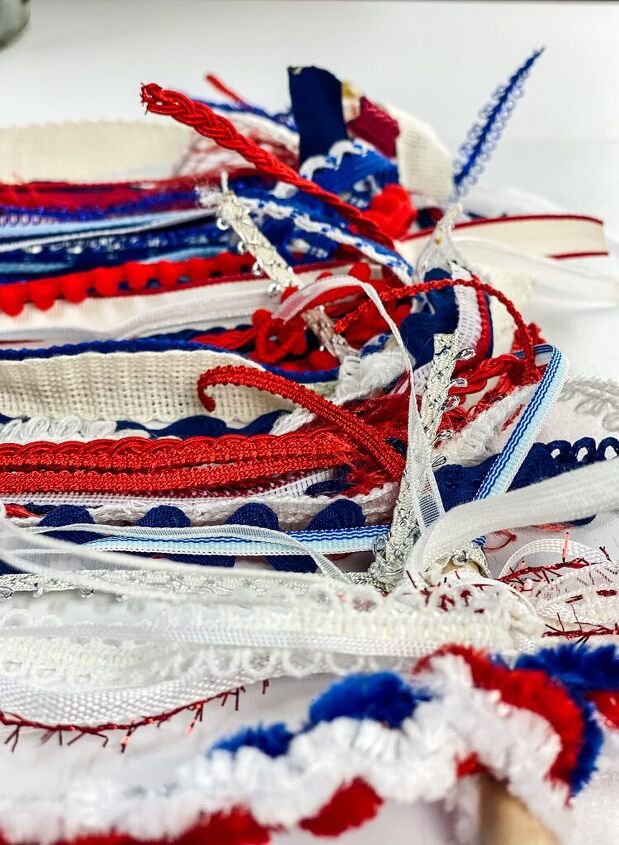
This ribbon flag is so easy to make! What makes it even easier is that you can get precut red, white, and blue ribbon bundles right now at Michael’s (they are on sale for $4.99). The bundles have really pretty ribbons and I don’t think there was a repeat in the bunch…all different textures and styles.
If you don’t have a Michael’s nearby or are seeing this after they are sold out then you can use any mixture of ribbons in red, white, and blue colors.
What I Used:
- (2) Red, White, & Blue Scrap Trim Bundle (Michael’s)
- Flag or Wooden Dowel (mine was 24″)
- Denim Scrap Fabric
- Fabric Glue
- Star Ornament (Hobby Lobby)
Step 1.
The base that I used for my ribbon flag was the wooden stick from a small 24 inch flag that I had (but you could make this ribbon flag as small or wide as you would like!). I slid the flag off of the dowel and it was a perfect size. My suggestion would be to do the same or grab a thin dowel at the craft store. A stick from your yard would work too for a more rustic look to your ribbon flag.
For this 24 inch wide ribbon flag I used 2 bunches of the trim bundles which is 100 pieces of ribbon in varying widths to give you an idea if you are cutting your own ribbons to make this project.
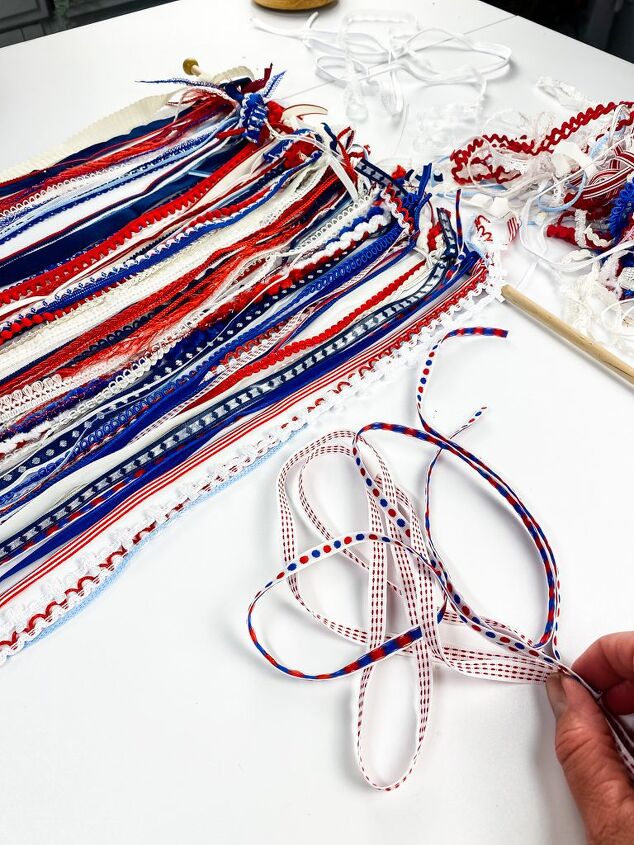
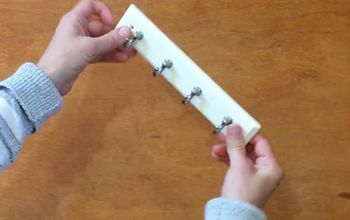
Step 2. Tie on the Ribbons
This project couldn’t be easier!! All you need to do is tie the ribbons onto the dowel.
Just make a simple knot and don’t worry about the excess ribbon on the end of the knots because it creates a pretty effect across the top of the ribbon flag when it is all done.
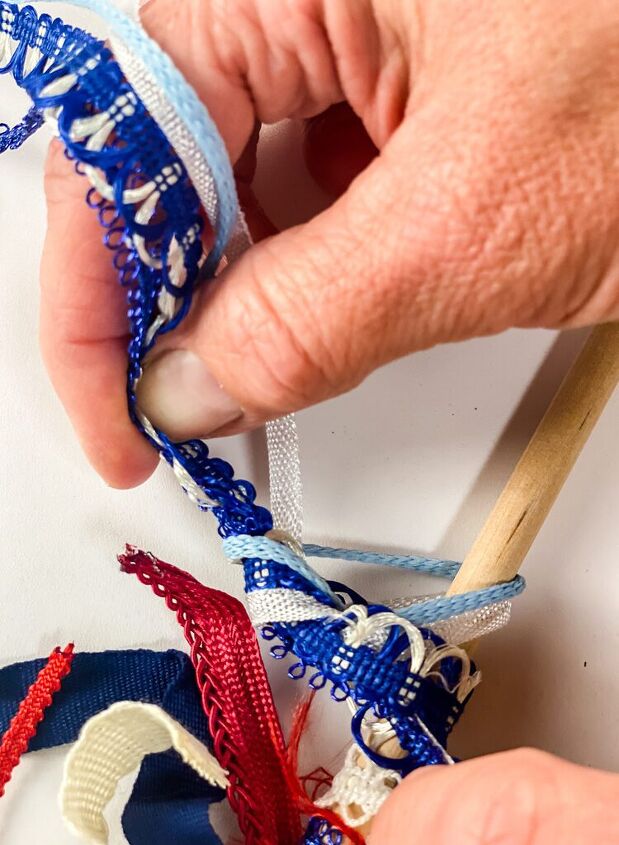
Some of the ribbons in the bundle were quite narrow so I would bunch a few together and tie them all on at once.
There was such a variety of ribbons in the bundle that I didn’t think about creating a pattern of any type..just kept picking up ribbons and tying them on and working my way across the flag pole.
After all of the more time consuming and longer projects I work on I love just creating a simple project like this!
There is something very peaceful about a repetitive project like this…no worries about how it will look when the paint dries or if I measured something wrong!!
I didn’t time how long this took me to do but I want to say around 30 minutes or so! Just put on a good podcast and zone out…
Step 3. Make the Union Square
When I was figuring out how I wanted to represent the union square and the stars on the flag I had thought of a couple of ways and settled on using a piece of old denim.
My other thought was to cut a piece of star-patterned fabric.
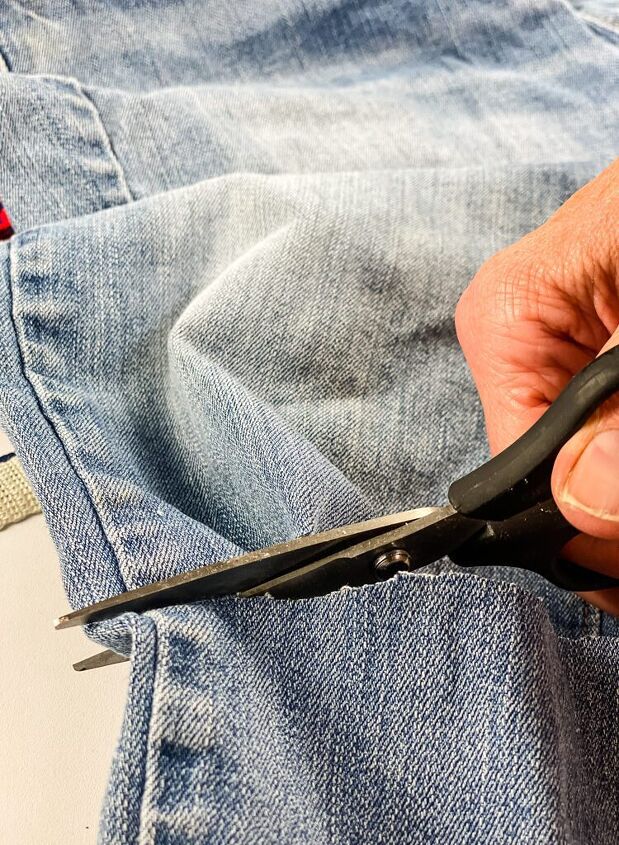
I was in luck because I had just cleaned out a storage bin that had some old clothes. I had a pair of jeans that had succombed to a DIY disaster and had a big paint spill on them.
I cut the leg of the jeans 8 inches from the bottom then cut up the seam to open up the piece of denim.
From that piece of the jeans I made and 8 inch by 8 inch square. If you wanted a bigger area by all means cut the denim larger…that would look fantastic too!
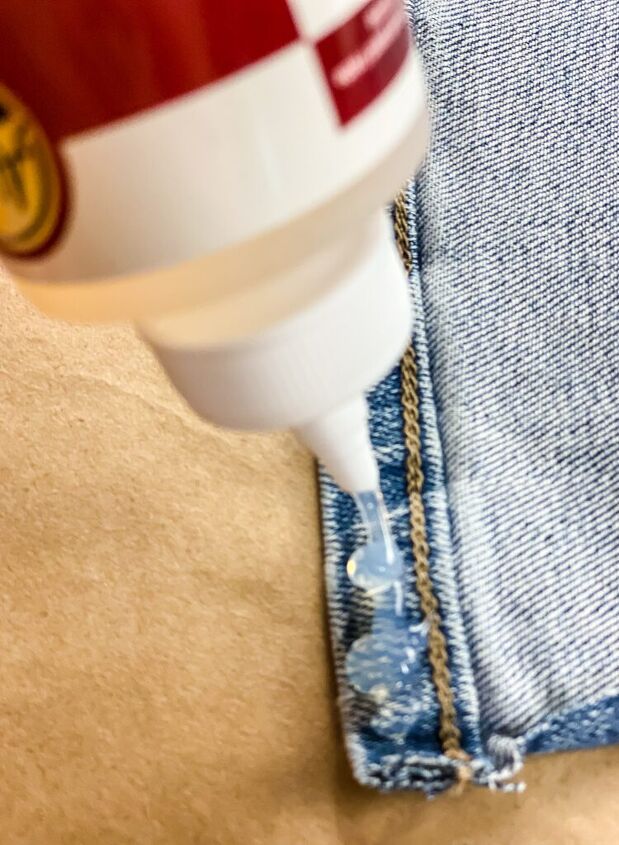
Then I flipped over the piece of denim and ran a bead of fabric glue along the edges.
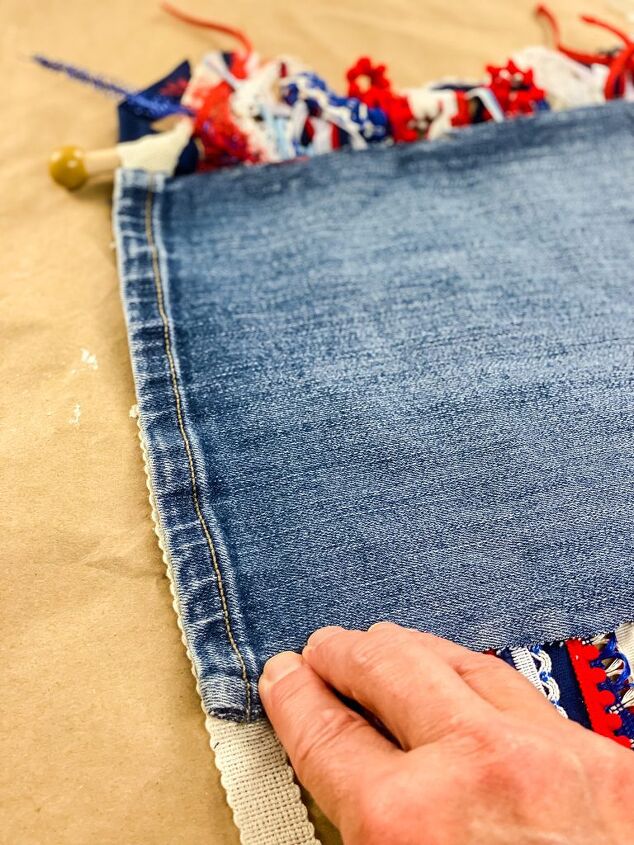
I aligned the denim to the top left-hand corner and pushed it down into place.
Step 4. Add a Star
Now to add a star detail you could hand paint a few white stars onto the denim with acrylic paint or use small craft wood stars.
I bought a few of these star ornaments on my last trip to Hobby Lobby. The lightbulb went off and I ran and grabbed the bag to see how it would look on the denim patch.
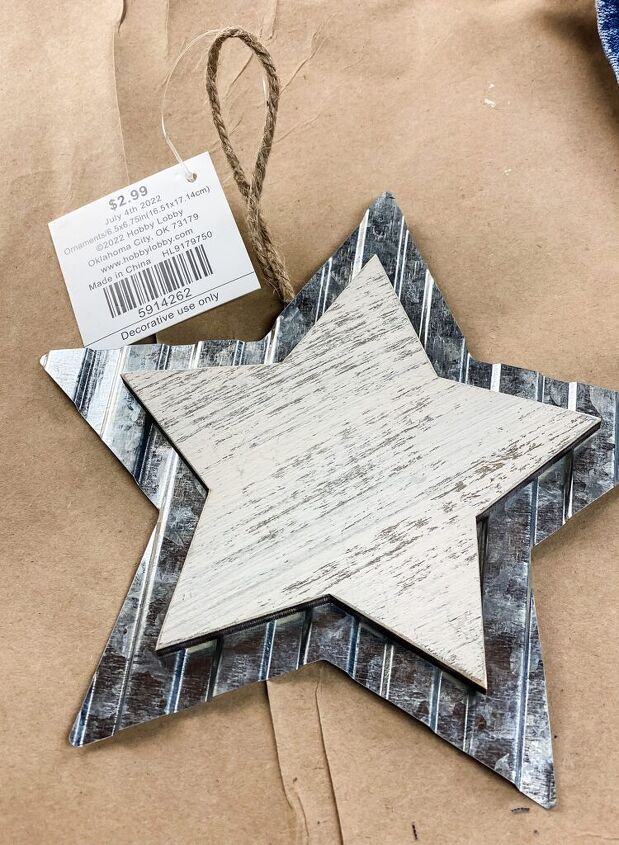
It looked super cute!! I snipped the jute twine open and tied it to the flag pole.

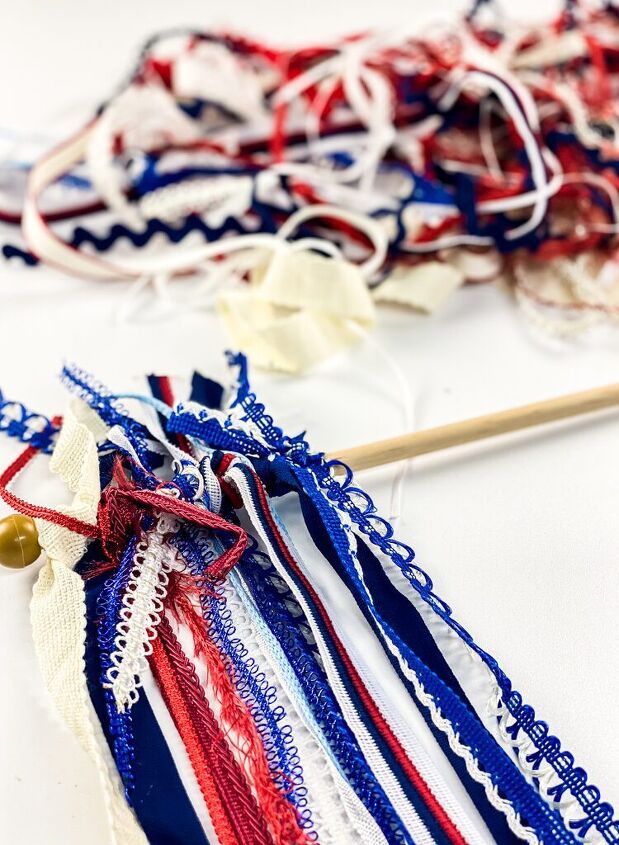
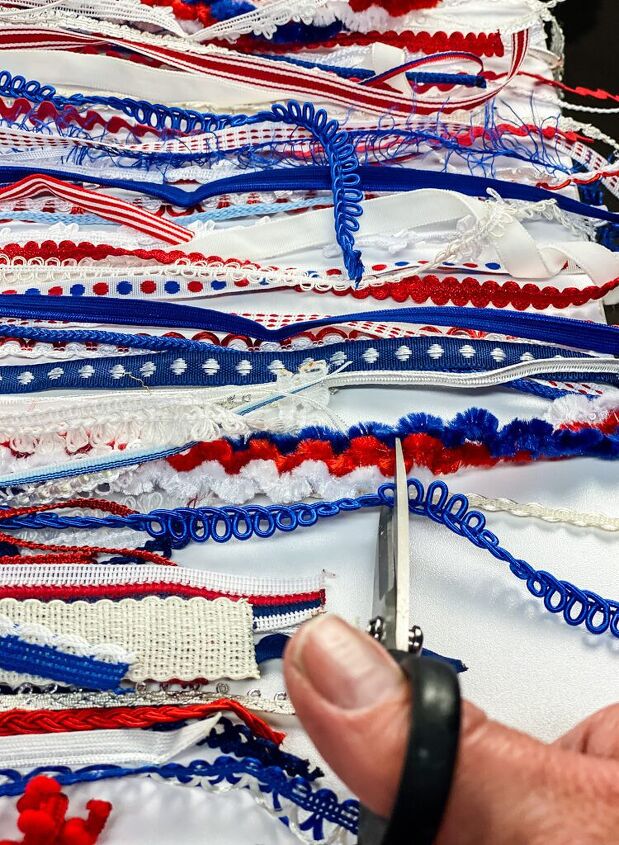
Step 5. Trim the Ribbon Ends
The final step of this ribbon flag was to trim the ends of the ribbon to make them more even; I used a yardstick to hold the ribbon flag in place and to act as a guide. Being left-handed I do everything crooked…even though I’m cutting with my right hand!!
Finished Ribbon Flag
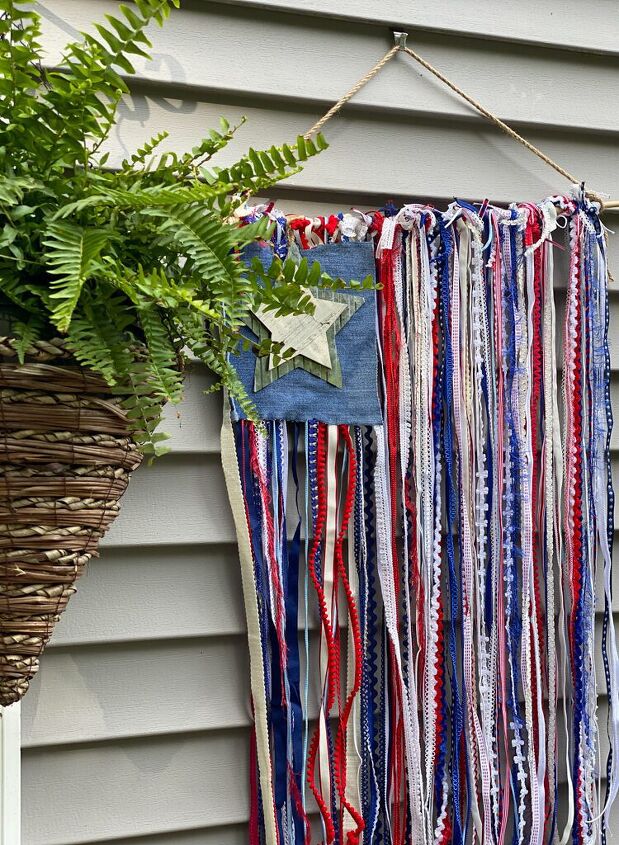
This little DIY project came out so stinkin’ cute!! Plus it cost just over 10 bucks!!
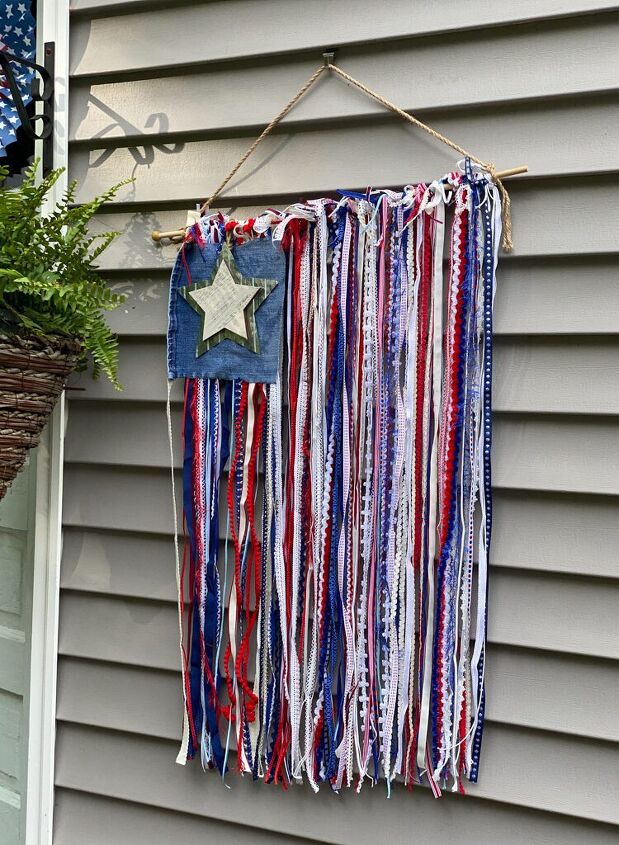
When I decorated for my Patriotic Patio Party the other day I hung up the ribbon flag outside for the day but I moved it to my front porch after that because it will be protected from the elements.
On my way back from the mailbox I was just looking at it outside my front door with the breeze blowing throught the ribbons and it looks really pretty! This is definitely a project I recommend doing.
Also, it’s easy enough that it would be a great project to have your kids or grandkids work on for the 4th of July

Resources for this project:
See all materials


Comments
Join the conversation
-
Just lovely, thank you for sharing! I saved this!
-
So pretty, and very creative!


Frequently asked questions
Have a question about this project?