


Inexpensive Large-scale Yard Decorations and Backdrops

Holiday yard decorations can be incredibly pricey. Make you own and spend just a fraction of the cost!
Foam insulation sheets are inexpensive, waterproof, and can easily be cut into various shapes. We picked up this 4x8x1/2” sheet for $9.
We also used 1x2” furring strips, washers, flat head screws, and paint.
You will also need a craft or utility knife with new, sharp blades, a hammer, a saw (handsaw works), and a screwdriver/drill.
I made the hill from The Nightmare Before Christmas, but this method can be used for whatever you dream up. You can add more dimension by layering foam sheets.
First step: draw out a grid. The plastic covered side of the foam already had crosses in a grid, but I wanted my own, marked at every foot.
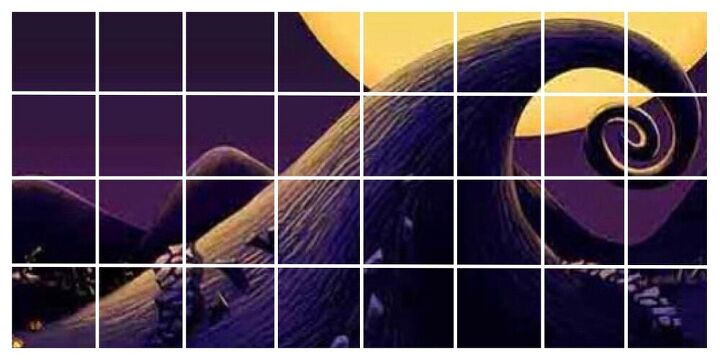
You can freehand a design, or make a grid on your desired image to make it easier to transfer to the foam board. I also flipped the image so I could draw on the more durable plastic side, and paint the foil, solid color side.
A solid color is easier to paint, rather than having to cover all the words and different colors on the plastic side.
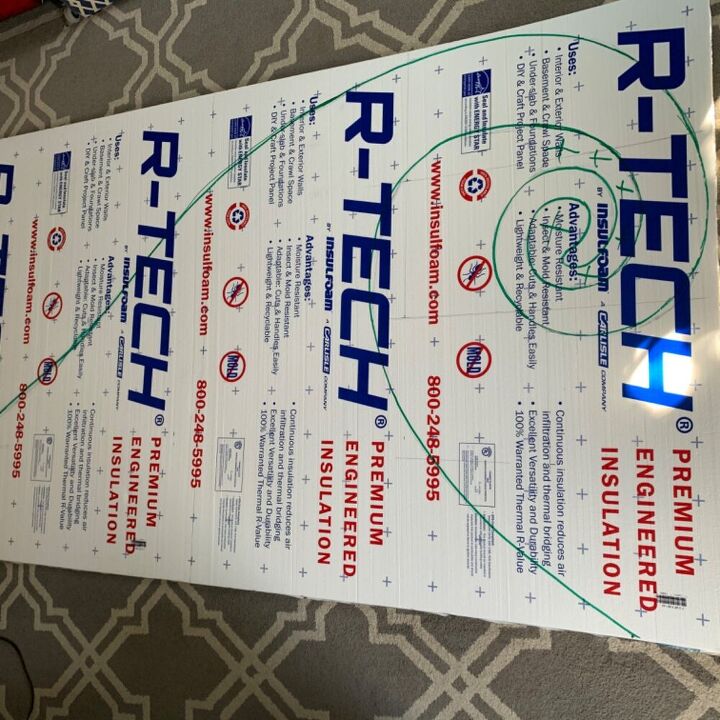
Draw out your design. I wanted mine to be as close to the movie design as possible, so I started by making marks with a thin black marker wherever the hill outline intersected a grid line, then connected the dots and smoothed out the lines. When I had it just right, I went over the final lines with a fat green permanent marker. In the smaller areas, it helps to mark which section is the cut out. When you are cutting it can sometimes be hard to tell.
CAREFULLY cut out your design using new, sharp blades. When working with foam, you want very clean cuts or the foam can snag and your design will not be as clean-lined as you hoped. Try to keep the knife as straight and vertical as possible.
When cutting is finished, you will probably want to vacuum your space, because cutting foam can be messy!
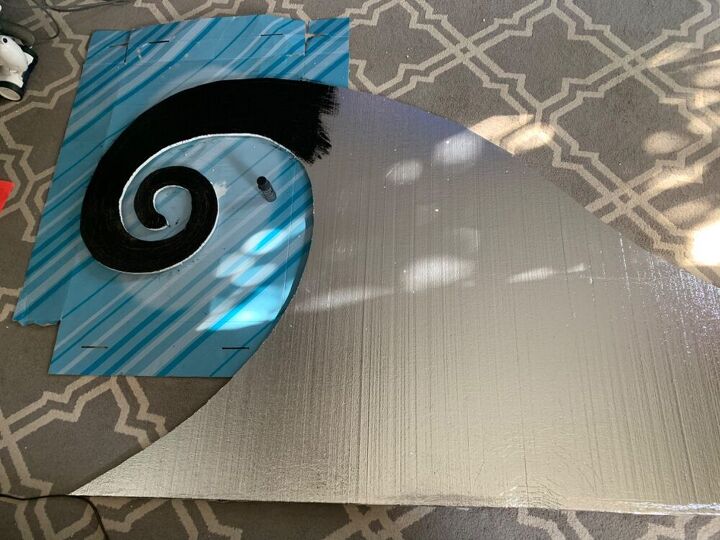
Then, it is time to paint! Flip your design to the foil/solid color side. Be sure to use outdoor paints if this will be exposed to the elements so your paint doesn’t wash away. You will also probably want to use a primer if your paint doesn’t have one. Spray paint is a good option, but you can use several cans on larger pieces like this and the cost will really add up.
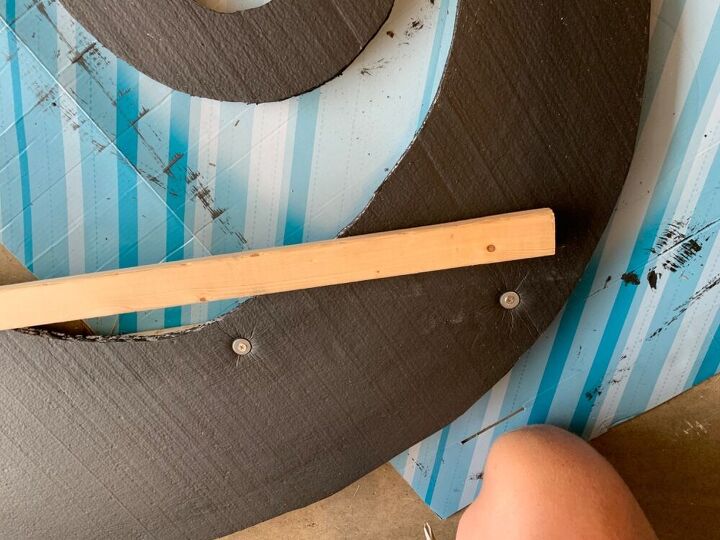
After the paint has dried (or you can also do this step before painting if you want), it is time to attach the supports. The foam is really flimsy on its own, so to strengthen it, attach some 1x2 furring strips along the back using flat headed screws and washers.
While attaching the first board across the top and slightly into the curve, we used another board as a straight edge to see where to drill. (This was just a rough guideline, then you can feel for the board through the foam sheet).
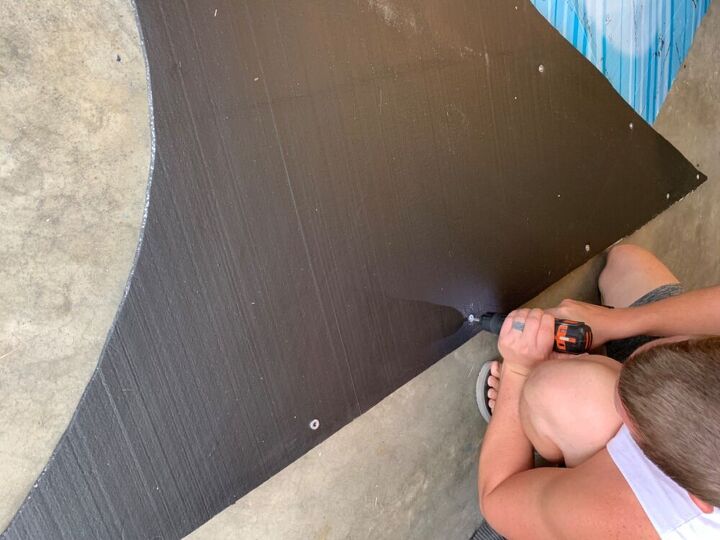
Attach another board along the bottom edge. Support other areas as needed.
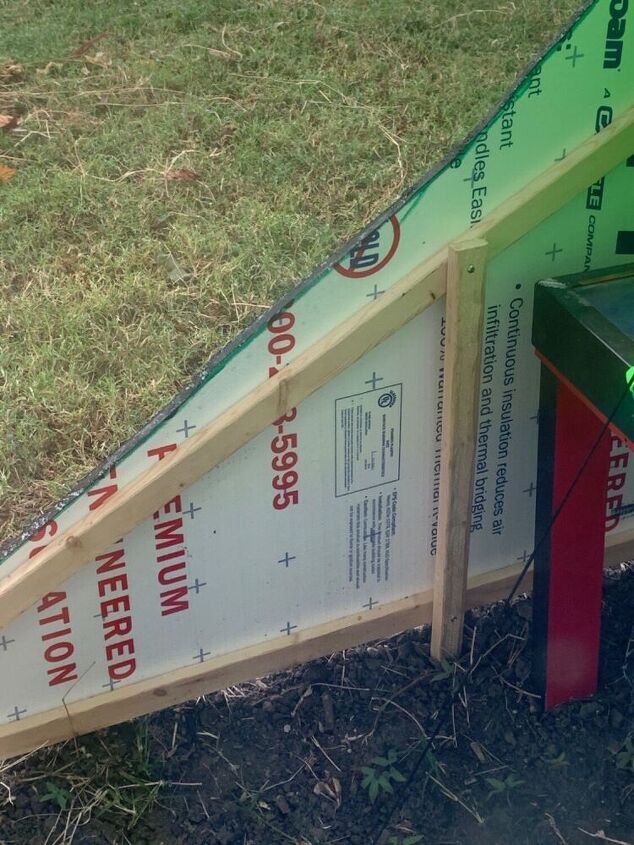
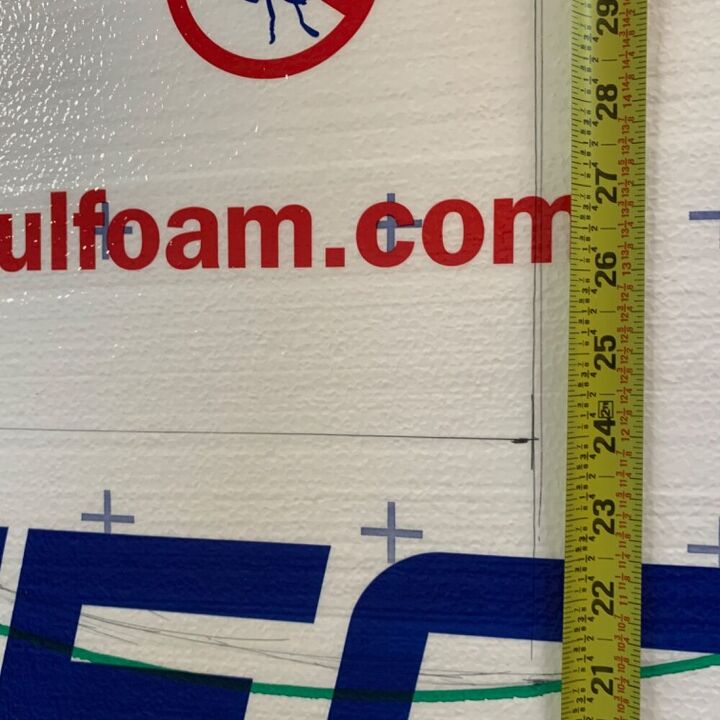
Place your design where you want it installed and decide where to put the stakes. We put one at the tallest section and another a few feet from the short end. Use another 1x2 to measure the length of each stake (the distance between the top and bottom supports on the back of your design, plus several inches to go into the ground. Cut one end at a double bevel and drive the stakes into the ground. Using screws, attach the stakes to the support frame.
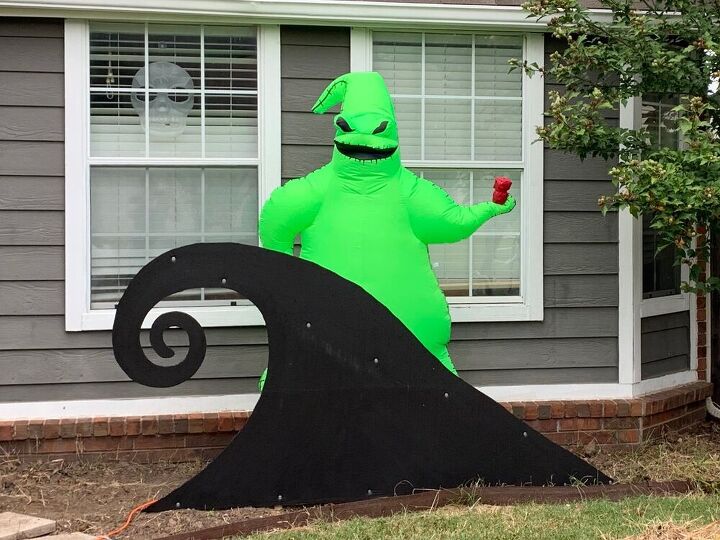
Touch up the paint to cover the washers and screw heads and enjoy!
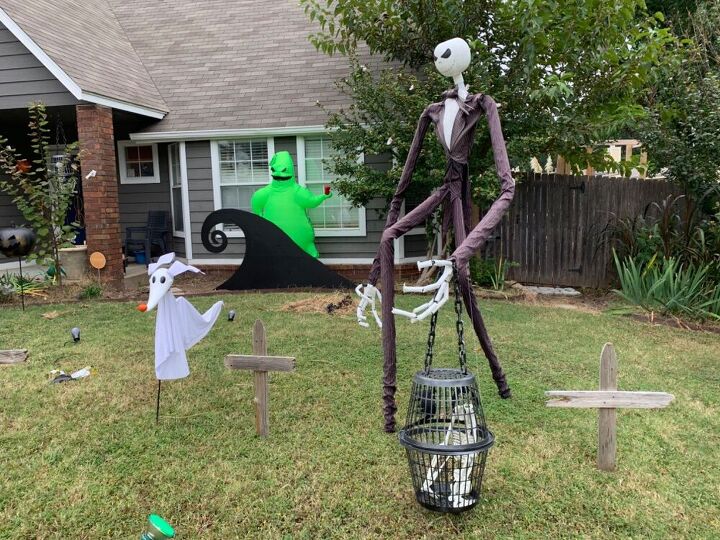
This method is GREAT for headstones, 2D creatures, and backdrops; and the foam is lighter weight than plywood, easier to cut, and won’t rot!
Share pictures of what you create in the comments!


Frequently asked questions
Have a question about this project?