


Making a Rag Wreath
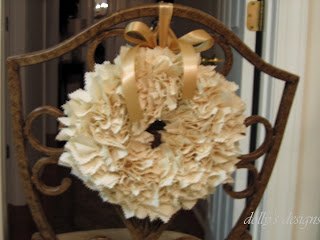
80's that is the time period that I made and sold so many of these my fingers grew tired. 2011 I started making them again. This is a wreath of course but today the first day of Spring I thought that this would be a cute decor Idea with the eggs.

You can see the detail of the cotton fabric. I love a good grade of muslin to use for this project. You simple cut with pinking shares multiple squares of fabric. You will need a wreath styrofoam form of some type a pencil or other rounded tool to punch holes into that wreath and a good quality tacky glue to hold for years to come.

The hardest thing about making this wreath is cutting the fabric. It's as simple as that.
People have continued to want one of these for years. I hope you like the easy tutorial from an older post from the Archives of dolly's designs blog.
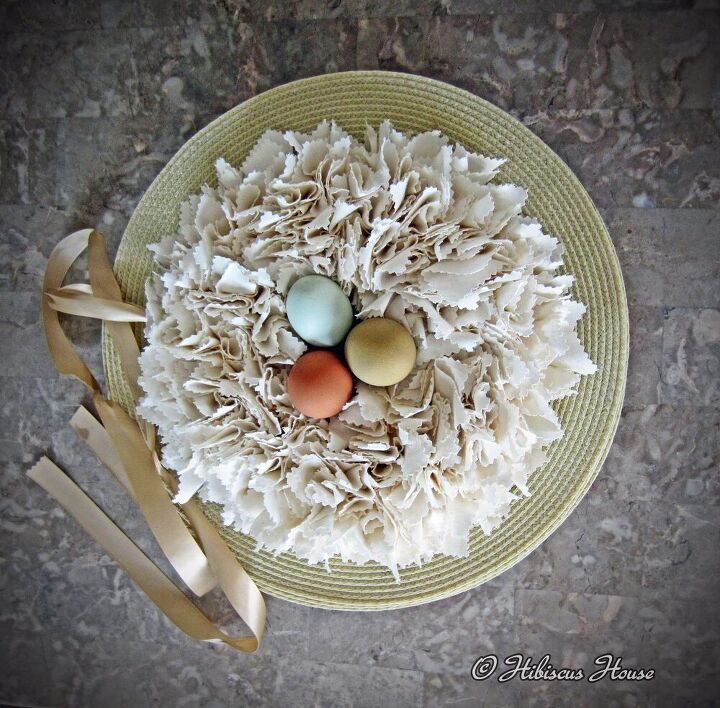
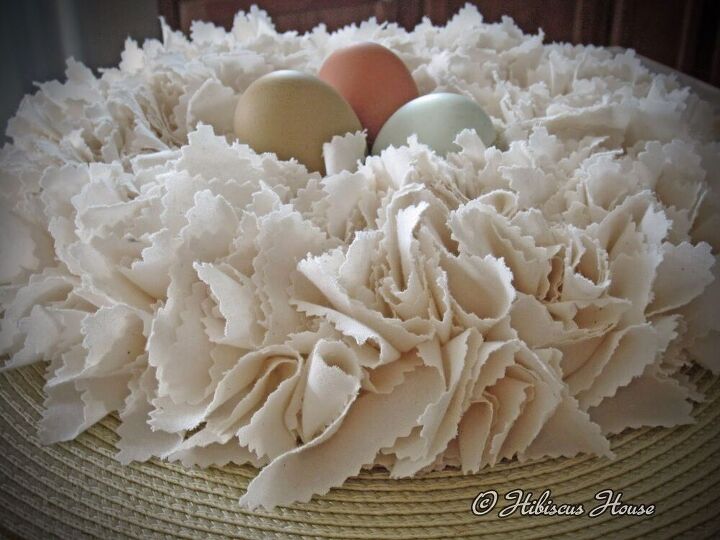
Another shot of wreath done at Easter. This was on my website Hibiscus House and you can see the post there if you wish. https://www.hibiscushouseblog.com/2014/04/natural-egg-beauty-for-easter.html
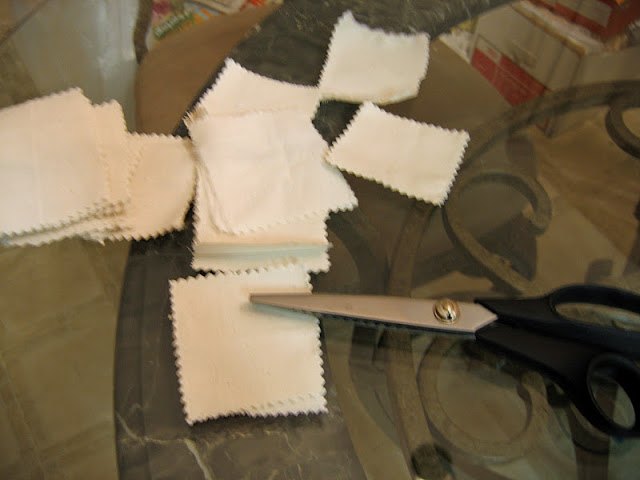
Using fabric sheers cut the fabric into 3 inch squares.
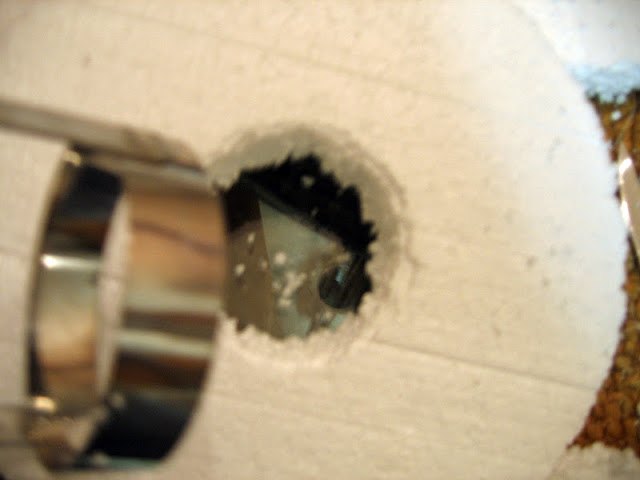
I could only find at the time a solid foam form so I improvised and cut my own circle. You can most probably find a form with inner circle. It is easier to use the softer foam with the flat top because the harder foam forms would be entirely too hard to punch holes and use. *Tip these however are more fragile so take care when punching. They last for years so don't worry about that.
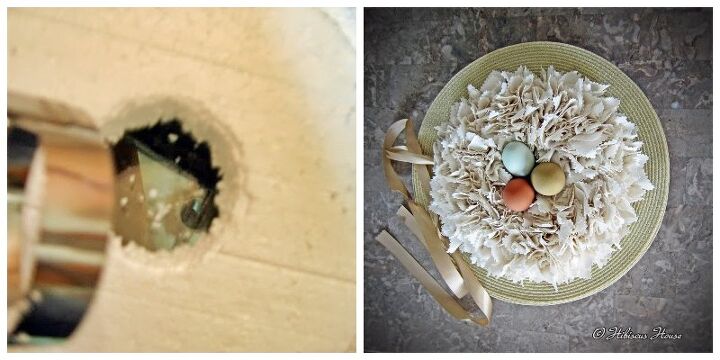
Beginning with foam form that I cut whole into to suit project. (You can find forms with holes already in them but on this day I couldn't, so of course I improvised and made one with a biscuit cutter.) Ending with a wreath you can use inside preferably inside or under a porch roof for protection against wind and rain. On this day I used it as an Easter table centerpiece with my natural farm fresh eggs laid by my hens. Aren't they beautiful? The wreath is very decorative and neutral so I use them all over my home.
STEPS
- Cut fabric into 3 inch squares
- Open glue and pour a good bit onto plate to become sticky for at least one hour.
- Assemble a tool I used a stuff-it tool used in sewing but any object with a pointy end (not sharp) to punch fabric coated with glue on tip into foam form.
- Punch fabric squares with glue on center point into foam securely
- Fill form on top into inner circle covering foam and all around edges covering foam. You can cover back flat side with cotton batting or felt for wall protection if you wish.
- You can see more detailed directions in the tutorial. The links are provided on the website.
You can use this multi-purpose wreath for all occasions hanging or hung on wall, door, mirrors or using as centerpieces such as I have here. Changing of ribbons decorations and you have something for all Enjoy I have for years!

Comments
Join the conversation
-
Thank you so much Mary Beth!
-
Yes, I am inspired. I remember making these, too. But I used colored fabric. I like your idea using muslin. Also, egg idea so cute.


Frequently asked questions
Have a question about this project?