


Painted Metallic Pumpkins
Painted pumpkins are my favorite way to decorate for Halloween, so I'm always looking for new ways to paint them.
I love using fake pumpkins because they don't rot and can be stored for next year.
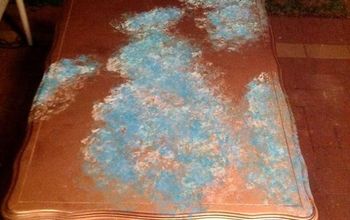
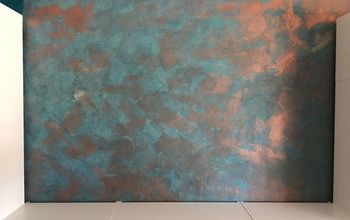
These painted pumpkins use a bronze patina kit that creates a chemical reaction. It's really fun to see the patina react to the metal in the paint.
Protect your surface. This craft is pretty messy. I used craft paper to protect my desk.
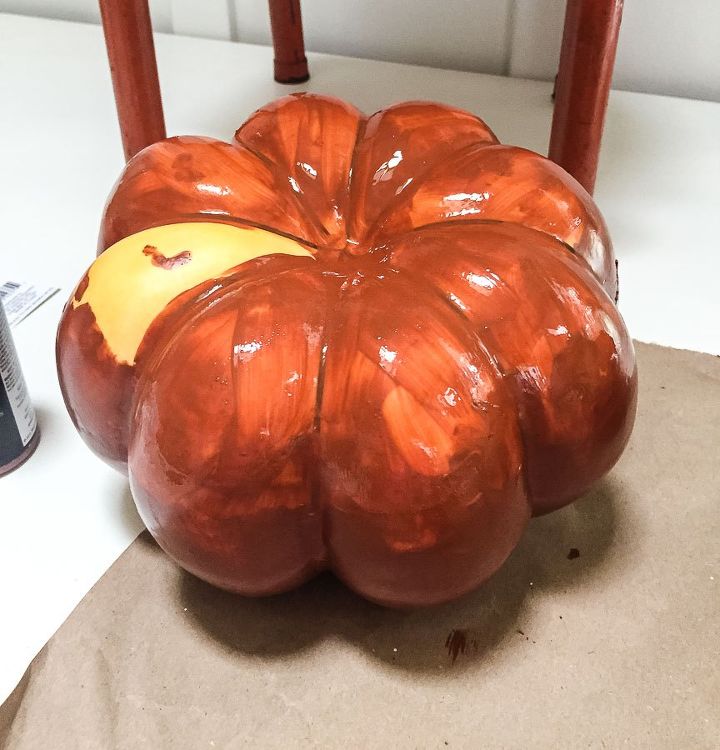
Start painting your pumpkin with the primer. If desired, you can paint 2 coats for perfect coverage, but I just used one because I wanted a fast craft.
Note: Each step will need to be done twice to get the tops AND bottoms of the pumpkins.
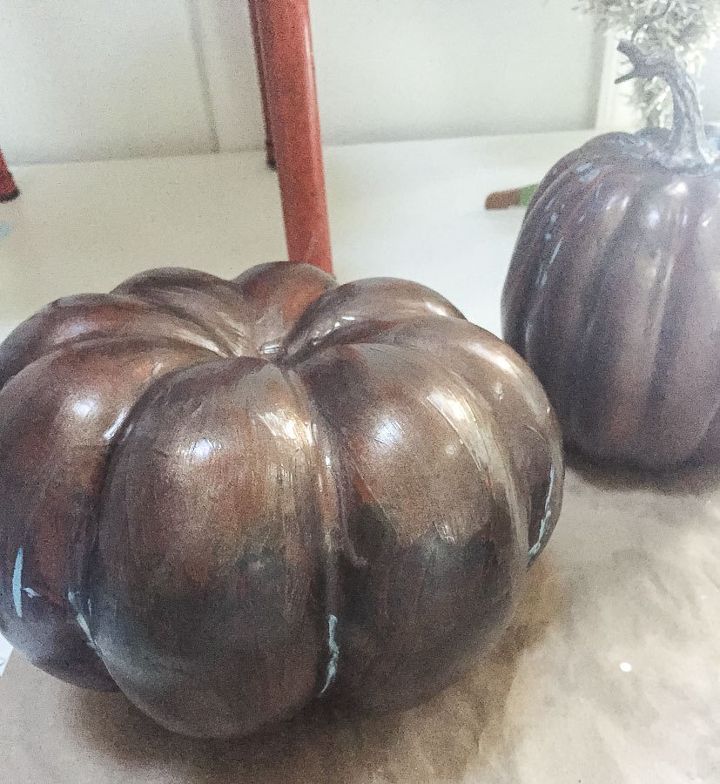
Next, paint the pumpkin with the bronze paint. It needs 2 coats of paint for good coverage. A small artist brush makes it easier to get around the stem.
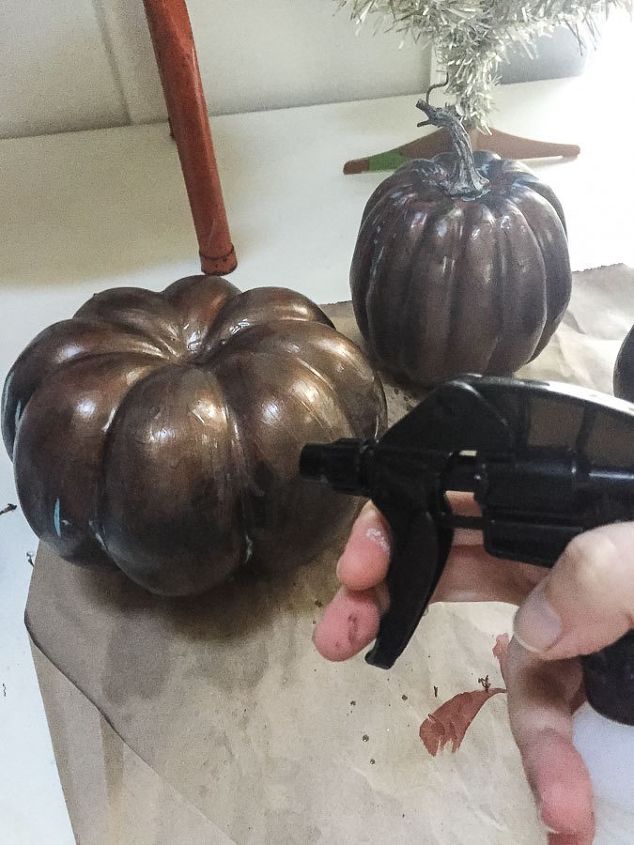
While the 2nd coat of bronze paint is wet, spray it with the patina. I poured some of the patina into a cheap spray bottle, but you can paint it on or drip it on as well.

The blue patina forms almost instantly. Isn't it gorgeous?
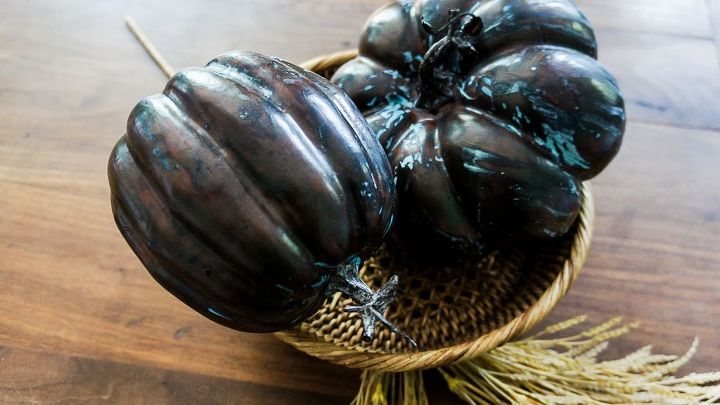
Enjoy your gorgeous painted, metallic pumpkins.
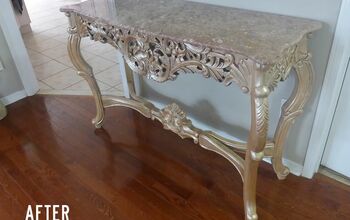
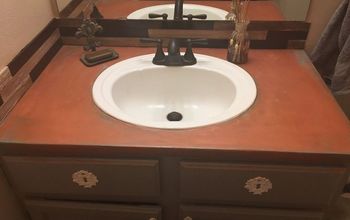
This process can be used on so many other things as well, including furniture. I love how it instantly ages things.


Frequently asked questions
Have a question about this project?