


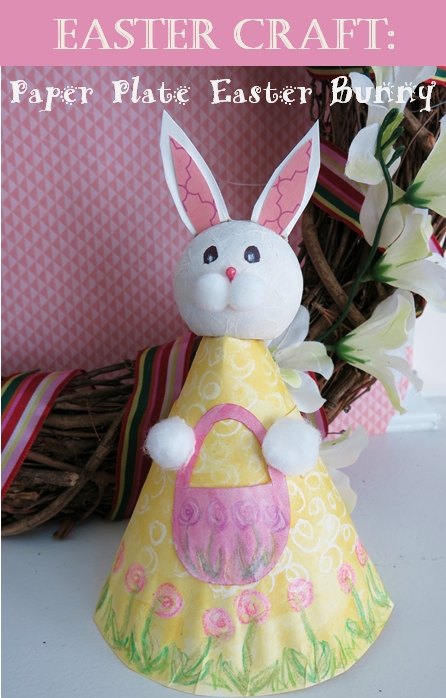
Paper Plate Easter Bunny Figure - A Project for All Ages

by
Donna
5 Materials
$3-5
3 Hours
Easy
I know Easter is almost here, but I couldn't resist pulling out some simple materials and art supplies to make this cute Easter bunny figure. What a great project to celebrate spring and the Easter holiday!
This is basic tutorial on how to make your own bunny from a plain uncoated paper plate. This craft can be simplified to do with children, or you can really add a lot of detail to dress up your bunny.
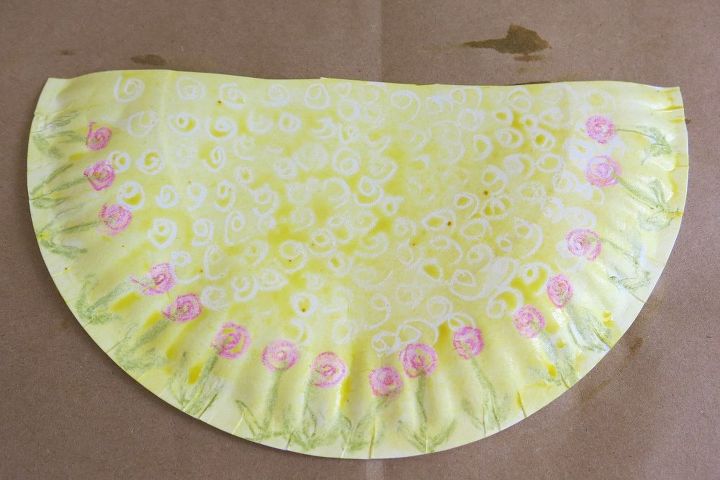
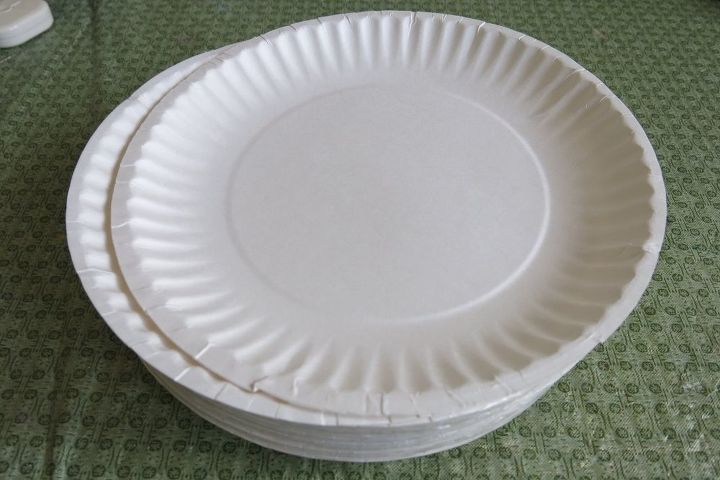
The first step is two cut your paper plate into two halves. You'll use one half as the body or dress of your bunny. You can decorate the body with crayons, colored pencils, glitter glue, or paint. I used a combination of crayon and watercolor to decorate my body.
I have a list of other techniques you can use to decorate the body, along with full directions, on my blog.
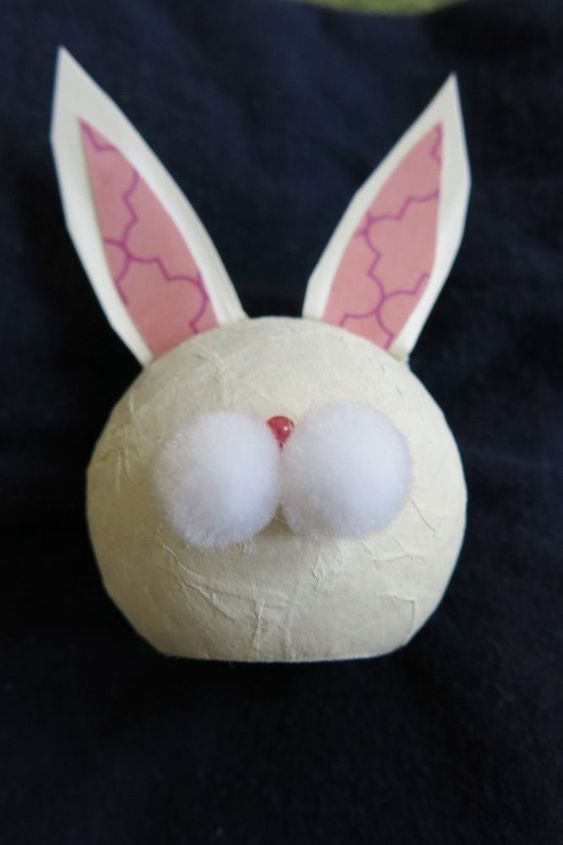
While the body dries, you can start working on your bunny's head. I put a lot of detail on my bunny's head, and the details are on my blog.
But you can create a simple face with some basic materials. You can glue on googly eyes, and draw on a basic triangle nose and some whiskers with a fine Sharpie. To add some extra cheer, you can add two rosy cheeks with paint if you want.
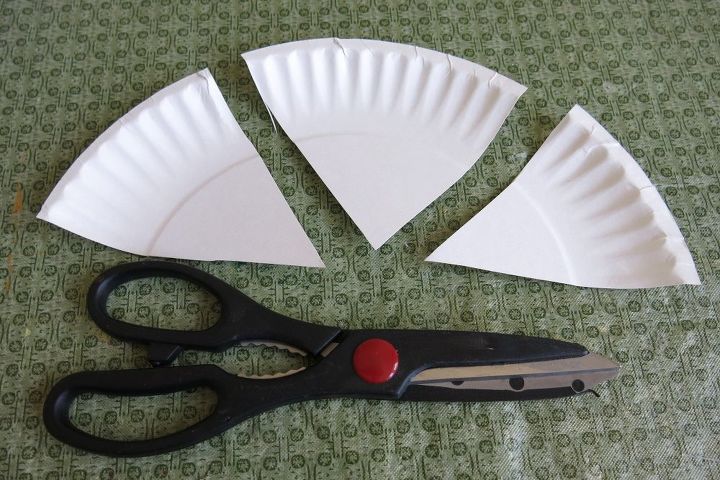
While the head dries, take the other half of your paper plate and cut this into three pieces. One piece will be used to cut out your bunny's ears, another piece will be used to cut your bunny's arms. You can use the last piece to cut out an Easter egg shape for your bunny to hold, or a big carrot, and decorate this item as you choose. I cut out a basket, but you can also purchase small baskets or artificial flowers to accessorize your bunny.
Once all your pieces are dry, you can assemble your paper plate Easter Bunny.
Form your decorated plate half into a cone to use as your bunny's body, and glue or tape it in place. Then use white glue or glue stick to attach the arms and any accessories to your bunny's body.
I tore off two small pieces of cotton ball and formed these into smaller balls for hands. Lastly, I glued on the head using a bead off glue around the top rim of my cone body.
You can find the full directions on my blog. I hope you enjoy making your own paper plate Easter Bunny! Happy Easter!!
Want more details about this and other DIY projects? Check out my blog post!
Comments
Join the conversation
4 of 20 comments
-
Enjoy your projects!Thanks for sharing the cheerful, adorable Easter Bunny!
-
Cute!!!!!!!


Frequently asked questions
Have a question about this project?