


Pinecone Spider Halloween Craft
$1
5 Minutes
Easy
This simple Pine Pinecone Craft was such a hit in our house when we made them last year that I just can't wait to make them all over again this year. I two toddler boys ages 2 and 3. I thought what better way to get them enjoying our weekly craft sessions than to create creepy, crawly Halloween spiders! Of course I did a lot of the work because there are a few steps far too difficult for them. This craft can be enjoyed by children and adults, no age restriction ;)
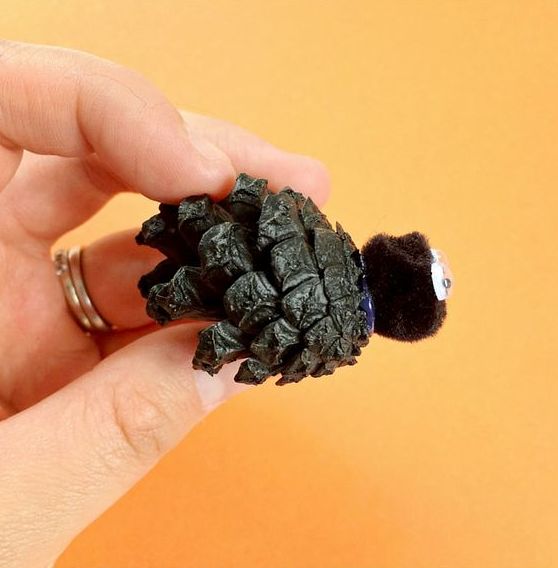
I made a family of four spiders each representing a family member in our family. I made what I like to call our Halloween Spider Family Wreath which you can see RIGHT HERE and I have to say, it's so fun to look at and the kids love looking at spider versions of themselves and mummy and daddy also.
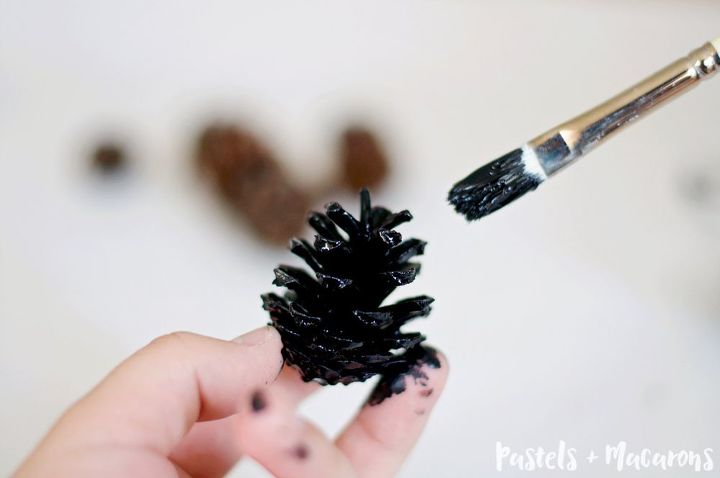
First step is to make sure your pinecones are clean and ready to paint.
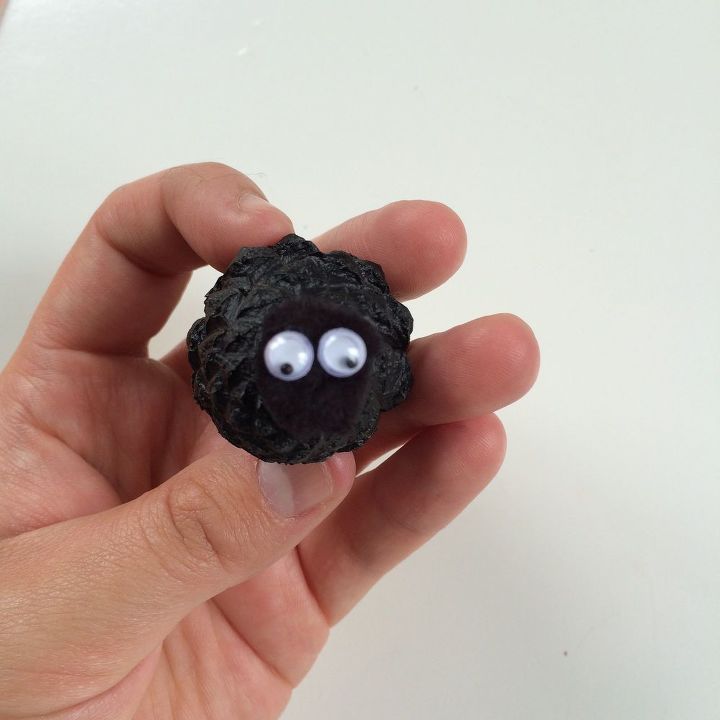
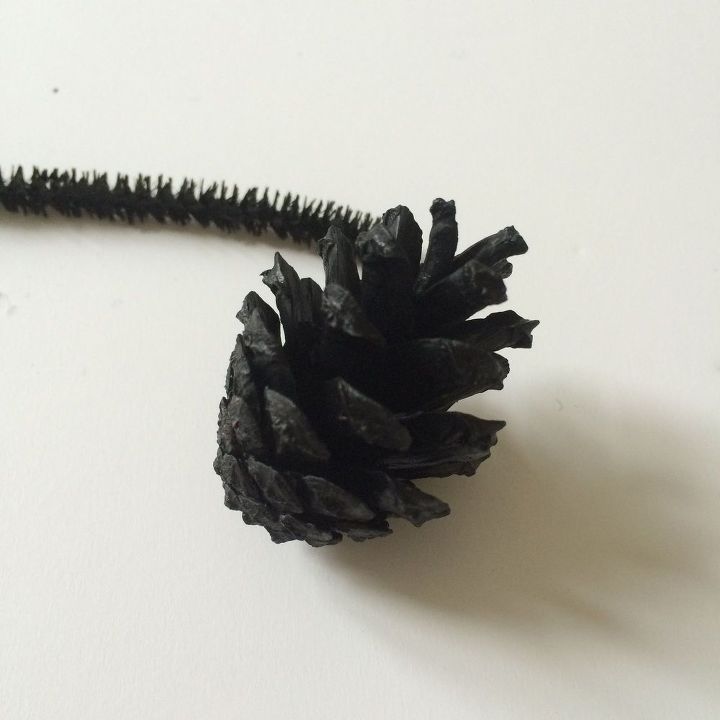
Cut the pipe cleaners to your desired length and cut the legs for your spiders.
*** Note: I am writing this little note first as I am getting pulled up on the fact these spiders are 6 legged and not eight. I don't mind these comments I just thought I would let you all know that I do know spiders have 8 legs and if you take the time to read my blog post I do say why I only gave it 6 legs. I will write it here also. I was running out of time and my toddler son woke from his nap. I didn't do the project with him at the time when I was gluing the legs on and he is too young to be around a hot glue gun. I also figured it's for Halloween so considering all the funny creatures, witches, ghosts etc getting around I figured 6 legged spiders wouldn't be an issue. Thanks for liking and enjoying my craft guys. I appreciate it so much! :)

Want more details about this and other DIY projects? Check out my blog post!
Comments
Join the conversation
3 of 88 comments
-
Very clever!
-
I didn't even notice the lack of legs,lol but thought you were very clever. One tip might be to wear latex gloves when painting so you don't have so much clean up. Darling idea though no matter how many legs or color.


Frequently asked questions
Have a question about this project?