


Quick and Easy Card Stock Patriotic Banner

I'm not one to go all out and decorate for the 4th of July. I like to keep it pretty simple, easy, and cheap. Lol
I decided to create a simple patriotic themed banner, using items I had at home. I own a Silhouette Cameo machine; and typically use it to cut my paper projects. For this project, I decided to cut by hand, because not everyone has a machine. :) It doesn't take anything fancy to create this easy project.
When calculating the cost, I only included the paper, since that was the only item I had to purchase for this project.
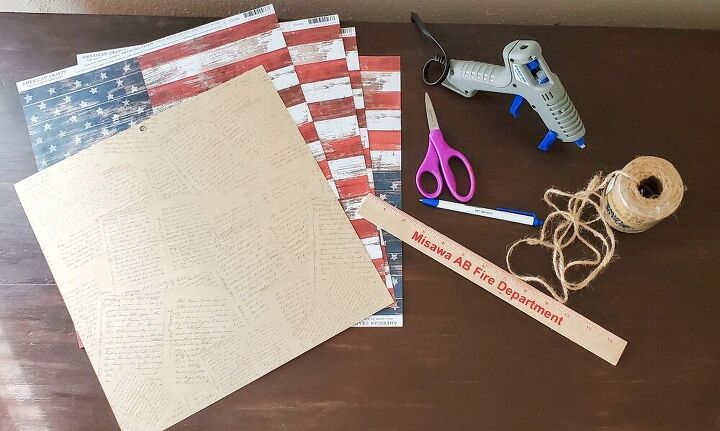
For this project, I used twine, scissors, a ruler, pen, and card stock (which I purchased from Joann's craft store.)
When I took this picture, I planned to hot glue the card stock banner pieces to the twine, which is why the glue gun is pictured. I decided to use a hole punch instead; which I will include in this tutorial.
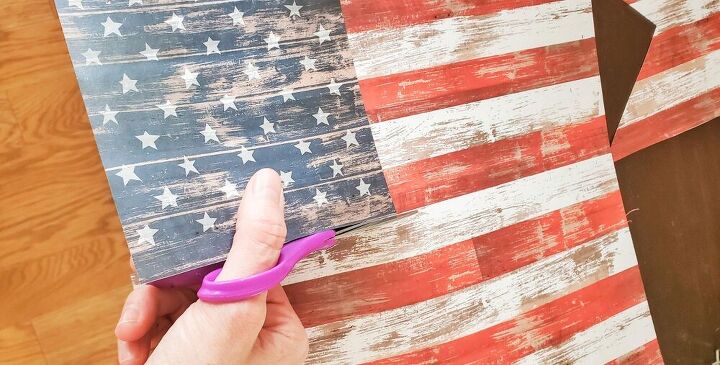
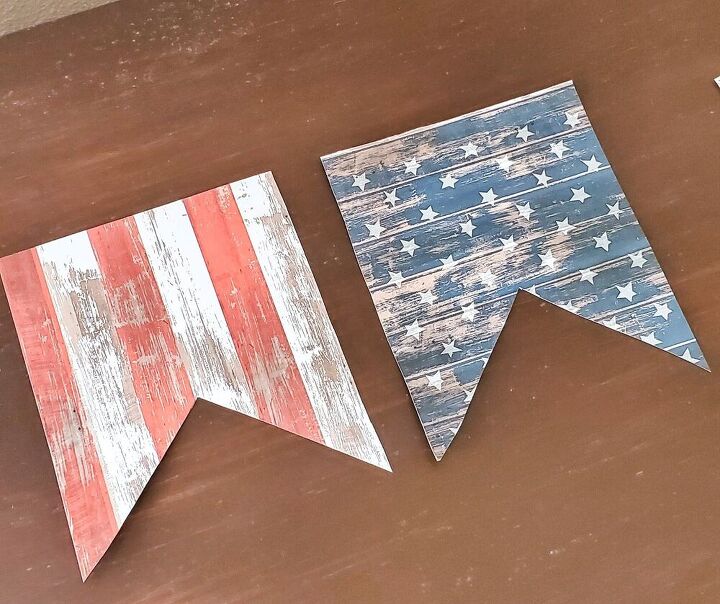
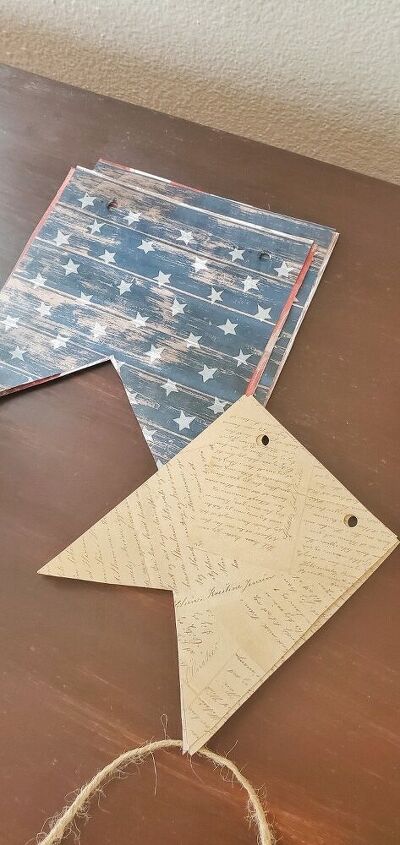
I started by cutting out squares from my card stock, which will be my banner pieces. There are no particular measurements included because this project is based on personal preference.
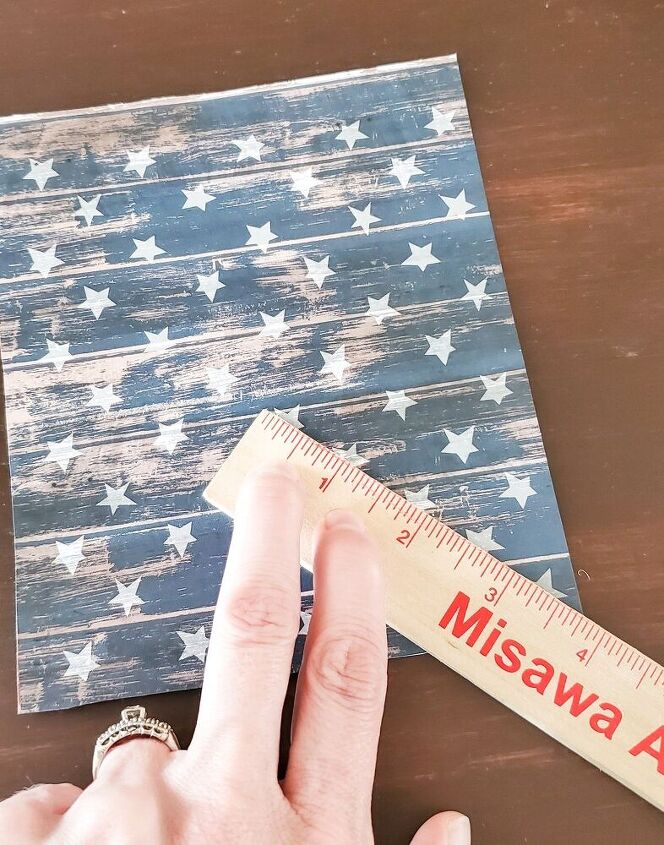
After I had my pieces cut, in the sizes I wanted, I used a ruler to measure even diagonal lines, to cut a triangle from the bottom.
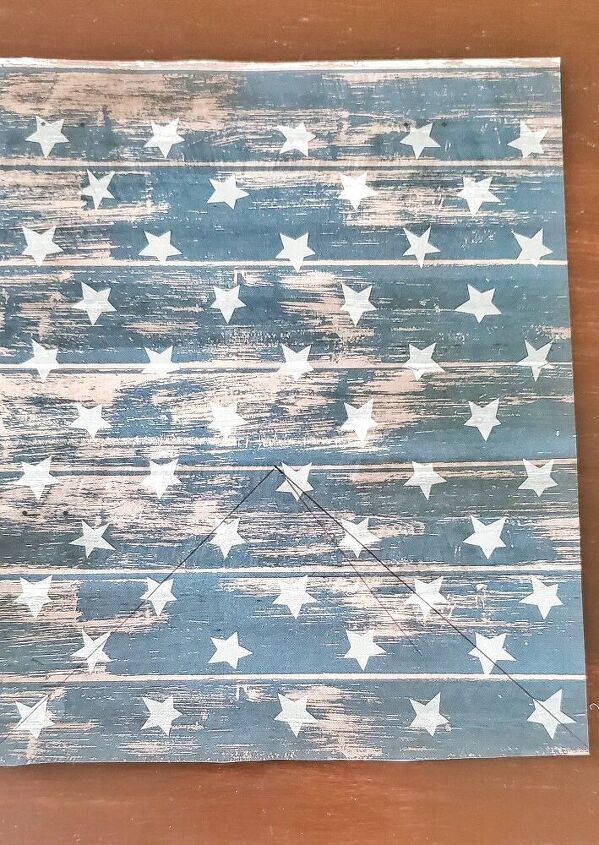
I drew lines along the ruler, which I will cut along.
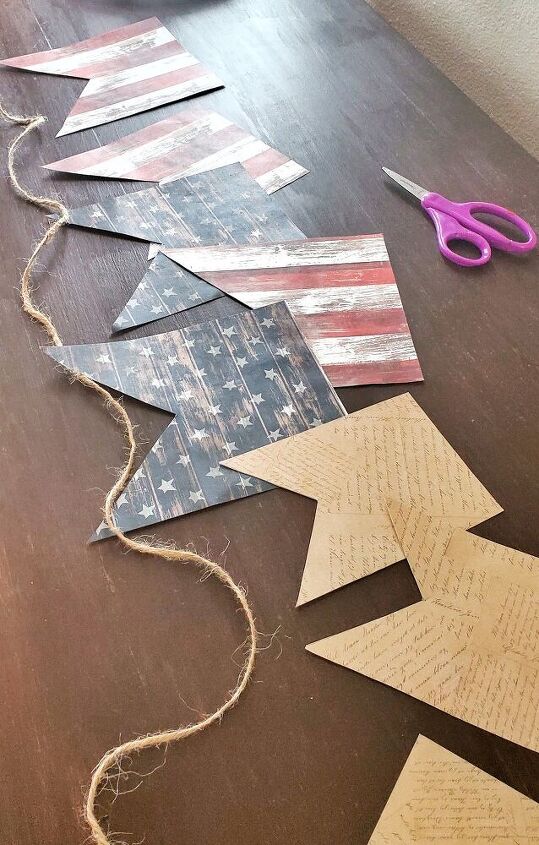
I continued to use the same method to cut out all my banner pieces.
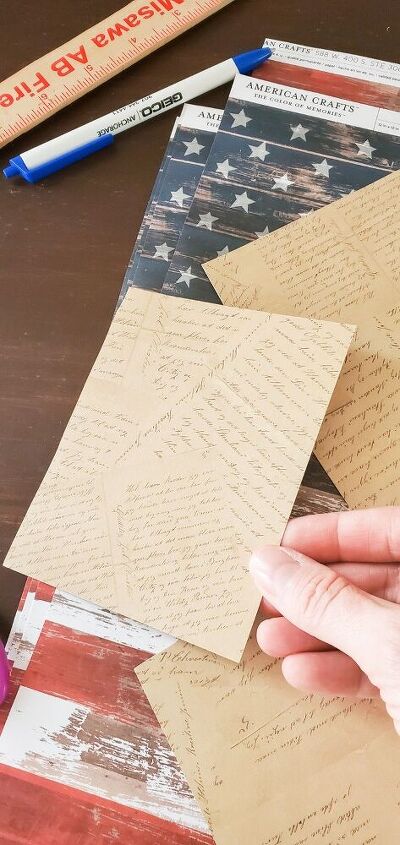
I wanted to create two different patterns on my banner. So I chose this vintage inspired card stock paper. I decided to cut these a little smaller in size.
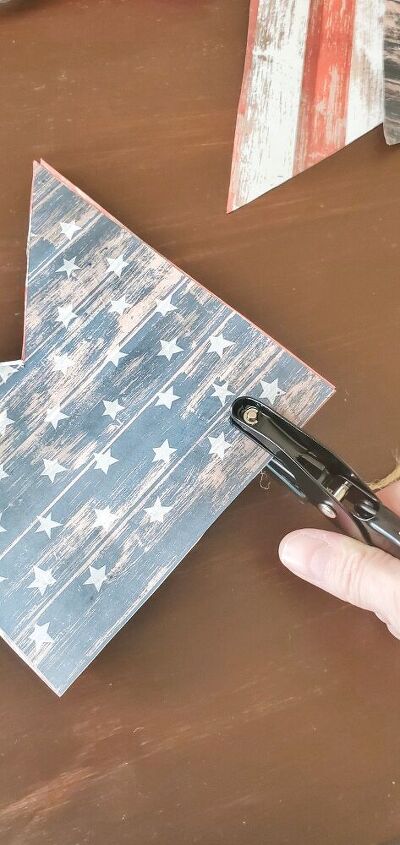
I originally planned to hot glue the card stock pieces to the twine; but decided to hole punch them instead. I stacked the papers together to punch at one time. This helped create even hole distances on each piece of paper.
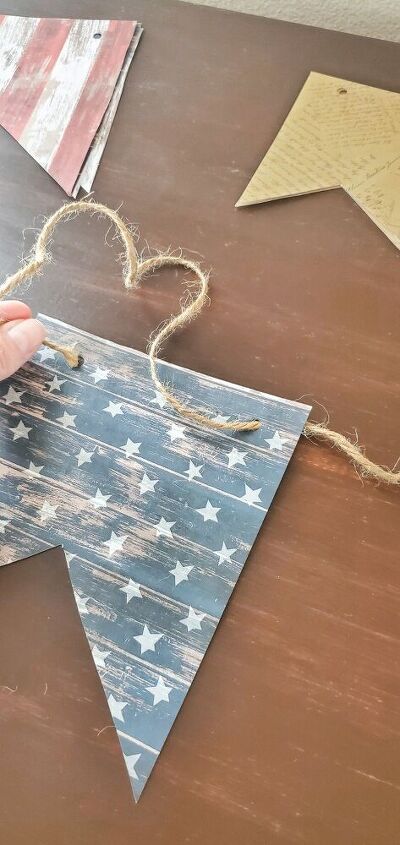
I wanted the twine to show on the front of each piece, so I strung the twine up through the back. If you prefer to not show the twine at top, you can string from the front.
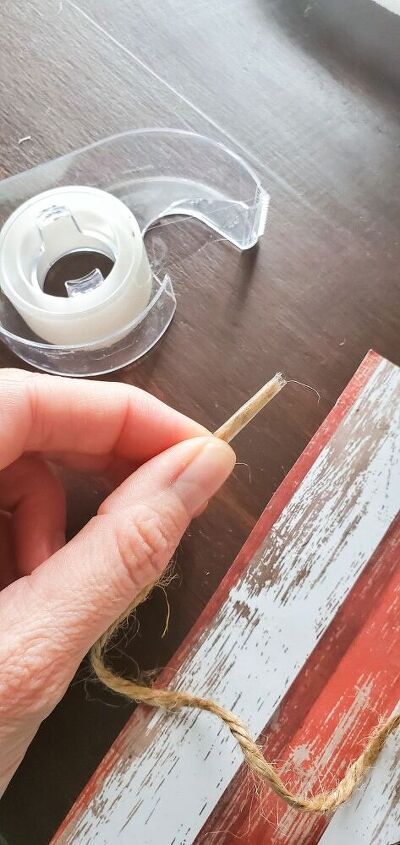
one trick to keeping your twine from unraveling is to add tape to the working end. As you string your twine through each paper piece, it can start unraveling, making it difficult to string through the holes. A little piece of tape, wrapped around the end, will eliminate that issue.
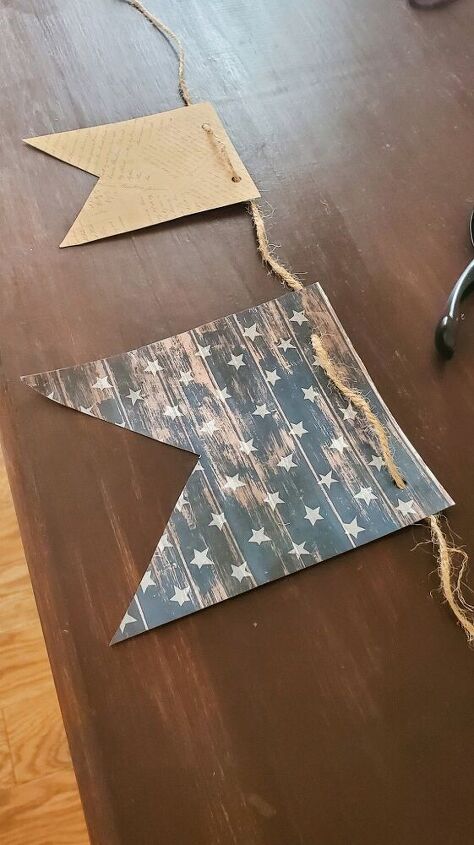
when it comes to stringing your paper onto the twine, the pattern is all up to you! I start with the far end piece first, string it on the twine, and push it to the opposite end. Then continue adding my paper, in the pattern I want, until all pieces have been strung on the twine.
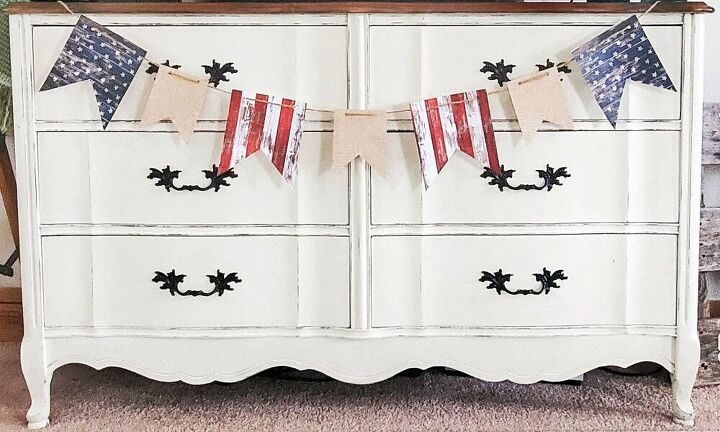
For card stock and twine, I think it makes a pretty decent banner for the 4th!


Comments
Join the conversation
-
It's so pretty! Love how simple it is.


Frequently asked questions
Have a question about this project?