


Ribbon and Twine, Who Would Have Guessed??
I was scrolling Facebook the other day and I came crossed one of my favorite crafters pages. Her post was to share what we had been working on. I shared my baseball and softball items and as always looked through the other talented design people had shared. I came across the cutest little carrot craft. I asked the person if they cared if I created an idea of my own with her design. She said yes! So I'm here to share the idea with you. I mean it's really so simple, but I never would have thought to do it.
Here's how it started.
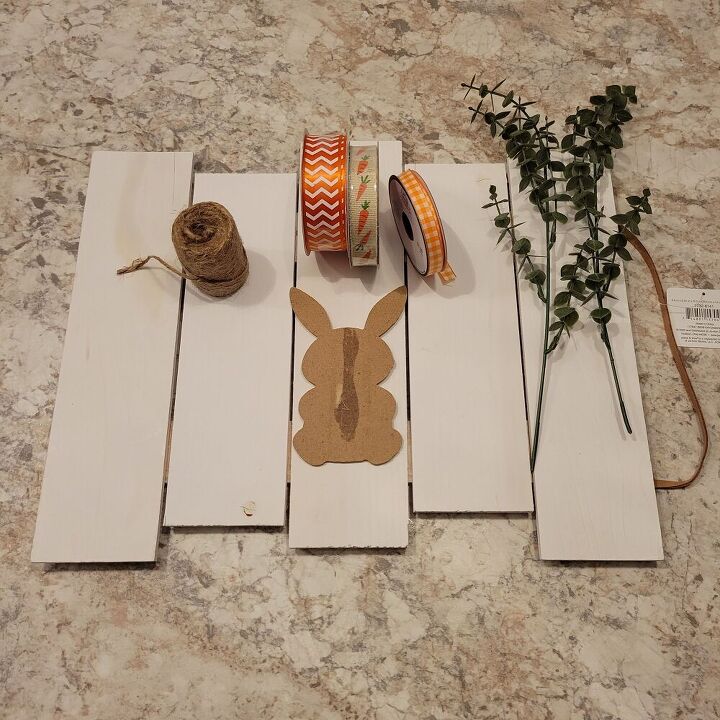
I had this little bunny shape leftover from the garland I purchased at Dollar Tree. I had taken it apart to use the egg shapes from my fabric eggs. See those here:https://www.underacottonwood.com/post/i-ve-seen-some-of-these-for-a-lot-of-plus-my-full-easter-mantle-reveal
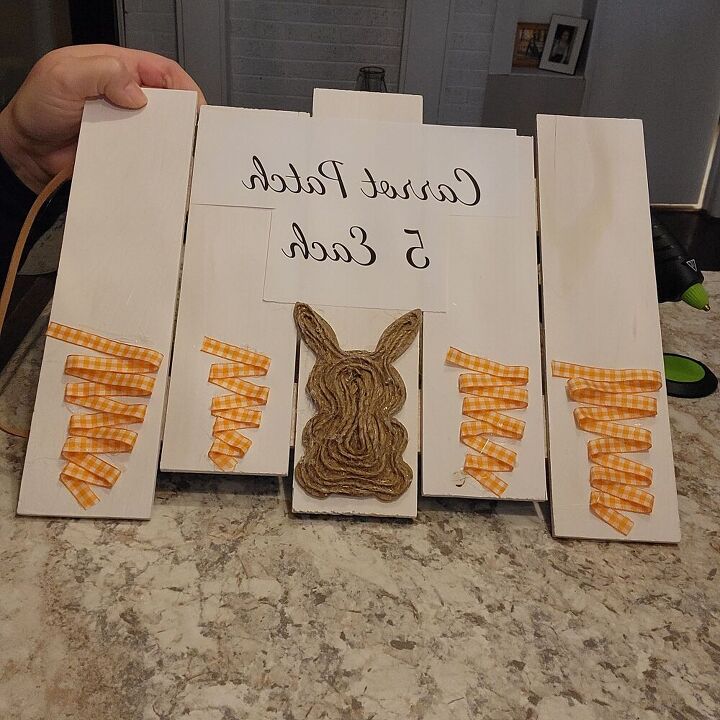
I thought about painting this or mod podging some scrapbook paper but nothing seemed right. So back to old reliable...I used my twine. Now, I'm envisioning a bunny in a carrot patch for this craft. This wooden sign was from Michael's I just decided to use it horizontal vs. vertical for this project.
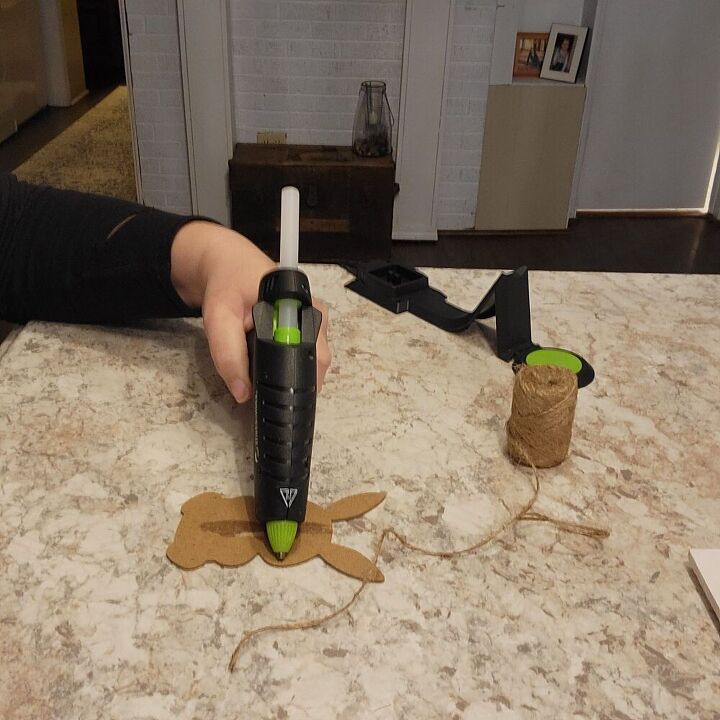
I got started adding twine to my little bunny. I put hot glue around the edges then applied the twine right over the glue outlining the entire shape.
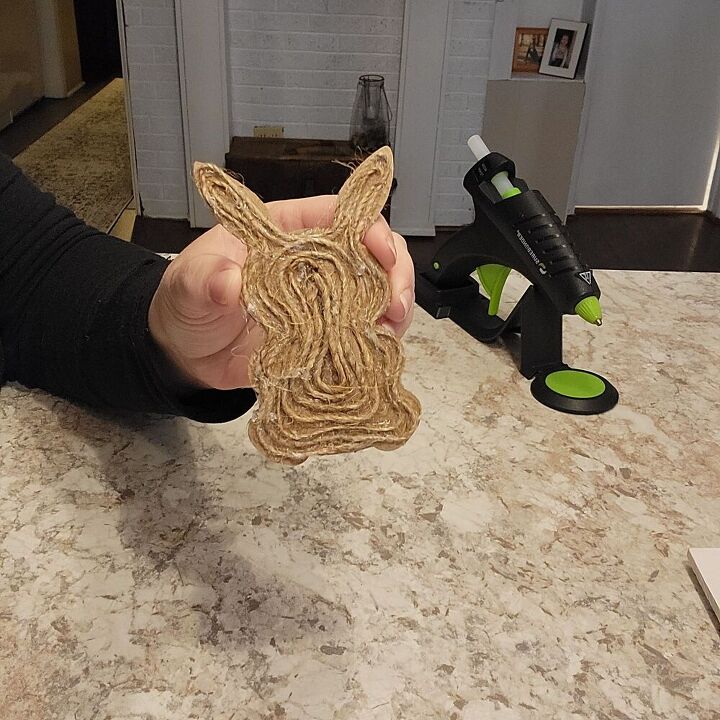
I did this outside in. When I felt like I had it covered pretty well and was in the middle I cut my twine and glued the end down. Pretty quick and easy, I would definitely suggest the rubber finger protectors to keep from burning your fingers with this project. You can find those here: Amazon.com: 12 Pieces Silicone Hot Glue Gun Finger Caps, 4 Colors Finger Guard Protectors or Hot Glue Wax Rosin Resin Honey Adhesives Scrapbooking Sewing in 3 Sizes-Red/Blue/Yellow/Green: Industrial & Scientific
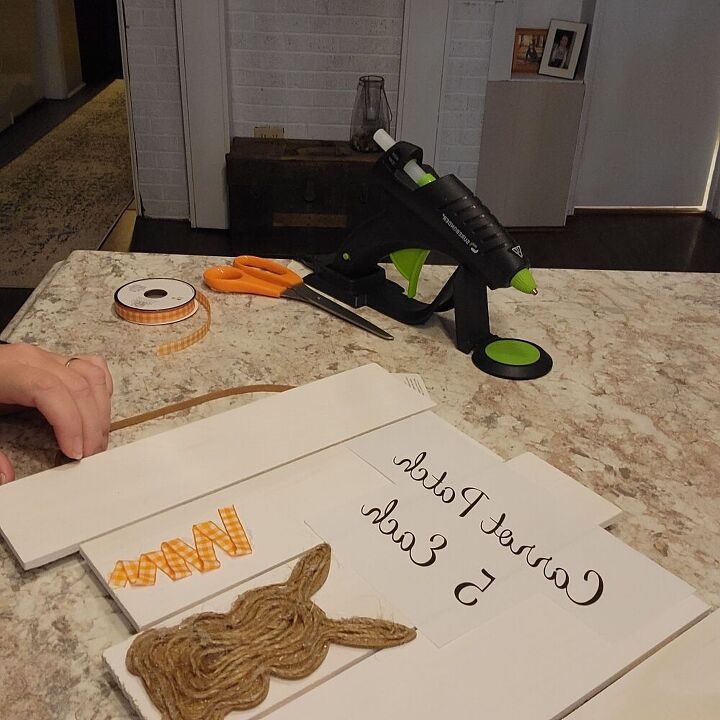
Here's where the cutest starts. The craft I was telling you about was an adorable carrot made from an orange ribbon. You simply start by hot gluing the ribbon end to bottom of where you want your carrot then glue it down in a zig-zag pattern getting a little wider as you go up making the shape of a carrot.
Isn't that genius. So easy and so cute. I will now go add some picks of green eucalyptus I had as the carrot top and a little bow, just to make it look finished.
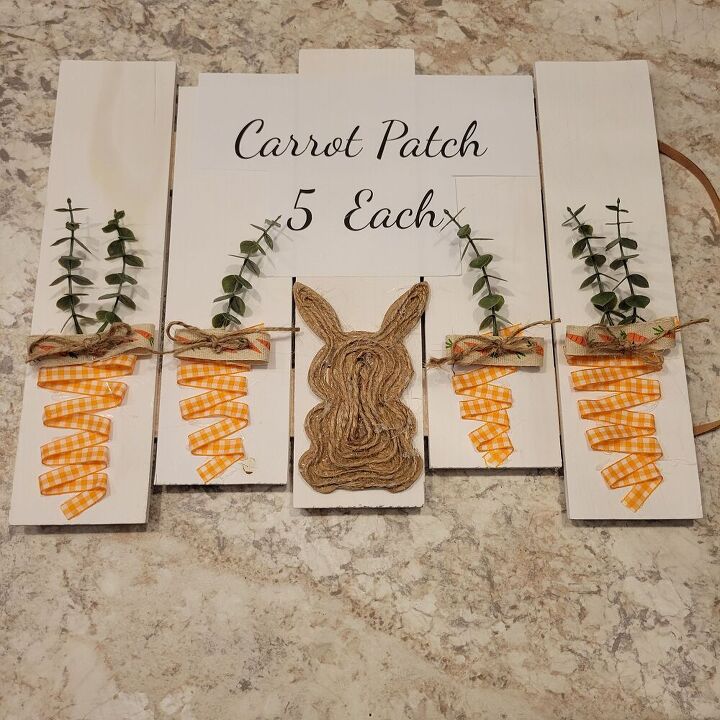
My next plan it to use graphite paper to transfer this lettering onto my sign then, I will go back and paint the words. If you haven't ever used graphite paper to do this, it's so easy. Here's a great post on how to do that. https://www.underacottonwood.com/post/using-graphite-paper-to-transfer-lettering-to-wood-how-to-paint-a-personalized-gift

Graphite paper you can find at Hobby Lobby and it's a great tool to help paint words on projects. I had just typed what I wanted my sign to say and printed it out.

I added a simple little bow using some a couple different but coordinating pieces of ribbon and raffia.
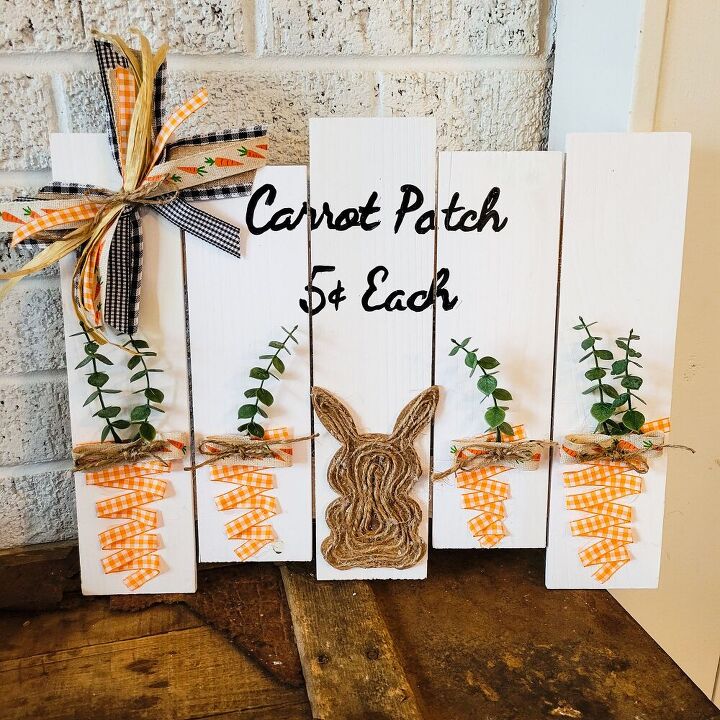
This sign turned out so adorable! Again such a great idea. I am all about the gingham, buffalo plaid look but you could use any pattern of ribbon or color to make the very same carrots. I really hope you enjoyed this project, it just might be one of my favorites!!
Happy Crafting!
Jill

Comments
Join the conversation
-
Such a cute project!
-
So cute.. the only thing I would add is a fluffy tail! So cute......


Frequently asked questions
Have a question about this project?