


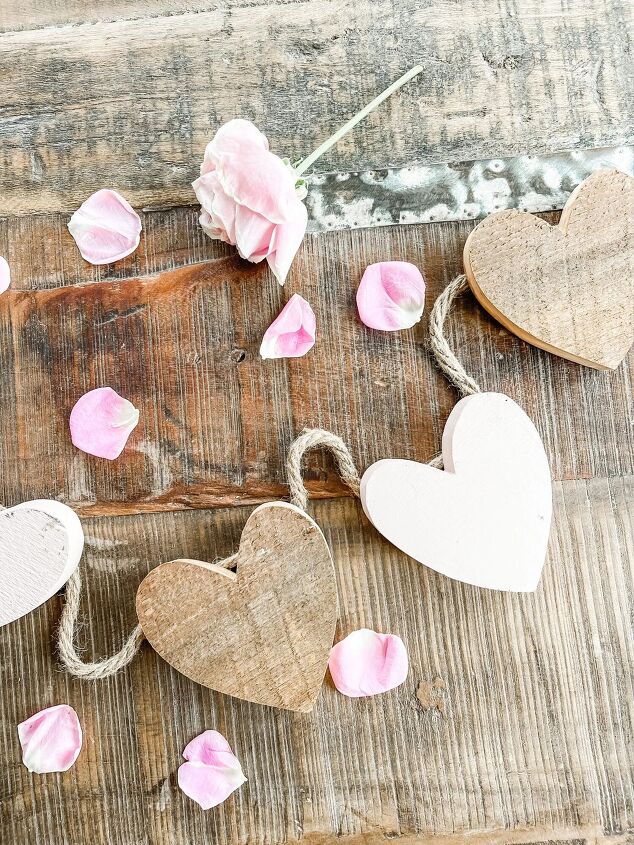
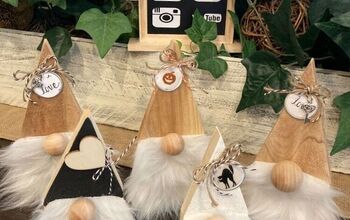
Scrap Wood Hearts
I love hearts – but just because I love hearts, doesn’t mean I love red. If you are one who leans toward a more neutral home, then you might find these will fit in quite nicely. Either way, I am excited to share these adorable scrap wood hearts I made for Valentine’s Day.
Of course you could always paint them red or a brighter pink!
A QUICK AND EASY DIY
These were made from pieces of vintage tongue and groove flooring.
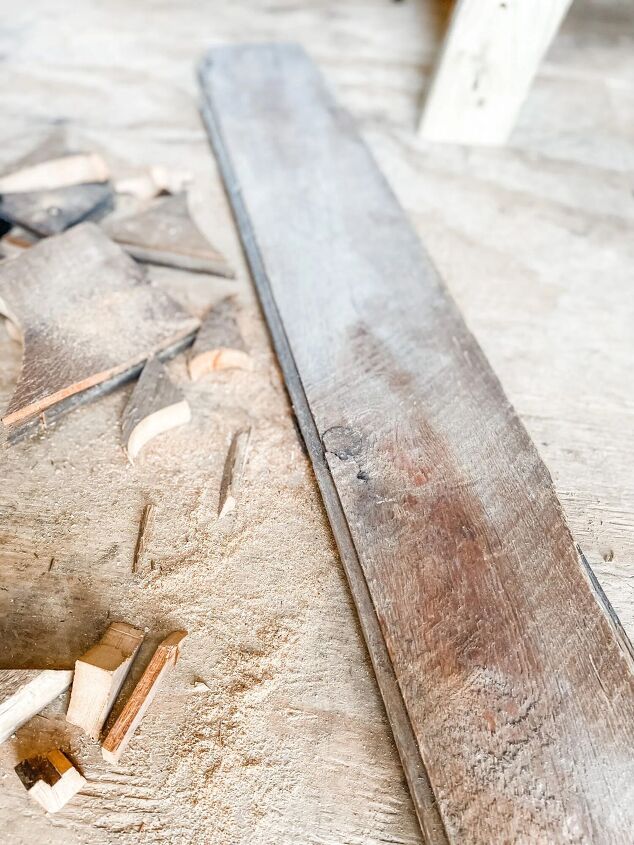
Some of the cutest things come from scraps you might be tempted to throw away.
This tongue and groove flooring was leftover from a repair Carmine did to his 1870’s rowhome, he’s since sold. He found this at the Loading Dock, another one of our favorite reuse warehouses located in Baltimore.
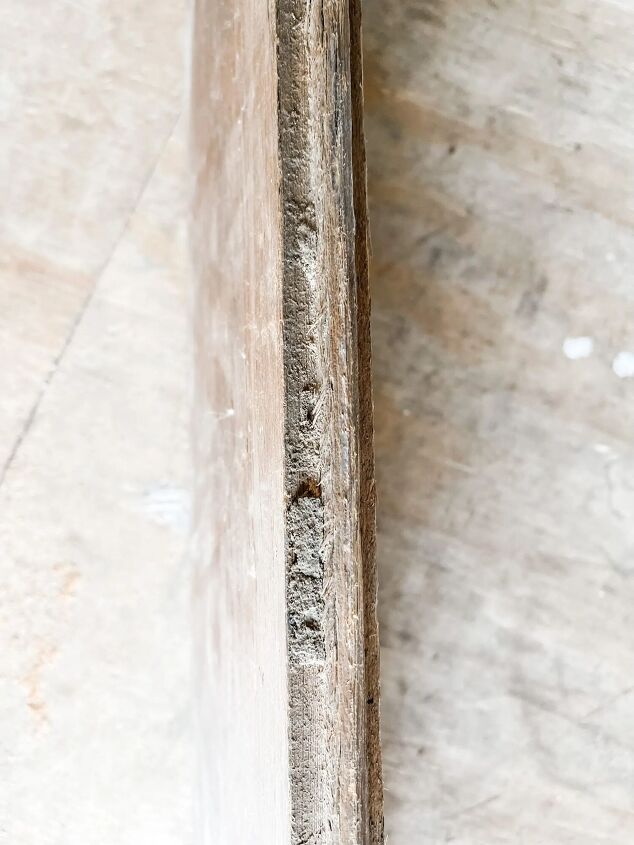
One side was finished and the other side was not. I actually preferred the rough cut unfinished side.
CUTTING THE HEARTS
I googled some clip art hearts and printed them out on plain white paper. After I cut out the paper heart, I placed it on the wood, and traced it with a sharpie onto my board. Now they were ready to cut.
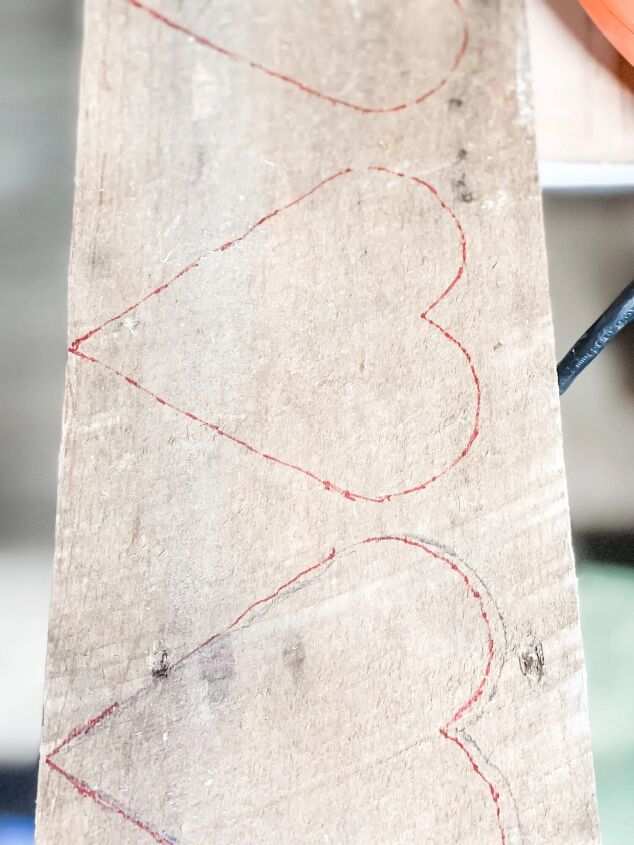
Seriously I need to get a band saw, but until then, I used a jigsaw to cut the hearts.
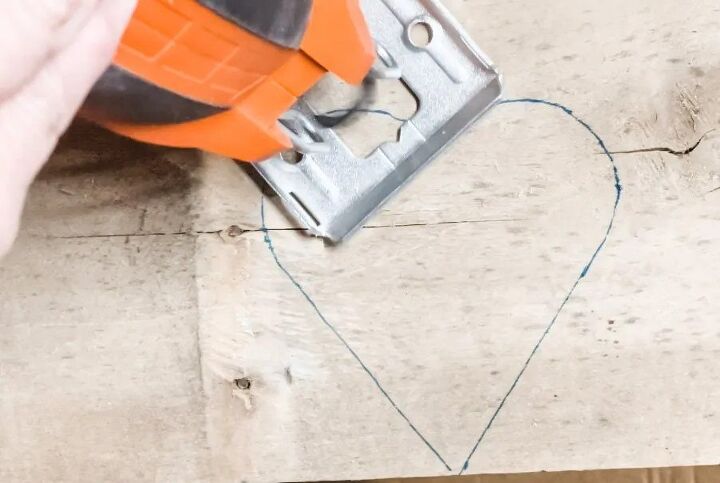
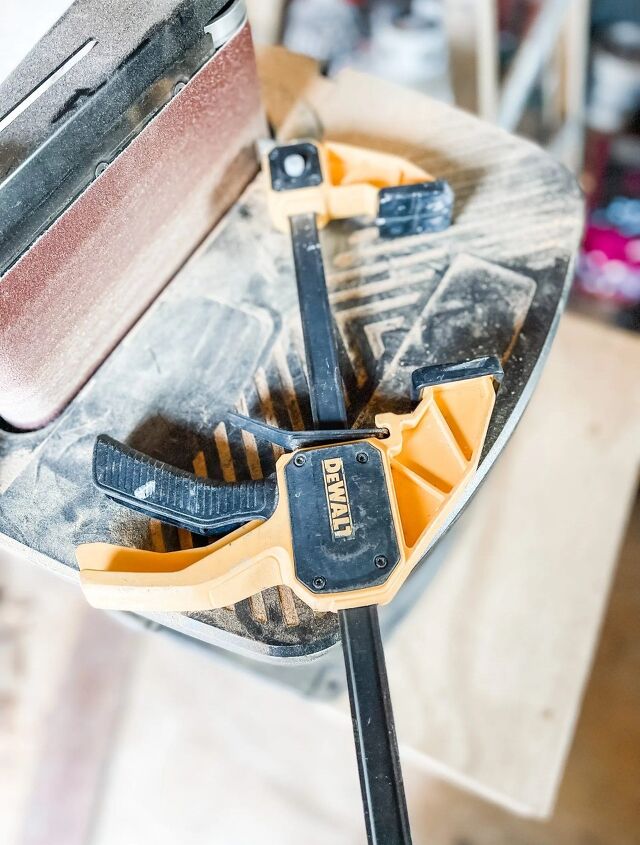
I clamped the boards to the work table so they didn’t move around as I was cutting.
This is the same type of saw but with a different blade that I used to make the Charcuterie or Cutting Boards last week.
FINISHING THE HEARTS
When I was done cutting, the edges were a little rough. That is because I can’t make the edges rounded like I would want to with this saw. So I pulled out the new WEN sander to clean up and smooth out the edges.
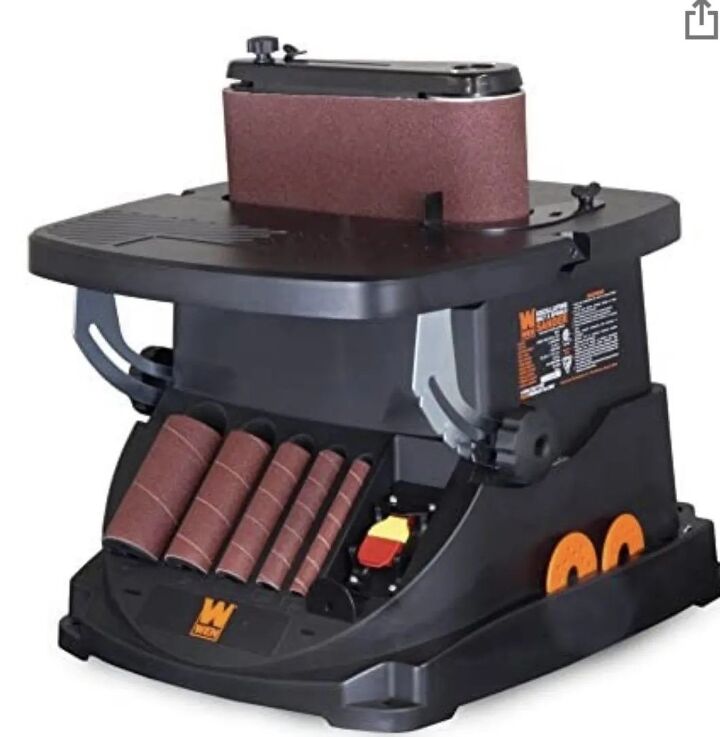
You could also use a sanding block or palm sander to even out and smooth the edges.
I decided to paint some of the scrap wood hearts with Dixie Belle’s Silk Mineral Paint in Conch. A beautiful soft pink, it pairs perfectly with the natural wood.
Initially I wasn’t sure what I was going to do after I cut and painted the hearts. I was thinking about mounting them on a board or drilling a hole in the top and hanging them.
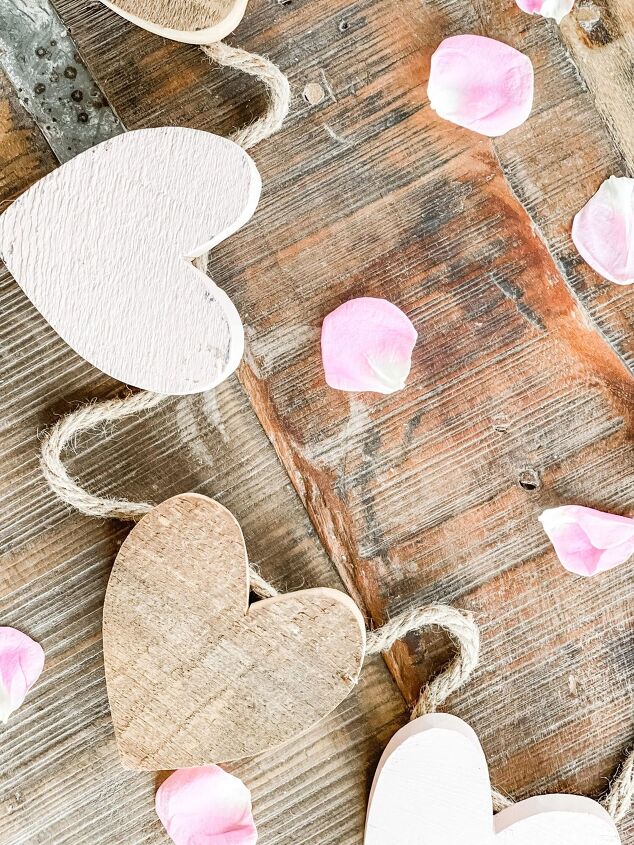
Well, as you can see, I decided to attach them to twine and hang them on one of my vintage windows.
 PAINTING THE HEARTS
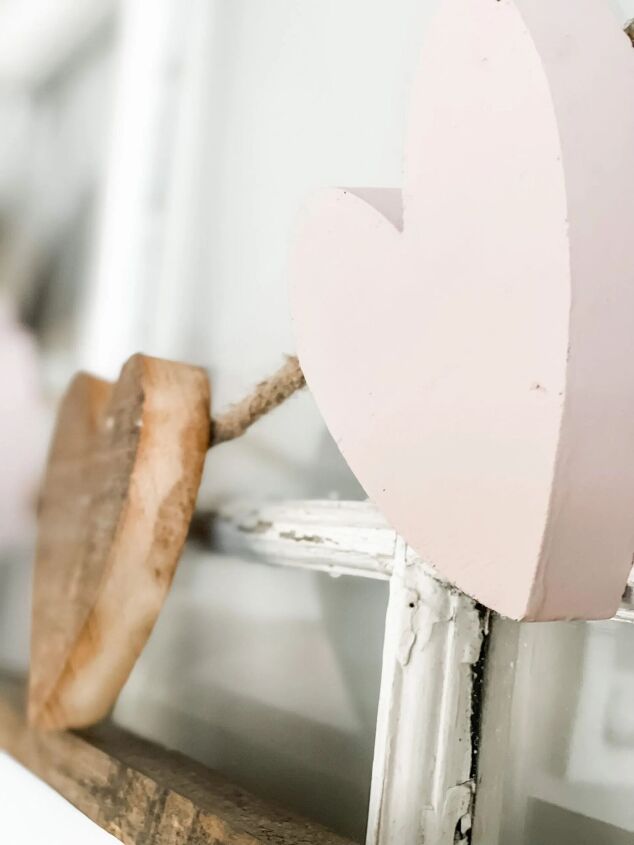
Because I might want to display them differently sometime, I chose to staple the twine onto the backs of the hearts. For this I used a heavy duty staple gun.
Doing this instead of drilling holes allows me to prop them up on their side on a table top or shelf.
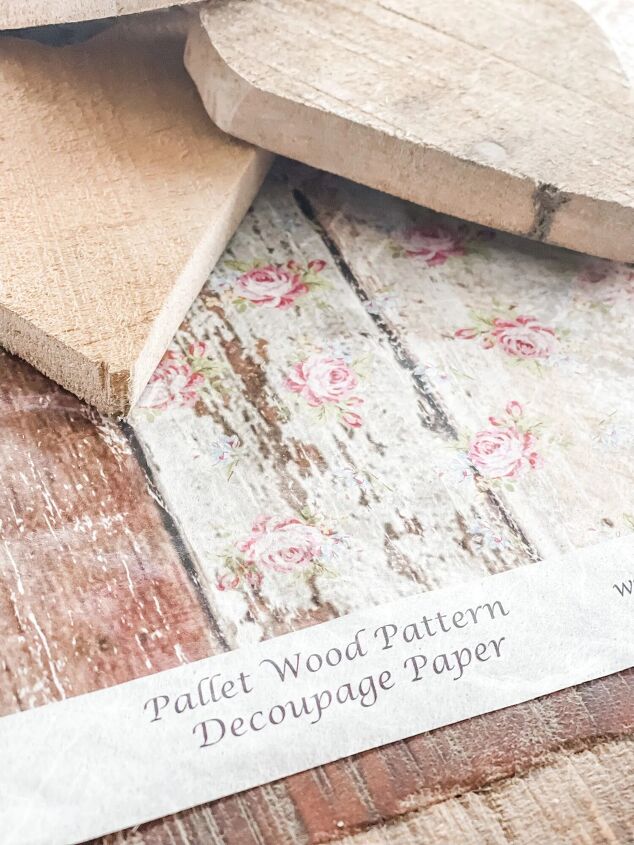
There is a little more wood in the shed. I think I will cut additional hearts because I want to see how they would look with the addition of this beautiful rice decoupage paper. Don’t you think it would look beautiful with the Conch paint?
 STAPLING ON THE TWINE
I just love how simple and sweet they are. What a cost effective way to add a little Valentine’s Decor around your home.

I’ve teamed up with a group of blogging friends to share a Valentine project with you. Below you will see all that are participating. Make sure you stop by their blogs and say hi. Leave a comment and let them know Regina from Saved From Salvage sent you!
Valentine’s Blog Tour
Want to see more Valentine’s ideas? Well then, that’s great because today, you are in for a treat!
❣️ 💟 💟 ❣️ More Amazing Valentine’s Inspiration ❣️ 💟 💟 ❣️
Click the links below the images to go straight to their posts. ENJOY!

Chalking Up Success // Sweet Valley Acres // A Life of Balance // Peacock Ridge Farm
❣️ 💟 💟 ❣️ 💟 💟 ❣️
Cloches & Lavender // From Farmhouse to Florida // My Family Thyme // Sonya Burges
❣️ 💟 💟 ❣️ 💟 💟 ❣️
Design of Your Life // Saved From Salvage // Zucchini Sisters
❣️ 💟 💟 ❣️ 💟 💟 ❣️
I hope enjoyed this quick and easy DIY. Definitely short and sweet. Speaking of sweet, watch for my next post about Ways to Beat the Winter Blues.
Thank you for coming by to visit. The other day I realized that when I am reading your comments, I always have a smile on my face, they make me happy. So feel free to leave a “hi” or what you think.
XO, Regina
This post contains affiliate links. If you purchase from these links, I will receive a small commission at no additional cost to you. Thanks for supporting my small business.
SUPPLIES AND SHOPPING
BLACK AND DECKER JIGSAW
WEN OSCILATING SPINDLE SANDER
SANDING BLOCK
DIXIE BELLE SILK MINERAL PAINT (CONCH)
TWINE
WOOD HEART SHAPES
VINTAGE WINDOW DECOR
Resources for this project:
See all materials


Comments
Join the conversation
-
I used to do woodworking projects like this, and I found that I liked using a scroll saw better than a band saw.


Frequently asked questions
Have a question about this project?
So cute! I, too, like the natural look sometimes. Not always red hearts. How did you attach the twine on the backs?